Page 1794 of 3870

YES: Install the speaker securely. The speaker should now be free of
distortion.
NO: Repair or replace the radio and CD player. The speaker should now
be free of distortion.
INSPECTION PROCEDURE 20: Distortion on FM Only. DIAGNOSIS
STEP 1. Check that the distortion is present when the radio is tuned to
another station.
Q: Does the distortion persist when the radio is tuned to another station?
YES: Go to Step 2.
NO: The signal from that station is too weak.
STEP 2. Relocate the reception area and check the radio.
Q: When relocating the reception area does the distortion increase or
decrease?
YES: The cause may be multipath or fading noise. Multipath noise is the
echo that occurs when the broadcast signal is reflected by a large
obstruction and enters the receiver with a slight time delay relative to the
direct signal (repetitious buzzing). A fading or buzzing noise may occur
when the broadcast beam is disrupted by obstructing objects and the signal
strength fluctuates within a narrow range.
NO: Replace the radio and CD player. Check that a distortion is resolved.
INSPECTION PROCEDURE 21: Auto Select Function Inoperative, too Few Automatic Stations are Selected. DIAGNOSIS
STEP 1. Check the state of the antenna.
Q: Is the mast antenna assembled?
YES: Go to Step 2.
2004 Mitsubishi Endeavor LS
2004 BODY & ACCESSORIES Radio With Tape Player & Cd Player - Endeavor
Page 1871 of 3870
3. Insert a pry bar between the transaxle case and the drive shaft, and then pry and
remove the drive shaft from the transaxle.
Fig. 20: Inserting Pry Bar Between Transaxle Case And Drive Shaft
Courtesy of MITSUBISHI MOTOR SALES OF AMERICA.
4. If the inner shaft is hard to remove from the transaxle, strike the bracket
assembl
y lightl
y with a
plastic hammer and remove the inner shaft.
2004 Mitsubishi Endeavor LS
2004 DRIVELINE/AXLES Front Axle Hub & Axle Shafts - Endeavor
Page 1918 of 3870
C. Using Puller Shaft (MB990242), Puller Bar (MB990244), Puller Body
(MB991354), and End Yoke Holder (MB990767), push out the axle shaft
assembly and inner shaft assembly (if equipped) from the hub. Remove the
axle shaft from the hub buy pulling the bottom of the brake disc towards you.
Insert a pry bar between the transaxle case and the axle shaft, then pry and
remove the axle shaft from the transaxle. See Fig. 8
. If the inner shaft is hard
to remove from the transaxle, strike the bracket assembly lightly with a plastic
hammer and remove the inner shaft.
D. Use Slide Hammer (MB991721) to remove the output shaft. CAUTION: When pulling the output shaft out from the
transaxle, be careful that the splined part of the
output shaft does not damage the oil seal.
2004 Mitsubishi Endeavor LS
2004 DRIVE AXLES Axle Shafts - Front - Endeavor
Page 2003 of 3870
1. Ensure that the ignition switch is at the "LOCK" (OFF) position.
2. Start up the personal computer.
3. Connect special tool MB991827 to special tool MB991824 and the personal
computer.
4. Connect special tool MB991910 to special tool MB991824.
5. Connect special tool MB991910 to the data link connector.
6. Turn the power switch of special tool MB991824 to the "ON" position.
7. Start the MUT-III system on the personal computer.
CAUTION: To prevent damage to scan tool MB991958, always
turn the ignition switch to the "LOCK" (OFF) position
before connecting or disconnecting scan tool
MB991958.
NOTE: When special tool MB991824 is energized, special tool
MB991824 indicator light will be illuminated in a green
color.
NOTE: Disconnecting scan tool MB991958 is the reverse of the
connecting sequence, making sure that the ignition switch
is at the "LOCK" (OFF) position.
2004 Mitsubishi Endeavor LS
2004 HVAC Heater Air Conditioning, Ventilation - Endeavor
Page 2365 of 3870

DISCHARGING SYSTEM Use the refrigerant recovery unit to discharge refrigerant gas from the system. REFILLING OF OIL IN THE A/C SYSTEM Too little oil will provide inadequate compressor lubrication and cause a
compressor failure. Too much oil will increase discharge air temperature.
When a compressor is installed at the factory, it contains 140 cm
3 (4.7 fl.oz) of
refrigerant oil. While the A/C system is in operation, the oil is carried through the
entire system by the refrigerant. Some of this oil will be trapped and retained in
various parts of the system.
When the following system components are changed, it is necessary to add oil to
the system to replace the oil being removed with the component.
Compressor oil: SUN PAG 56
Quantity:
Evaporator: 60
cm
3 (2.0 fl.oz)
Condenser:
15 cm
3 (0.5 fl.oz)
Suction hose: 10 cm3 (0.3 fl.oz)
PERFORMANCE TEST The vehicles to be tested should be parked out of direct sunlight.
1. Close the high and low-pressure valve of the gauge manifold.
2. Connect the charging hose (blue) to the low-pressure valve and connect the
UNIT
.
NOTE: Refer to the REFRIGERANT RECOVERY AND RECYCLING
UNIT'S INSTRUCTION MANUAL FOR OPERATION OF THE UNIT
.
2004 Mitsubishi Endeavor LS
2004 HVAC Heater Air Conditioning, Ventilation - Endeavor
Page 2378 of 3870

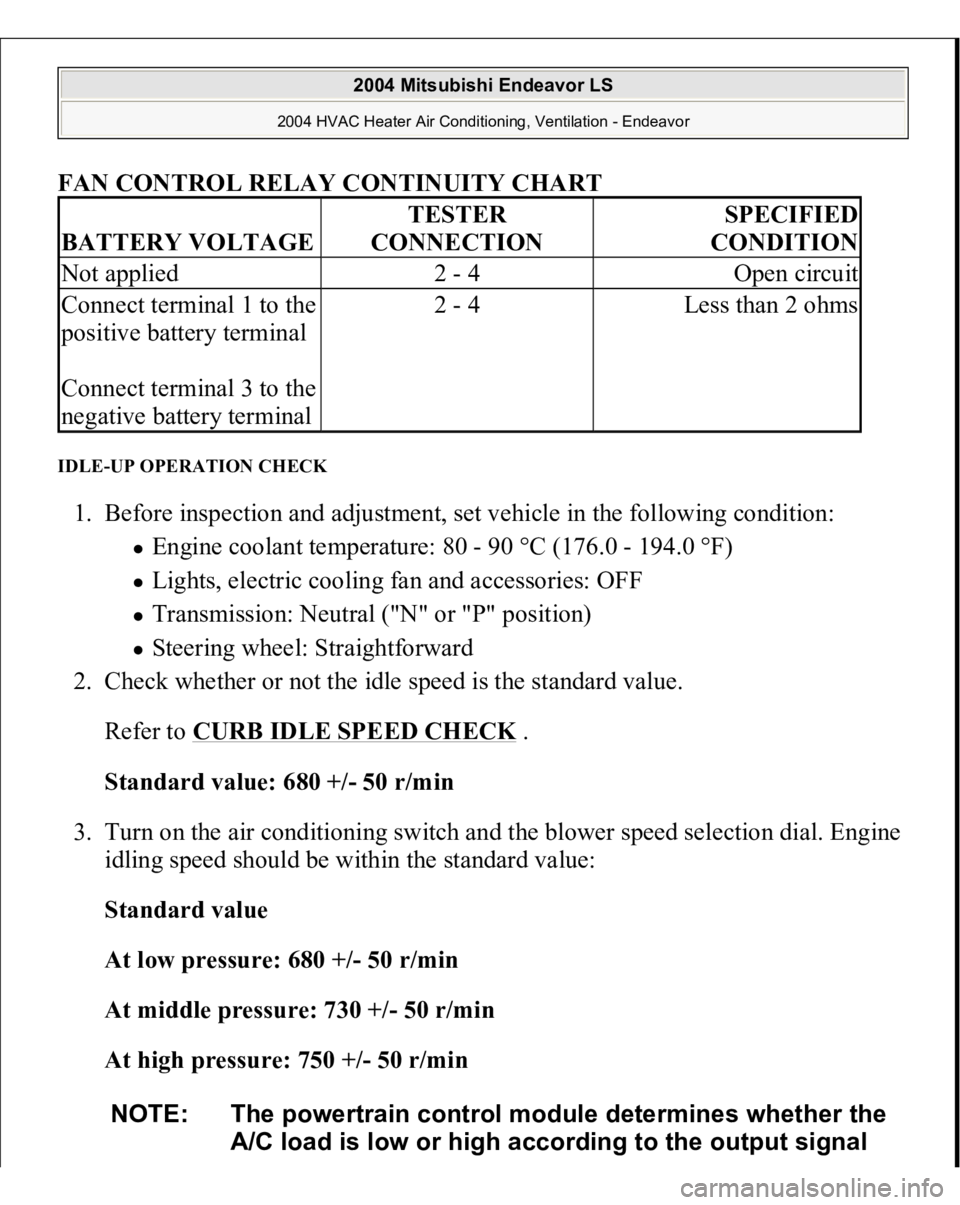
FAN CONTROL RELAY CONTINUITY CHART
IDLE-UP OPERATION CHECK 1. Before inspection and adjustment, set vehicle in the following condition:
Engine coolant temperature: 80 - 90 °C (176.0 - 194.0 °F) Lights, electric cooling fan and accessories: OFF Transmission: Neutral ("N" or "P" position) Steering wheel: Straightforward
2. Check whether or not the idle speed is the standard value.
Refer to
CURB IDLE SPEED CHECK
.
Standard value: 680 +/- 50 r/min
3. Turn on the air conditioning switch and the blower speed selection dial. Engine
idling speed should be within the standard value:
Standard value
At low pressure: 680 +/- 50 r/min
At middle pressure: 730 +/- 50 r/min
At high pressure: 750 +/- 50 r/min
BATTERY VOLTAGE
TESTER
CONNECTION
SPECIFIED
CONDITION
Not applied
2 - 4
Open circuit
Connect terminal 1 to the
positive battery terminal
Connect terminal 3 to the
negative battery terminal
2 - 4
Less than 2 ohms
NOTE: The powertrain control module determines whether the
A/C load is low or high according to the output signal
2004 Mitsubishi Endeavor LS
2004 HVAC Heater Air Conditioning, Ventilation - Endeavor
Page 2425 of 3870

6. Turn the power switch of special tool MB991824 to the "ON" position.
7. Start the MUT-III system on the personal computer. HOW TO READ AND ERASE DIAGNOSTIC TROUBLE CODES Required Special Tool:
MB991958: Scan Tool (MUT-III Sub Assembly)
MB991824: Vehicle Communication Interface (V.C.I.) MB991827: MUT-III USB Cable MB991910: MUT-III Main Harness A (Vehicles with CAN
communication system)
1. Connect scan tool MB991958 to the data link connector.
2. Turn the ignition switch to the "ON" position.
3. Select "Interactive Diagnosis" from the start-up screen.
4. Select "S
ystem Select."
NOTE: When the special tool MB991824 is energized, the
special tool MB991824 indicator light will be illuminated
in a green color.
NOTE: Disconnecting the scan tool is the reverse of the
connecting sequence, making sure that the ignition switch
is at the "LOCK" (OFF) position.
CAUTION: To prevent damage to scan tool MB991958, always
turn the ignition switch to the "LOCK" (OFF) position
before connecting or disconnecting scan tool
MB991958.
NOTE: If the battery voltage is low, diagnostic trouble codes will
not be set. Check the battery if scan tool MB991958 does
not display.
2004 Mitsubishi Endeavor LS
2004 HVAC Automatic Air Conditioning - Endeavor
Page 2503 of 3870
YES:
It can be assumed that this malfunction is intermittent.
Refer to
HOW TO USE TROUBLESHOOTING/INSPECTION
SERVICE POINTS
.
NO:
Repair the wiring harness. The rear blower motor should operate
normally.
DATA LIST REFERENCE TABLE DATA LIST REFERENCE
CHECK AT A/C-ECU TERMINAL SCAN TOOL
(MUT-III)
DISPLAY
ITEM NO.
INSPECTION
ITEM
INSPECTION
REQUIREMENT
NORMAL
VALUE
Inside
temperature
sensor
01
Interior
temperature
sensor
Ignition switch:
ON
Inside air
temperature
and
temperature
displayed on
the scan tool
are identical.
Photo sensor
06
Photo sensor
Ignition switch:
ON
Amount o
f
light is
proportional to
voltage
displayed on
the scan tool.
NOTE: For the data list items other than above, refer to DATA LIST REFERENCE TABLE
.
2004 Mitsubishi Endeavor LS
2004 HVAC Automatic Air Conditioning - Endeavor