Page 101 of 434

100 Controls in detailLocking and unlocking
The trunk can also be opened using�
the SmartKey, see “Locking and un-
locking” (
�page 90)
�
the remote trunk lid release switch, see
“Opening the trunk from the inside”
(�page 100)
�
the trunk lid emergency release button,
see “Trunk lid emergency release”
(�page 102)Opening the trunk from the inside
You can open the trunk from the inside if
the vehicle is stationary and the retract-
able hardtop is fully opened or closed.
A minimum height clearance of
6.2 ft (1.88 m) is required to open the
trunk lid.
The switch is located on the driver’s door.
1Remote trunk lid release switch
2Indicator lamp
!Always make sure that there is suffi-
cient overhead clearance.iIf the trunk lid does not open, the entire
vehicle is still locked globally
(�page 90).
To facilitate trunk loading and unload-
ing when the hardtop is retracted, you
can raise the hardtop from its storage
position in the trunk using the load as-
sist feature (
�page 221). You may also
unhook the luggage cover.
Remember to resecure the luggage
cover after loading/unloading the
trunk. Otherwise you will not be able to
lower the retractable hardtop.
Page 102 of 434
101 Controls in detail
Locking and unlocking
�
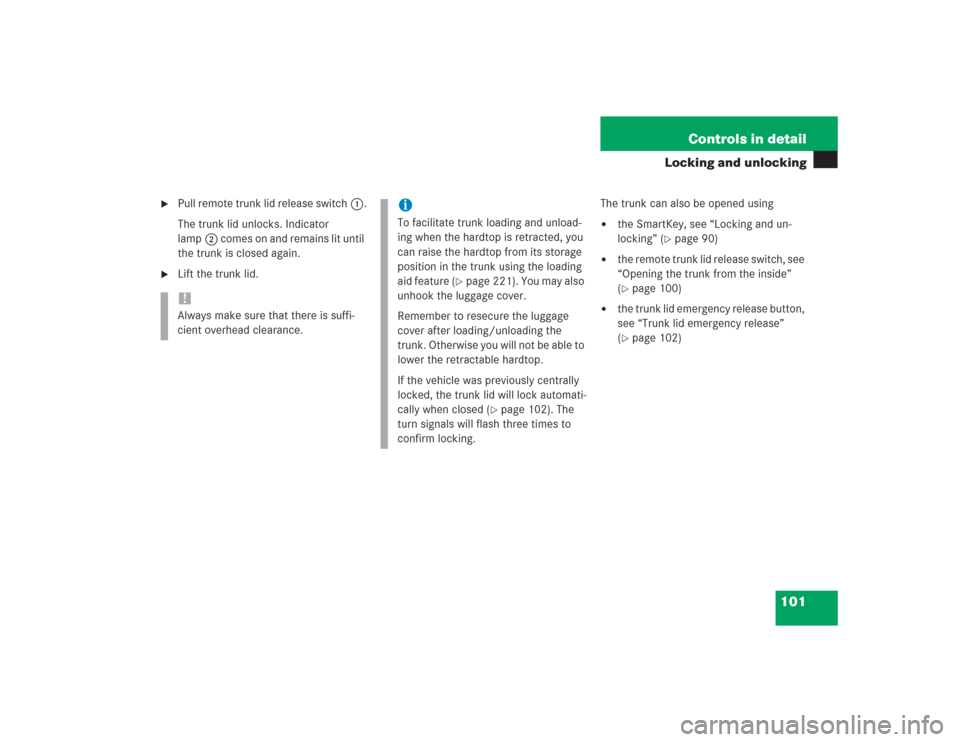
Pull remote trunk lid release switch1.
The trunk lid unlocks. Indicator
lamp2 comes on and remains lit until
the trunk is closed again.
�
Lift the trunk lid.The trunk can also be opened using
�
the SmartKey, see “Locking and un-
locking” (
�page 90)
�
the remote trunk lid release switch, see
“Opening the trunk from the inside”
(�page 100)
�
the trunk lid emergency release button,
see “Trunk lid emergency release”
(�page 102)
!Always make sure that there is suffi-
cient overhead clearance.
iTo facilitate trunk loading and unload-
ing when the hardtop is retracted, you
can raise the hardtop from its storage
position in the trunk using the loading
aid feature (
�page 221). You may also
unhook the luggage cover.
Remember to resecure the luggage
cover after loading/unloading the
trunk. Otherwise you will not be able to
lower the retractable hardtop.
If the vehicle was previously centrally
locked, the trunk lid will lock automati-
cally when closed (
�page 102). The
turn signals will flash three times to
confirm locking.
Page 103 of 434
102 Controls in detailLocking and unlockingClosing the trunk lid
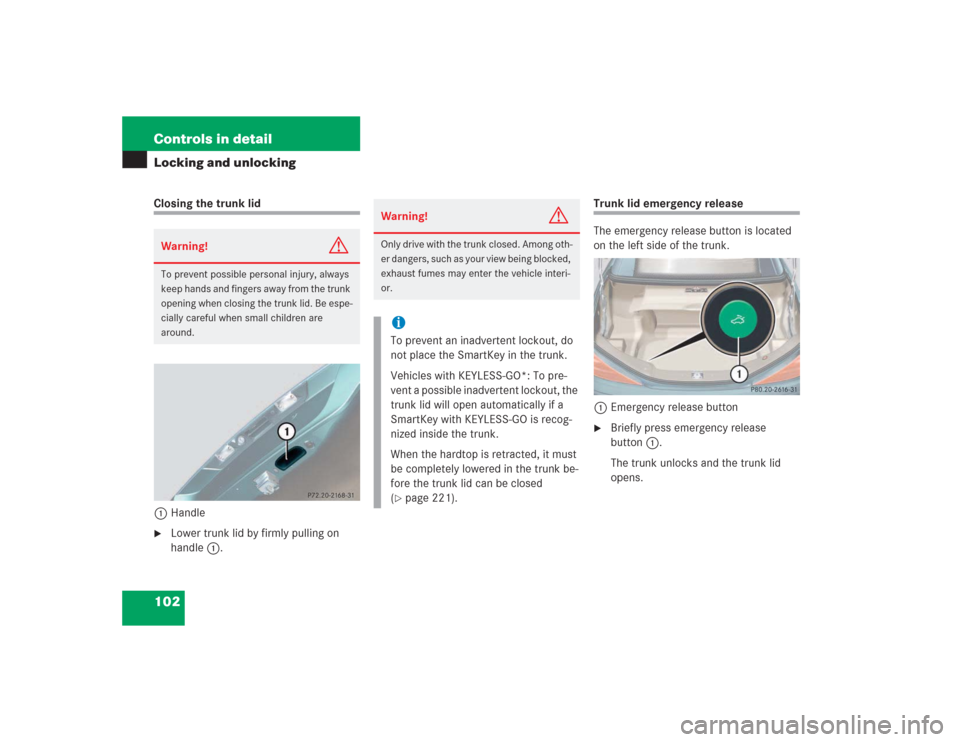
1Handle�
Lower trunk lid by firmly pulling on
handle1.
Trunk lid emergency release
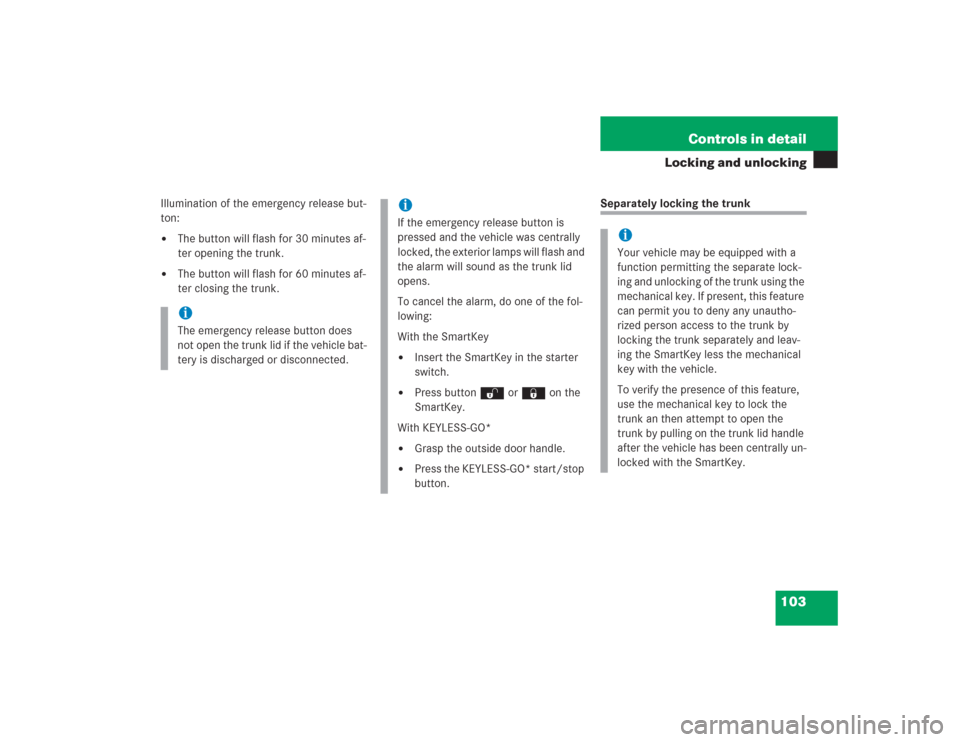
The emergency release button is located
on the left side of the trunk.
1Emergency release button�
Briefly press emergency release
button1.
The trunk unlocks and the trunk lid
opens.
Warning!
G
To prevent possible personal injury, always
keep hands and fingers away from the trunk
opening when closing the trunk lid. Be espe-
cially careful when small children are
around.
Warning!
G
Only drive with the trunk closed. Among oth-
er dangers, such as your view being blocked,
exhaust fumes may enter the vehicle interi-
or.iTo prevent an inadvertent lockout, do
not place the SmartKey in the trunk.
Vehicles with KEYLESS-GO*: To pre-
vent a possible inadvertent lockout, the
trunk lid will open automatically if a
SmartKey with KEYLESS-GO is recog-
nized inside the trunk.
When the hardtop is retracted, it must
be completely lowered in the trunk be-
fore the trunk lid can be closed
(�page 221).
Page 104 of 434
103 Controls in detail
Locking and unlocking
Illumination of the emergency release but-
ton:�
The button will flash for 30 minutes af-
ter opening the trunk.
�
The button will flash for 60 minutes af-
ter closing the trunk.
Separately locking the trunk
iThe emergency release button does
not open the trunk lid if the vehicle bat-
tery is discharged or disconnected.
iIf the emergency release button is
pressed and the vehicle was centrally
locked, the exterior lamps will flash and
the alarm will sound as the trunk lid
opens.
To cancel the alarm, do one of the fol-
lowing:
With the SmartKey�
Insert the SmartKey in the starter
switch.
�
Press buttonŒ or‹ on the
SmartKey.
With KEYLESS-GO*
�
Grasp the outside door handle.
�
Press the KEYLESS-GO* start/stop
button.
iYour vehicle may be equipped with a
function permitting the separate lock-
ing and unlocking of the trunk using the
mechanical key. If present, this feature
can permit you to deny any unautho-
rized person access to the trunk by
locking the trunk separately and leav-
ing the SmartKey less the mechanical
key with the vehicle.
To verify the presence of this feature,
use the mechanical key to lock the
trunk an then attempt to open the
trunk by pulling on the trunk lid handle
after the vehicle has been centrally un-
locked with the SmartKey.
Page 108 of 434
107 Controls in detailSeats
�Seats
For information on seat adjustment, see
“Seat adjustment” (
�page 35).
Easy-entry / exit feature
With the easy-entry/exit feature activated,
the steering wheel tilts upwards and the
driver’s seat moves to the rear.
This allows easier entry into and exit from
the vehicle when the driver’s door is
opened. However, the engine must be
turned off.
When the SmartKey is inserted in the start-
er switch or you have pressed the
KEYLESS-GO* start / stop button once and
the driver’s door is closed, the steering
wheel and the driver’s seat return to their
last set positions.You can activate the following functions:
�
Steering column:
Only the steering column is adjusted.
�
Steering column and seat:
The steering column and the seat are
adjusted.
The easy-entry / exit feature can be
switched on or off in the convenience sub-
menu of the control system (
�page 148).
Warning!
G
You must make sure that no one can be-
come trapped or injured by the moving
steering wheel and driver’s seat when the
easy-entry/exit feature is activated, the
driver’s door is being opened and the engine
is turned off or the SmartKey is removed
from the starter switch. Do not leave chil-
dren unattended in the vehicle, or with ac-
cess to an unlocked vehicle. Children could
open the driver’s door an unintentionally ac-
tivate the easy-entry/exit feature*, which
could result in an accident and/or serious
personal injury.
iTo cancel seat/steering wheel move-
ment, do one of the following:�
Press the seat adjustment switch
(�page 35)
�
Move the steering column stalk
(�page 37)
�
Press the memory button
(�page 114)
Page 111 of 434
110 Controls in detailSeatsMassage function (PULSE)
You can reduce muscle tension during long
trips by periodically using the massage
function. �
Press button3.
The indicator lamp on button3 comes
on. The air cushions in the lumbar re-
gion inflate and deflate rhythmically.
Seat heating
Vehicles without seat ventilation*
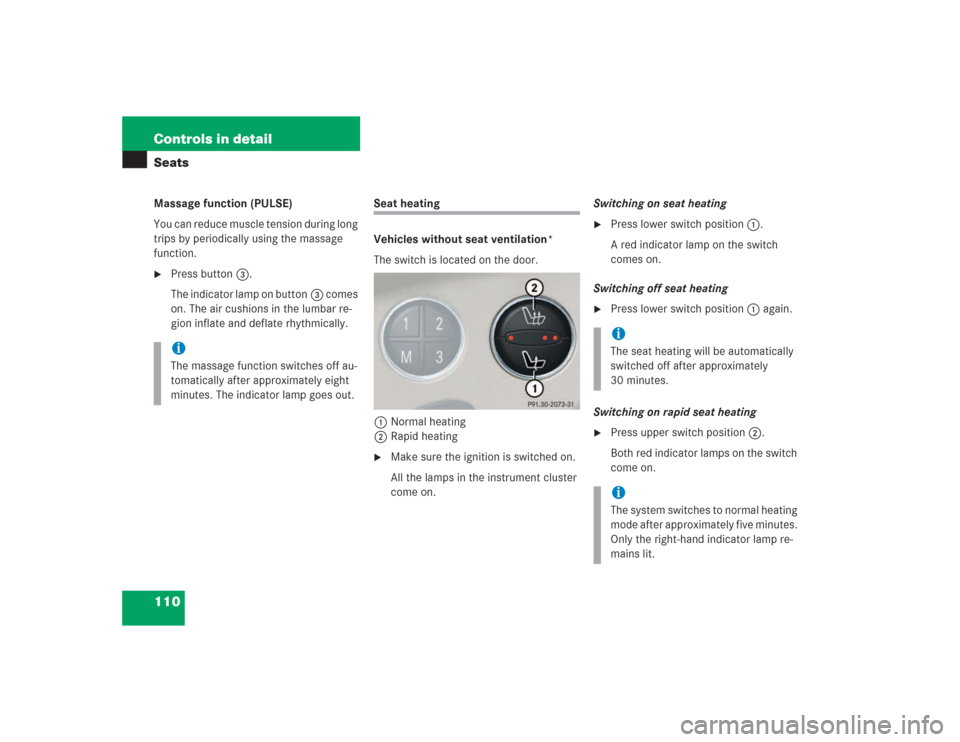
The switch is located on the door.
1Normal heating
2Rapid heating�
Make sure the ignition is switched on.
All the lamps in the instrument cluster
come on.Switching on seat heating
�
Press lower switch position1.
A red indicator lamp on the switch
comes on.
Switching off seat heating
�
Press lower switch position1 again.
Switching on rapid seat heating
�
Press upper switch position2.
Both red indicator lamps on the switch
come on.
iThe massage function switches off au-
tomatically after approximately eight
minutes. The indicator lamp goes out.
iThe seat heating will be automatically
switched off after approximately
30 minutes. iThe system switches to normal heating
mode after approximately five minutes.
Only the right-hand indicator lamp re-
mains lit.
Page 115 of 434
114 Controls in detailMemory function
�Memory function
With the memory switch you can store up
to three different settings per SmartKey or
SmartKey with KEYLESS-GO*.
The following settings are saved for each
stored position:�
Driver’s seat and backrest position
�
Steering wheel position
�
Interior rear view mirror position
�
Driver’s side exterior rear view mirror
position
�
Passenger side exterior rear view mir-
ror position
These key-dependent memory settings
can be deactivated if desired
(
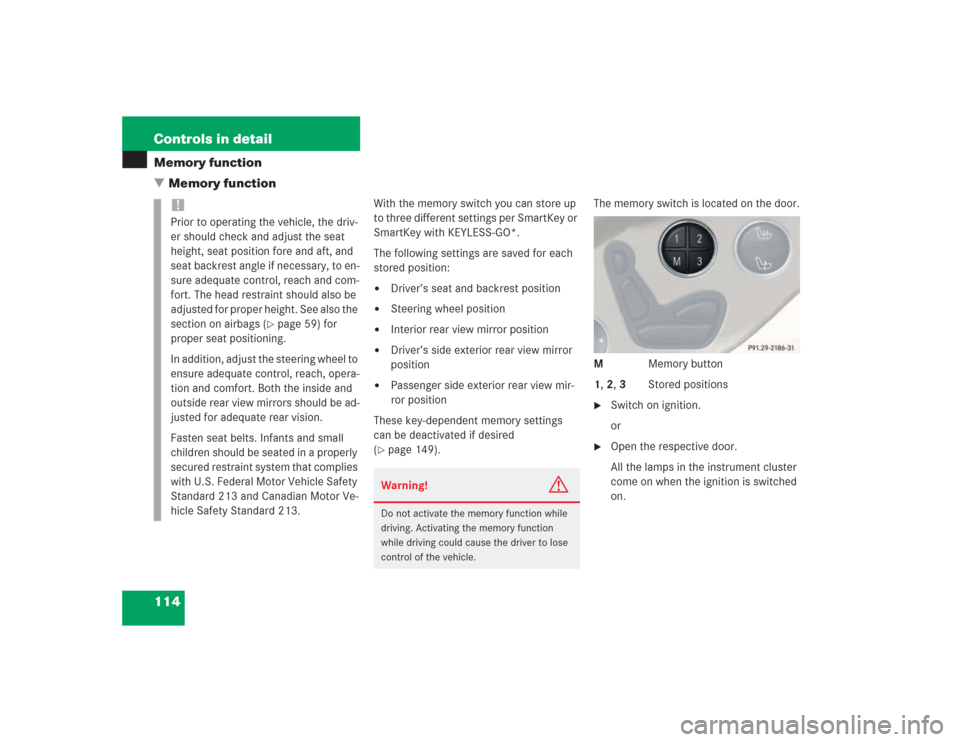
�page 149).The memory switch is located on the door.
M Memory button
1, 2, 3 Stored positions
�
Switch on ignition.
or
�
Open the respective door.
All the lamps in the instrument cluster
come on when the ignition is switched
on.
!Prior to operating the vehicle, the driv-
er should check and adjust the seat
height, seat position fore and aft, and
seat backrest angle if necessary, to en-
sure adequate control, reach and com-
fort. The head restraint should also be
adjusted for proper height. See also the
section on airbags (
�page 59) for
proper seat positioning.
In addition, adjust the steering wheel to
ensure adequate control, reach, opera-
tion and comfort. Both the inside and
outside rear view mirrors should be ad-
justed for adequate rear vision.
Fasten seat belts. Infants and small
children should be seated in a properly
secured restraint system that complies
with U.S. Federal Motor Vehicle Safety
Standard 213 and Canadian Motor Ve-
hicle Safety Standard 213.
Warning!
G
Do not activate the memory function while
driving. Activating the memory function
while driving could cause the driver to lose
control of the vehicle.
Page 116 of 434
115 Controls in detail
Memory function
Storing positions into memory�
Adjust the seats, steering wheel and
rear view mirrors to the desired posi-
tion (
�page 34).
�
Press memory buttonM.
�
Release memory button and press a
stored position button1, 2, or3 within
three seconds.
All the settings are stored at the select-
ed position.
Recalling positions from memory�
On memory switch, press and hold
stored position button1, 2 or3 until
the seat, steering wheel and rear view
mirrors have fully moved to the stored
positions.Storing exterior rear view mirror
parking position
For easier parking, you can adjust the
passenger-side exterior rear view mirror so
that you can see the right rear wheel as
soon as you engage reverse gearR.
For information on activating the parking
position feature, see “Setting parking posi-
tion for exterior rear view mirror”
(�page 149).
iReleasing the button immediately
stops movement to the stored posi-
tions.
iYou can store a parking position for the
passenger-side exterior rear view mir-
ror for each SmartKey or SmartKey
with KEYLESS-GO*.