Page 153 of 434
152 Controls in detailControl systemCall up range (distance to empty)�
Press button ÿ or è repeatedly
until you see the first function of the
Trip computer menu.
�
Press button j or k repeatedly
until you see this message in the left
display:
Range
.
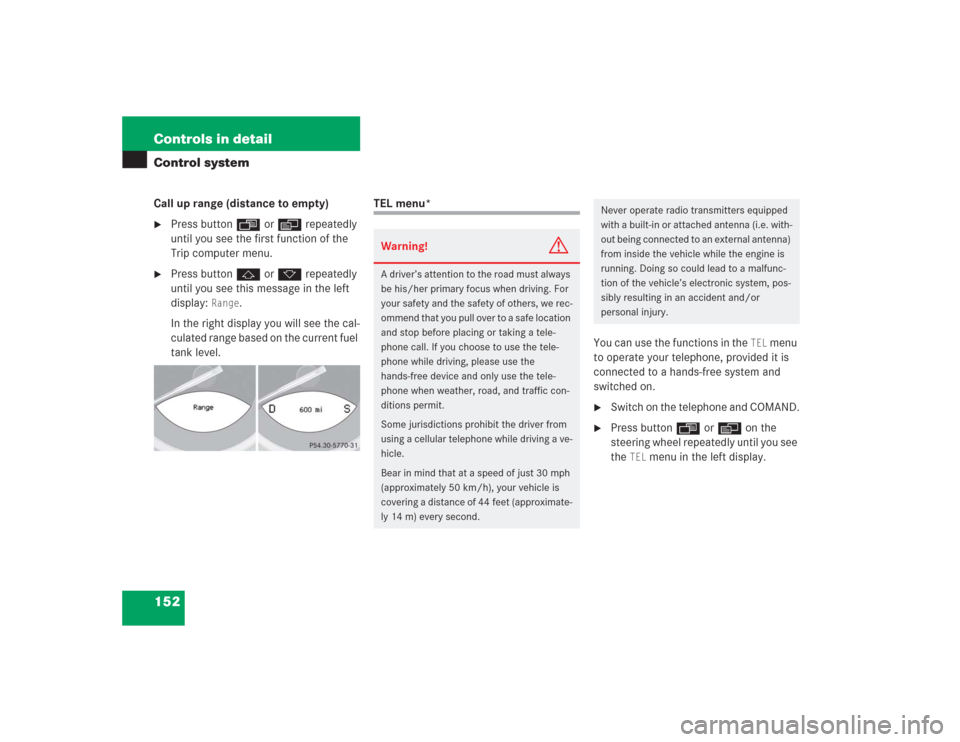
In the right display you will see the cal-
culated range based on the current fuel
tank level.
TEL menu*
You can use the functions in the
TEL
menu
to operate your telephone, provided it is
connected to a hands-free system and
switched on.
�
Switch on the telephone and COMAND.
�
Press button ÿ or è on the
steering wheel repeatedly until you see
the
TEL
menu in the left display.
Warning!
G
A driver’s attention to the road must always
be his/her primary focus when driving. For
your safety and the safety of others, we rec-
ommend that you pull over to a safe location
and stop before placing or taking a tele-
phone call. If you choose to use the tele-
phone while driving, please use the
hands-free device and only use the tele-
phone when weather, road, and traffic con-
ditions permit.
Some jurisdictions prohibit the driver from
using a cellular telephone while driving a ve-
hicle.
Bear in mind that at a speed of just 30 mph
(approximately 50 km/h), your vehicle is
covering a distance of 44 feet (approximate-
ly 14 m) every second.
Never operate radio transmitters equipped
with a built-in or attached antenna (i.e. with-
out being connected to an external antenna)
from inside the vehicle while the engine is
running. Doing so could lead to a malfunc-
tion of the vehicle’s electronic system, pos-
sibly resulting in an accident and/or
personal injury.
Page 154 of 434
153 Controls in detail
Control system
Which messages will appear in the right
display field depends on whether your tele-
phone is switched on or off:�
If the telephone is off, the message in
the multifunction display is:
TEL Off
.
�
If the telephone is on:
The telephone will then search for a
network. During this time the right dis-
play is empty.
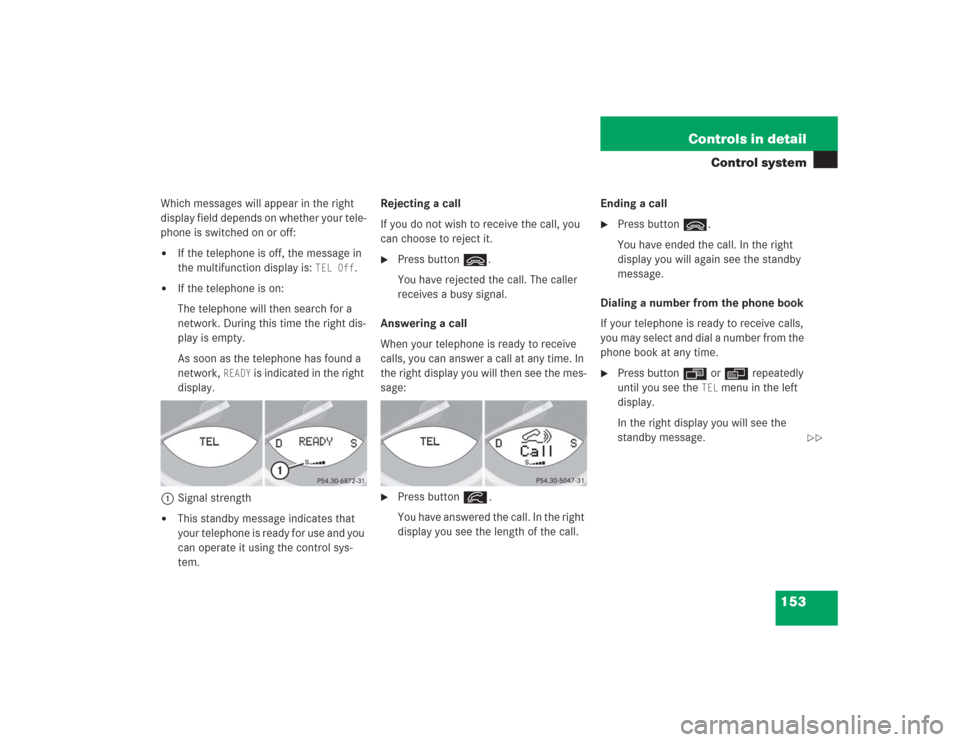
As soon as the telephone has found a
network,
READY
is indicated in the right
display.
1Signal strength
�
This standby message indicates that
your telephone is ready for use and you
can operate it using the control sys-
tem.Rejecting a call
If you do not wish to receive the call, you
can choose to reject it.
�
Press button ì.
You have rejected the call. The caller
receives a busy signal.
Answering a call
When your telephone is ready to receive
calls, you can answer a call at any time. In
the right display you will then see the mes-
sage:
�
Press button í.
You have answered the call. In the right
display you see the length of the call.Ending a call
�
Press button ì.
You have ended the call. In the right
display you will again see the standby
message.
Dialing a number from the phone book
If your telephone is ready to receive calls,
you may select and dial a number from the
phone book at any time.
�
Press button ÿ or è repeatedly
until you see the
TEL
menu in the left
display.
In the right display you will see the
standby message.
��
Page 155 of 434
154 Controls in detailControl system�
Press button j or k.
The control system reads the phone
book which is stored in the telephone.
This may take up to 30 seconds. In the
right display you will see the message Please wait!
.
When the message
Please wait!
dis-
appears, the phone book has been
loaded.
�
Press button j or k repeatedly
until the desired name appears in the
right display.
The stored names are displayed in
ascending or descending alphabetical
order.
�
Press button ì.
The system dials the selected phone
number.
�
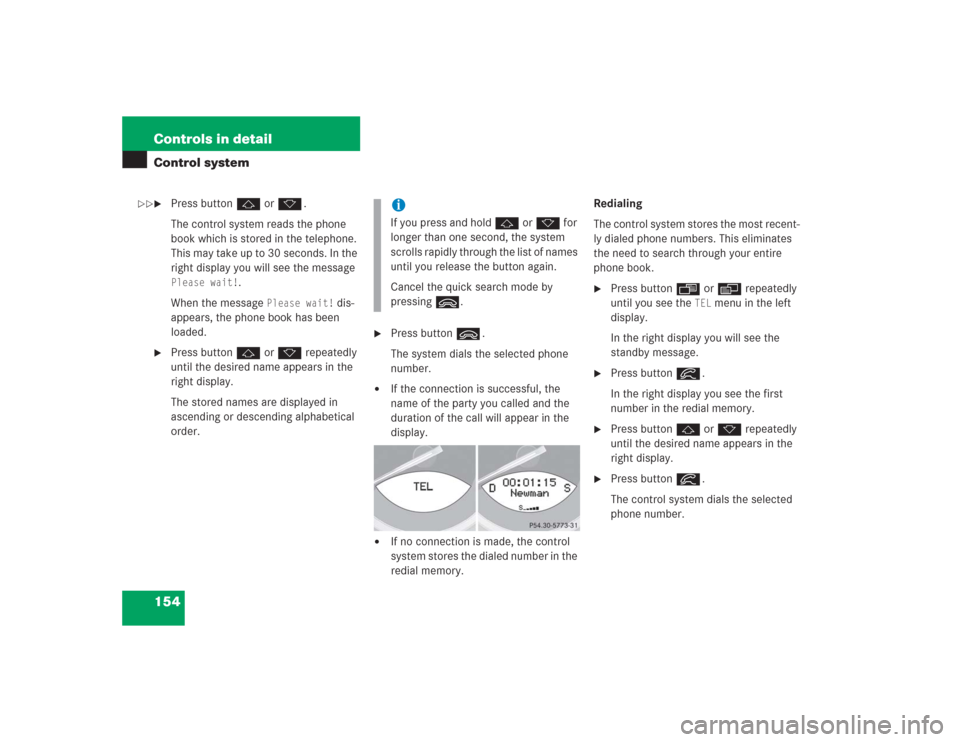
If the connection is successful, the
name of the party you called and the
duration of the call will appear in the
display.
�
If no connection is made, the control
system stores the dialed number in the
redial memory. Redialing
The control system stores the most recent-
ly dialed phone numbers. This eliminates
the need to search through your entire
phone book.
�
Press button ÿ or è repeatedly
until you see the
TEL
menu in the left
display.
In the right display you will see the
standby message.
�
Press button í.
In the right display you see the first
number in the redial memory.
�
Press button j or k repeatedly
until the desired name appears in the
right display.
�
Press button í.
The control system dials the selected
phone number.
iIf you press and hold j or k for
longer than one second, the system
scrolls rapidly through the list of names
until you release the button again.
Cancel the quick search mode by
pressing ì.
��
Page 161 of 434
160 Controls in detailAutomatic transmissionSteering wheel gearshift control (Speedshift) SL 55 AMG
You can change the gears manually on the
steering wheel or by using the gear
selector lever (
�page 156).
Allow engine to warm up under low load
use. Do not place full load on the engine
until the operating temperature has been
reached. Shift into reverse gear only when
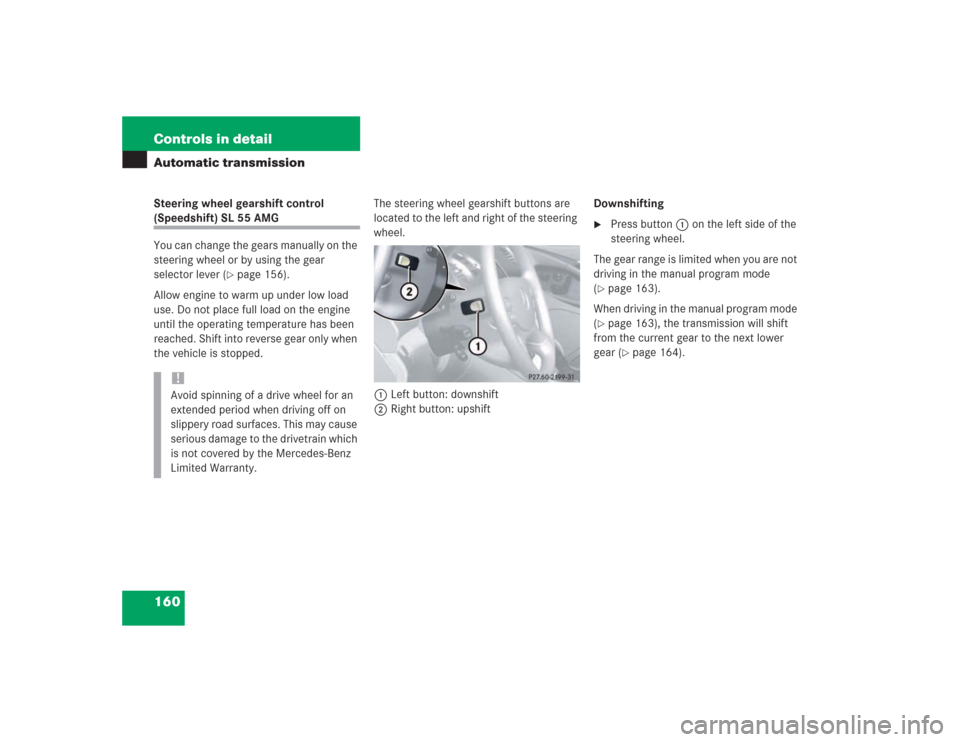
the vehicle is stopped.The steering wheel gearshift buttons are
located to the left and right of the steering
wheel.
1Left button: downshift
2Right button: upshiftDownshifting
�
Press button1 on the left side of the
steering wheel.
The gear range is limited when you are not
driving in the manual program mode
(
�page 163).
When driving in the manual program mode
(�page 163), the transmission will shift
from the current gear to the next lower
gear (
�page 164).
!Avoid spinning of a drive wheel for an
extended period when driving off on
slippery road surfaces. This may cause
serious damage to the drivetrain which
is not covered by the Mercedes-Benz
Limited Warranty.
Page 162 of 434
161 Controls in detail
Automatic transmission
Upshifting�
Press button2 on the right side of the
steering wheel.
The gear range is extended when you are
not driving in the manual program mode
(
�page 163).
When driving in the manual program mode
(�page 163), the transmission will shift
from the current gear to the next higher
gear (
�page 164).
Program mode selector switch
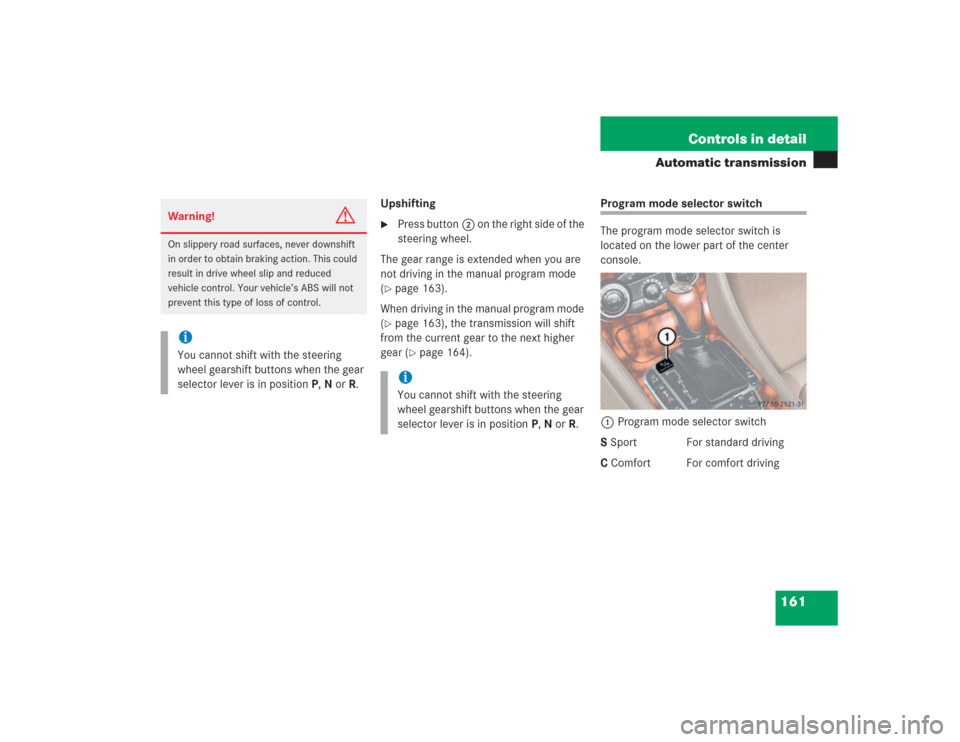
The program mode selector switch is
located on the lower part of the center
console.
1Program mode selector switch
S Sport For standard driving
C Comfort For comfort driving
Warning!
G
On slippery road surfaces, never downshift
in order to obtain braking action. This could
result in drive wheel slip and reduced
vehicle control. Your vehicle’s ABS will not
prevent this type of loss of control.iYou cannot shift with the steering
wheel gearshift buttons when the gear
selector lever is in positionP,N orR.
iYou cannot shift with the steering
wheel gearshift buttons when the gear
selector lever is in positionP,N orR.
Page 165 of 434
164 Controls in detailAutomatic transmissionDownshifting�
Briefly press the gear selector lever to
the left in theD-direction
(�page 156).
or
�
Press button1 on the left side of the
steering wheel (
�page 160).
The transmission shifts to the next
lower gear.Upshifting
�
Briefly press the gear selector lever to
the right in theD+direction
(�page 156).
or
�
Press button2 on the right side of the
steering wheel (
�page 160).
The transmission shifts to the next
higher gear.Kickdown
The kickdown can also be used for
maximum acceleration when driving in the
manual program mode.
�
Press the accelerator past the point of
resistance.
The transmission shifts to a lower gear.
�
Shift up once the desired speed has
been reached.
Warning!
G
On slippery road surfaces, never downshift
in order to obtain braking action. This could
result in drive wheel slip and reduced
vehicle control. Your vehicle’s ABS will not
prevent this type of loss of control.
iWhen driving at full throttle, the trans-
mission shifts to the next higher gear
when maximum engine speed has been
reached.
When you brake or stop, the transmis-
sion shifts down to a gear from which
you can easily accelerate or take off.
Page 168 of 434
167 Controls in detail
Good visibility
Activating exterior rear view mirror
parking position
Follow these steps to activate the mirror
parking position so that the passen-
ger-side exterior rear view mirror will be
turned downward to the stored position.�
Make sure you have stored a parking
position for the passenger-side exterior
rear view mirror (
�page 115).
�
Make sure the
Mirror setting when
parking
function in the
Convenience
submenu of the control system is
switched to
ON (�page 149).
�
Switch on ignition (if not already on).
�
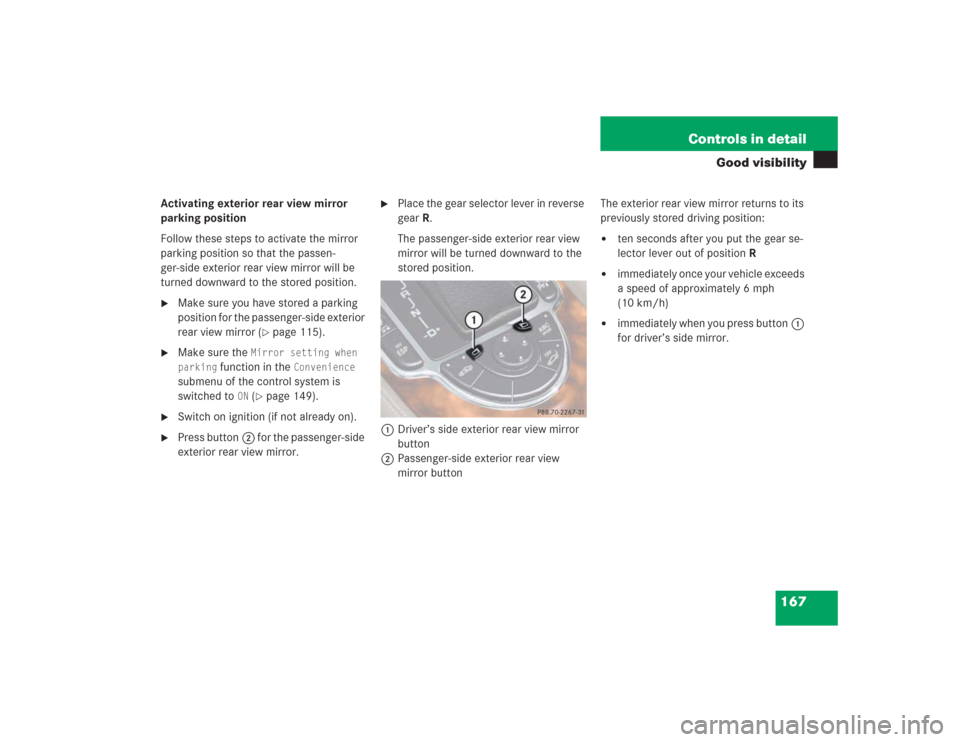
Press button2 for the passenger-side
exterior rear view mirror.
�
Place the gear selector lever in reverse
gearR.
The passenger-side exterior rear view
mirror will be turned downward to the
stored position.
1Driver’s side exterior rear view mirror
button
2Passenger-side exterior rear view
mirror buttonThe exterior rear view mirror returns to its
previously stored driving position:
�
ten seconds after you put the gear se-
lector lever out of positionR
�
immediately once your vehicle exceeds
a speed of approximately 6 mph
(10 km/h)
�
immediately when you press button1
for driver’s side mirror.
Page 174 of 434
173 Controls in detail
Automatic climate control
Decreasing�
Turn the outer adjustment ring slightly
to the left.
The automatic climate control system
will correspondingly adjust the interior
air temperature.
Adjusting the temperature for center
and side air vents
When outside temperatures are low, you
can manually raise the air temperature for
the center and side air vents. The
controls3 are located between the cen-
ter air vents (
�page 170).
Turning on warm air
�
Press the left button (red).
The indicator lamp on the button
comes on. Warm air will enter from the
center and side air vents.Turning off warm air
�
Press the left button (red).
The indicator lamp on the button goes
out. The air from the outlets will return
to the temperature set in the system.
Turning on cooler air
�
Press the right button (blue).
The indicator lamp on the button
comes on. Cooler air will enter from the
center and side air vents.
Turning off cooler air
�
Press the right button (blue).
The indicator lamp on the button goes
out. The air from the outlets will return
to the temperature set in the system.
Adjusting air volume
Use air volume controla (
�page 171) for
both automatic and manual air volume ad-
justment.
Adjusting manually
�
Press the control knob.
The U light on the control knob
goes out. You can now select one of
nine air volume settings.
Adjusting automatically
�
Press the control knob.
The U light on the control knob
comes on. The airflow is adjusted auto-
matically.