Page 9 of 243

2 IntroductionSymbols
� SymbolsYou will find the following symbols in these
operating instructions:
* The asterisk identifies optional
equipment. Since not all models
have the same standard equip-
ment, your COMAND system equip-
ment may deviate from some
descriptions and illustrations.
�
This symbol points to instructions for
you to follow.
�
A number of these symbols appearing
in succession indicates a multiple-step
procedure.
The continuation symbol
marks an interrupted proce-
dure which will be continued
on the next page.
(
�page 3) This symbol tells you where
to look for further infor-
mation on this subject.
-> This symbol is used in the
glossary. It indicates that
the term immediately follo-
wing the symbol is also exp-
lained in the glossary.
Display
Words appearing in the mul-
tifunction display are prin-
ted in the type shown here.
Warning
G
Warning notices draw your attention to ha-
zards that may endanger your health or life,
or the health or life of others.!Highlights hazards that may result in
damage to your COMAND.iHelpful hints or further information you
may find useful.
��
Page 15 of 243

8 At a glanceCOMAND control unit
Function
Page
g
General:
Altering or deleting
entries
CD operation:
Deleting a CD name
Telephone:
Altering or deleting the
unlock code or a tele-
phone number
19
57
101
h
Turn to highlight a func-
tion or a menu field
Press to start a function
or activate a submenu
j
Turn to adjust the volu-
me of �
Audio source
�
Hands-free operation
of the telephone
�
Voice output during
route guidance
Press to repeat the cur-
rent voice output
14
k
Radio operation:
Automatic seek tuning
Manual tuning
CD operation:
Track select
Fast forward/reverse
30
31
51
53
l
Switching satellite radio
operation on
Quick reference
74
70
Function
Page
m
Requesting and dis-
playing Info Services
Adjusting system set-
tings
202
205
n
Switching radio operati-
on on
Quick reference
Changing the radio band
28
24
29
o
Switching CD operation
on
Quick reference
50
42
p
Switching telephone
operation on
Quick reference
96
92
q
Color screen, e.g. with
main radio menu
14
Function
Page
Page 25 of 243

18 At a glanceQuick reference COMANDBegin dialing�
When the “Send” button is highlighted,
press the right-hand rotary/push-
button v to confirm your input.
Dialing will begin. If the phone number
together with a name is stored in the
phone book, the name appears on the
screen.
Conducting a call
When the call is answered, the call time ap-
pears in the screen.
Ending a call
�
Press the right-hand rotary/push-but-
ton v to confirm the “End” button.
Switching another system on
�
Press any system key, e.g. b.
COMAND switches to the navigation
system.
You will find more information in chapter
“Telephone” (
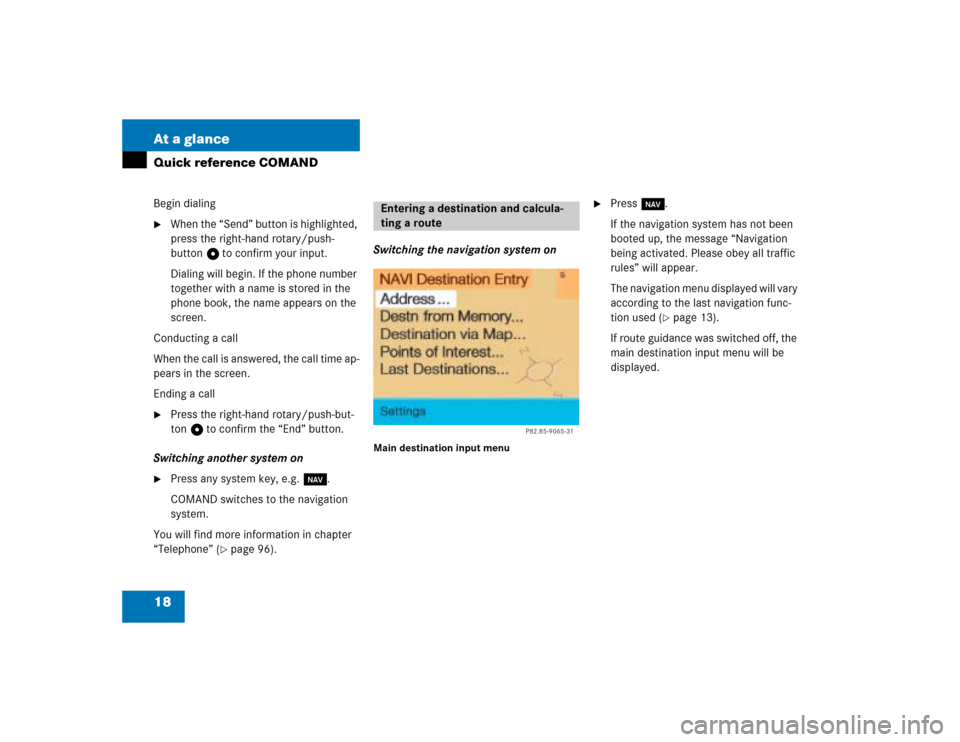
�page 96).Switching the navigation system on
Main destination input menu
�
Press b.
If the navigation system has not been
booted up, the message “Navigation
being activated. Please obey all traffic
rules” will appear.
The navigation menu displayed will vary
according to the last navigation func-
tion used (
�page 13).
If route guidance was switched off, the
main destination input menu will be
displayed.
Entering a destination and calcula-
ting a route
P82.85-9065-31
Page 26 of 243

19 At a glance
Quick reference COMAND
Entering destination address�
Press the right-hand rotary/push-
button v in the main destination input
menu and confirm “Address...”.
The main address menu will appear.
The entry behind “City...” is either
empty or the city you last entered will
appear.
“City/Suburb Entry” input menu�
Press the right-hand rotary/push-but-
ton v in the main address menu and
confirm “City...”.
The “City/Suburb Entry” input menu
will appear.
Adopting the city last selected
�
Press the right-hand rotary/push-
button v longer than 2 seconds.Entering a city
�
Turn the right-hand rotary/push-
button v to highlight the first letter
and press to confirm.
�
Enter other characters until the desired
city appears in the input line.
Correcting entry
�
Last character�
Press r briefly.
�
Complete entry�
Press r longer than 2 seconds.
Activating the city list
�
Press the right-hand rotary/push-
button v longer than 2 seconds until
the city list appears.
P82.85-9066-31
P82.85-9067-31
Page 29 of 243

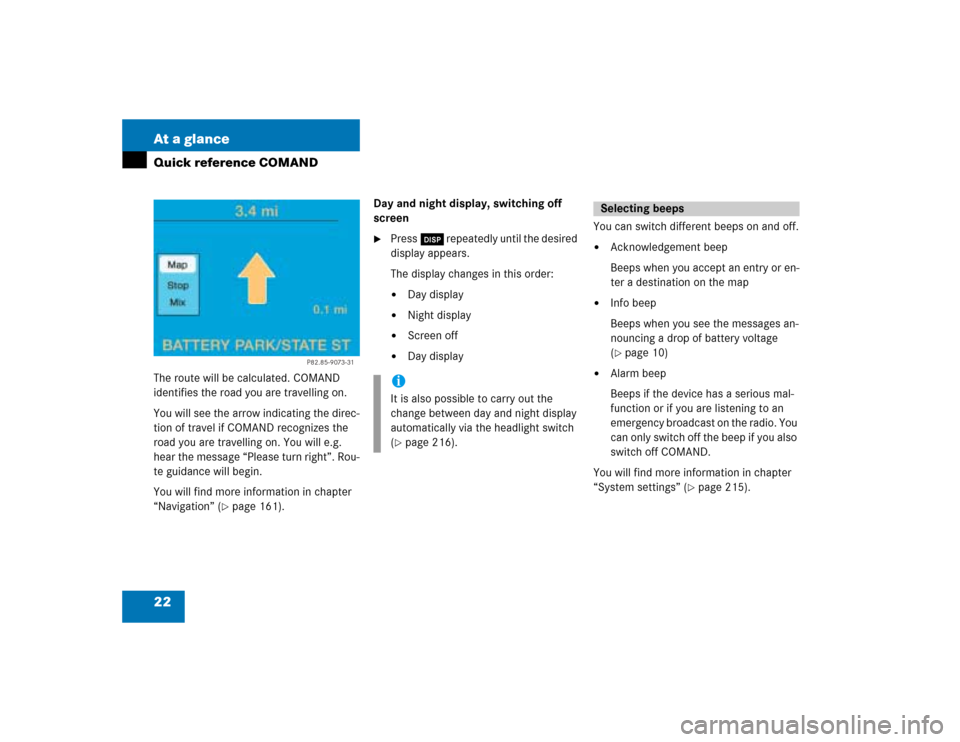
22 At a glanceQuick reference COMANDThe route will be calculated. COMAND
identifies the road you are travelling on.
You will see the arrow indicating the direc-
tion of travel if COMAND recognizes the
road you are travelling on. You will e.g.
hear the message “Please turn right”. Rou-
te guidance will begin.
You will find more information in chapter
“Navigation” (
�page 161).Day and night display, switching off
screen
�
Press Ä repeatedly until the desired
display appears.
The display changes in this order: �
Day display
�
Night display
�
Screen off
�
Day displayYou can switch different beeps on and off.
�
Acknowledgement beep
Beeps when you accept an entry or en-
ter a destination on the map
�
Info beep
Beeps when you see the messages an-
nouncing a drop of battery voltage
(�page 10)
�
Alarm beep
Beeps if the device has a serious mal-
function or if you are listening to an
emergency broadcast on the radio. You
can only switch off the beep if you also
switch off COMAND.
You will find more information in chapter
“System settings” (
�page 215).
P82.85-9073-31
iIt is also possible to carry out the
change between day and night display
automatically via the headlight switch
(�page 216).
Selecting beeps
Page 32 of 243
25 Audio
Radio operation
Function
Page
1
Switching COMAND on
and off
12
2
Muting the radio audio
(muting on/off)
28
3
Selecting a station via
number keypad (presets)
Selecting a station via di-
rect frequency entry
Saving a station
Selecting a station from
the preset menu FM/AM
Selecting a station from
the WB preset menu
32
32
34
38
38
4
Activating the input
mode for station fre-
quency
in the main radio menu
in the presets
32
39
5
Return to previous menu
6
Turn to highlight a func-
tion or a menu field
Press to perform a func-
tion or access a subme-
nu
7
Adjusting the volume
14
8
Automatic seek tuning
ascending/descending
Manual tuning ascen-
ding/descending
30
31
9
Requesting and dis-
playing Info Services
Adjusting system set-
tings
202
205
a
Switching to radio opera-
tion
28
b
Color screen with main
radio menu
Function
Page
Page 36 of 243

29 Audio
Radio operation
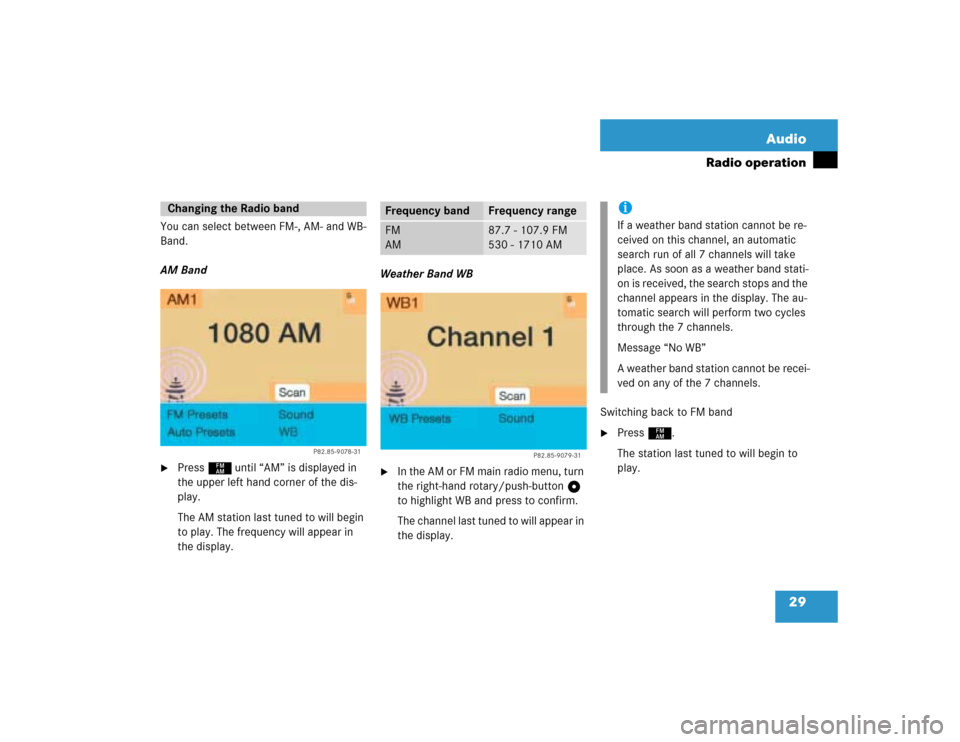
You can select between FM-, AM- and WB-
Band.
AM Band�
Press c until “AM” is displayed in
the upper left hand corner of the dis-
play.
The AM station last tuned to will begin
to play. The frequency will appear in
the display.Weather Band WB
�
In the AM or FM main radio menu, turn
the right-hand rotary/push-button v
to highlight WB and press to confirm.
The channel last tuned to will appear in
the display.Switching back to FM band
�
Press c.
The station last tuned to will begin to
play.
Changing the Radio band
P82.85-9078-31
Frequency band
Frequency range
FM
AM
87.7 - 107.9 FM
530 - 1710 AM
P82.85-9079-31
iIf a weather band station cannot be re-
ceived on this channel, an automatic
search run of all 7 channels will take
place. As soon as a weather band stati-
on is received, the search stops and the
channel appears in the display. The au-
tomatic search will perform two cycles
through the 7 channels.
Message “No WB”
A weather band station cannot be recei-
ved on any of the 7 channels.
Page 38 of 243
31 Audio
Radio operation
Seek tuning at the multifunction stee-
ring wheel
If the multifunctional display shows the
station frequency, then:�
Press F or G to select a higher/
lower frequency preset.Manual tuning (FM, AM)
�
Press g or h on the rocker
switch longer than 2 seconds.
The menu fields will appear in light grey
lettering.FM Band
The frequency displayed will change in in-
crements of 0.2 MHz.
AM Band
Tuning will take place in increments of
10 kHz.
iThe up/down arrows have different
functions depending on which mode the
seek function in the multifunction dis-
play is programmed to.
The two available options are Memory
Scan or Frequency Scan (Station
search). Refer to the vehicle operator’s
manual on how to program this option.
P82.85-9081-31
iActivating the AM Band (
�page 29).