Page 124 of 243

117 Telephone*
Telephone operation
Changing a name
4Phone book entry selected
5Character list
6The character selected appears
magnified
7Confirming the changed entry
8Deleting the entry�
Turn the right-hand rotary/push-button
v to highlight the desired phone book
entry and press to confirm.
An input menu appears.
�
Turn the right-hand rotary/push-button
v to highlight the desired letters one
by one and press to confirm.
The name will appear in the input line.
The input cursor indicates the current
input position.
Correcting an input
Deleting the last digit
�
Press r briefly.
Deleting the whole entry
�
Press r longer than 2 seconds.Input with number keys
�
Select a character by pressing the key
as listed below the corresponding num-
ber of times.
P82.85-9145-31
4
5
6
7
8
iYou can enter up to 20 characters.iYou can also select characters using the
number keys. Each number key has
more than one assignment. See table.
Key
Character
1
,
.
-
1
:
‘
/
2
A
B
C
2
3
D
E
F
3
4
G
H
I
4
5
J
K
L
5
6
M
N
O
6
7
P
Q
R
S
7
8
T
U
V
8
9
W
X
Y
Z
9
0
0
u
Blank
Page 125 of 243

118 Telephone*Telephone operationThe selected character is automatically ad-
opted in the input line after 2 seconds
or�
Press t or turn the right-hand rotary/
push-button v.
Storing changed names
Use one of these ways
�
Turn the right-hand rotary/push-button
v until “Apply” is highlighted and
press to confirm.
or
�
Press the right-hand rotary/push-
button v longer than 2 seconds to
confirm the last letter of the name.
Now change the phone number.
If you do not wish to save the changes
�
Press *.Changing a telephone number
9Current name or name previously chan-
ged (light brown)
appears only if you have entered a
name for the telephone number
aInput line, highlighted when activated
bStores a telephone number in the pho-
ne bookEntering a telephone number
�
Press the number keys 1 through 0,
u and t.
The telephone number appears in a.
Correcting input
�
Deleting last digit�
Press r briefly.
�
Deleting the whole entry�
Press r longer than 2 seconds.
Storing the phone number in the phone
book
�
Turn the right-hand rotary/push-button
v until b is highlighted and press to
confirm.
The main telephone menu will appear.
P82.85-9146-31
910
11
Page 126 of 243
119 Telephone*
Telephone operation
Deleting an entry in the phone book
1Name and telephone number of the
entry to be deleted (light brown)
2Query (light brown)
3COMAND will delete the entry from the
phone book
4The entry remains in the phone book
�
Turn the right-hand rotary/push-button
v to highlight “Delete” in the input
menu (
�page 117) and press to con-
firm.
The query 2 appears. “Yes” is high-
lighted.
�
Press the right-hand rotary/push-
button v and confirm “Yes”.
The main telephone menu appears. The
entry is deleted.
If you don't want to delete the entry:
�
Turn the right-hand rotary/push-button
v to highlight “No” and press to con-
firm.
The phone book list will appear. Adding an entry to the phone book
Entering a name
1Input line
2Transfers name
P82.85-9147-31
3
4
1
2
P82.85-9148-31
1
2
Page 127 of 243
, turn the right-hand rota-
ry/push-button v until “Add an ent-
ry...” is highlighted and press to
confirm.
An input men")
120 Telephone*Telephone operation�
While in the selection menu
(�page 116), turn the right-hand rota-
ry/push-button v until “Add an ent-
ry...” is highlighted and press to
confirm.
An input menu will appear.
�
Turn the right-hand rotary/push-button
v until the desired character is high-
lighted and press to confirm.
�
Repeat this action.
The name will appear in the input line.
Confirm the name as described under
“Storing changed names”
(�page 118).
�
Now change the phone number.
Correcting an input (
�page 117). Entering and storing a telephone num-
ber
3Previously entered name
4Input line for phone number, entering
phone number with numeric keys 1 to
0, keyu and key t
5COMAND stores the phone number
�
Press the right-hand rotary/push-
button v to confirm the input.
COMAND stores the phone number
and the main telephone menu will ap-
pear.
Storing a phone number in the note-
book
�
While in the “Phone book” selection
menu (
�page 116), turn the right-hand
rotary/push-button v to highlight
“Copy notebook...” and press to con-
firm.
�
Now you can enter a new name and
phone number or edit an existing entry,
and store the entry.
P82.85-9149-31
3
4
5
Page 134 of 243
127 Telephone*
Service numbers
�
Turn the right-hand rotary/push-button
v to highlight “Change 1” in the
“Service No.” menu and press to con-
firm.
The “Change Service No. 1” menu will
appear.
�
Enter the new service number with
number keys 1 through 0.
�
Press the right-hand rotary/push-
button v to confirm the service num-
ber.
The new service number is now stored
in the “Service No.” menu.
Returning to the menu “Service No.”
The menu “Service No.” will appear auto-
matically after 7 seconds
or
�
Press *.
Changing personal service number
P82.85-9157-31
iPressing the right-hand rotary/push-
button v and inserting an empty input
line will delete the personal service
number.
Page 136 of 243
129 Navigation
Important notes
Quick reference
Destination input
Route guidance
Destination memory
Settings
Page 145 of 243
138 NavigationDestination input
� Destination input
Menu overview
1
234
67
P82.85-9160-31
5
Page 146 of 243
139 Navigation
Destination input
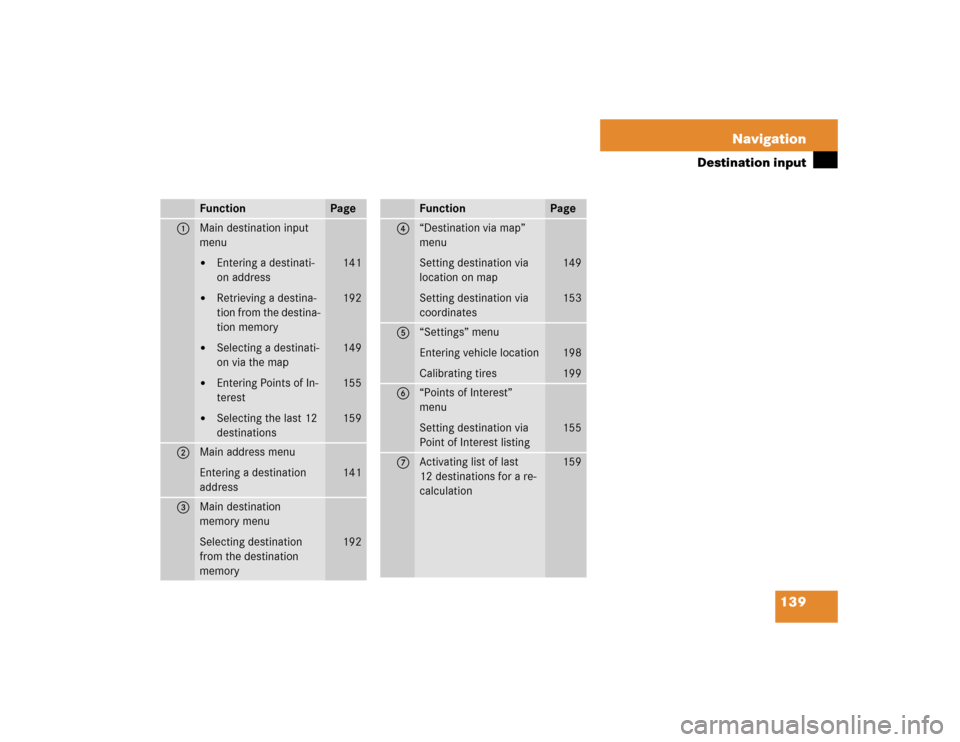
Function
Page
1
Main destination input
menu�
Entering a destinati-
on address
�
Retrieving a destina-
tion from the destina-
tion memory
�
Selecting a destinati-
on via the map
�
Entering Points of In-
terest
�
Selecting the last 12
destinations
141
192
149
155
159
2
Main address menu
Entering a destination
address
141
3
Main destination
memory menu
Selecting destination
from the destination
memory
192
4
“Destination via map”
menu
Setting destination via
location on map
Setting destination via
coordinates
149
153
5
“Settings” menu
Entering vehicle location
Calibrating tires
198
199
6
“Points of Interest”
menu
Setting destination via
Point of Interest listing
155
7
Activating list of last
12 destinations for a re-
calculation
159
Function
Page

2Query (light brown)
3COMAND will delete the entry from the")