Page 1289 of 4264
ENGINE COOLING 6B – 9
� After tightening radiator cap, warm up the engine at about
2000 rpm. Set heater adjustment to the highest temperature
position, and let the coolant circulate also into heater wate
r
system.
� Check to see the thermostat has opened through the
needle position of water thermometer, conduct a 5–minute
idling again and stop the engine.
� When the engine has been cooled, check filler neck fo
r
water level and replenish if required. Should extreme
shortage of coolant is found, check the cooling system and
reservoir tank hose for leakage.
� Pour coolant into the reservoir tank up to “MAX" line.
Page 1290 of 4264

6B – 10 ENGINE COOLING
WATER PUMP
REMOVAL AND INSTALLATION
Read this Section carefully before performing any removal and installation procedure. This Section gives you
important points as well as the order of operation. Be sure that you understand everything in this Section before you
begin.
Removal
1. Radiator Upper Hose
1) Partially drain the engine coolant.
2) Remove the radiator upper hose.
031R300003
2. Water Outlet Pipe
1) Disconnect the turbocharger-cooling pipe from outlet pipe.
2) Loosen the fixing bolt and remove the water outlet bolt.
3. Thermostat
Remove the thermostat from the thermostat housing.
Take care not to damage the thermostat.
4. Upper Fan Shroud
5. Fan and Fan Clutch 1) Loosen the fan clutch nuts.
2) Remove the fan together with the fan clutch. Take care not to damage the radiator core.
6. Fan Drive Belt and Pulley
1) Loosen the tension adjust bolt on the generator.
2) Remove the fan drive belt with the fan pulley.
030R300001 7. Water Pump
1) Remove the water pump bolts.
2) Remove the water pump.
030R300002
Page 1292 of 4264
6B – 12 ENGINE COOLING
031R300003
5. Thermostat
Install the thermostat to the thermostat housing.
6. Water Outlet Pipe
1) Install the water outlet pipe with new gasket to the thermostat housing.
2) Tighten the outlet pipe bolt to specified torque.
Outlet Pipe Bolt Torque N ·m(kg ·m/lb ft)
19(1.9/14)
3) Connect the turbocharger-cooling pipe to outlet pipe.
7. Radiator Upper Hose
1) Connect the radiator upper hose to the water outlet pipe.
2) The knob of clamp shall be dircted to holizonal side.
3) Replenish the engine coolant.
Page 1293 of 4264

ENGINE COOLING 6B – 13
THERMOSTAT
REMOVAL AND INSTALLATION
Read this Section carefully before performing any removal and installation procedure. This Section gives you
important points as well as the order of operation. Be sure that you understand everything in this Section before you
begin.
Removal
1. Radiator Upper Hose
1) Partially drain the engine coolant.
2) Remove the radiator upper hose.
2. Water Outlet Pipe 3) Disconnect the turbocharger-cooling pipe from outlet pipe.
4) Loosen the fixing bolt and remove the water outlet bolt.
3. Thermostat
Remove the thermostat from the thermostat housing.
Take care not to damage the thermostat.
031R300003
Inspection and Repair
Make the necessary adjustments, repairs, and part
replacements if excessive wear or damage is discovered
during inspection.
031RY00005
Operating Test of Thermostat
1. Completely submerge the thermostat in water.
2. Heat the water. Stir the water constantly to avoid direct heat being
applied to the thermostat.
3. Check the thermostat initial opening temperature.
Thermostat Initial Opening Temperature �C ( �F)
82 (180)
4. Check the thermostat full opening temperature.
Thermostat Full Opening Temperature �C ( �F)
95 (203)
Valve Lift At Fully Open Position mm (in)
9.5 (0.37)
Page 1294 of 4264
6B – 14 ENGINE COOLING
� Thermometer
� Agitating rod
� Wooden piece
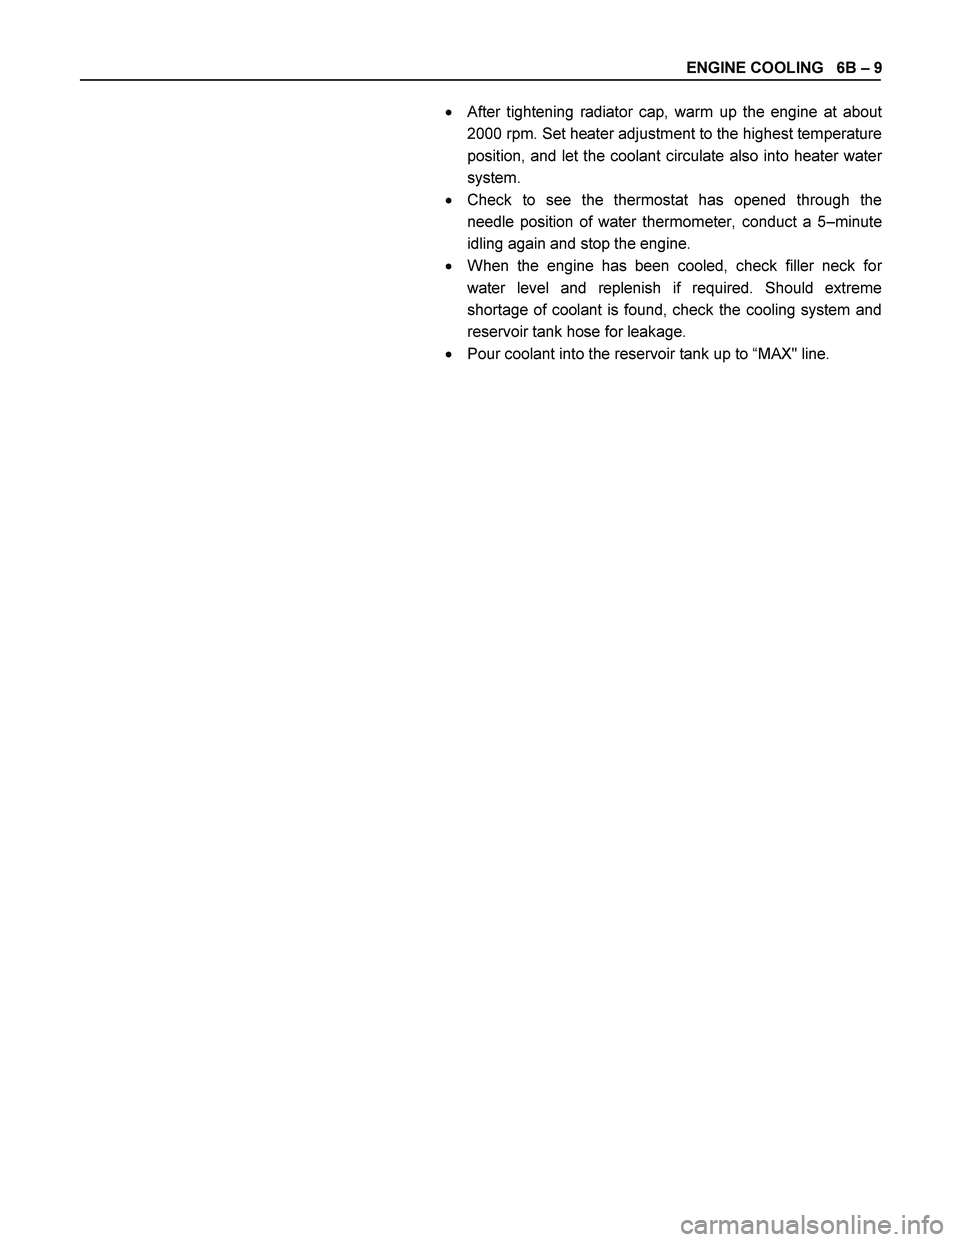
Installation
1. Thermostat
Install the thermostat to the thermostat housing.
2. Water Outlet Pipe
3) Install the water outlet pipe with new gasket to the thermostat housing.
4) Tighten the outlet pipe bolt to specified torque.
Outlet Pipe Bolt Torque N ·m(kg ·m/lb ft)
19(1.9/14)
5) Connect the turbocharger-cooling pipe to outlet pipe.
031R300003
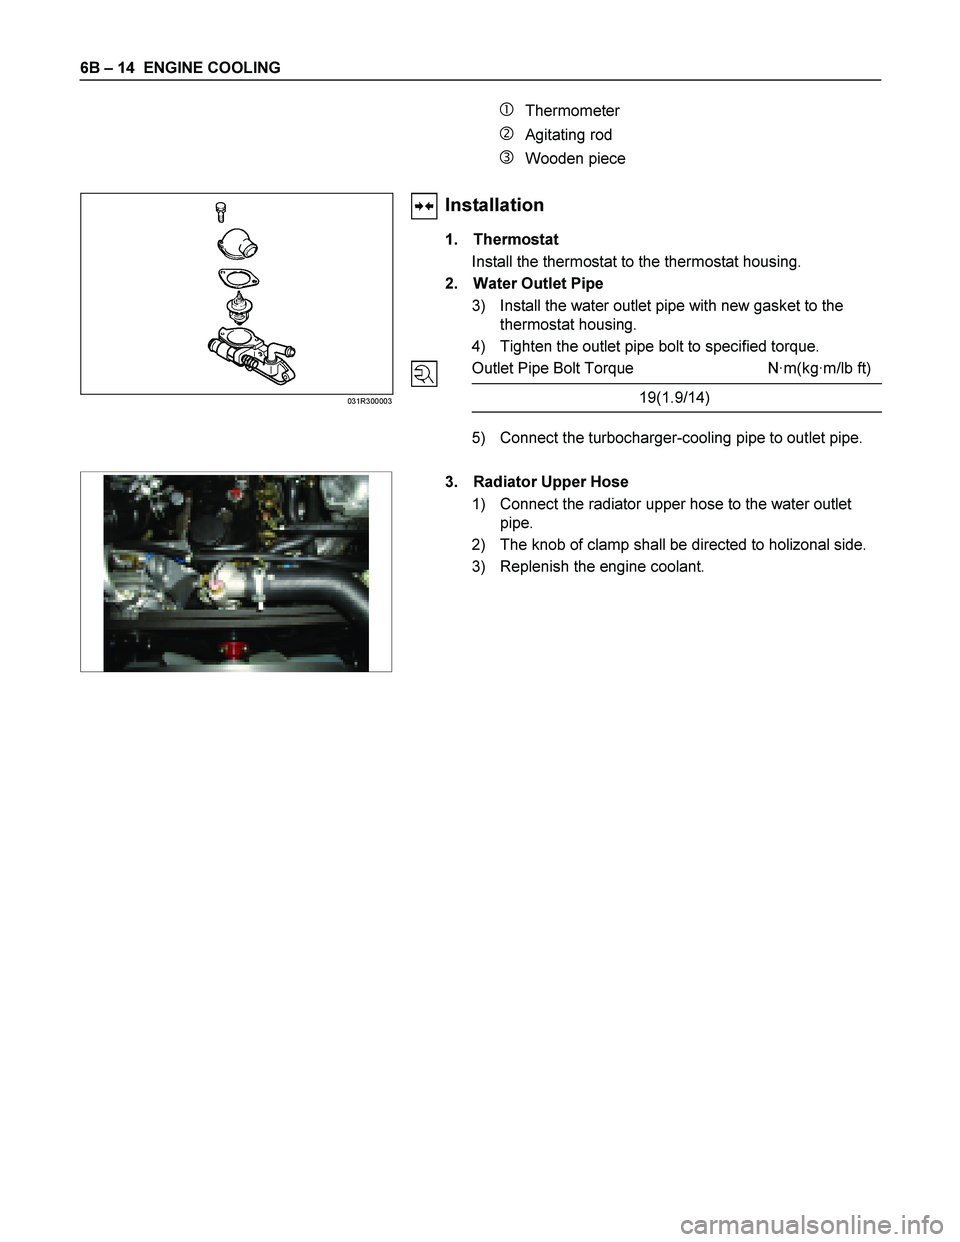
3. Radiator Upper Hose
1) Connect the radiator upper hose to the water outlet pipe.
2) The knob of clamp shall be directed to holizonal side.
3) Replenish the engine coolant.
Page 1295 of 4264
ENGINE COOLING 6B – 15
RADIATOR
REMOVAL AND INSTALLATION
Radiator and Associated Parts
RTW36BLF000101
Legend
1. Radiator Hose
2. Drain Plug
3. Fan Guide, Lower
4. Fan Guide
5. Bracket
6. Reserve Tank Hose
7. Reserve Tank
8. Radiator Cap
9. Radiator Assembly
Page 1296 of 4264
6B – 16 ENGINE COOLING
P1010064
Removal
1. Disconnect battery ground cable.
2. Loosen a drain plug to drain EC.
3. Disconnect oil cooler hose on automatic transmission (A/T).
4. Disconnect radiator inlet hose and outlet hose from the engine.
PTW46BSH000101
5. Remove fan guide(1), clips(2) on both sides and the bottom
lock, then remove lower fan guide(3) with fan shroud(4).
6. Disconnect the reserve tank hose(6) from radiator.
RTW36BMH000101
7. Remove bracket(5).
8. Lift up and remove the radiator assembly with hose, taking
care not to damage the radiator core with a fan blade.
Page 1297 of 4264

ENGINE COOLING 6B – 17
Inspection and Repair
Make the necessary adjustments, repairs, and part
replacements if excessive wear or damage is discovered
during inspection.
Radiator Cap
Measure the valve opening pressure of the pressurizing valve
with a radiator filler cap tester.
Replace the cap if the valve opening pressure is outside the
standard range.
Valve opening pressure kPa (psi) 93.3
�
�� �122.7 (13.5
�
�� �17.8)
Cap tester: 5–8840–0277–0
Adapter: 5–8840–2603–0
Check the condition of the vacuum valve in the center of the
valve seat side of the cap. If considerable rust or dirt is found,
or if the valve seat cannot be moved by hand, clean or replace
the cap.
110RS006
Valve opening vacuum kPa (psi) 1.96 �
�� � 4.91 (0.28 �
�� � 0.71)
Radiator Core
1. A bent fin may result in reduced ventilation and overheating
may occur. All bent fins must be straightened. Pay close
attention to the base of the fin when it is being straightened.
2. Remove all dust, bugs and other foreign material.
Flushing the Radiator
Thoroughly wash the inside of the radiator and the engine
coolant passages with cold water and mild detergent. Remove
all signs of scale and rust.
Cooling System Leakage Check
Use a radiator cap tester to force air into the radiator through
the filler neck at the specified pressure of 196 kPa (28.5 psi)
with a cap tester:
� Leakage from the radiator
� Leakage from the coolant pump
� Leakage from the water hoses
 Install the water outlet pipe with new gasket to the")

.
4. Discon")