2004 BMW 645CI COUPE navigation
[x] Cancel search: navigationPage 81 of 216

Controls
79Reference
At a glance
Driving tips
Communications
Navigation
Entertainment
Mobility
have dropped below the minimum, possi-
bly owing to a leak in the hydraulic system.
Do not continue driving. Contact your BMW
center.<
Flat Tire Monitor
The concept
The Flat Tire Monitor keeps track of the
inflation pressures in the four tires as you
drive. The system provides an alert when-
ever the inflation pressure drops signifi-
cantly in relation to the pressure in another
tire.
The check of the tire inflation pressure is
based on monitoring the relative speeds
of the wheels. A flat tire is detected and
reported on the basis of a deviation in cer-
tain speed ratios.
Functional requirement
To ensure reliable operation, the system
should have been initialized with the cor-
rect tire inflation pressure.
System limits
The Flat Tire Monitor cannot indicate
sudden severe tire damage caused
by outside factors and does not detect a
natural, even pressure drop in all four
tires.<
In the following situations, the system
could be delayed or malfunction:
>When you are driving on snow-covered
or slippery road surfaces
>In the case of performance-oriented
driving: slip on the drive wheels, high
lateral acceleration
>False alarms and undetected loss of
pressure may occur when you are driv-
ing with snow chains fitted
>If the Flat Tire Monitor was not initial-
ized after the last inflation pressure cor-
rection, false alarms indicating a flat tire
that is not present are possible or pres-
sure loss might not be detected.
Initializing system
Perform the initialization immediately
after correcting the inflation pressure,
after changing a tire or changing a wheel or
all wheels. A drive is necessary for this pur-
pose.<
Control Center, for principle details, refer to
page 16:
1.Start the engine, but do not drive off
2.Open the menu
3.Select "Vehicle settings" and press the
controller
4.Select "FTM" and press the controller
5.Select "Set tire pressure" and press the
controller
6.Select "Yes" and press the controller
7.Drive off.
The message "Initializing" is displayed.
It takes a few minutes before the Flat Tire
Monitor can detect and report a flat tire and
"Status: Active" is displayed.
If a flat tire is detected during initialization,
a message appears on the Control Display.
When driving with snow chains, do
not initialize the system.<
Page 83 of 216

Controls
81Reference
At a glance
Driving tips
Communications
Navigation
Entertainment
Mobility
Airbags
The following airbags are located under the
marked covers:
1Front airbags for driver and front pas-
senger
2Coupe: head airbags
3Front side airbags
4Knee airbag for front passenger
5Knee airbag for driver
Protective effect
The front airbags help protect the driver
and front passenger by responding to fron-
tal impacts in which safety belts alone can-
not provide adequate restraint. When
needed, the head and side airbags help
provide protection in the event of a side
impact. The side airbags help restrain the
side of the occupant's upper torso, and the
head airbags help support the head while
also helping provide protection against any
objects penetrating into the passenger
compartment.
The airbags are deliberately not triggered
in every impact situation, e.g. less severe
accidents, certain rollover conditions, or
rear-end collisions.
For information on the correct sitting posi-
tion, refer to page 42.
Even if you adhere to all the instructions
injuries resulting from contact with airbags
cannot be fully excluded, depending on the
circumstances. The ignition and inflation
noise may provoke a mild hearing loss in
extremely sensitive individuals. This effect
is usually only temporary.Do not apply adhesive materials to
the cover panels of the airbags, cover
them or modify them in any other way.
Do not attempt to remove the airbag reten-
tion system from the vehicle. Never modify
or tamper with either the wiring or the indi-
vidual components in the airbag system.
This category includes the upholstery in the
center of the steering wheel, on the instru-
ment panel, the side trim panels on the
doors and on the Coupe the roof pillars
along with the sides of the headliner.
Do not attempt to remove or dismantle the
steering wheel.
Do not touch the individual components
directly after the system has been trig-
gered, because there is a danger of burns.
If you note any indication of system mal-
function, if you desire to have an airbag
deactivated, or if the airbag retention sys-
tem is triggered in response to an accident,
you should always entrust all inspection,
repair and dismantling operations to your
BMW center. Unprofessional attempts to
service the system could lead to failure in
an emergency or undesired airbag activa-
tion, either of which could result in personal
injury.<
Airbag warning information is also provided
on the sun visors.
Page 85 of 216

Controls
83Reference
At a glance
Driving tips
Communications
Navigation
Entertainment
Mobility
Never move the convertible top when
the rollover protection system is
raised.
No changes of any nature may be made to
the individual components of the rollover
protection system and wiring.
Work on the rollover protection system may
only be performed at a BMW center.
Unprofessional attempts to service the sys-
tem can lead to failure or malfunction.
For a system check and to ensure long-
term functioning, you must comply with the
maintenance intervals of the service
requirement display.<
Head-Up Display*
The concept
With the Head-Up Display important infor-
mation is projected into the driver's field of
view, e.g. navigation instructions. This
enables you to take in this information with-
out looking away from the road.
Switching on/off
Ignition key in position 2:
Press the button to activate or deactivate
this system.1Navigation instructions
2Display for cruise control
3Speed
Selecting displays
Control Center, for principle details, refer to
page 16:
1.Press button.
The start menu is opened
2.Press the controller to open the menu
3.Select "Display settings" and press the
controller
4.Select "HUD selection" and press the
controller
5.Select desired information of Head-Up
Display
Page 87 of 216

Controls
85Reference
At a glance
Driving tips
Communications
Navigation
Entertainment
Mobility
Lamps
Parking lamps/low beams
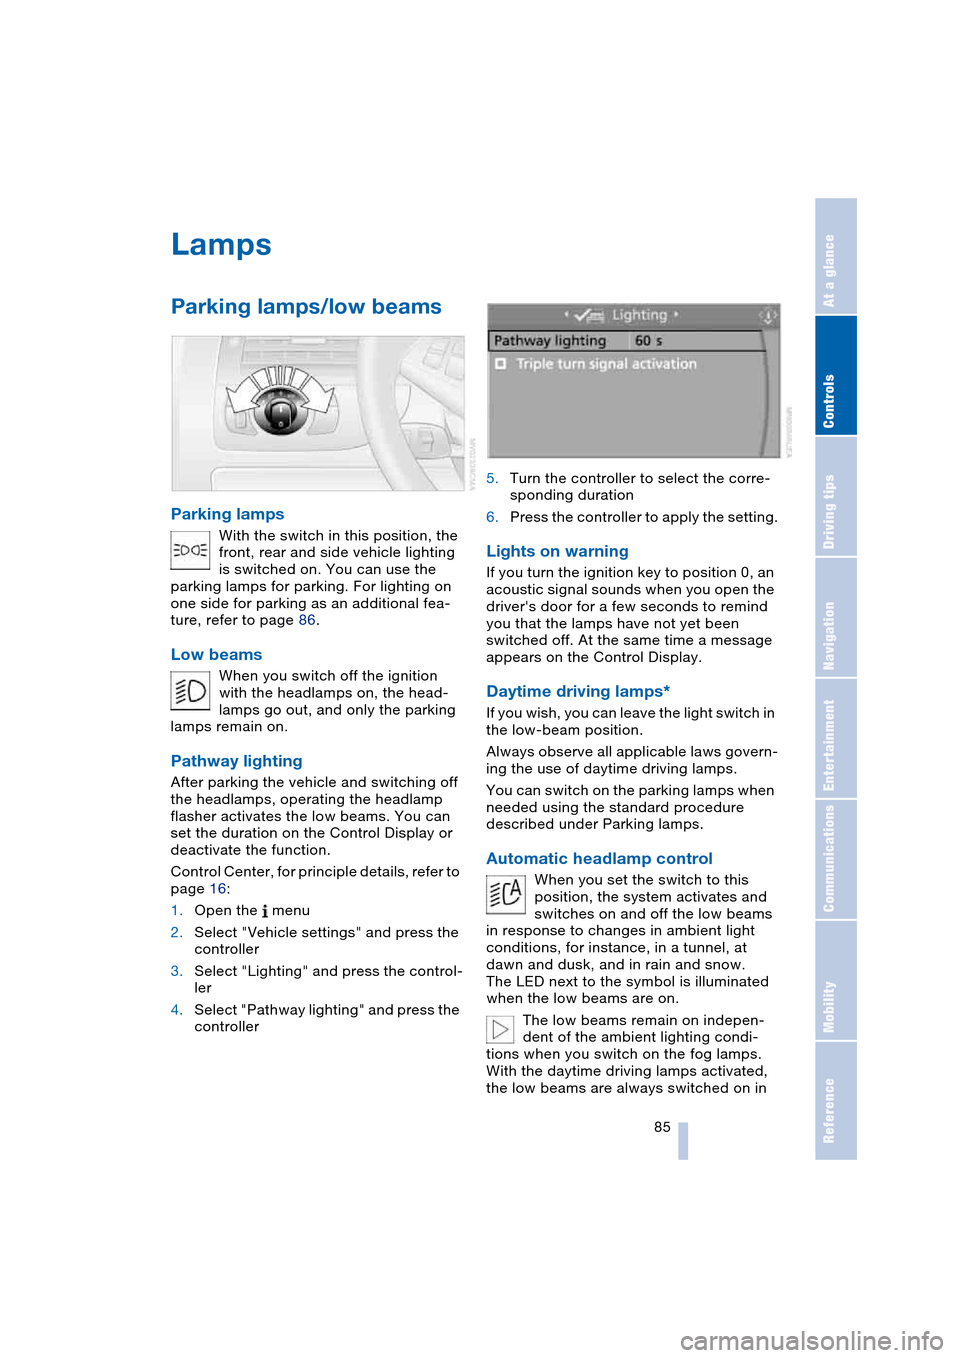
Parking lamps
With the switch in this position, the
front, rear and side vehicle lighting
is switched on. You can use the
parking lamps for parking. For lighting on
one side for parking as an additional fea-
ture, refer to page 86.
Low beams
When you switch off the ignition
with the headlamps on, the head-
lamps go out, and only the parking
lamps remain on.
Pathway lighting
After parking the vehicle and switching off
the headlamps, operating the headlamp
flasher activates the low beams. You can
set the duration on the Control Display or
deactivate the function.
Control Center, for principle details, refer to
page 16:
1.Open the menu
2.Select "Vehicle settings" and press the
controller
3.Select "Lighting" and press the control-
ler
4.Select "Pathway lighting" and press the
controller5.Turn the controller to select the corre-
sponding duration
6.Press the controller to apply the setting.
Lights on warning
If you turn the ignition key to position 0, an
acoustic signal sounds when you open the
driver's door for a few seconds to remind
you that the lamps have not yet been
switched off. At the same time a message
appears on the Control Display.
Daytime driving lamps*
If you wish, you can leave the light switch in
the low-beam position.
Always observe all applicable laws govern-
ing the use of daytime driving lamps.
You can switch on the parking lamps when
needed using the standard procedure
described under Parking lamps.
Automatic headlamp control
When you set the switch to this
position, the system activates and
switches on and off the low beams
in response to changes in ambient light
conditions, for instance, in a tunnel, at
dawn and dusk, and in rain and snow.
The LED next to the symbol is illuminated
when the low beams are on.
The low beams remain on indepen-
dent of the ambient lighting condi-
tions when you switch on the fog lamps.
With the daytime driving lamps activated,
the low beams are always switched on in
Page 89 of 216

Controls
87Reference
At a glance
Driving tips
Communications
Navigation
Entertainment
Mobility
If the automatic headlamp control is
activated, the low beams will come on
automatically when you switch on the fog
lamps.<
Instrument lighting
Turn the serrated dial to adjust the illumina-
tion intensity.
Interior lamps
Control of the interior lamps, footwell
lamps, door entry lighting, courtesy lamps
*
and sill panel lighting
* is automatic.
Switching interior lamps on and off
manually
Briefly press button 1.
If you want the interior lamps to remain off
continuously, maintain pressure on the but-
ton for approx. 3 seconds.
To revert to normal operation, briefly press
the button.
Reading lamps
The reading lamps are beside the interior
lamp.
You can turn them on and off using the
buttons 2 located next to the lamps.
To avoid discharging the battery, all of
the vehicle's interior lamps are auto-
matically extinguished approx. 15 minutes
after the ignition is switched off.<
Page 91 of 216

Controls
89Reference
At a glance
Driving tips
Communications
Navigation
Entertainment
Mobility
14Indicator lamp for independent ventila-
tion
>Activation time set:
The indicator lamp comes on
>Independent ventilation switched on:
The indicator lamp flashes
15Rear window defroster
16Air grill for interior temperature sensor –
please keep clear and unobstructed
All other setting options for the automatic
climate control can be found at "Climate"
and in the menu on the Control Display,
refer to pages 90 and 91.
The current setting for air distribution is dis-
played on the Control Display.
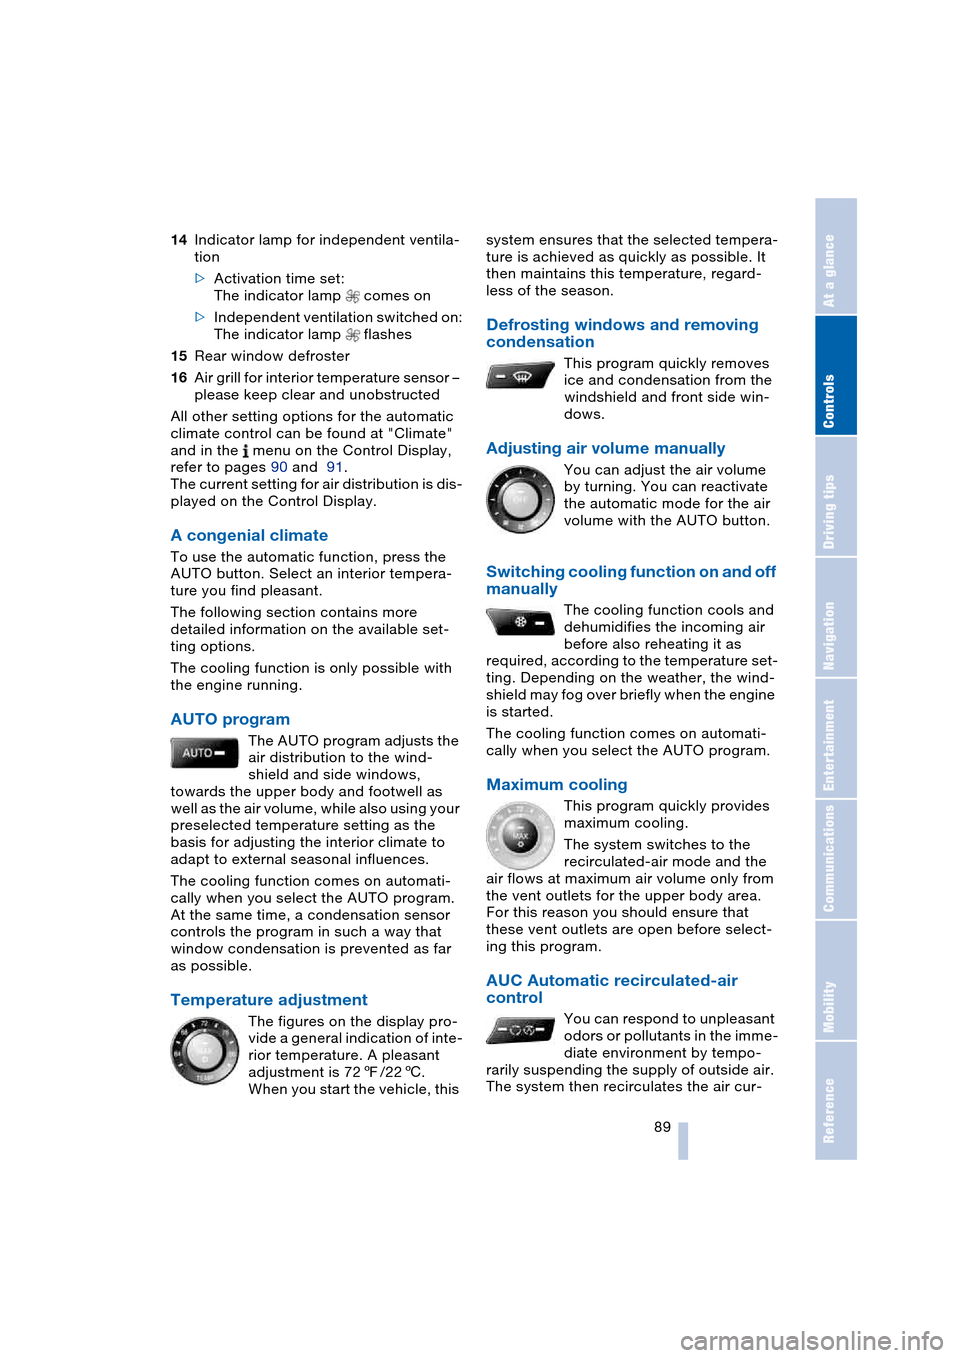
A congenial climate
To use the automatic function, press the
AUTO button. Select an interior tempera-
ture you find pleasant.
The following section contains more
detailed information on the available set-
ting options.
The cooling function is only possible with
the engine running.
AUTO program
The AUTO program adjusts the
air distribution to the wind-
shield and side windows,
towards the upper body and footwell as
well as the air volume, while also using your
preselected temperature setting as the
basis for adjusting the interior climate to
adapt to external seasonal influences.
The cooling function comes on automati-
cally when you select the AUTO program.
At the same time, a condensation sensor
controls the program in such a way that
window condensation is prevented as far
as possible.
Temperature adjustment
The figures on the display pro-
vide a general indication of inte-
rior temperature. A pleasant
adjustment is 727/226.
When you start the vehicle, this system ensures that the selected tempera-
ture is achieved as quickly as possible. It
then maintains this temperature, regard-
less of the season.
Defrosting windows and removing
condensation
This program quickly removes
ice and condensation from the
windshield and front side win-
dows.
Adjusting air volume manually
You can adjust the air volume
by turning. You can reactivate
the automatic mode for the air
volume with the AUTO button.
Switching cooling function on and off
manually
The cooling function cools and
dehumidifies the incoming air
before also reheating it as
required, according to the temperature set-
ting. Depending on the weather, the wind-
shield may fog over briefly when the engine
is started.
The cooling function comes on automati-
cally when you select the AUTO program.
Maximum cooling
This program quickly provides
maximum cooling.
The system switches to the
recirculated-air mode and the
air flows at maximum air volume only from
the vent outlets for the upper body area.
For this reason you should ensure that
these vent outlets are open before select-
ing this program.
AUC Automatic recirculated-air
control
You can respond to unpleasant
odors or pollutants in the imme-
diate environment by tempo-
rarily suspending the supply of outside air.
The system then recirculates the air cur-
Page 92 of 216

A congenial climate
90 rently within the vehicle. AUC executes this
function automatically.
Press the button repeatedly to run through
the following control sequence:
>Indicator lamps off: outside air flows
into the vehicle continuously
>Right indicator lamp on, AUC mode: the
system detects pollutants in the outside
air and responds by blocking the supply
of outside air when required.
Depending upon air quality require-
ments, in the automatic mode the sys-
tem alternates between its outside-air
and recirculated-air modes
>Left indicator lamp on, recirculated-air
mode: the supply of outside air into the
vehicle is continuously blocked.
If condensation starts to form on the
inside window surfaces during opera-
tion in the recirculated-air mode, you
should switch it off while also increasing
the air volume as required.
The recirculated-air mode should not be
used over a longer period of time, as the air
quality inside the vehicle deteriorates con-
tinuously.<
Residual heat mode
If you press this button with the
engine switched off, the system
uses the warmth stored in the
engine to heat the interior, for
instance, while the vehicle is
stationary at a school to pick up a child.
You can adjust the automatic climate con-
trol settings as of ignition key position 2.
Provided that the engine has warmed to its
normal operating temperature and the bat-
tery is charged, you can use this function
for up to 15 minutes after switching off the
ignition. The LED within the button lights up
to confirm compliance with both of these
conditions.
Switching off automatic climate
control
The air volume, the heater and
the cooling function are all
switched off. You can restart
the automatic climate control
by pressing any of its buttons
except the REST button.
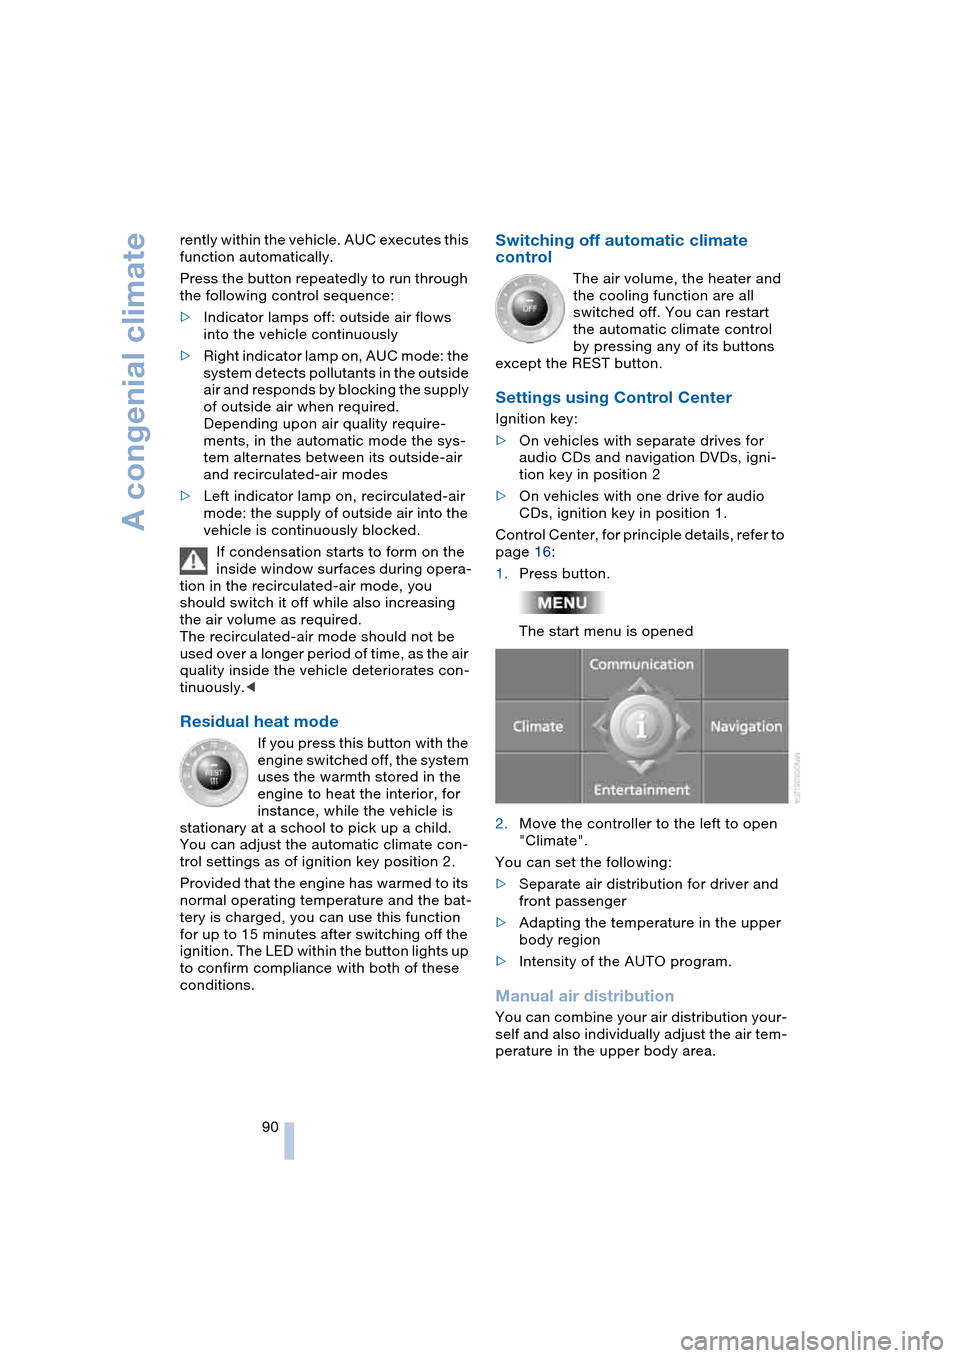
Settings using Control Center
Ignition key:
>On vehicles with separate drives for
audio CDs and navigation DVDs, igni-
tion key in position 2
>On vehicles with one drive for audio
CDs, ignition key in position 1.
Control Center, for principle details, refer to
page 16:
1.Press button.
The start menu is opened
2.Move the controller to the left to open
"Climate".
You can set the following:
>Separate air distribution for driver and
front passenger
>Adapting the temperature in the upper
body region
>Intensity of the AUTO program.
Manual air distribution
You can combine your air distribution your-
self and also individually adjust the air tem-
perature in the upper body area.
Page 93 of 216

Controls
91Reference
At a glance
Driving tips
Communications
Navigation
Entertainment
Mobility
1.Select "Vent settings and press the
controller
2.Select "AUTO and press the controller.
The manual air distribution is
switched on
3.Select the desired field by moving the
controller and turn the controller to
adjust the air distribution.
1Airflow directed toward the windshield
and side windows, driver's side only
2Airflow for the upper body
3Air to footwell
To select the front passenger area:
Move the controller to the right.
Automatic air distribution
1.Select "Vent settings and press the
controller
2.Select "AUTO" and press the controller.
The automatic air distribution is
switched on.
The program handles adjustment of the air
distribution, separately for the driver and
passenger side.
To switch on the automatic air distribution
for the front passenger:
Move the controller to the right.
Adapting temperature in upper body
region
1.Select "Vent settings and press the
controller
2.Select the field by moving the controller
and turn the controller to adjust the air
distribution.
Setting intensity of AUTO program
To meet your individual needs, you can
weaken or strengthen the intensity of the
automatic climate control.
Control Center, for principle details, refer to
page 16:
1.Open the menu
2.Select "Vehicle settings" and press the
controller
3.Select "Climate control" and press the
controller
4.Select "Automatic programs" and press
the controller
5.Select the desired intensity
6.Press the controller.
Convertible program
When the convertible top is opened, the
convertible program can also be selected.
In the convertible program, the automatic