2004 BMW 525I SEDAN key
[x] Cancel search: keyPage 35 of 220
Controls
33Reference
At a glance
Driving tips
Communications
Navigation
Entertainment
Mobility
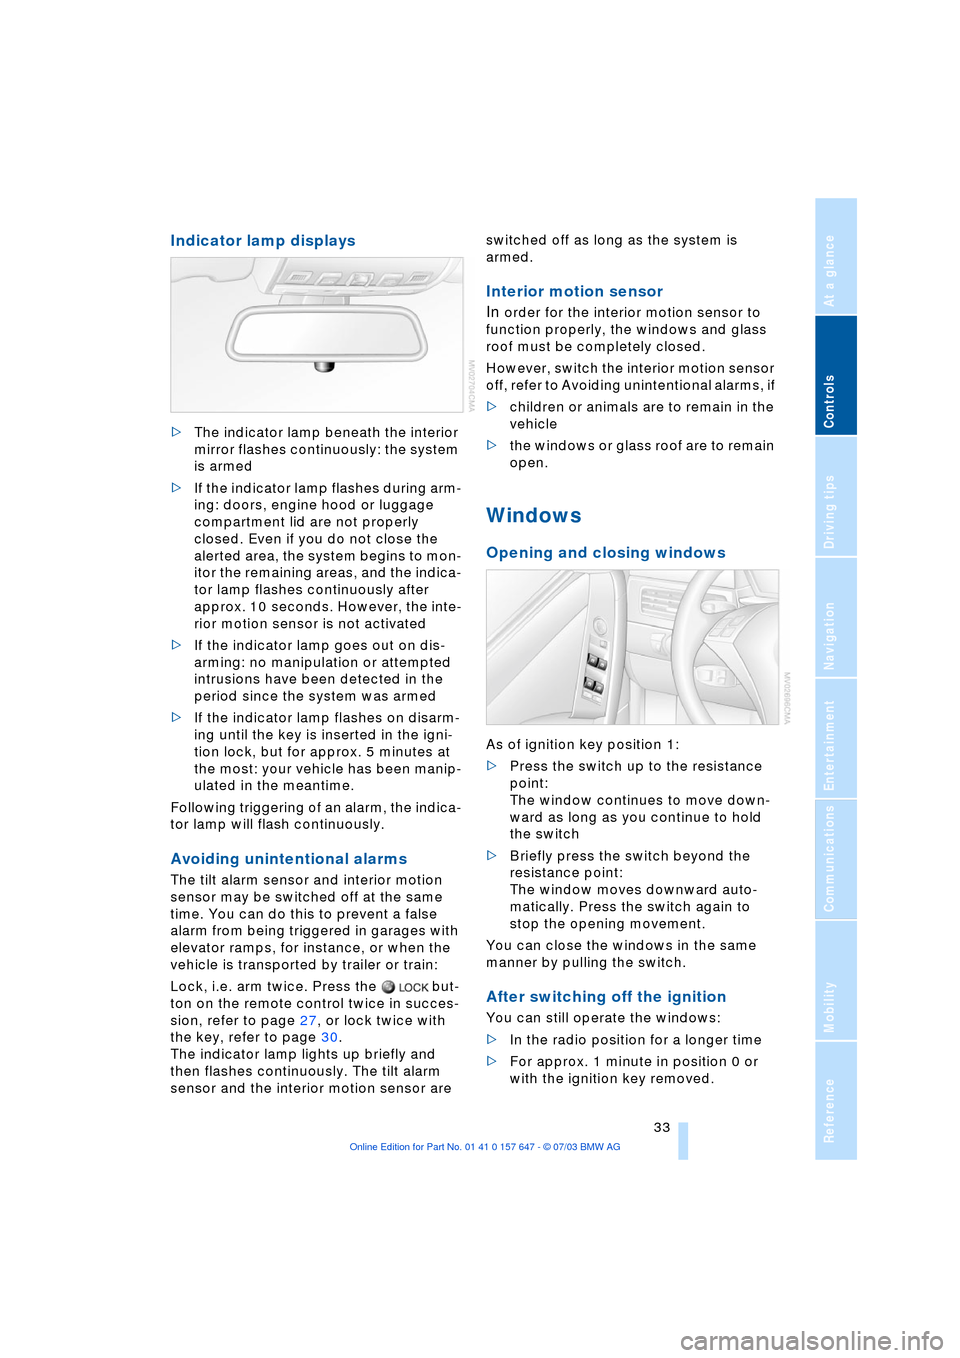
Indicator lamp displays
>The indicator lamp beneath the interior
mirror flashes continuously: the system
is armed
>If the indicator lamp flashes during arm-
ing: doors, engine hood or luggage
compartment lid are not properly
closed. Even if you do not close the
alerted area, the system begins to mon-
itor the remaining areas, and the indica-
tor lamp flashes continuously after
approx. 10 seconds. However, the inte-
rior motion sensor is not activated
>If the indicator lamp goes out on dis-
arming: no manipulation or attempted
intrusions have been detected in the
period since the system was armed
>If the indicator lamp flashes on disarm-
ing until the key is inserted in the igni-
tion lock, but for approx. 5 minutes at
the most: your vehicle has been manip-
ulated in the meantime.
Following triggering of an alarm, the indica-
tor lamp will flash continuously.
Avoiding unintentional alarms
The tilt alarm sensor and interior motion
sensor may be switched off at the same
time. You can do this to prevent a false
alarm from being triggered in garages with
elevator ramps, for instance, or when the
vehicle is transported by trailer or train:
Lock, i.e. arm twice. Press the but-
ton on the remote control twice in succes-
sion, refer to page 27, or lock twice with
the key, refer to page 30.
The indicator lamp lights up briefly and
then flashes continuously. The tilt alarm
sensor and the interior motion sensor are switched off as long as the system is
armed.
Interior motion sensor
In
order for the interior motion sensor to
function properly, the windows and glass
roof must be completely closed.
However, switch the interior motion sensor
off, refer to Avoiding unintentional alarms, if
>children or animals are to remain in the
vehicle
>the windows or glass roof are to remain
open.
Windows
Opening and closing windows
As of ignition key position 1:
>Press the switch up to the resistance
point:
The window continues to move down-
ward as long as you continue to hold
the switch
>Briefly press the switch beyond the
resistance point:
The window moves downward auto-
matically. Press the switch again to
stop the opening movement.
You can close the windows in the same
manner by pulling the switch.
After switching off the ignition
You can still operate the windows:
>In the radio position for a longer time
>For approx. 1 minute in position 0 or
with the ignition key removed.
Page 36 of 220
Opening and closing
34 To open, press the switch beyond the
resistance point.
When leaving the vehicle parked,
always remove the central key with
remote control from the ignition lock and
close the doors; this precaution prevents
children from operating the power win-
dows and injuring themselves etc.<
For information on using the convenience
operation mode at the door lock or with the
remote control, refer to page 28 or 29.
Safety feature
If the closing force rises beyond a pre-
defined threshold during closing, the sys-
tem will immediately stop moving the win-
dow prior to lowering it slightly.
Despite this safety feature you should
always inspect the window's travel
path prior to closing it, as the safety system
might fail to detect certain kinds of obstruc-
tions, such as very thin objects, and the
window would continue closing.
Pulling the switch beyond the resistance
point and holding it limits the response of
the safety feature.
Under these conditions the window will
respond to forces beyond a defined thresh-
old by only opening several inches/millime-
ters.
If you again pull the switch past the resis-
tance point and hold it in position within a
period of roughly 4 seconds, the safety fea-
ture is deactivated.<
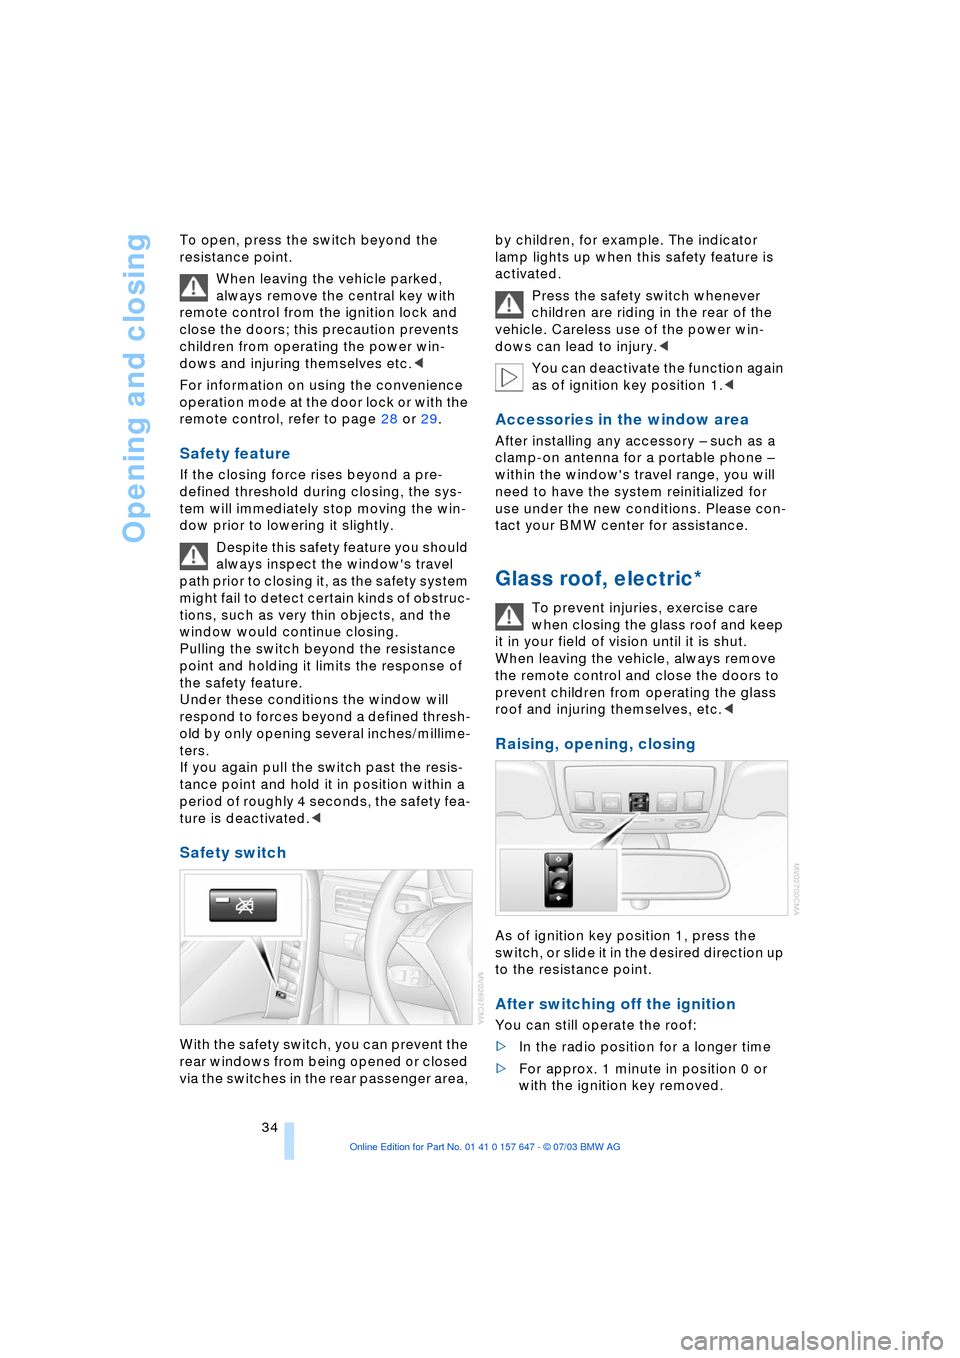
Safety switch
With the safety switch, you can prevent the
rear windows from being opened or closed
via the switches in the rear passenger area, by children, for example. The indicator
lamp lights up when this safety feature is
activated.
Press the safety switch whenever
children are riding in the rear of the
vehicle. Careless use of the power win-
dows can lead to injury.<
You can deactivate the function again
as of ignition key position 1.<
Accessories in the window area
After installing any accessory Ð such as a
clamp-on antenna for a portable phone Ð
within the window's travel range, you will
need to have the system reinitialized for
use under the new conditions. Please con-
tact your BMW center for assistance.
Glass roof, electric*
To prevent injuries, exercise care
when closing the glass roof and keep
it in your field of vision until it is shut.
When leaving the vehicle, always remove
the remote control and close the doors to
prevent children from operating the glass
roof and injuring themselves, etc.<
Raising, opening, closing
As of ignition key position 1, press the
switch, or slide it in the desired direction up
to the resistance point.
After switching off the ignition
You can still operate the roof:
>In the radio position for a longer time
>For approx. 1 minute in position 0 or
with the ignition key removed.
Page 40 of 220
Adjustments
38
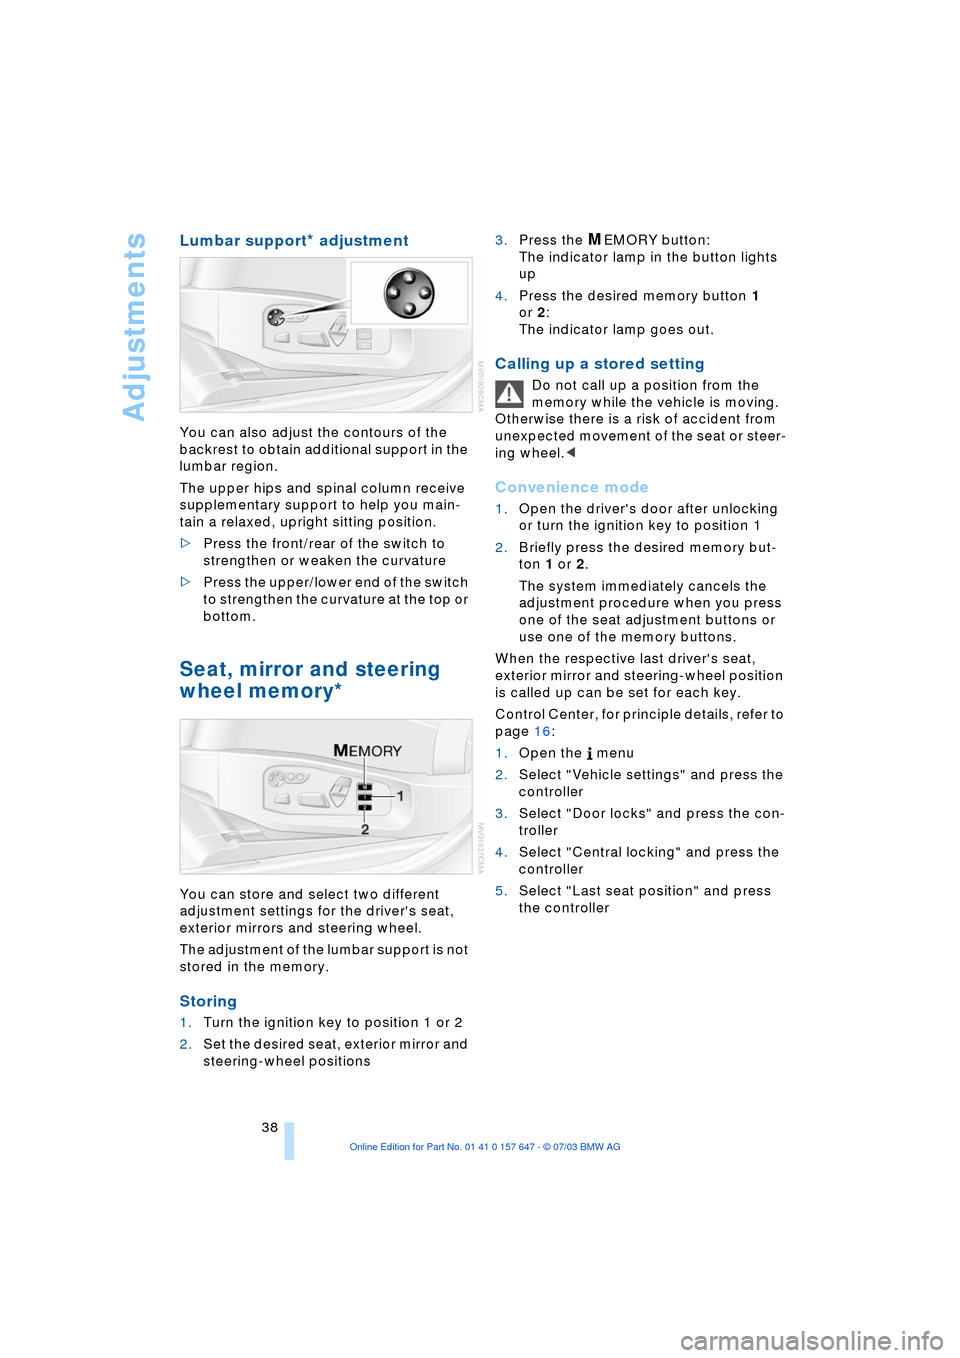
Lumbar support* adjustment
You can also adjust the contours of the
backrest to obtain additional support in the
lumbar region.
The upper hips and spinal column receive
supplementary support to help you main-
tain a relaxed, upright sitting position.
>Press the front/rear of the switch to
strengthen or weaken the curvature
>Press the upper/lower end of the switch
to strengthen the curvature at the top or
bottom.
Seat, mirror and steering
wheel memory*
You can store and select two different
adjustment settings for the driver's seat,
exterior mirrors and steering wheel.
The adjustment of the lumbar support is not
stored in the memory.
Storing
1.Turn the ignition key to position 1 or 2
2.Set the desired seat, exterior mirror and
steering-wheel positions 3.Press the
MEMORY button:
The indicator lamp in the button lights
up
4.Press the desired memory button 1
or 2:
The indicator lamp goes out.
Calling up a stored setting
Do not call up a position from the
memory while the vehicle is moving.
Otherwise there is a risk of accident from
unexpected movement of the seat or steer-
ing wheel.<
Convenience mode
1.Open the driver's door after unlocking
or turn the ignition key to position 1
2.Briefly press the desired memory but-
ton 1 or 2.
The system immediately cancels the
adjustment procedure when you press
one of the seat adjustment buttons or
use one of the memory buttons.
When the respective last driver's seat,
exterior mirror and steering-wheel position
is called up can be set for each key.
Control Center, for principle details, refer to
page 16:
1.Open the menu
2.Select "Vehicle settings" and press the
controller
3.Select "Door locks" and press the con-
troller
4.Select "Central locking" and press the
controller
5.Select "Last seat position" and press
the controller
Page 41 of 220
Controls
39Reference
At a glance
Driving tips
Communications
Navigation
Entertainment
Mobility
6.Select "After unlocking" or "After door
is opened" and press the controller.
displays the selected setting.
When using this Key Memory feature,
always make sure that the footwell
behind the driver's seat is empty and unob-
structed. If you fail to do so, any persons or
objects behind the seat could be injured or
damaged by a rearward movement of the
seat.<
Safety feature
1.Close the driver's door and turn the
ignition key to position 0 or 2
2.Press the desired memory button 1 or 2
and maintain pressure until the adjust-
ment process has been completed.
If the
MEMORY button is pressed acciden-
tally:
Press the button a second time, the indica-
tor lamp goes out.
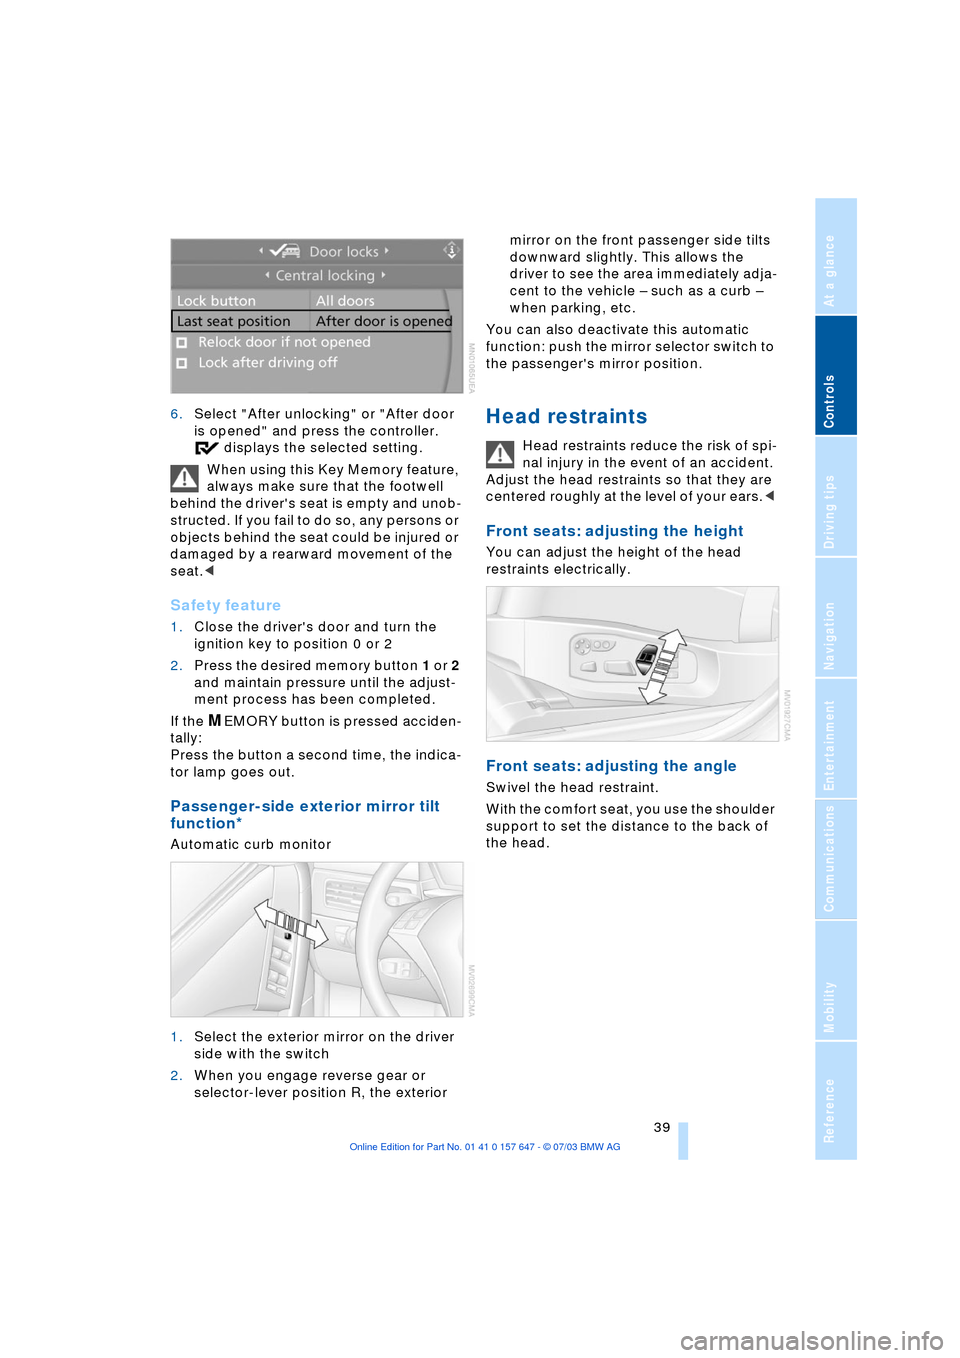
Passenger-side exterior mirror tilt
function*
Automatic curb monitor
1.Select the exterior mirror on the driver
side with the switch
2.When you engage reverse gear or
selector-lever position R, the exterior mirror on the front passenger side tilts
downward slightly. This allows the
driver to see the area immediately adja-
cent to the vehicle Ð such as a curb Ð
when parking, etc.
You can also deactivate this automatic
function: push the mirror selector switch to
the passenger's mirror position.
Head restraints
Head restraints reduce the risk of spi-
nal injury in the event of an accident.
Adjust the head restraints so that they are
centered roughly at the level of your ears.<
Front seats: adjusting the height
You can adjust the height of the head
restraints electrically.
Front seats: adjusting the angle
Swivel the head restraint.
With the comfort seat, you use the shoulder
support to set the distance to the back of
the head.
Page 45 of 220
Controls
43Reference
At a glance
Driving tips
Communications
Navigation
Entertainment
Mobility
You can also adjust the mirrors manually by
pressing against the outer edges of their
lenses.
Storing the mirror positions, refer to Seat,
mirror and steering wheel memory on
page 38.
The mirror on the passenger's side
features a lens with a more convex
surface than the mirror installed on the
driver's side. When estimating the distance
between yourself and other traffic, bear in
mind that the objects reflected in the mirror
are closer than they appear. This means
that estimations of the distance to following
traffic should not be regarded as precise.<
Self-defrosting mirrors
Both exterior mirrors are automatically
heated in ignition key position 2.
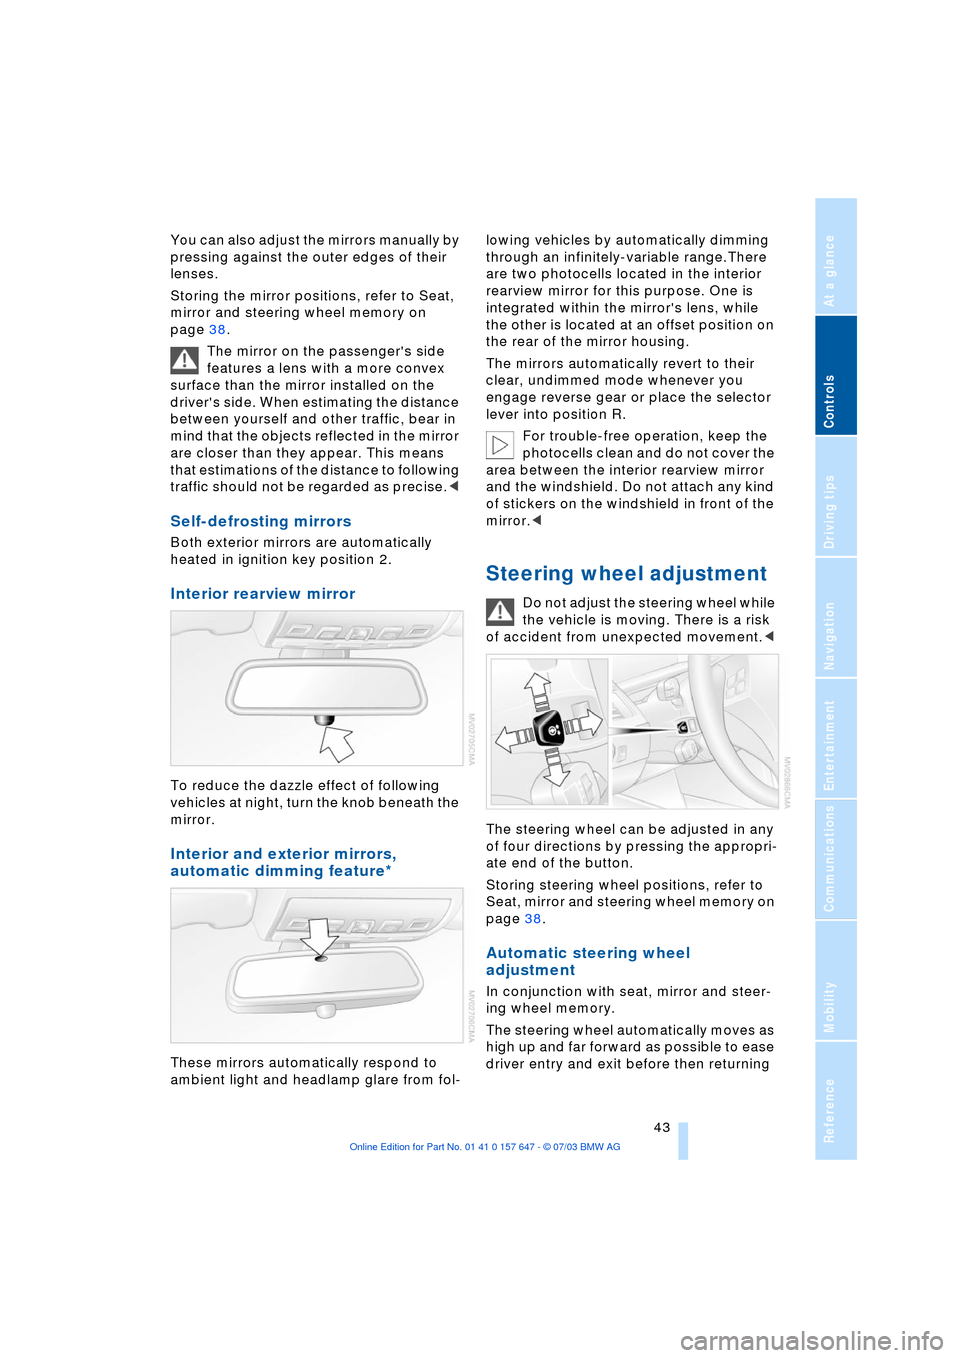
Interior rearview mirror
To reduce the dazzle effect of following
vehicles at night, turn the knob beneath the
mirror.
Interior and exterior mirrors,
automatic dimming feature*
These mirrors automatically respond to
ambient light and headlamp glare from fol-lowing vehicles by automatically dimming
through an infinitely-variable range.There
are two photocells located in the interior
rearview mirror for this purpose. One is
integrated within the mirror's lens, while
the other is located at an offset position on
the rear of the mirror housing.
The mirrors automatically revert to their
clear, undimmed mode whenever you
engage reverse gear or place the selector
lever into position R.
For trouble-free operation, keep the
photocells clean and do not cover the
area between the interior rearview mirror
and the windshield. Do not attach any kind
of stickers on the windshield in front of the
mirror.<
Steering wheel adjustment
Do not adjust the steering wheel while
the vehicle is moving. There is a risk
of accident from unexpected movement.<
The steering wheel can be adjusted in any
of four directions by pressing the appropri-
ate end of the button.
Storing steering wheel positions, refer to
Seat, mirror and steering wheel memory on
page 38.
Automatic steering wheel
adjustment
In conjunction with seat, mirror and steer-
ing wheel memory.
The steering wheel automatically moves as
high up and far forward as possible to ease
driver entry and exit before then returning
Page 46 of 220
Adjustments
44 to the standard position or stored memory
setting.
This automatic feature is governed by the
driver's door and the ignition lock.
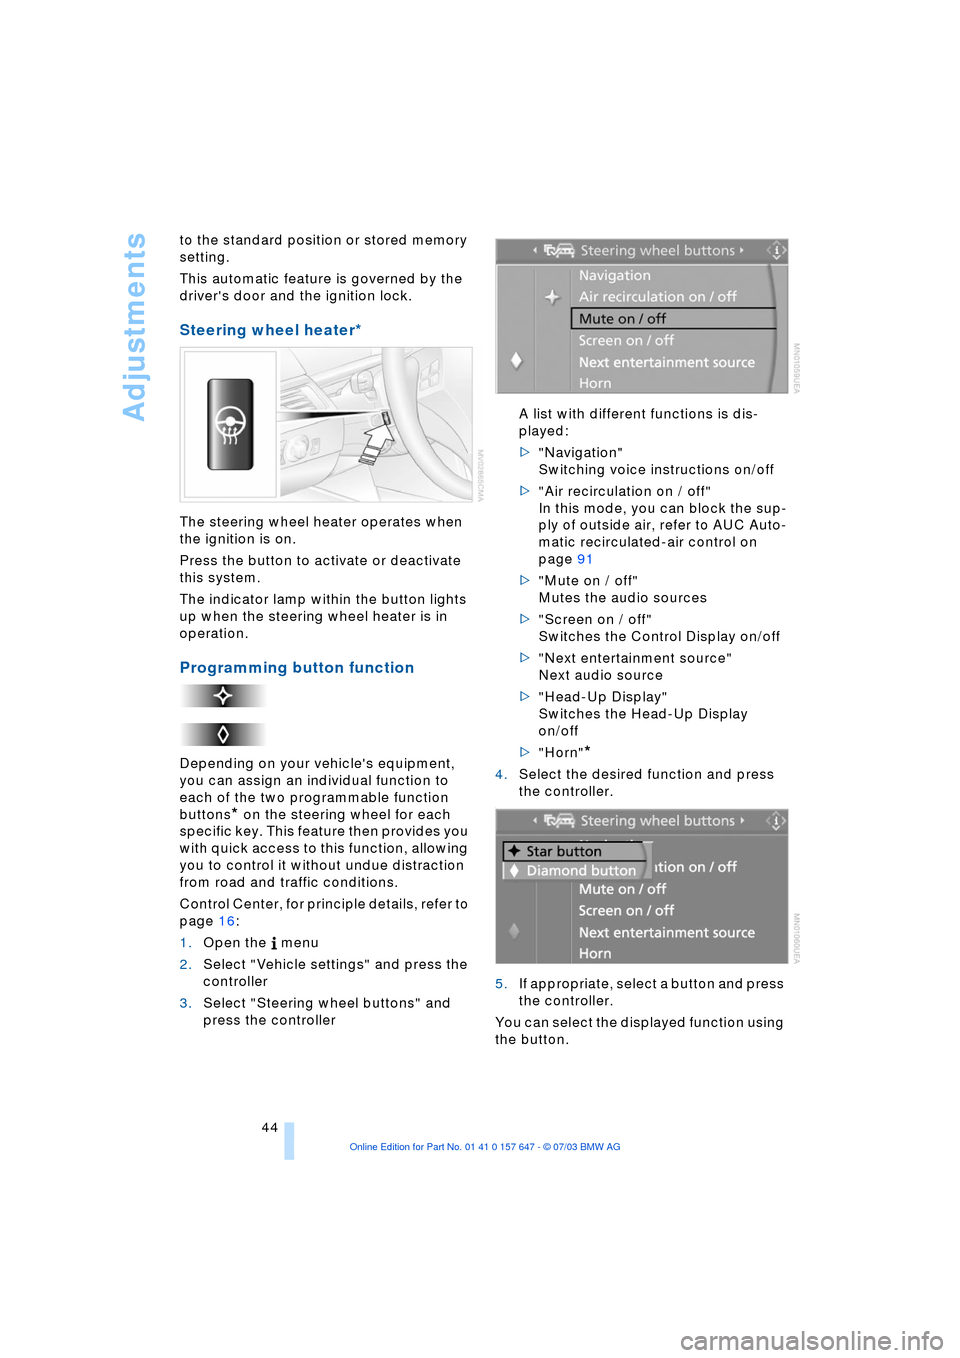
Steering wheel heater*
The steering wheel heater operates when
the ignition is on.
Press the button to activate or deactivate
this system.
The indicator lamp within the button lights
up when the steering wheel heater is in
operation.
Programming button function
Depending on your vehicle's equipment,
you can assign an individual function to
each of the two programmable function
buttons
* on the steering wheel for each
specific key. This feature then provides you
with quick access to this function, allowing
you to control it without undue distraction
from road and traffic conditions.
Control Center, for principle details, refer to
page 16:
1.Open the menu
2.Select "Vehicle settings" and press the
controller
3.Select "Steering wheel buttons" and
press the controller A list with different functions is dis-
played:
>"Navigation"
Switching voice instructions on/off
>"Air recirculation on / off"
In this mode, you can block the sup-
ply of outside air, refer to AUC Auto-
matic recirculated-air control on
page 91
>"Mute on / off"
Mutes the audio sources
>"Screen on / off"
Switches the Control Display on/off
>"Next entertainment source"
Next audio source
>"Head-Up Display"
Switches the Head-Up Display
on/off
>"Horn"
*
4.Select the desired function and press
the controller.
.
5.If appropriate, select a button and press
the controller.
You can select the displayed function using
the button.
Page 51 of 220
Controls
49Reference
At a glance
Driving tips
Communications
Navigation
Entertainment
Mobility
Driving
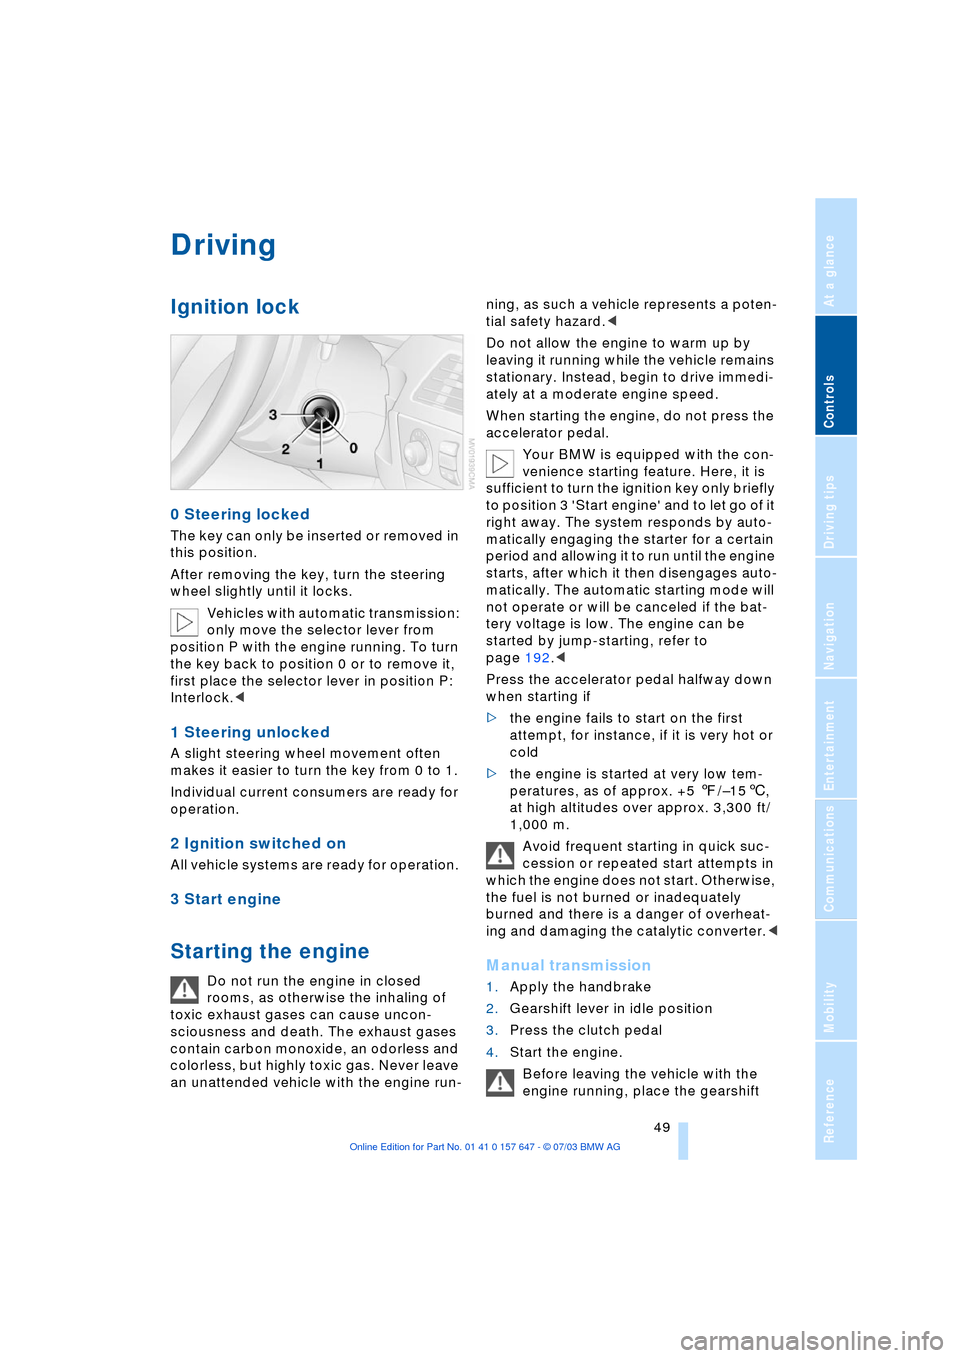
Ignition lock
0 Steering locked
The key can only be inserted or removed in
this position.
After removing the key, turn the steering
wheel slightly until it locks.
Vehicles with automatic transmission:
only move the selector lever from
position P with the engine running. To turn
the key back to position 0 or to remove it,
first place the selector lever in position P:
Interlock.<
1 Steering unlocked
A slight steering wheel movement often
makes it easier to turn the key from 0 to 1.
Individual current consumers are ready for
operation.
2 Ignition switched on
All vehicle systems are ready for operation.
3 Start engine
Starting the engine
Do not run the engine in closed
rooms, as otherwise the inhaling of
toxic exhaust gases can cause uncon-
sciousness and death. The exhaust gases
contain carbon monoxide, an odorless and
colorless, but highly toxic gas. Never leave
an unattended vehicle with the engine run-ning, as such a vehicle represents a poten-
tial safety hazard.<
Do not allow the engine to warm up by
leaving it running while the vehicle remains
stationary. Instead, begin to drive immedi-
ately at a moderate engine speed.
When starting the engine, do not press the
accelerator pedal.
Your BMW is equipped with the con-
venience starting feature. Here, it is
sufficient to turn the ignition key only briefly
to position 3 'Start engine' and to let go of it
right away. The system responds by auto-
matically engaging the starter for a certain
period and allowing it to run until the engine
starts, after which it then disengages auto-
matically. The automatic starting mode will
not operate or will be canceled if the bat-
tery voltage is low. The engine can be
started by jump-starting, refer to
page 192.<
Press the accelerator pedal halfway down
when starting if
>the engine fails to start on the first
attempt, for instance, if it is very hot or
cold
>the engine is started at very low tem-
peratures, as of approx. +5 7/Ð156,
at high altitudes over approx. 3,300 ft/
1,000 m.
Avoid frequent starting in quick suc-
cession or repeated start attempts in
which the engine does not start. Otherwise,
the fuel is not burned or inadequately
burned and there is a danger of overheat-
ing and damaging the catalytic converter.
2.Gearshift lever in idle position
3.Press the clutch pedal
4.Start the engine.
Before leaving the vehicle with the
engine running, place the gearshift
Page 52 of 220
Driving
50 lever in idle position and apply the hand-
brake.
Never leave an unattended vehicle with the
engine running, as such a vehicle repre-
sents a potential safety hazard.<
Automatic transmission
1.Press the brake pedal
2.Place the selector lever in position P
or N
3.Start the engine.
To prevent the vehicle from rolling,
always select position P or N and
engage the handbrake before leaving the
vehicle with the engine running.
Never leave an unattended vehicle with the
engine running, as such a vehicle repre-
sents a potential safety hazard.<
Sequential manual transmission
SMG
1.Press the brake pedal
2.Place the selector lever in the idle posi-
tion N
3.Start the engine.
If the engine does not start, engage
the last gear selected, refer to Display
in the instrument cluster, and return the
selector lever to the idle position N.<
Before leaving the vehicle with the
engine running, place the selector
lever in position N and apply the hand-
brake.
Never leave an unattended vehicle with the
engine running, as such a vehicle repre-
sents a potential safety hazard.<
Switching off engine
Do not remove the ignition key while
the vehicle is rolling, as otherwise the
steering wheel lock would engage while
steering.
When leaving the vehicle, always remove
the ignition key and lock the steering.
When parking on downward inclines, apply
the handbrake.<
Manual transmission
Turn the ignition key to position 1 or 0.
Automatic transmission
1.Engage selector-lever position P
2.Turn the ignition key to position 1 or 0.
Sequential manual transmission
SMG
If the selector lever is in position R or in the
sequential mode and you turn the ignition
key to position 1 or 0, the gear remains
engaged automatically.
If the selector lever is in the idle position N
and you turn the ignition key to position 1
or 0, an acoustic signal and the flashing
gear indicator in the display reminds you
that the vehicle is not secured against roll-
ing away.
The warning stops sounding after approx.
9 seconds.
When parking on downward inclines,
apply the handbrake. Engaging a gear
is not sufficient to secure the vehicle from
rolling away under certain circumstances.<
Handbrake
The handbrake is primarily intended to pre-
vent the vehicle from rolling while parked; it
brakes the rear wheels.
Indicator lamp
The indicator lamp lights up with
the handbrake applied, and an
acoustic signal also sounds when
starting off.
Indicator lamp for Canadian mod-
els.
Applying
The lever locks into place automatically;
the indicator lamp in the instrument cluster
lights up in ignition key position 2.