Page 187 of 220
Mobility
185Reference
At a glance
Controls
Driving tips
Communications
Navigation
Entertainment
For checking and adjusting headlamp
aim, please contact your BMW cen-
ter.<
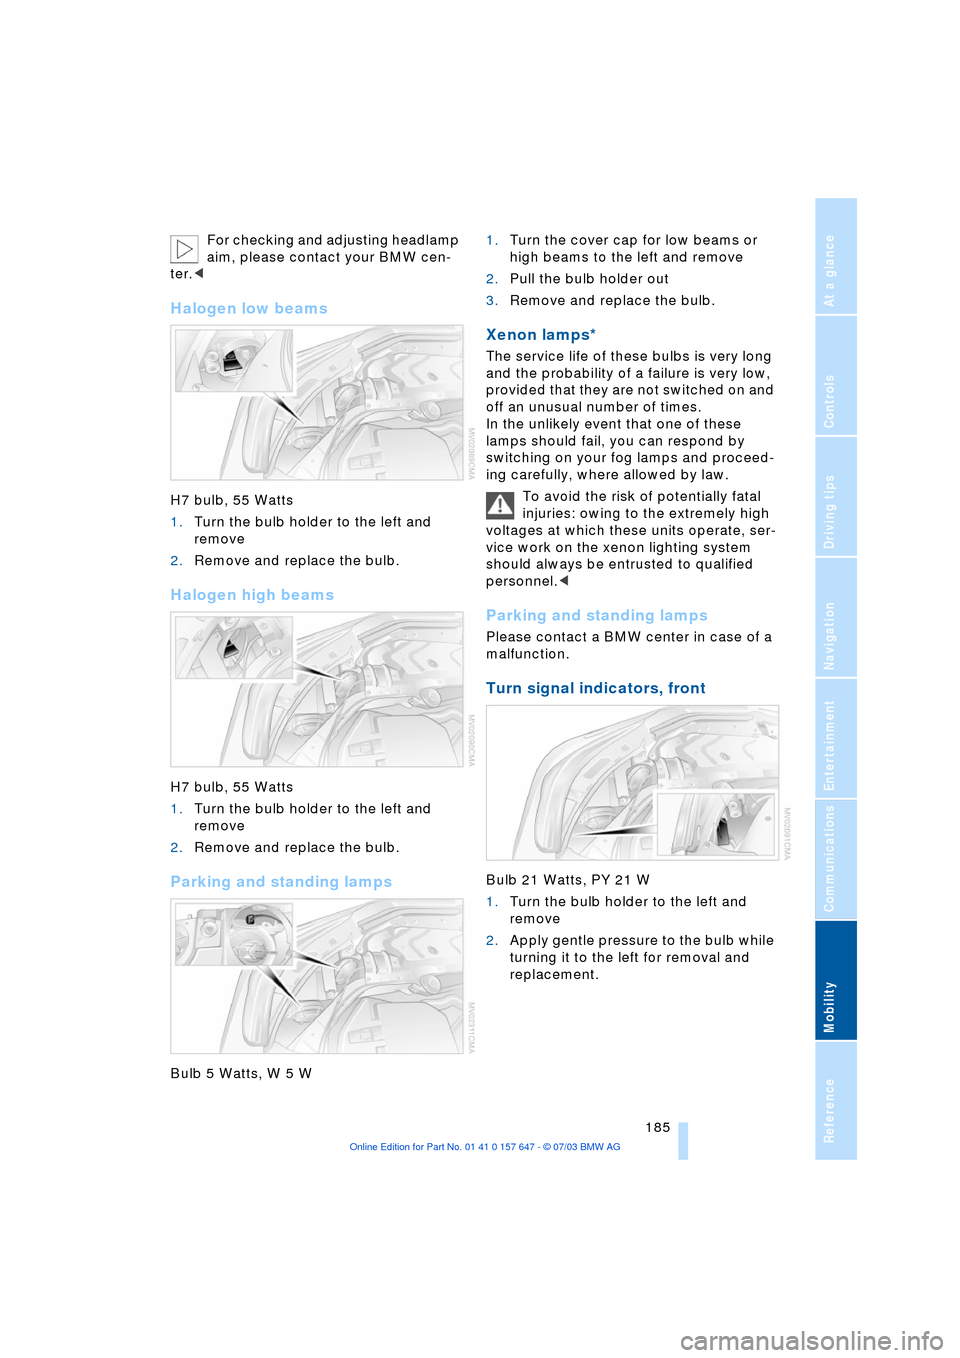
Halogen low beams
H7 bulb, 55 Watts
1.Turn the bulb holder to the left and
remove
2.Remove and replace the bulb.
Halogen high beams
H7 bulb, 55 Watts
1.Turn the bulb holder to the left and
remove
2.Remove and replace the bulb.
Parking and standing lamps
Bulb 5 Watts, W 5 W 1.Turn the cover cap for low beams or
high beams to the left and remove
2.Pull the bulb holder out
3.Remove and replace the bulb.
Xenon lamps*
The service life of these bulbs is very long
and the probability of a failure is very low,
provided that they are not switched on and
off an unusual number of times.
In the unlikely event that one of these
lamps should fail, you can respond by
switching on your fog lamps and proceed-
ing carefully, where allowed by law.
To avoid the risk of potentially fatal
injuries: owing to the extremely high
voltages at which these units operate, ser-
vice work on the xenon lighting system
should always be entrusted to qualified
personnel.<
Parking and standing lamps
Please contact a BMW center in case of a
malfunction.
Turn signal indicators, front
Bulb 21 Watts, PY 21 W
1.Turn the bulb holder to the left and
remove
2.Apply gentle pressure to the bulb while
turning it to the left for removal and
replacement.
Page 189 of 220
Mobility
187Reference
At a glance
Controls
Driving tips
Communications
Navigation
Entertainment
Changing a wheel
Safety measures in the event of a
breakdown or wheel change:
Park the vehicle as far away as possible
from moving traffic and on firm ground.
Switch on the hazard warning flashers.
Lock the steering wheel in straight-ahead
setting of the wheels. Apply the handbrake
and engage first gear, reverse gear or
selector lever to position P.
Have all vehicle occupants get out of the
vehicle and ensure that they remain outside
the immediate area in a safe place, such as
behind a guardrail.
If a warning triangle or portable hazard
warning lamp is required, set it up on the
roadside at an appropriate distance from
the rear of the vehicle.
Comply with all safety guidelines and regu-
lations.
Change the wheel only on a level, firm sur-
face which is not slippery.
The vehicle or the jack could slip to the side
if you attempt to raise the vehicle on a soft
or slippery surface such as snow, ice, tiles,
etc.
Position the jack on a firm support surface.
Do not use a wooden block or similar
object as a support base for the jack, as
this would prevent it from extending to its
full support height and reduce its load-car-
rying capacity.
To avoid serious or fatal injury: never lie
under the vehicle, and never start the
engine while it is supported by the jack.<
What you will need
To avoid rattling noises later on, note the
positions of the tools before removing
them, then return them to their initial posi-
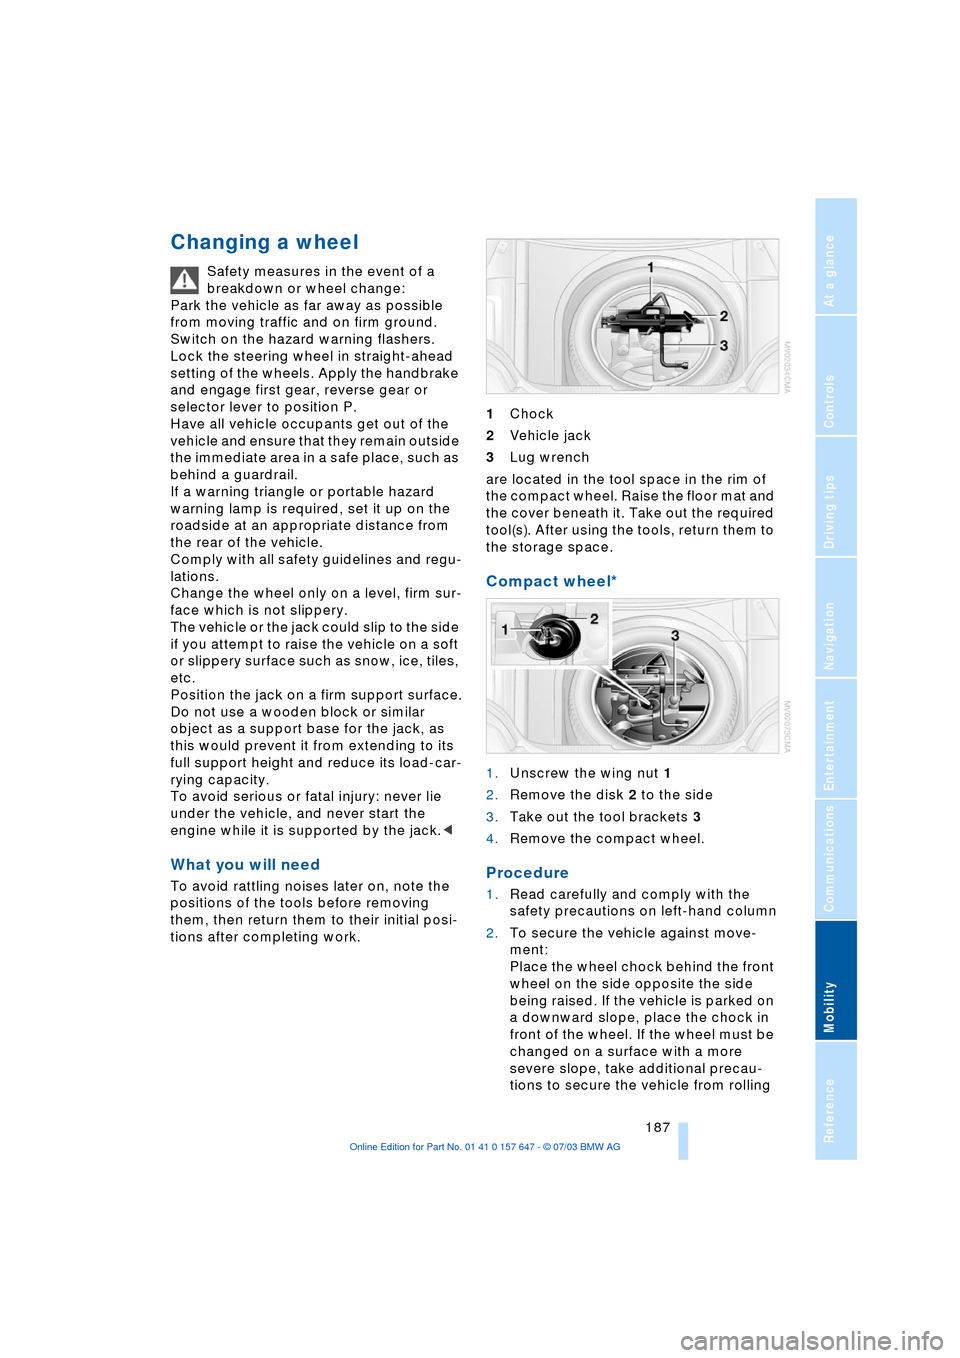
tions after completing work.1Chock
2Vehicle jack
3Lug wrench
are located in the tool space in the rim of
the compact wheel. Raise the floor mat and
the cover beneath it. Take out the required
tool(s). After using the tools, return them to
the storage space.
Compact wheel*
1.Unscrew the wing nut 1
2.Remove the disk 2 to the side
3.Take out the tool brackets 3
4.Remove the compact wheel.
Procedure
1.Read carefully and comply with the
safety precautions on left-hand column
2.To secure the vehicle against move-
ment:
Place the wheel chock behind the front
wheel on the side opposite the side
being raised. If the vehicle is parked on
a downward slope, place the chock in
front of the wheel. If the wheel must be
changed on a surface with a more
severe slope, take additional precau-
tions to secure the vehicle from rolling
Page 191 of 220
Mobility
189Reference
At a glance
Controls
Driving tips
Communications
Navigation
Entertainment
Charging the battery
Only charge the battery in the vehicle via
the terminals in the engine compartment
with the engine off. Connections, refer to
Jump-starting on page 192.
Disposal
Return used batteries to a recycling
point or your BMW center. Maintain
the battery in an upright position for trans-
port and storage. Always restrain the bat-
tery to prevent it from tipping over during
transport.<
Fuses
Never attempt to repair a blown fuse,
and do not replace a defective fuse
with a substitute of another color or amper-
age rating, as this could lead to a circuit
overload, ultimately resulting in a fire in the
vehicle.<
Spare fuses, plastic tweezers and details of
the fuse assignment are located in the
compartment for the onboard tool kit, refer
to page 184.
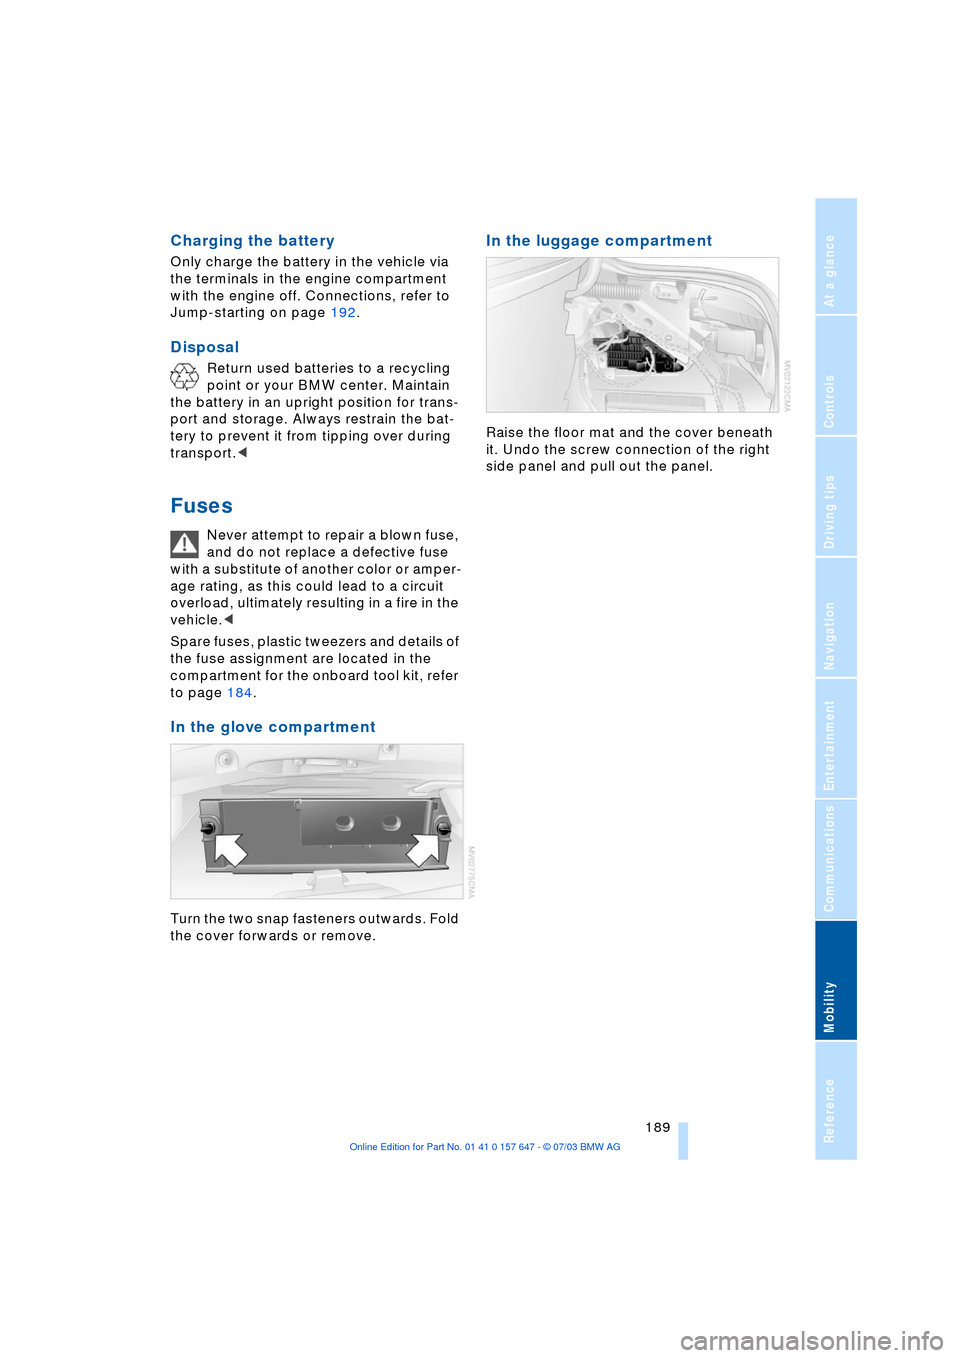
In the glove compartment
Turn the two snap fasteners outwards. Fold
the cover forwards or remove.
In the luggage compartment
Raise the floor mat and the cover beneath
it. Undo the screw connection of the right
side panel and pull out the panel.
Page 192 of 220
Giving and receiving assistance
190
Giving and receiving assistance
Starting an emergency call*
Conditions for an emergency call:
>The car phone is logged on to a porta-
ble phone network
>The emergency call system is operable.
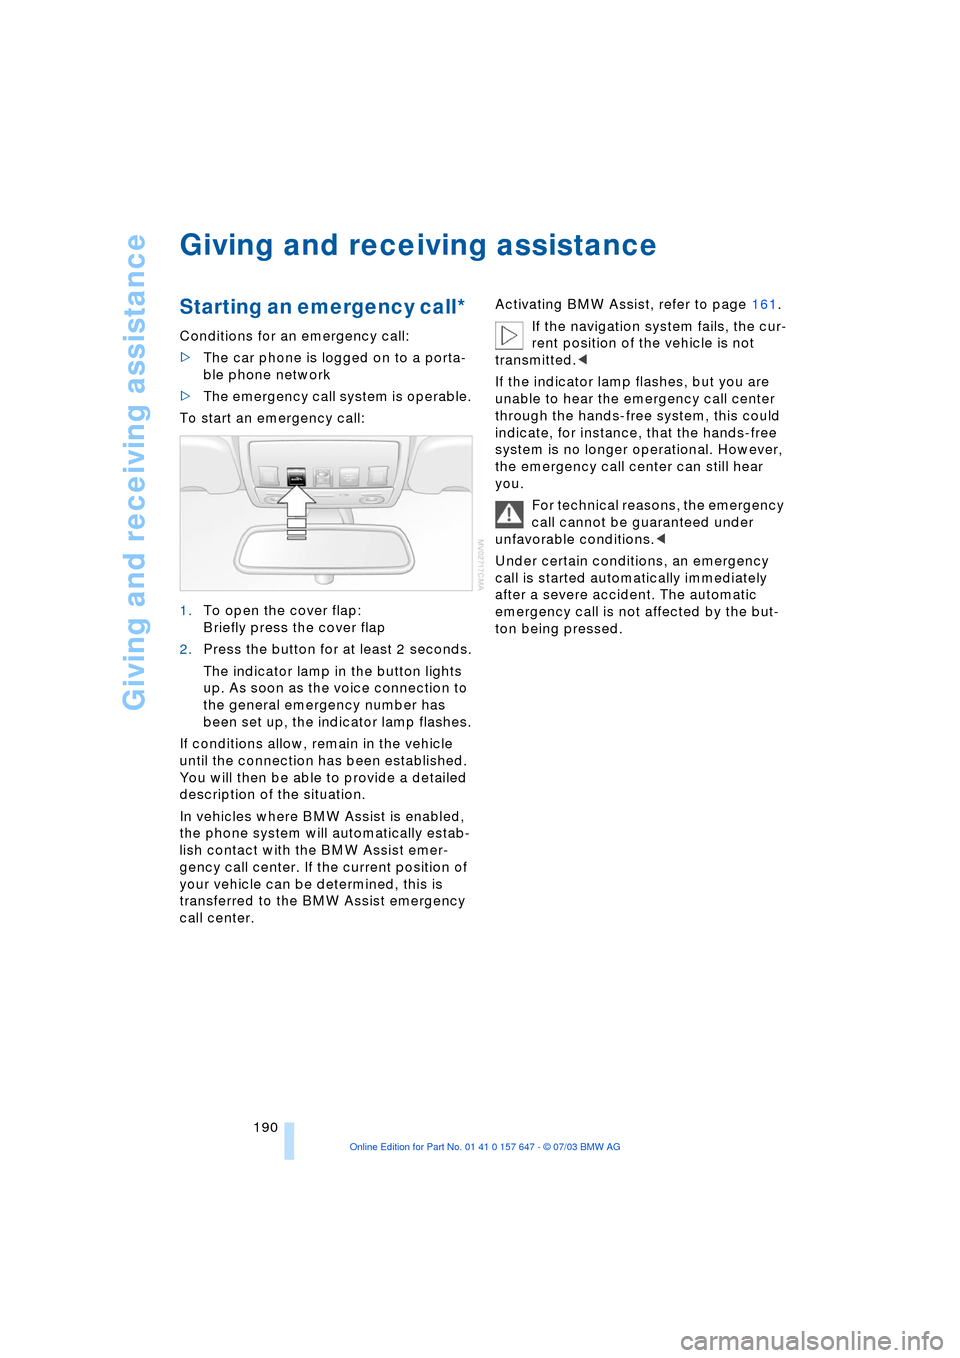
To start an emergency call:
1.To open the cover flap:
Briefly press the cover flap
2.Press the button for at least 2 seconds.
The indicator lamp in the button lights
up. As soon as the voice connection to
the general emergency number has
been set up, the indicator lamp flashes.
If conditions allow, remain in the vehicle
until the connection has been established.
You will then be able to provide a detailed
description of the situation.
In vehicles where BMW Assist is enabled,
the phone system will automatically estab-
lish contact with the BMW Assist emer-
gency call center. If the current position of
your vehicle can be determined, this is
transferred to the BMW Assist emergency
call center.Activating BMW Assist, refer to page 161.
If the navigation system fails, the cur-
rent position of the vehicle is not
transmitted.<
If the indicator lamp flashes, but you are
unable to hear the emergency call center
through the hands-free system, this could
indicate, for instance, that the hands-free
system is no longer operational. However,
the emergency call center can still hear
you.
For technical reasons, the emergency
call cannot be guaranteed under
unfavorable conditions.<
Under certain conditions, an emergency
call is started automatically immediately
after a severe accident. The automatic
emergency call is not affected by the but-
ton being pressed.
Page 193 of 220
Mobility
191Reference
At a glance
Controls
Driving tips
Communications
Navigation
Entertainment
Warning triangle*
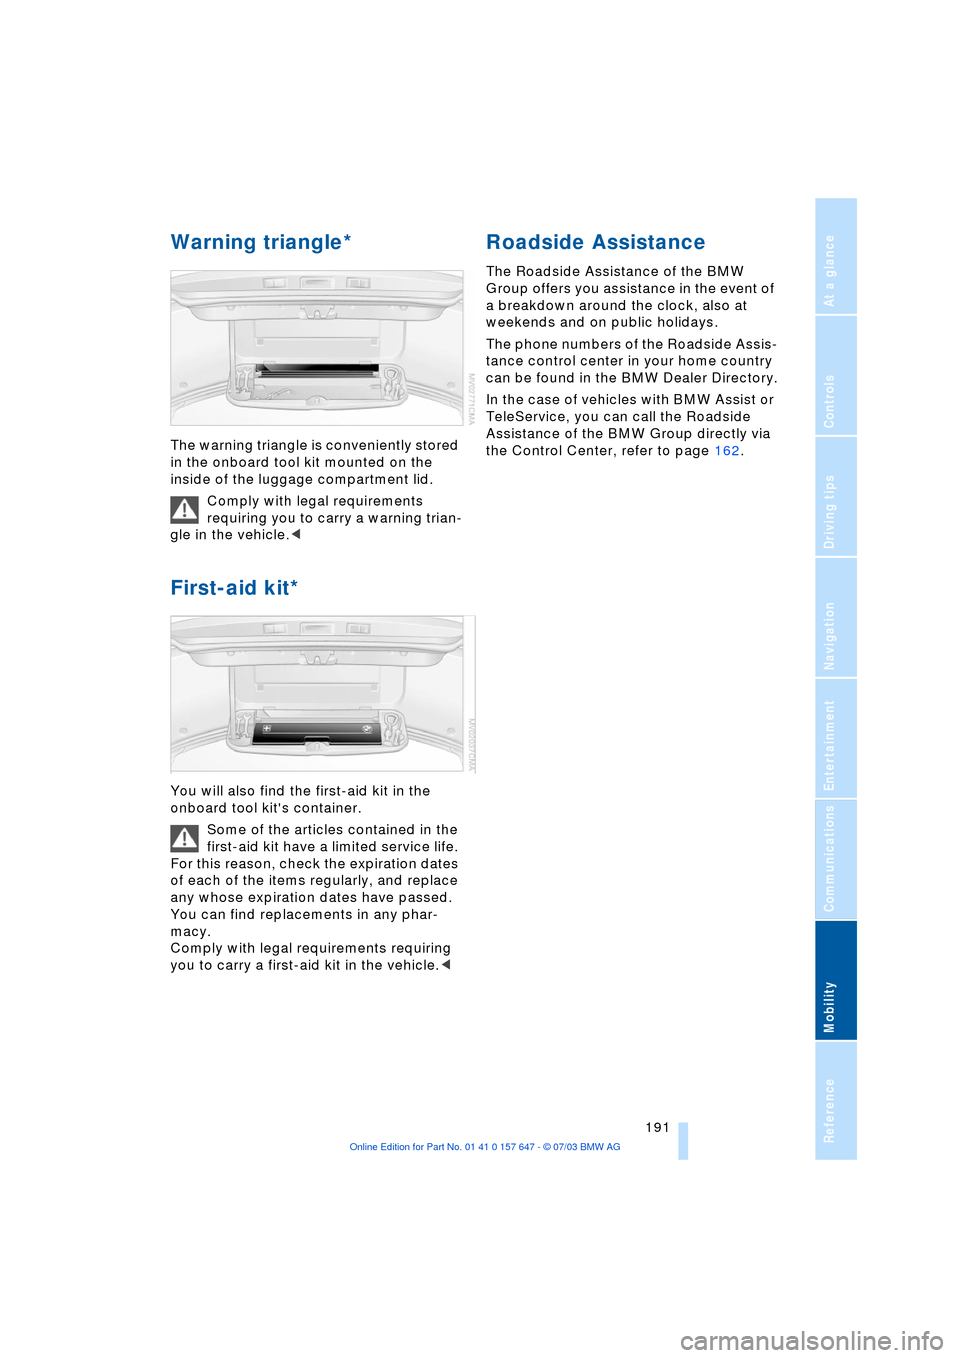
The warning triangle is conveniently stored
in the onboard tool kit mounted on the
inside of the luggage compartment lid.
Comply with legal requirements
requiring you to carry a warning trian-
gle in the vehicle.<
First-aid kit*
You will also find the first-aid kit in the
onboard tool kit's container.
Some of the articles contained in the
first-aid kit have a limited service life.
For this reason, check the expiration dates
of each of the items regularly, and replace
any whose expiration dates have passed.
You can find replacements in any phar-
macy.
Comply with legal requirements requiring
you to carry a first-aid kit in the vehicle.<
Roadside Assistance
The Roadside Assistance of the BMW
Group offers you assistance in the event of
a breakdown around the clock, also at
weekends and on public holidays.
The phone numbers of the Roadside Assis-
tance control center in your home country
can be found in the BMW Dealer Directory.
In the case of vehicles with BMW Assist or
TeleService, you can call the Roadside
Assistance of the BMW Group directly via
the Control Center, refer to page 162.
Page 195 of 220
Mobility
193Reference
At a glance
Controls
Driving tips
Communications
Navigation
Entertainment
5.Attach the second end of the cable to
the negative terminal of the battery or to
the engine or body ground of the vehi-
cle to be started.
Starting the engine
1.Start the engine on the support vehicle
and allow it to run for several minutes at
a fast idle
2.Start the engine on the other vehicle in
the usual way.
If the first start attempt is not success-
ful, wait a few minutes before another
attempt in order to allow the discharged
battery to recharge
3.Let the engines run for a few minutes
4.Disconnect the jumper cables by
reversing the connection sequence.
If required, have the battery inspected and
recharged at your BMW center.
Never use spray fluids to start the
engine.<
Towing
Always observe all applicable towing
laws and regulations.<
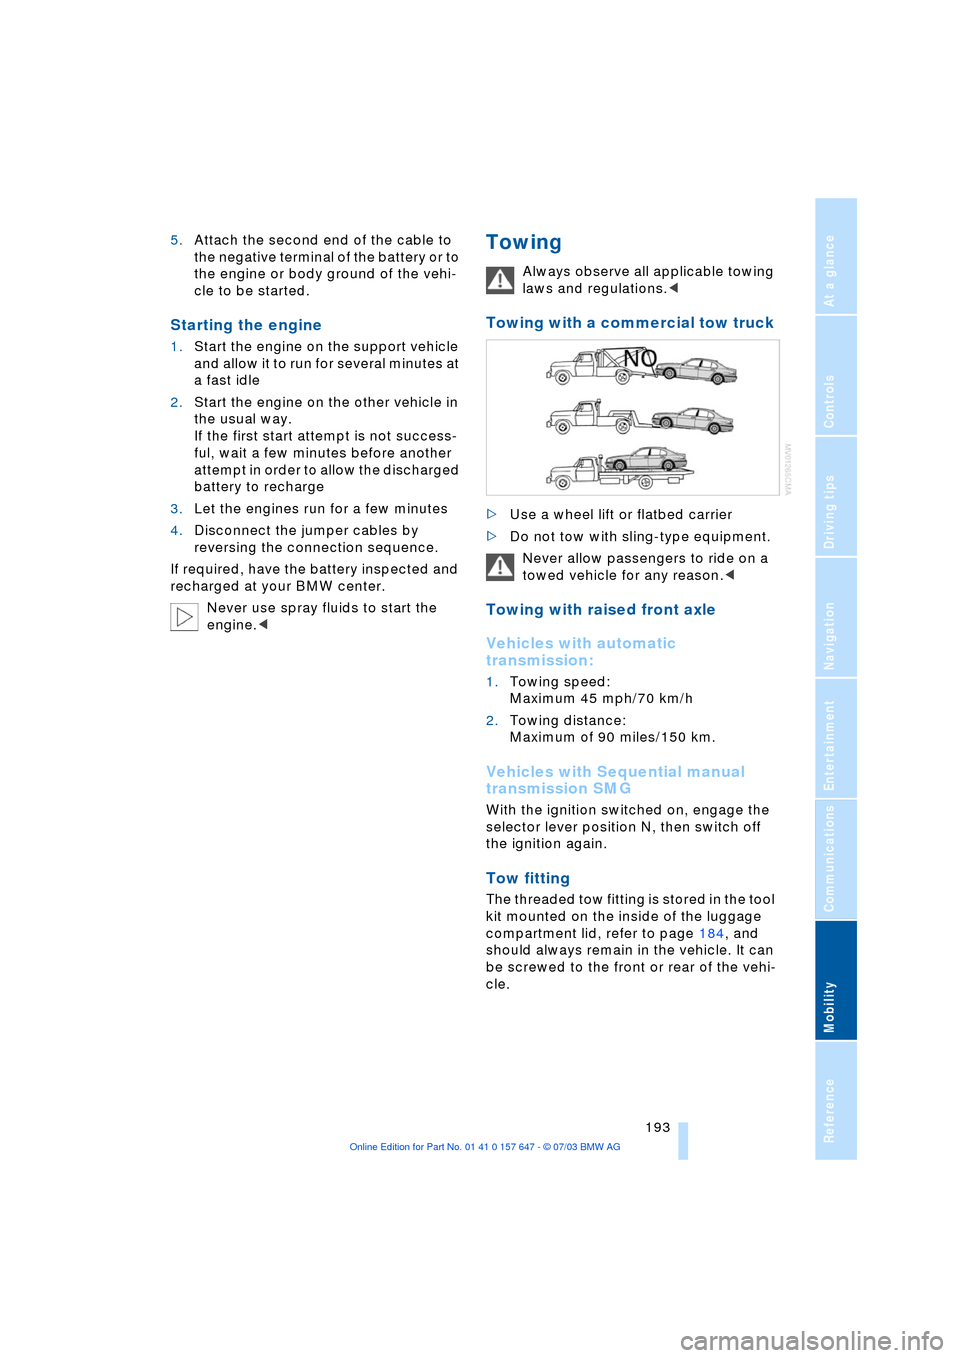
Towing with a commercial tow truck
>Use a wheel lift or flatbed carrier
>Do not tow with sling-type equipment.
Never allow passengers to ride on a
towed vehicle for any reason.<
Towing with raised front axle
Vehicles with automatic
transmission:
1.Towing speed:
Maximum 45 mph/70 km/h
2.Towing distance:
Maximum of 90 miles/150 km.
Vehicles with Sequential manual
transmission SMG
With the ignition switched on, engage the
selector lever position N, then switch off
the ignition again.
Tow fitting
The threaded tow fitting is stored in the tool
kit mounted on the inside of the luggage
compartment lid, refer to page 184, and
should always remain in the vehicle. It can
be screwed to the front or rear of the vehi-
cle.
Page 197 of 220
Mobility
195Reference
At a glance
Controls
Driving tips
Communications
Navigation
Entertainment
Page 201 of 220
Reference 199
At a glance
Controls
Driving tips
Communications
Navigation
Entertainment
Mobility
Dimensions
All dimensions in inch/mm. Minimum turning circle dia.: 37.5 ft/11.44 m