2004 BMW 525I SEDAN warning light
[x] Cancel search: warning lightPage 15 of 220

At a glance
13Reference
Controls
Driving tips
Communications
Navigation
Entertainment
Mobility
Indicator and warning
lamps
Technology that monitors itself
The indicator and warning lamps identified
by the
+ symbol are subjected to an oper-
ation check each time you switch on the
ignition or start the engine. They each light
up once for different periods of time.
When a malfunction occurs in a monitored
system, the corresponding lamp will either
fail to go out when the engine is started, or
it will come on again during normal driving.
For information on how you should respond
when this happens, please refer to the
pages indicated.
Colors
The indicator and warning lamps can light
up in different colors and combinations.
The following section explains the signifi-
cance of the individual colors as well as
how you should respond when they
appear.
>Red:
Stop immediately
or
important reminder
>Red and yellow:
Continue driving moderately
>Yellow:
Have checked soon
or
for your information
>Green or blue:
For your information.
Indicator and warning lamps of the
Check Control
Other indicator and warning lamps appear
in display 6 of the instrument cluster as
necessary, accompanied by supplemen-
tary text on the Control Display, refer to
Check Control, page 68. Turn signal indicators 56
Active steering
+82
Handbrake/brake fluid, brake
hydraulics/DBC Dynamic Brake
Control
+50/ 180/ 79
Handbrake/brake fluid, brake
hydraulics/DBC Dynamic Brake
Control for Canadian models
Airbags
+83
Service Engine Soon
+183
If the indicator lamp comes on
either continuously or intermit-
tently, this indicates a fault in the
emissions-related electronic sys-
tems. Although the vehicle
remains operational, you should
have the systems checked by your
BMW center at the earliest possi-
ble opportunity.
Service Engine Soon indicator
lamp for Canadian models.
Front fog lamps 89
ABS Antilock Brake System
+77
DTC Dynamic Traction Control79
High beams/headlamp flasher 88
Please fasten safety belt
+40
DSC Dynamic Stability
Control
+78
Check Gas Cap168
lamp for US models
Page 42 of 220
Adjustments
40
Comfort seat
Setting the side extensions
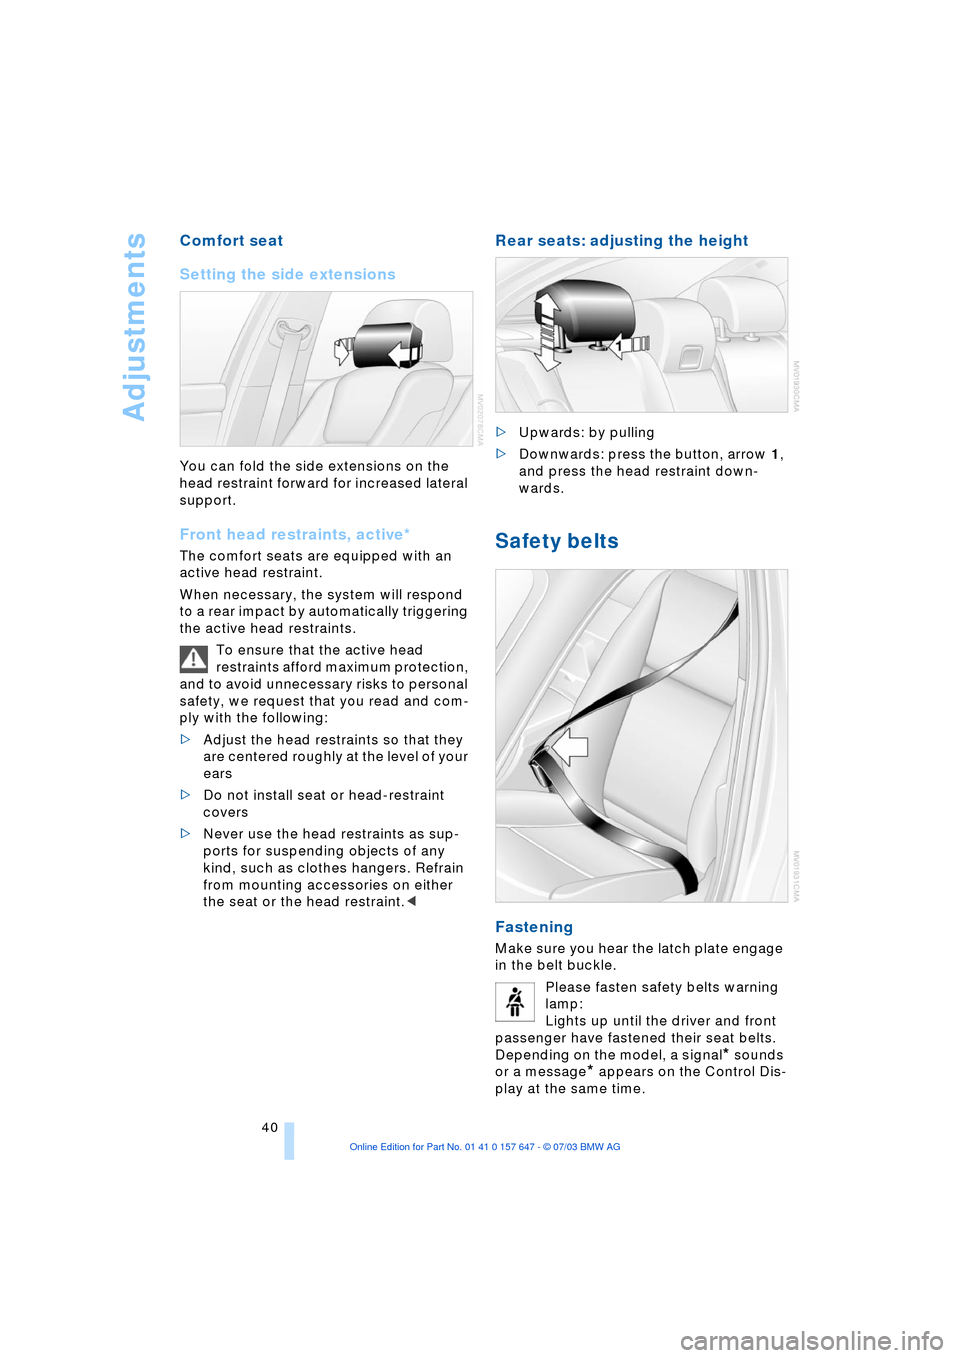
You can fold the side extensions on the
head restraint forward for increased lateral
support.
Front head restraints, active*
The comfort seats are equipped with an
active head restraint.
When necessary, the system will respond
to a rear impact by automatically triggering
the active head restraints.
To ensure that the active head
restraints afford maximum protection,
and to avoid unnecessary risks to personal
safety, we request that you read and com-
ply with the following:
>Adjust the head restraints so that they
are centered roughly at the level of your
ears
>Do not install seat or head-restraint
covers
>Never use the head restraints as sup-
ports for suspending objects of any
kind, such as clothes hangers. Refrain
from mounting accessories on either
the seat or the head restraint.<
Rear seats: adjusting the height
>Upwards: by pulling
>Downwards: press the button, arrow 1,
and press the head restraint down-
wards.
Safety belts
Fastening
Make sure you hear the latch plate engage
in the belt buckle.
Please fasten safety belts warning
lamp:
Lights up until the driver and front
passenger have fastened their seat belts.
Depending on the model, a signal
* sounds
or a message
* appears on the Control Dis-
play at the same time.
Page 52 of 220
Driving
50 lever in idle position and apply the hand-
brake.
Never leave an unattended vehicle with the
engine running, as such a vehicle repre-
sents a potential safety hazard.<
Automatic transmission
1.Press the brake pedal
2.Place the selector lever in position P
or N
3.Start the engine.
To prevent the vehicle from rolling,
always select position P or N and
engage the handbrake before leaving the
vehicle with the engine running.
Never leave an unattended vehicle with the
engine running, as such a vehicle repre-
sents a potential safety hazard.<
Sequential manual transmission
SMG
1.Press the brake pedal
2.Place the selector lever in the idle posi-
tion N
3.Start the engine.
If the engine does not start, engage
the last gear selected, refer to Display
in the instrument cluster, and return the
selector lever to the idle position N.<
Before leaving the vehicle with the
engine running, place the selector
lever in position N and apply the hand-
brake.
Never leave an unattended vehicle with the
engine running, as such a vehicle repre-
sents a potential safety hazard.<
Switching off engine
Do not remove the ignition key while
the vehicle is rolling, as otherwise the
steering wheel lock would engage while
steering.
When leaving the vehicle, always remove
the ignition key and lock the steering.
When parking on downward inclines, apply
the handbrake.<
Manual transmission
Turn the ignition key to position 1 or 0.
Automatic transmission
1.Engage selector-lever position P
2.Turn the ignition key to position 1 or 0.
Sequential manual transmission
SMG
If the selector lever is in position R or in the
sequential mode and you turn the ignition
key to position 1 or 0, the gear remains
engaged automatically.
If the selector lever is in the idle position N
and you turn the ignition key to position 1
or 0, an acoustic signal and the flashing
gear indicator in the display reminds you
that the vehicle is not secured against roll-
ing away.
The warning stops sounding after approx.
9 seconds.
When parking on downward inclines,
apply the handbrake. Engaging a gear
is not sufficient to secure the vehicle from
rolling away under certain circumstances.<
Handbrake
The handbrake is primarily intended to pre-
vent the vehicle from rolling while parked; it
brakes the rear wheels.
Indicator lamp
The indicator lamp lights up with
the handbrake applied, and an
acoustic signal also sounds when
starting off.
Indicator lamp for Canadian mod-
els.
Applying
The lever locks into place automatically;
the indicator lamp in the instrument cluster
lights up in ignition key position 2.
Page 55 of 220
Controls
53Reference
At a glance
Driving tips
Communications
Navigation
Entertainment
Mobility
towards D or change the current gear using
the shift paddles or selector lever.
Gear changes
Using selector lever
>To shift up, briefly press the selector
lever towards +
>To shift down, briefly press towards Ñ.
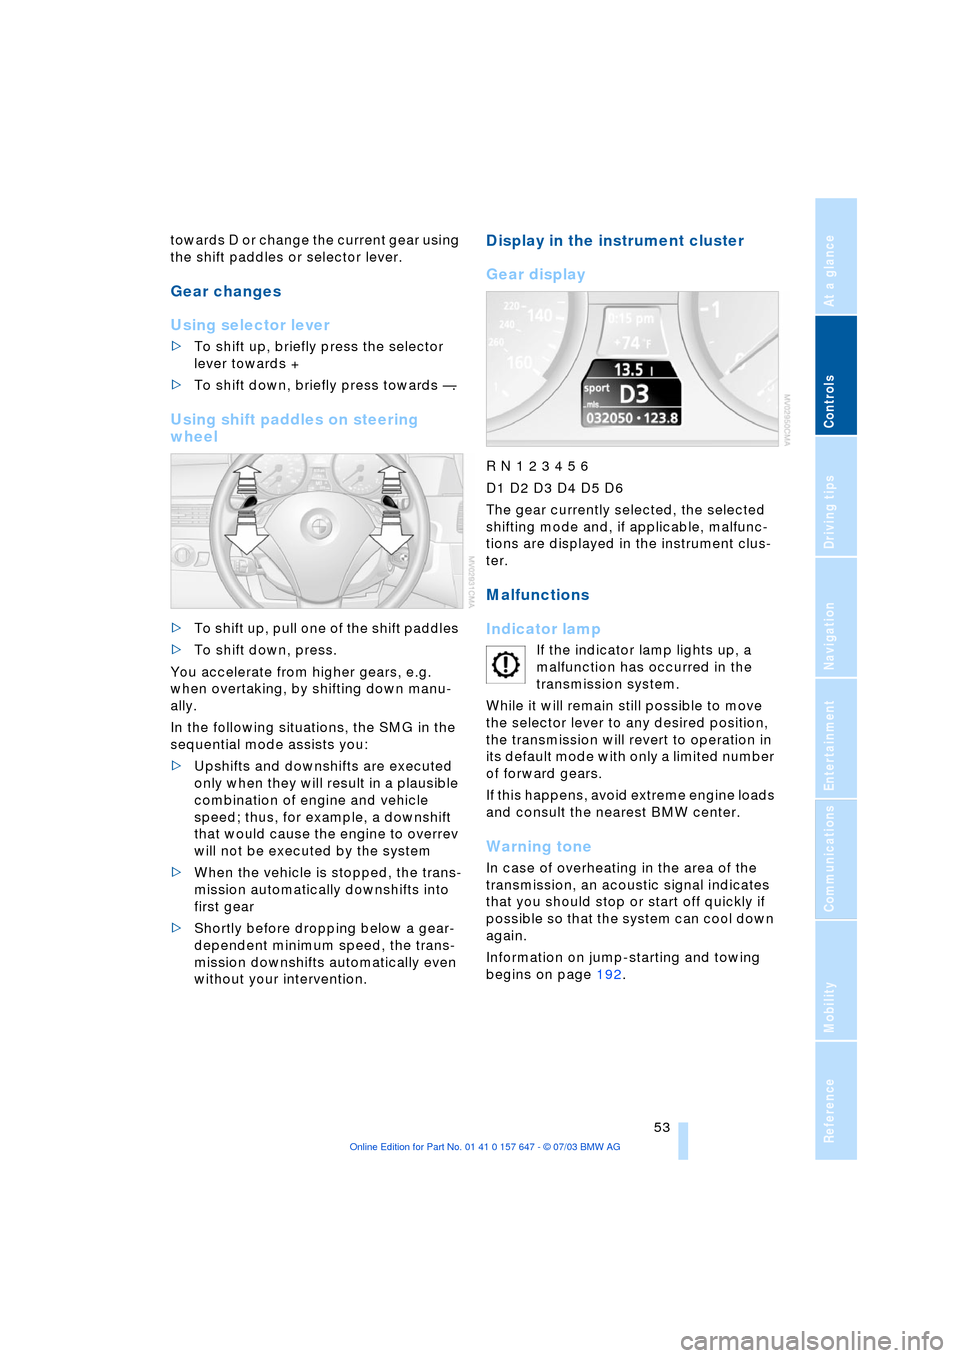
Using shift paddles on steering
wheel
>To shift up, pull one of the shift paddles
>To shift down, press.
You accelerate from higher gears, e.g.
when overtaking, by shifting down manu-
ally.
In the following situations, the SMG in the
sequential mode assists you:
>Upshifts and downshifts are executed
only when they will result in a plausible
combination of engine and vehicle
speed; thus, for example, a downshift
that would cause the engine to overrev
will not be executed by the system
>When the vehicle is stopped, the trans-
mission automatically downshifts into
first gear
>Shortly before dropping below a gear-
dependent minimum speed, the trans-
mission downshifts automatically even
without your intervention.
Display in the instrument cluster
Gear display
R N 1 2 3 4 5 6
D1 D2 D3 D4 D5 D6
The gear currently selected, the selected
shifting mode and, if applicable, malfunc-
tions are displayed in the instrument clus-
ter.
Malfunctions
Indicator lamp
If the indicator lamp lights up, a
malfunction has occurred in the
transmission system.
While it will remain still possible to move
the selector lever to any desired position,
the transmission will revert to operation in
its default mode with only a limited number
of forward gears.
If this happens, avoid extreme engine loads
and consult the nearest BMW center.
Warning tone
In case of overheating in the area of the
transmission, an acoustic signal indicates
that you should stop or start off quickly if
possible so that the system can cool down
again.
Information on jump-starting and towing
begins on page 192.
Page 61 of 220
Controls
59Reference
At a glance
Driving tips
Communications
Navigation
Entertainment
Mobility
>when you press the clutch or engage
position N of the automatic transmis-
sion
>when the DSC system is in active oper-
ation.
4 Recalling stored speed
Press button 4 briefly: the vehicle acceler-
ates to and maintains the last speed stored.
Deactivating system
When the ignition is switched off, the sys-
tem is deactivated and the stored speed is
deleted.
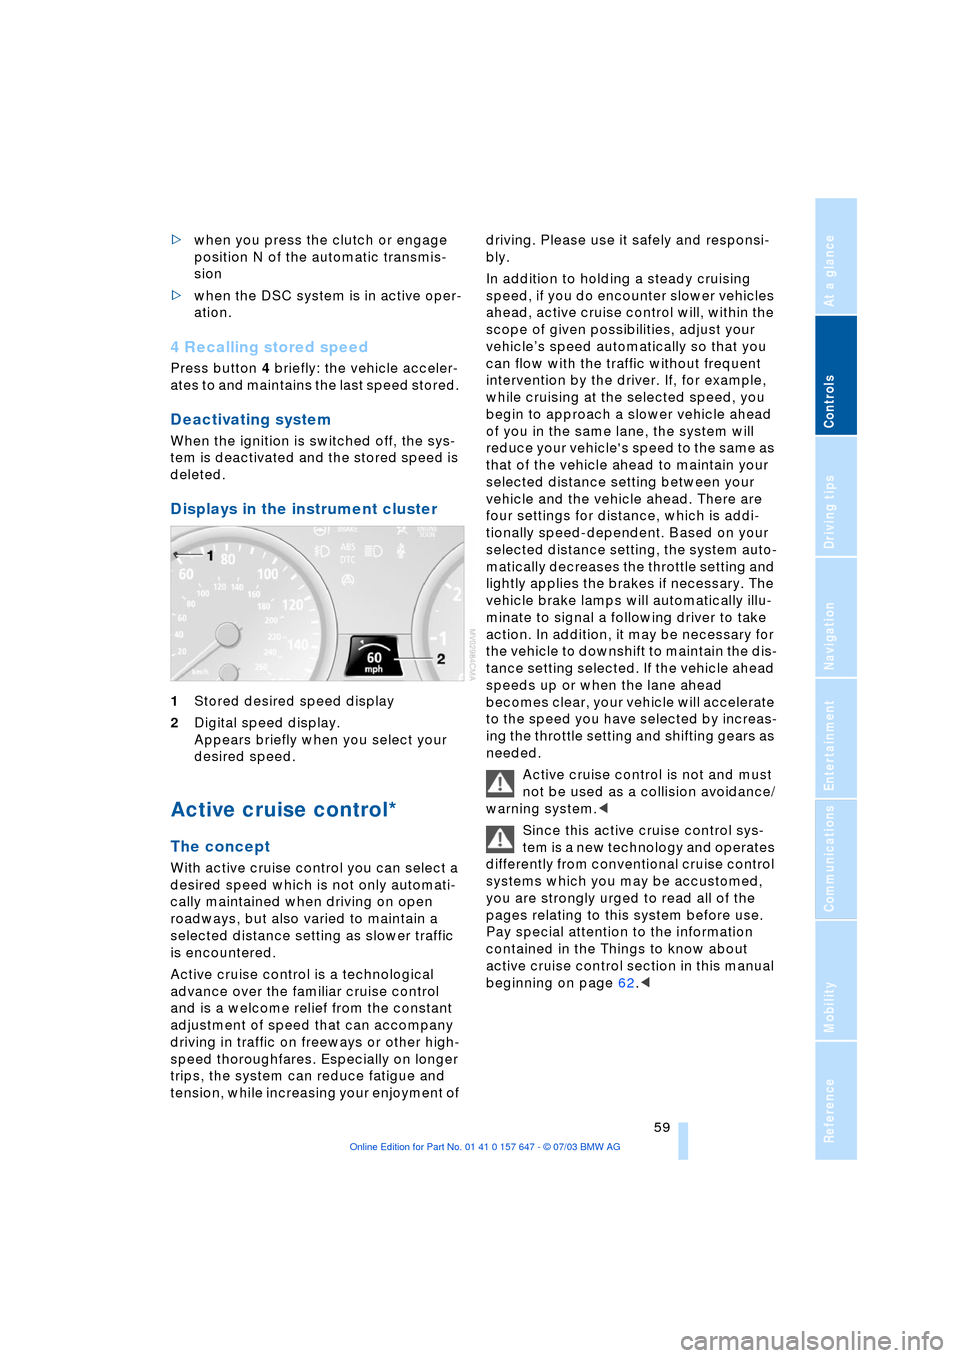
Displays in the instrument cluster
1Stored desired speed display
2Digital speed display.
Appears briefly when you select your
desired speed.
Active cruise control*
The concept
With active cruise control you can select a
desired speed which is not only automati-
cally maintained when driving on open
roadways, but also varied to maintain a
selected distance setting as slower traffic
is encountered.
Active cruise control is a technological
advance over the familiar cruise control
and is a welcome relief from the constant
adjustment of speed that can accompany
driving in traffic on freeways or other high-
speed thoroughfares. Especially on longer
trips, the system can reduce fatigue and
tension, while increasing your enjoyment of driving. Please use it safely and responsi-
bly.
In addition to holding a steady cruising
speed, if you do encounter slower vehicles
ahead, active cruise control will, within the
scope of given possibilities, adjust your
vehicleÕs speed automatically so that you
can flow with the traffic without frequent
intervention by the driver. If, for example,
while cruising at the selected speed, you
begin to approach a slower vehicle ahead
of you in the same lane, the system will
reduce your vehicle's speed to the same as
that of the vehicle ahead to maintain your
selected distance setting between your
vehicle and the vehicle ahead. There are
four settings for distance, which is addi-
tionally speed-dependent. Based on your
selected distance setting, the system auto-
matically decreases the throttle setting and
lightly applies the brakes if necessary. The
vehicle brake lamps will automatically illu-
minate to signal a following driver to take
action. In addition, it may be necessary for
the vehicle to downshift to maintain the dis-
tance setting selected. If the vehicle ahead
speeds up or when the lane ahead
becomes clear, your vehicle will accelerate
to the speed you have selected by increas-
ing the throttle setting and shifting gears as
needed.
Active cruise control is not and must
not be used as a collision avoidance/
warning system.<
Since this active cruise control sys-
tem is a new technology and operates
differently from conventional cruise control
systems which you may be accustomed,
you are strongly urged to read all of the
pages relating to this system before use.
Pay special attention to the information
contained in the Things to know about
active cruise control section in this manual
beginning on page 62.<
Page 65 of 220
Controls
63Reference
At a glance
Driving tips
Communications
Navigation
Entertainment
Mobility
Always remember that the range and
ability of the system does have phys-
ical limitations. It will not apply the brakes
or decelerate your vehicle when there is a
slow-moving vehicle, stopped vehicle or
stationary object ahead of you, as for
example, at a traffic light or a parked vehi-
cle. Also, the system does not react to
oncoming traffic, pedestrians or other type
of potential traffic such as a rider on horse-
back. It is also possible that the system
may not detect smaller moving objects
such as motorcycles or bicycles. Be espe-
cially alert when encountering any of these
situations as the system will neither auto-
matically brake, nor provide a warning to
you. Also, be aware that every decrease in
the distance setting allows your vehicle to
come closer to a vehicle in front of you and
requires a heightened amount of alert-
ness.<
If while your vehicle is actively following a
vehicle in front of you and the vehicle
ahead speeds up or the lane ahead
becomes clear, then your vehicle will
accelerate to the speed you have selected.
Be aware that changing to a clear, unob-
structed lane will also result in your vehicle
accelerating.
Be certain to deactivate the system
when you pull into an exit lane for a
highway off-ramp.<
Also, vehicles traveling in a staggered man-
ner on a highway may cause a delay in the
system's reaction to a vehicle in front of
you or may cause the system to react to a
vehicle actually in the lane next to you.
Always be ready to take action or apply the
brakes if necessary.
Active cruise control can only decelerate
the vehicle to approx. 20 mph/30 km/h. If
the system reduces vehicle speed below
20 mph/30 km/h or if DSC/ABS is engaged
while driving, the system will automatically
deactivate.
Remember, the system cannot stop
your vehicle. In addition, the system is
deactivated whenever the driver applies
the vehicle brakes, shifts the transmission
from drive/D to neutral/N, or deactivates DSC. After any deactivation, the system
will no longer automatically activate the
vehicle brakes, which means the driver
must intervene and resume manual brak-
ing. You should then reactivate the system
only when you are fully aware of the prior
speed and distance settings.<
Active cruise control may brake when you
reduce the stored desired speed; however,
the driver must constantly monitor traffic
and intervene if necessary.
When you switch off the engine or ignition,
active cruise control is fully switched off,
too, and any settings you have selected are
canceled.
Behavior in curves
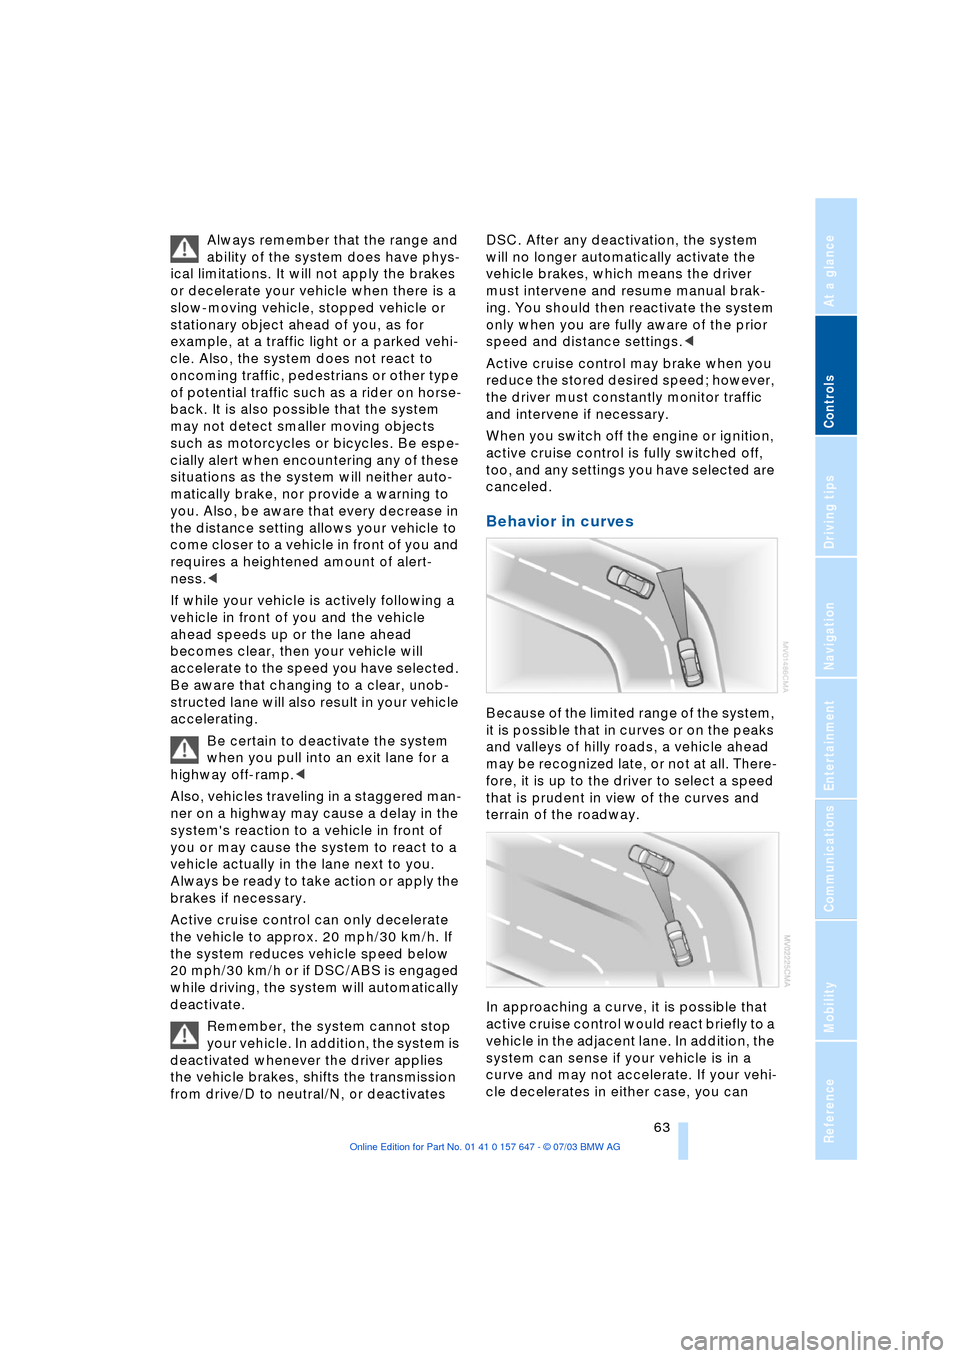
Because of the limited range of the system,
it is possible that in curves or on the peaks
and valleys of hilly roads, a vehicle ahead
may be recognized late, or not at all. There-
fore, it is up to the driver to select a speed
that is prudent in view of the curves and
terrain of the roadway.
In approaching a curve, it is possible that
active cruise control would react briefly to a
vehicle in the adjacent lane. In addition, the
system can sense if your vehicle is in a
curve and may not accelerate. If your vehi-
cle decelerates in either case, you can
Page 78 of 220
Technology for comfort, convenience and safety
76
Technology for comfort, convenience
and safety
PDC Park Distance Control*
The concept
The PDC assists you when you are parking.
Signal tones indicate the current distance
to an object behind or in front of your vehi-
cle. Four ultrasonic sensors in both the
bumpers monitor the distance to the near-
est object. The sensors at the front and at
the two rear corners have a range of
approx. 1.64 ft/50 cm; the rear middle sen-
sors have approx. 5 ft/1.50 m.
PDC is a parking aid that can indicate
objects when they are approached
slowly, as is usually the case when parking.
Avoid approaching an object at high speed,
as otherwise the physical circumstances
would mean that the system warning was
too late.<
Automatic function
In ignition key position 2, the system auto-
matically assumes operational status after
a few seconds each time you engage
reverse gear or selector-lever position R.
Wait this short period before revers-
ing.<
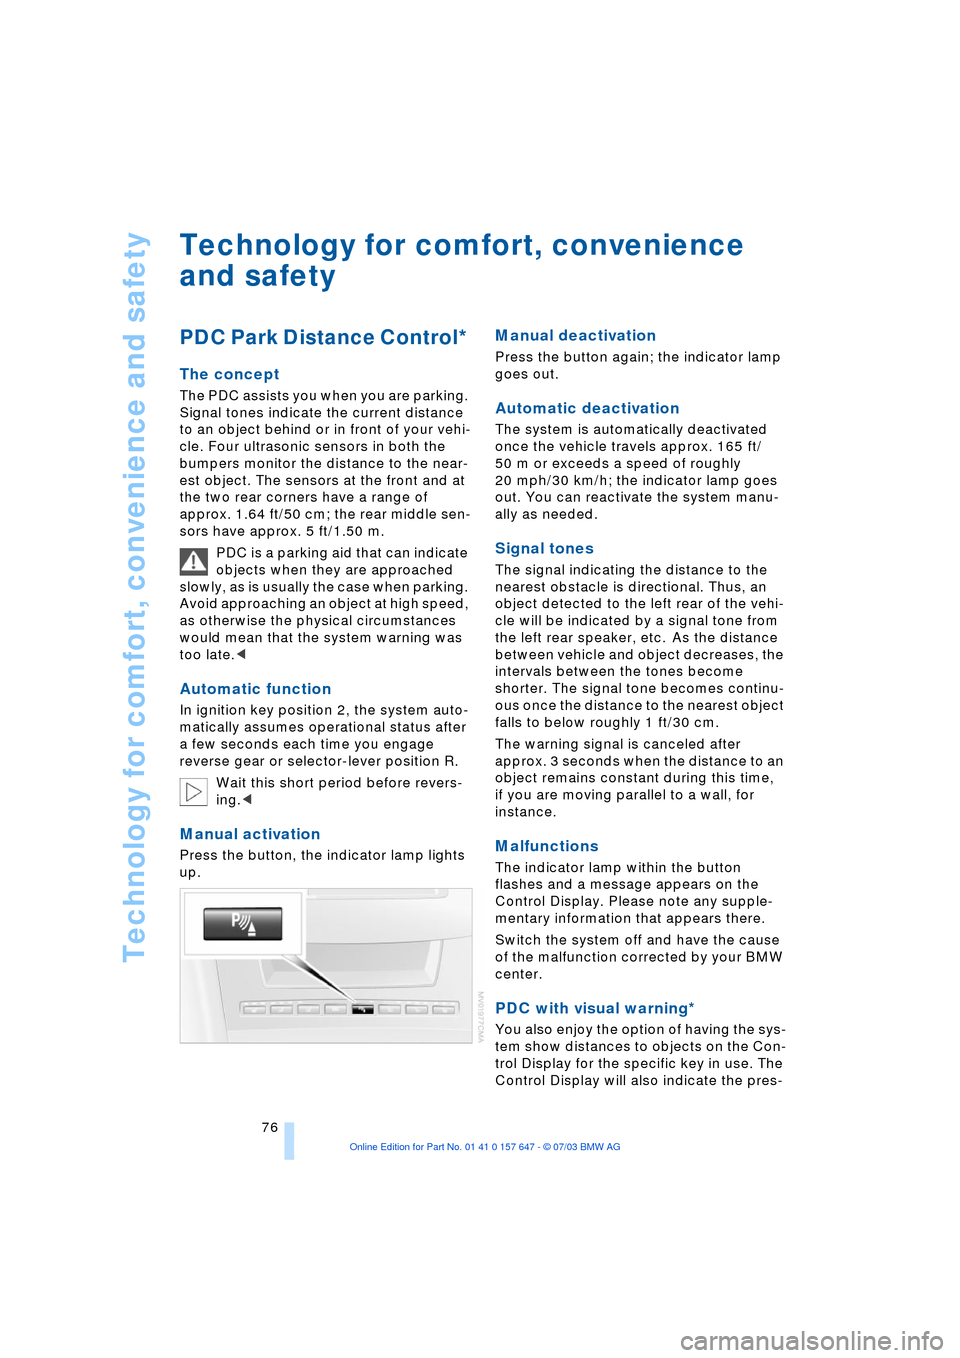
Manual activation
Press the button, the indicator lamp lights
up.
Manual deactivation
Press the button again; the indicator lamp
goes out.
Automatic deactivation
The system is automatically deactivated
once the vehicle travels approx. 165 ft/
50 m or exceeds a speed of roughly
20 mph/30 km/h; the indicator lamp goes
out. You can reactivate the system manu-
ally as needed.
Signal tones
The signal indicating the distance to the
nearest obstacle is directional. Thus, an
object detected to the left rear of the vehi-
cle will be indicated by a signal tone from
the left rear speaker, etc. As the distance
between vehicle and object decreases, the
intervals between the tones become
shorter. The signal tone becomes continu-
ous once the distance to the nearest object
falls to below roughly 1 ft/30 cm.
The warning signal is canceled after
approx. 3 seconds when the distance to an
object remains constant during this time,
if you are moving parallel to a wall, for
instance.
Malfunctions
The indicator lamp within the button
flashes and a message appears on the
Control Display. Please note any supple-
mentary information that appears there.
Switch the system off and have the cause
of the malfunction corrected by your BMW
center.
PDC with visual warning*
You also enjoy the option of having the sys-
tem show distances to objects on the Con-
trol Display for the specific key in use. The
Control Display will also indicate the pres-
Page 80 of 220

Technology for comfort, convenience and safety
78
CBC Cornering Brake Control
CBC is a supplement to ABS. It provides
further enhancements in vehicle stability
and steering response during lane changes
and cornering at high rates of lateral accel-
eration.
EBV Electronic Brake Force
Distribution
EBV controls the brake system's applica-
tion pressure at the rear wheels to ensure
stable deceleration.
In case of malfunction
If the brake system warning lamp
lights up in red, appearing together
with the yellow indicator lamps for
ABS and DSC:
The driving stability control has
failed.
If all three lamps light up yellow:
Fault in the driving stability control.
The EBV electronic brake-force distribution
is active.
While you may continue, you should
remember to proceed cautiously and drive
defensively while avoiding full brake appli-
cations.
Please have the system checked at the
nearest BMW center.
If a message appears on the Control Dis-
play, please note the supplementary infor-
mation.
You can find more information on the
Check Control starting on page 68.
Indicator and warning lamps for
Canadian models.
Driving stability control/
DSC Dynamic Stability
Control
The concept
DSC maintains vehicle stability, even in
critical driving situations.
The DSC is operational every time you start
the engine. DSC includes the functionality
of the DTC Dynamic Traction Control and
DBC Dynamic Brake Control, refer to
page 79.
The system optimizes vehicle stability dur-
ing acceleration and when starting from a
full stop, as well as optimizing traction. The
system recognizes any tendency for the
vehicle to assume an unstable attitude
such as oversteer or understeer; it then
counteracts this tendency with a combina-
tion of graduated reductions in engine
torque and selective braking intervention at
individual wheels. DSC provides optimal
stability within the limits defined by the
laws of physics.
Indicator lamps
The indicator lamp in the instrument
cluster goes out soon after you start
the engine.
If the indicator lamp flashes:
DSC is regulating the drive and braking
forces.
If the indicator lamp lights up permanently:
DSC has been switched off using the but-
ton.
If the indicator lamp and the brake
warning lamp light up permanently:
Malfunction in DSC, DTC and DBC.
When the system is off, the stability main-
tenance functions described above are no
longer available. The vehicle will remain
completely operational, however, without
DSC.
Please respond to any malfunctions by
referring the problem to your BMW center.