2003 PONTIAC GRAND PRIX clock
[x] Cancel search: clockPage 78 of 378

Leaving Your Vehicle
If you are leaving the vehicle, take your keys, open your 1
door and set the locks from inside. Then get out and
dose the door.
ur ’
It can be dangerous to drive with the trunk lid
open because carbon monoxide
(CO) gas can
come into your vehicle. You can’t see or
smell
CO. It can cause unconsciousness and
even death.
CAUTION: (Continued) if you must drive with the trunk
lid aen or if
electrical wiring or other cable connections
must pass through the seal between the body
and the trunk lid:
0 Make sure all other windows are shut.
0 Turn the fan on your heating or cooling system to its highest speed and select the
control setting that will force outside air into your vehicle. See “Climate Controls”
in the Index.
instrument panel, open them all the way.
If you have air outlets on or under the
See “Engine Exhaust” in the Index.
Trunk Lock
To unlock the trunk from the outside, insert the key into
the lock on the trunk and turn it clockwise. You can also
press the trunk symbol on the remote keyless entry
transmitter.
2-1 1
Page 104 of 378
Outside Power Mirrors Outside Convex Mirror
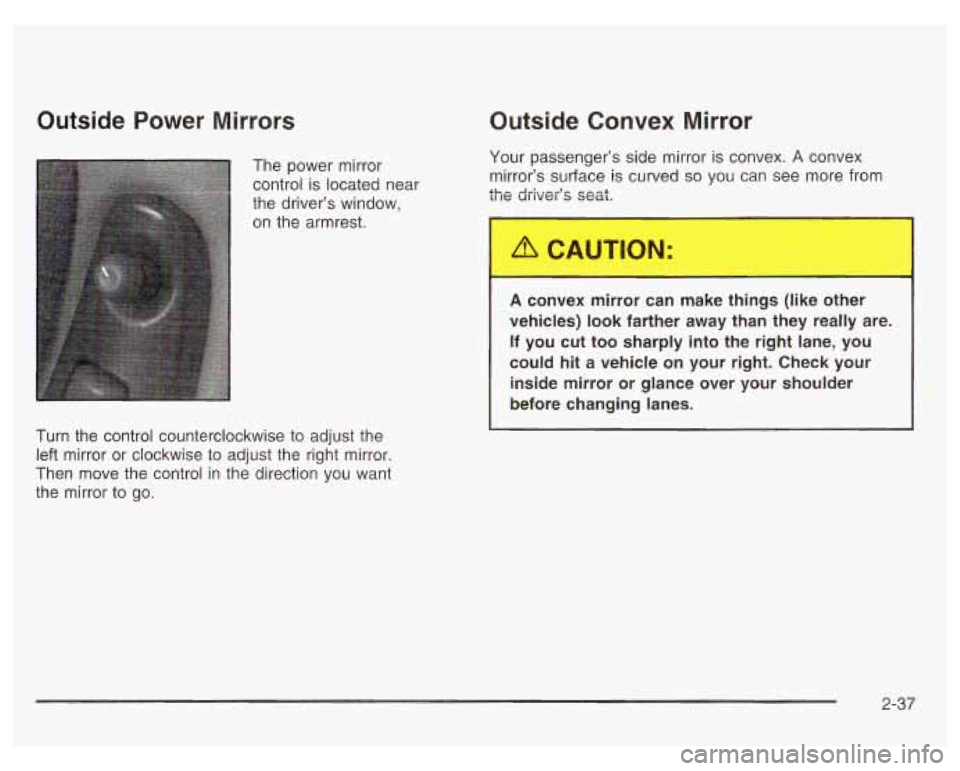
The power mirror
control is located near
the driver’s window,
on the armrest.
Turn the control counterclockwise to adjust the
left mirror or clockwise to adjust the right mirror.
Then move the control in the direction you want
the mirror to go. Your
passenger’s side mirror is convex. A convex
mirror’s surface is curved
so you can see more from
the driver’s seat.
A convex mirror can make things (like other
vehicles)
look farther away than they really are.
If you cut too sharply into the right lane, you
could hit a vehicle on your right. Check your
inside mirror or glance over your shoulder
before changing lanes.
2-37
Page 141 of 378

Climate Controls
Dual Climate Control System
f;' (Vent): This mode directs air to the instrument
panel outlets.
+2 (Bi-Level): This mode directs half of the air to the
instrument panel outlets, and then directs the
With this system you can control the heating, cooling
and ventilation for your vehicle. remaining air
to the floor outlets. Some air may be
directed toward the windshield. Cooler air is directed to
the upper outlets and warmer air to the floor outlets.
(Floor): This mode directs most of the air to
the floor outlets with some air directed toward the
outboard outlets (for the side windows) and a little air
directed to the windshield.
The mode knob can also be used to select defog or
defrost mode. Information on defogging and defrosting,
see "Defogging and Defrosting" later in this section.
3f (Fan): Turn the knob located on the left of
the climate control panel clockwise or counterclockwise
Use the mode knob located on the right side of the to increase or decrease the fan speed.
climate control panel to select the following modes:
Driver or Passenger (Temperature Levers): Slide the
2 MAX (Maximum): This mode recirculates much of
the air inside your vehicle and sends it through the
instrument panel outlets. The air conditioning
compressor will run automatically in this setting unless
the temperature is at or below freezing. lever(s)
up or down to increase or decrease the
temperature.
3-20
Page 168 of 378
4 00 (Dolby): Press this pushbutton to reduce
background noise. The double-D symbol will appear
on the display.
Dolby Noise Reduction is manufactured under a
license from Dolby Laboratories Licensing Corporation.
Dolby and the double-D symbol are trademarks
of
Dolby Laboratories Licensing Corporation.
5 REV (Reverse): Press this pushbutton to reverse the
tape rapidly. Press it again to return to playing speed.
The radio will play while the tape reverses. You
may select stations during reverse operation using
SEEK or TUNE.
6 FWD (Forward): Press this pushbutton to advance
quickly. Press the pushbutton again to return to playing
speed. The radio will play while the tape advances.
You may select stations during forward operation using
SEEK or TUNE.
A SEEK : Press the up or the down arrow to seek
to the next or to the previous selection on the tape.
AM/FM: Press this button to listen to the radio when a
tape
is playing.
TAPE/PLAY: Press this button to change to playing a
tape when listening to the radio. The tape symbol
with an arrow will appear on the display while the tape
is active.
A EJECT: Press this button to stop a tape when it is
playing and to remove a tape when it is not playing.
The eject button may be activated with either the ignition
or radio
off. Cassettes may be loaded with the radio
and ignition
off if this button is pressed first.
Cassette Tape Messages
E (Error): If this message and a number appears while
trying to play a cassette tape, it could be one of the
following:
0 ElO: The tape is tight and the player can’t turn the
tape hubs. Remove the tape. Hold the tape with
the open end down and try to turn the right
hub counterclockwise with a pencil. Turn the tape
over and repeat. If the hubs do not turn easily, your
tape may be damaged and should not be used in
the player. Try a new tape to make sure your player
is working properly.
El 1 : The tape is broken. Try a new tape.
0 E14: Wrapped tape. Try a new tape.
3-47
Page 195 of 378
If you need to reduce your speed as you approach a
curve, do it before you enter the curve, while your front
wheels are straight ahead.
Try to adjust your speed
so you can “drive” through the
curve. Maintain a reasonable, steady speed. Wait to
accelerate until you are out of the curve, and then
accelerate gently into the straightaway.
Steering in Emergencies
There are times when steering can be more effective
than braking. For example, you come over a hill and find
a truck stopped in your lane, or a car suddenly pulls out
from nowhere, or a child darts out from between parked
cars and stops right in front of you. You can avoid these
problems by braking
- if you can stop in time. But
sometimes you can’t; there isn’t room. That’s the time
for evasive action
- steering around the problem.
Your vehicle can perform very well in emergencies like
these. First apply your brakes.
See Braking on page
4-6. It is better to remove as much
speed as you can from a possible collision. Then
steer around the problem, to the left or right depending
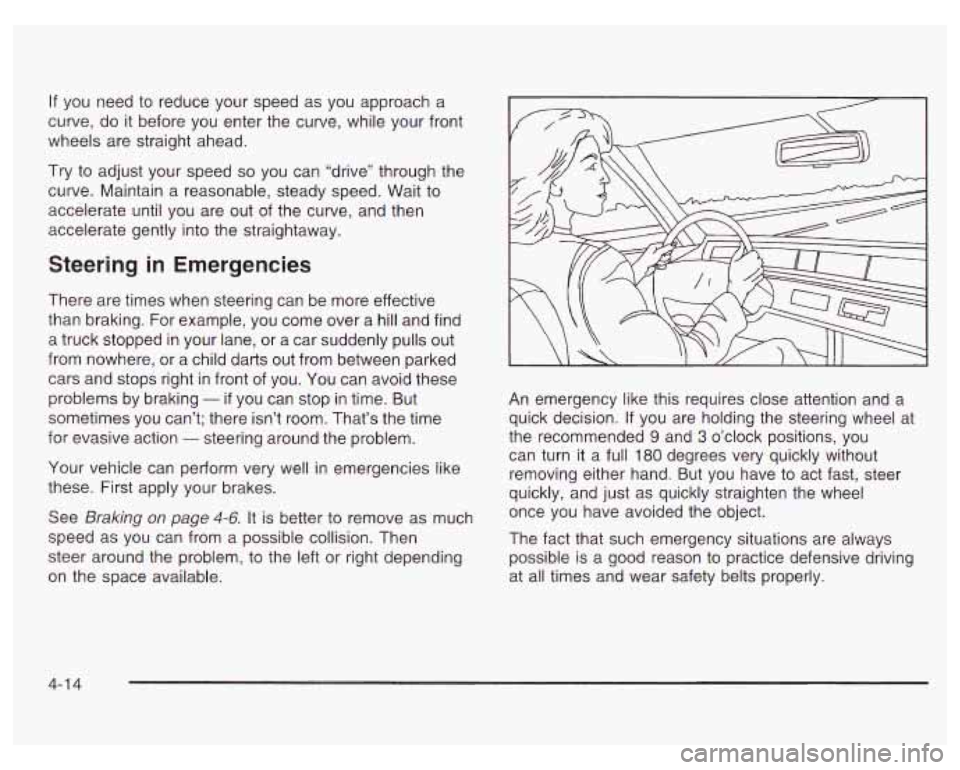
on the space available. An emergency
like this requires close attention and a
quick decision.
If you are holding the steering wheel at
the recommended
9 and 3 o’clock positions, you
can turn it a full
180 degrees very quickly without
removing either hand. But you have to act fast, steer
quickly, and just as quickly straighten the wheel
once you have avoided the object.
The fact that such emergency situations are always
possible is a good reason to practice defensive driving
at all times and wear safety belts properly.
4-1 4
Page 233 of 378
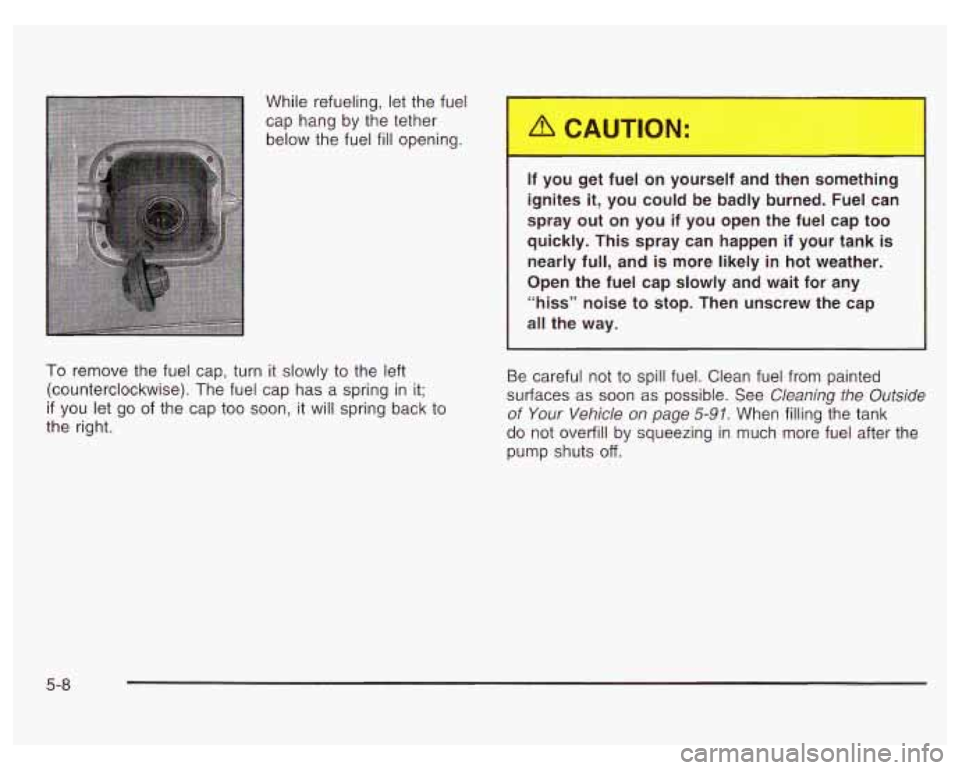
While refueling, let the fuel
cap hang by the tether
below the fuel
fill opening.
To remove the fuel cap, turn it slowly to the left
(counterclockwise). The fuel cap has a spring in it;
if you let go of the cap too soon, it will spring back to
the right.
If you get fuel on yourself and then something
ignites
it, you could be badly burned. Fuel can
spray out on you
if you open the fuel cap too
quickly. This spray can happen
if your tank is
nearly full, and is more likely in hot weather.
Open the fuel cap slowly and wait for any “hiss” noise
to stop. Then unscrew the cap
all the way.
Be careful not to spill fuel. Clean fuel from painted
surfaces as soon as possible. See Cleaning the Outside
of Your Vehicle on page 5-97. When filling the tank
do not overfill by squeezing in much more fuel after the
pump shuts
off.
5-8
Page 234 of 378
When you put the fuel cap back on, turn it to the right
(clockwise) until you hear a clicking sound. Make
sure you fully install the cap. The diagnostic system can
determine
if the fuel cap has been left off or improperly
installed. This would allow fuel to evaporate into
the
atmosphere. See Malfunction Indicator Lamp on
page
3-32.
Notice: If you need a new fuel cap, be sure to get
the right type. Your dealer can get one for you.
If you get the wrong type, it may not fit properly.
This may cause your malfunction indicator lamp to
light and may damage your fuel tank and emissions
system. See “Malfunction Indicator Lamp” in
the Index.
Filling a Portable Fuel Container
~ .-ver fil. - portable fL-- cc..-ainer while it is in
your vehicle. Static electricity discharge from
the container can ignite the gasoline vapor. You can be badly burned and your vehicle
damaged if this occurs.
To help avoid injury to
you and others:
Dispense gasoline only into approved
containers.
Do not fill a container while it is inside a
vehicle,
in a vehicle’s trunk, pickup bed or
on any surface other than the ground.
Bring the fill nozzle in contact with the
inside of the fill opening before operating
the nozzle. Contact should be maintained
until the filling is complete.
Don’t smoke while pumping gasoline.
5-9
Page 266 of 378
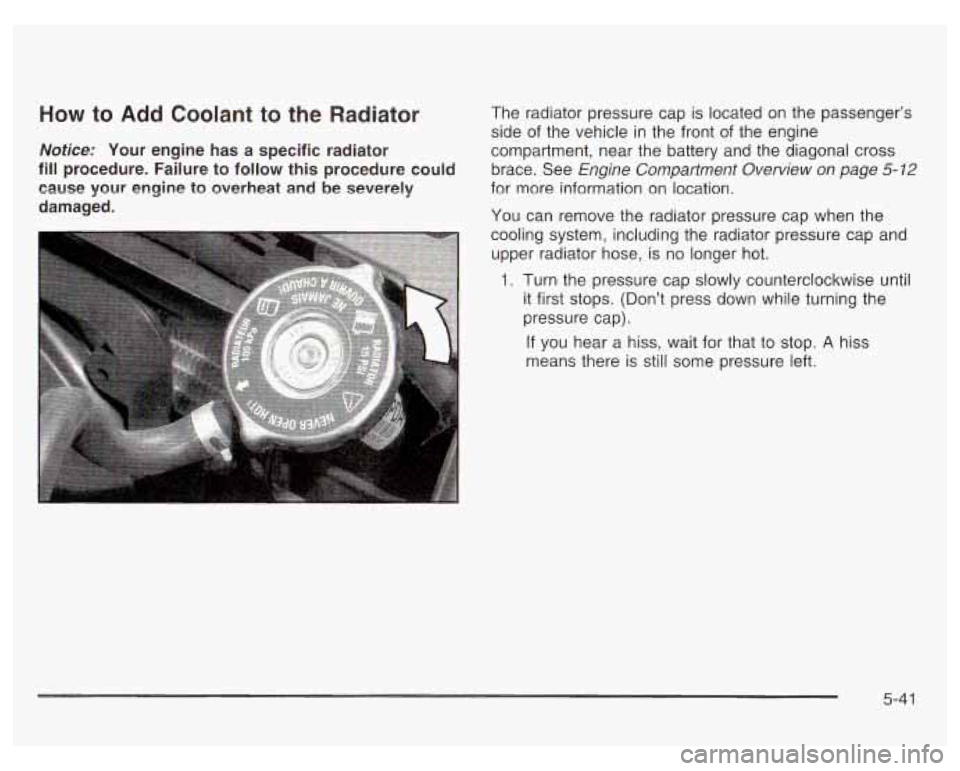
40w to Add Coolant to the Radiator The radiator pressure cap is located on the passenger’s
side of the vehicle
in the front of the engine
dotice: Your engine has a specific radiator compartment, near the battery and the diagonal cross
ill procedure. Failure to follow this procedure could brace. See Engine Compartment Overview on page 5-12
:ause your engine to overheat and be severely for more information on location.
lamaged. You can remove the radiator pressure cap when the
cooling system, including the radiator pressure cap and
upper radiator hose, is no longer hot.
1. Turn the pressure cap slowly counterclockwise until
it first stops. (Don’t press down while turning the
pressure cap).
If you hear a hiss, wait for that to stop. A hiss
means there is still some pressure left.
5-4 1