2003 PONTIAC GRAND PRIX buttons
[x] Cancel search: buttonsPage 101 of 378

Temperature Display
Press the on/off button to change the temperature
display. You can select
OF, "C, or turn the display off.
Compass Operation
There is a compass display in the window in the
upper right corner of the mirror face. The compass
displays a maximum of two characters. For example,
NE is displayed for north-east.
The compass may need to be calibrated. See
"Compass Calibration" under Automatic Dimming
Rearview Mirror with Compass and Temperature
Display on page
2-34 for more information.
The other three buttons are for the Onstar@ system.
See your dealer for more information on the system and
how to subscribe to Onstar@. See Onstar@ System
on page 2-38 for more information about the services
Onstar@ provides.
Automatic Dimming Rearview Mirror
with Compass and Temperature Display
Your vehicle may have an automatic-dimming rearview
mirror with a compass and temperature display.
When turned on, this mirror automatically dims to the
proper level to minimize glare from headlamps
behind you after dark.
The mirror has an eight-point compass and temperature
display in the upper right corner of the mirror face.
The display shows the current outside temperature and
the vehicle's current direction.
2-34
Page 122 of 378

Section 3 Instrument Panel
Instrument Panel Overview .......................... -3-2
Hazard Warning Flashers
-3-3
Other Warning Devices ................................... 3.4
Horn
............................................................. 3.4
Tilt Wheel
..................................................... 3.4
Turn Signal/Multifunction Lever
......................... 3.5
Exterior Lamps
............................................. 3.10
Interior Lamps
.............................................. 3.12
Head-Up Display (HUD)
................................. 3-15
Accessory Power Outlets
............................... 3.18
Auxiliary Power Connection (Power Drop)
......... 3.19
Ashtrays and Cigarette Lighter
........................ 3-19
Climate Controls ............................................ 3.20
Dual Climate Control System
.......................... 3.20
Outlet Adjustment
......................................... 3.22
Warning Lights, Gages and Indicators ............. 3.23
Instrument Panel Cluster
................................ 3.24
Speedometer and Odometer
........................... 3.25
Tachometer
................................................. 3.25
Safety Belt Reminder Light
............................. 3.26
Air Bag Readiness Light
................................ 3-26
Charging System Light
.................................. 3.27
Brake System Warning Light
......................... -3-28
Anti-Lock Brake System Warning Light
............. 3.29
Traction Control System (TCS) Warning Light
...... 3.29
Enhanced Traction System Warning Light
........ -3-30
.. ...............................
Low Traction Light ....................................... -3-30
Engine Coolant Temperature Gage
.................. 3-31
Malfunction Indicator Lamp
............................ -3-32
Oil Pressure Light
........................................ -3-35
Security Light
............................................... 3-36
Fuel Gage
................................................... 3-37
Low Fuel Warning Light
................................. 3-37
Driver Information Center (DE) ....................... 3-38
Trip Computer ................................... ..... 3-40
Control Buttons
............................................ 3-42
Functions
.................................................... 3-42
Audio System(s) ............................................. 3-44
Setting the Time
........................................... 3-44
Radio with Cassette
...................................... 3-45
Radio with CD (Base Level)
........................... 3-48
Radio with CD
(Up Level) .............................. 3-51
Theft-Deterrent Feature
.................................. 3-54
Engine
Coolant Temperature 'Warning Light
...... 3.31
Low Oil Level Light ....................................... 3-36
Audio Steering Wheel Controls
....................... 3-56
Understanding Radio Reception
...................... 3-57
Care of Your Cassette Tape Player
................. 3-58
Care
of Your CDs ......................................... 3-59
Care of Your CD Player
................................ 3-59
Backglass Antenna
....................................... 3-59
3-
1
Page 163 of 378
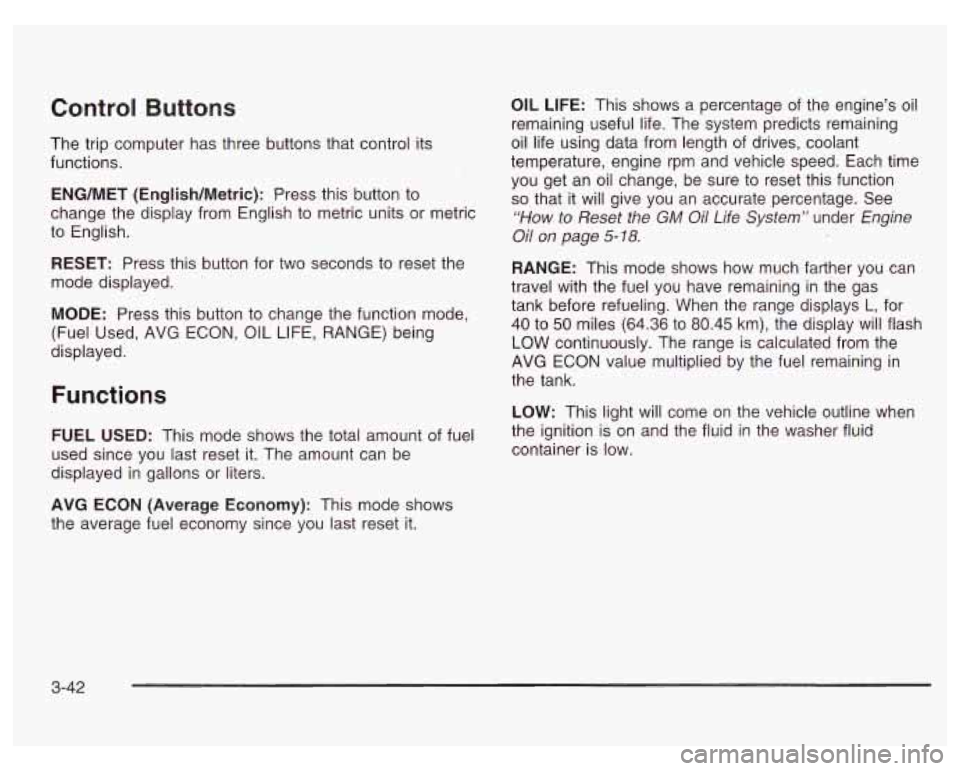
Control Buttons
The trip computer has three buttons that control its
functions.
ENG/MET (English/Metric): Press this button to
change the display from English
to metric units or metric
to English.
RESET: Press this button for two seconds to reset the
mode displayed.
MODE: Press this button to change the function mode,
(Fuel Used, AVG ECON, OIL LIFE, RANGE) being
displayed.
OIL LIFE: This shows a percentage of the engine’s oil
remaining useful life. The system predicts remaining
oil life using data from length of drives, coolant
temperature, engine rpm and vehicle speed. Each time
you get an oil change, be sure to reset this function
so that it will give you an accurate percentage. See
“How to Reset the GM Oil Life System” under Engine
Oil on page
5-18.
RANGE: This mode shows how much farther you can
travel with the fuel you have remaining in the gas
tank before refueling. When the range displays
L, for
40 to
50 miles (64.36 to 80.45 km), the display will flash
LOW continuously. The range is calculated from the
AVG ECON value multiplied by the fuel remaining in
the tank.
Functions
LOW: This light will come on the vehicle outline when
FUEL USED: This mode shows the total amount of fuel the ignition is on and the fluid in the washer fluid
used since you last reset it. The amount can be container is low.
displayed in gallons or liters.
AVG ECON (Average Economy): This mode shows
the average fuel economy since you last reset
it.
3-42
Page 166 of 378
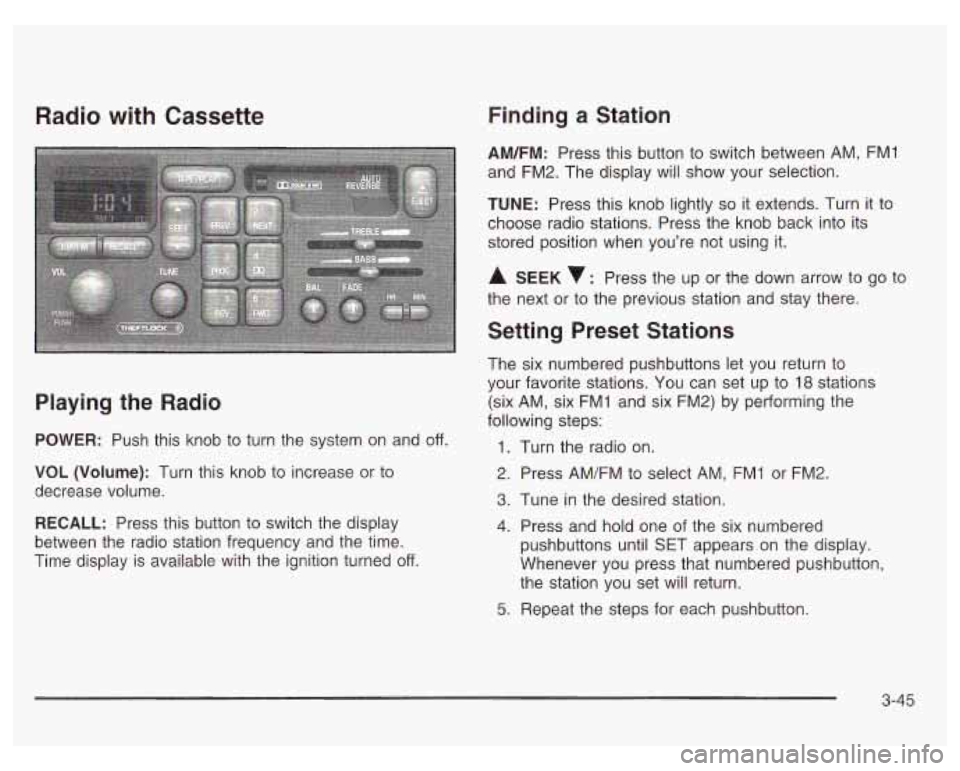
Radio with Cassette
Playing the Radio
POWER: Push this knob to turn the system on and off.
VOL (Volume): Turn this knob to increase or to
decrease volume.
RECALL: Press this button to switch the display
between the radio station frequency and the time.
Time display is available with the ignition turned
off.
Finding a Station
AM/FM: Press this button to switch between AM, FMI
and FM2. The display will show your selection.
TUNE: Press this knob lightly so it extends. Turn it to
choose radio stations. Press the knob back into its
stored position when you’re not using it.
A SEEK : Press the up or the down arrow to go to
the next or to the previous station and stay there.
Setting Preset Stations
The six numbered pushbuttons let you return to
your favorite stations. You can set up to
18 stations
(six AM, six FMI and six FM2) by performing the
following steps:
1.
2.
3.
4.
5.
Turn the radio on.
Press AM/FM to select AM, FMI or FM2.
Tune
in the desired station.
Press and hold one of the six numbered
pushbuttons until SET appears on the display.
Whenever you press that numbered pushbutton,
the station you set will return.
Repeat the steps for each pushbutton.
3-45
Page 170 of 378
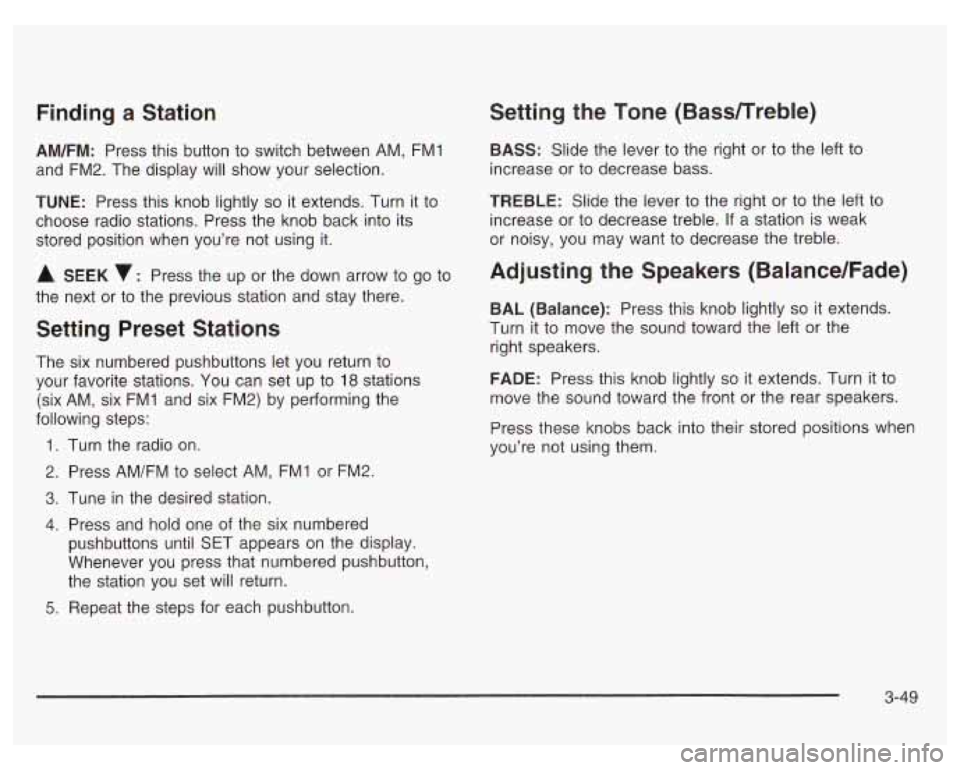
Finding a Station
AM/FM: Press this button to switch between AM, FMl
and FM2. The display
will show your selection.
TUNE: Press this knob lightly so it extends. Turn it to
choose radio stations. Press the knob back into its
stored position when you’re not using it.
A SEEK v: Press the up or the down arrow to go to
the next or to the previous station and stay there.
Setting Preset Stations
The six numbered pushbuttons let you return to
your favorite stations. You can set up to
18 stations
(six AM, six
FMI and six FM2) by performing the
following steps:
1.
2.
3.
4.
5.
Turn the radio on.
Press AM/FM to select AM, FMI or FM2.
Tune in the desired station.
Press and hold one of the six numbered
pushbuttons until §ET appears on the display.
Whenever you press that numbered pushbutton,
the station you set will return.
Repeat the steps for each pushbutton.
Setting the Tone (BasdTreble)
BASS: Slide the lever to the right or to the left to
increase or to decrease bass.
TREBLE: Slide the lever to the right or to the left to
increase
or to decrease treble. If a station is weak
or noisy, you may want to decrease the treble.
Adjusting the Speakers (Balance/Fade)
BAL (Balance): Press this knob lightly so it extends.
Turn it to move the sound toward the left or the
right speakers.
FADE: Press this knob lightly so it extends. Turn it to
move the sound toward the front or the rear speakers.
Press these knobs back into their stored positions when
you’re not using them.
3-49
Page 173 of 378
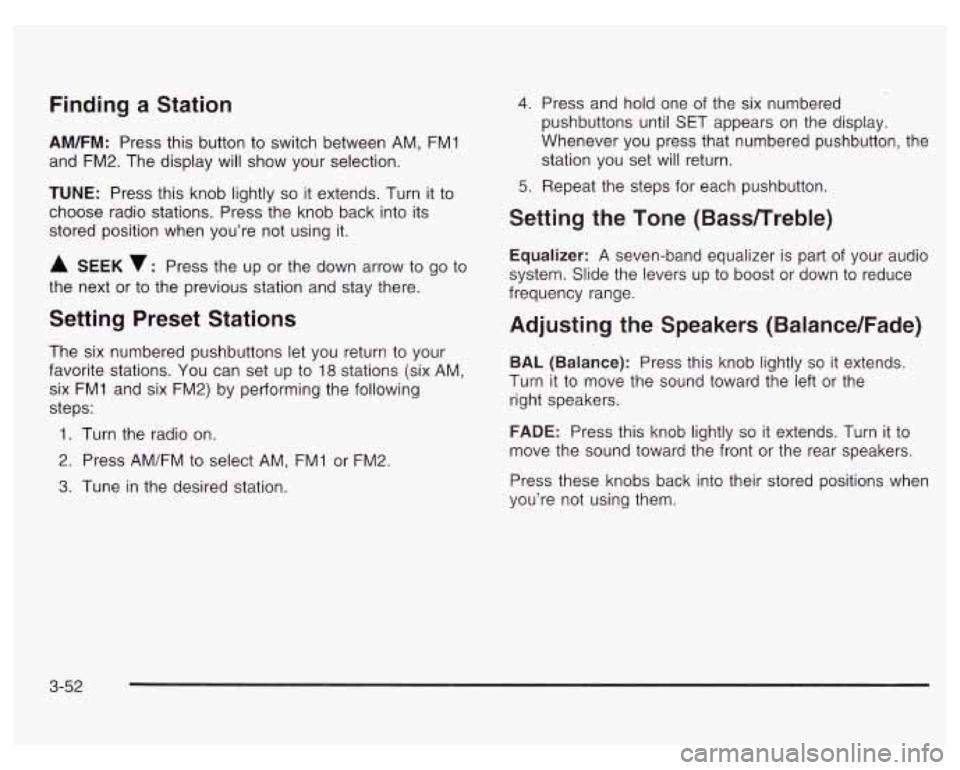
Finding a Station
AM/FM: Press this button to switch between AM, FM1
and FM2. The display will show your selection.
TUNE: Press this knob lightly so it extends. Turn it to
choose radio stations. Press the knob back into its
stored position when you’re not using it.
A SEEK v: Press the up or the down arrow to go to
the next or to the previous station and stay there.
Setting Preset Stations
The six numbered pushbuttons let you return to your
favorite stations. You can set up to
18 stations (six AM,
six FMI and six FM2) by performing the following
steps:
1. Turn the radio on.
2. Press AM/FM to select AM, FM1 or FM2.
3. Tune in the desired station.
4. Press and hold one of the six numbered
pushbuttons until SET appears on the display.
Whenever you press that numbered pushbutton, the station you set will return.
5. Repeat the steps for each pushbutton.
Setting the Tone (Bass/Treble)
Equalizer: A seven-band equalizer is part of your audio
system. Slide the levers up to boost or down to reduce
frequency range.
Adjusting the Speakers (Balance/Fade)
BAL (Balance): Press this knob lightly so it extends.
Turn it to move the sound toward the left or the
right speakers.
FADE: Press this knob lightly so it extends. Turn it to
move the sound toward the front or the rear speakers.
Press these knobs back into their stored positions when
you’re not using them.
3-52
Page 176 of 378
2.
3.
4.
5.
6.
7.
8.
9.
Turn the ignition on.
Turn the radio
off.
Press the 1 and 4 pushbuttons at the same time.
Hold them down until
--- shows on the display.
Next you will use the secret code number which you
have written down.
Press MIN and
000 will appear on the display.
Press MIN again
to make the last two digits agree
with your code.
Press
HR to make the first one or two digits agree
with your code.
Press AM/FM after you have confirmed that the
code matches the secret code you have written
down. The display will show REP to let you know
that you need to repeat Steps
5 through 7 to confirm
your secret code.
Press AM/FM and this time the disdav will show
Unlocking the Theft-Deterrent Feature
After
a Power Loss
Enter your secret code as follows; pause no more than
15 seconds betweer! steps:
1. Turn the ignition on. LOC will appear on the
2. Press MIN and 000 will appear on the display.
3. Press MIN again to make the last two digits agree
display.
with your code.
4. Press HR to
make the first one or two digits agree
with your code.
5. Press AM/FM after you have confirmed that the
code matches the secret code you have written
down. The display will show SEC, indicating
the radio is now operable and secure.
If you enter the wrong code eight times, INOP will
SEC to let you know that your radio
is secure. appear on the
display. You wilj have to wait an hour
I,
with the ignition on before you can try again. When
(eight tries per chance) to enter the correct code before
With the
ignition off, the THEFTLOCK LED indicator will you try again, you only have three chances
flash, indicating a secured radio.
INOP appears.
If you lose or forget your code, contact your dealership.
3-55
Page 177 of 378
Disabling the Theft-Deterrent Feature
Enter your secret code as follows; pause no more than
15 seconds between steps:
1. Turn the ignition on.
2. Turn the radio off.
3. Press the 1 and 4 pushbuttons at the same time.
Hold them down until
SEC shows on the display.
4. Press MIN and 000 will appear on the display.
5. Press MIN again to make the last two digits agree
with your code.
6. Press HR to make the first one or two digits agree
with your code.
7. Press AM/FM after you have confirmed that the
code matches the secret code you have written
down. The display will show
---, indicating that the
radio is no longer secured.
If the code entered is incorrect,
SEC will appear on the
display. The radio will remain secured until the correct
code is entered.
When battery power is removed and later applied to
a
secured radio, the radio won’t turn on and LOC will
appear on the display.
To unlock a secured radio, see “Unlocking the
Theft-Deterrent Feature After a Power
Loss” earlier in
this section.
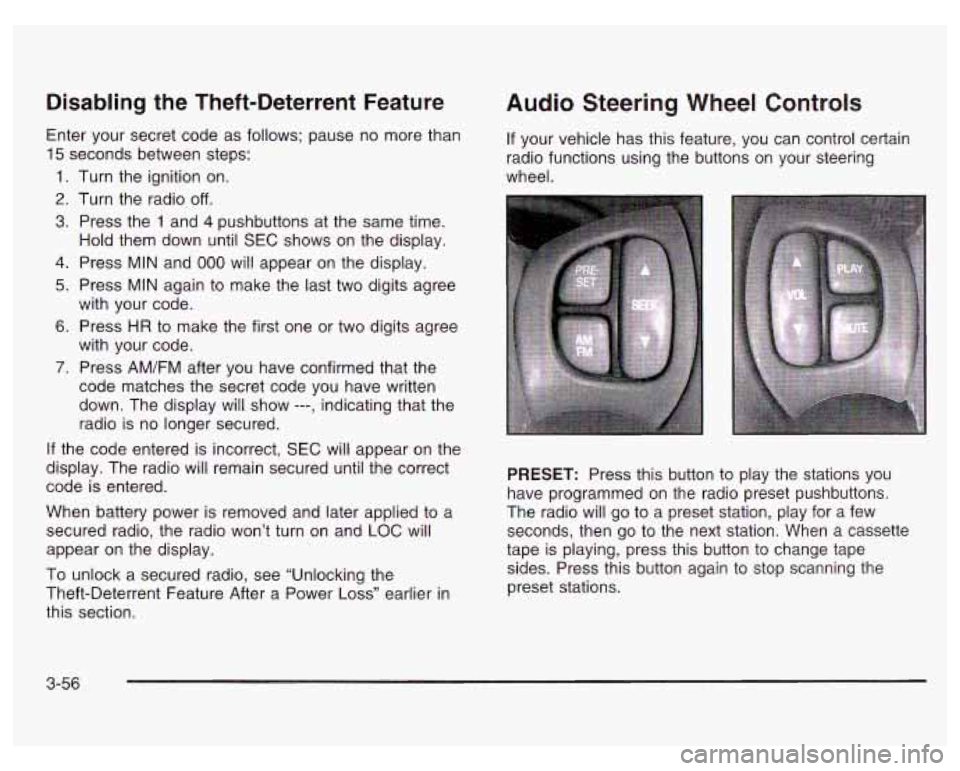
Audio Steering Wheel Controls
If your vehicle has this feature, you can control certain
radio functions using the buttons on your steering
wheel.
PRESET: Press this button to play the stations you
have programmed on the radio preset pushbuttons.
The radio will go to a preset station, play for a few
seconds, then go to the next station. When a cassette
tape is playing, press this button to change tape
sides. Press this button again to stop scanning the
preset stations.
3-56