Page 324 of 418

To reset (calibrate) the system with a Driver Information
Center (DIC):
1.
2.
3.
4.
5.
Turn the ignition switch to ON.
Using the MODE and SELECT buttons, change the The system Completes
the calibration process during
DIC to display TIRE PRESSURE. driving. Calibration time
can take
45 to 90 minutes, ..,
Press and hold the RESET button for about five
seconds.
The display should change to read TIRE
PRESSURE RESET. If TIRE PRESSURE RESET
does not appear on the display after about five
seconds, see your dealer for service.
When you release the button after seeing the TIRE
PRESSURE RESET message, the display will
change to read TIRE PRESSURE NORMAL.
1.
2.
4. Release the TIRE PRESS RESET button and the
system should reset. The TIRE PRESS light will
go out.
To reset (calibrate) the system with a systems monitor:
n 3.
Turn the ignition switch to ON.
Press and hold the TIRE PRESS RESET button for
about five seconds.
should begin to flash.
If the TIRE PRESS light
does not begin to flash after about five seconds, see
your dealer for service.
TIL- TI~T nnr-nn I:-.LL -- LL- -..-.I.--- I I le I 1nc r ncaa II~I 11 VI I 11 IC ayatcl I 13 I I IUI IILUI
depending on your driving habits. After the system has
been calibrated, the system will alert the driver that
a tire is low, up to a maximum speed of
65 mph
(1 05 km/h).
Tire Inspection and Rotation
Tires should be rotated every 6,000 to 8,000 miles
(10 000 to 13 000 km).
Any time you notice unusual wear rotate your tires as
soon as possible and check wheel alignment. Also
check for damaged tires or wheels. See
When It Is Time
for New Tires on page 5-67 and Wheel Replacement
on page 5-69 for more information.
Tne purpose
oi reguiar rorarion is io acnieve more
uniform wear for all tires on the vehicle. The first rotation
is the most important. See “Part A: Scheduled
Maintenance Services,” in Section
6, for scheduled
rotation intervals.
5-65
Page 331 of 418

Accessory Inflator
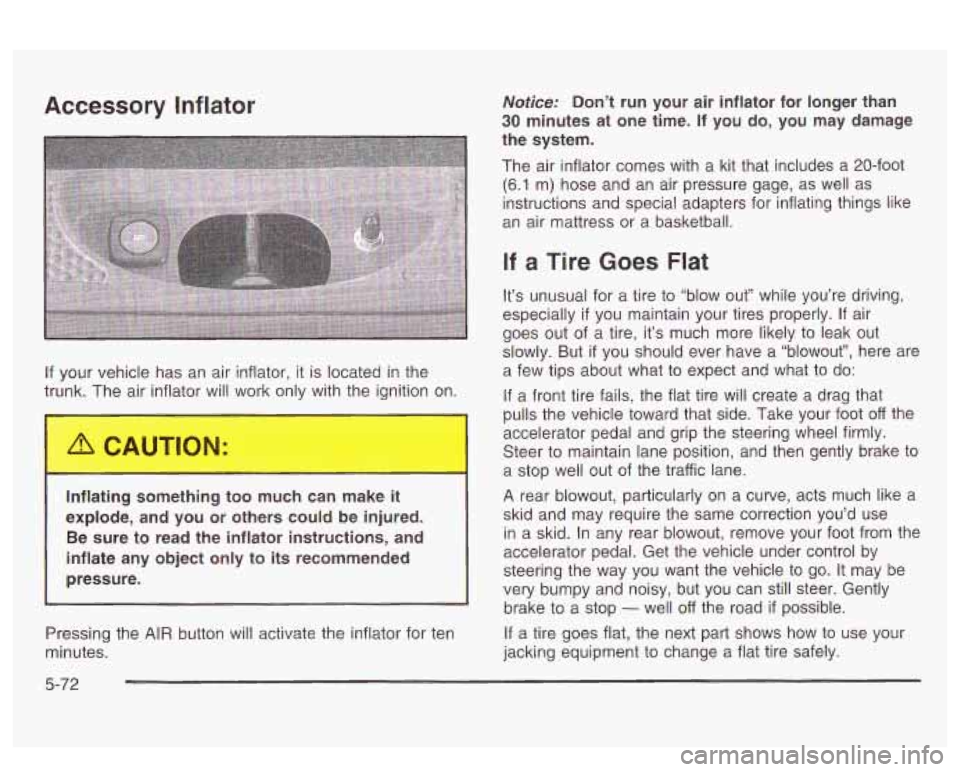
If your vehicle has an air inflator, it is located in the
trunk. The air inflator will wo only with the ignition on.
Inflating something too much can make it
explode, and you or others could be injured.
Be sure to read the inflator instructions, and
inflate any object only to its recommended
pressure.
I -1
Notice: Don’t run your air inflator for longer than
30 minutes at one time. If you do, you may damage
the system.
The air inflator comes with a kit that includes a 20-foot
(6.1 m) hose and an air pressure gage, as well as
instructions and special adapters for inflating things like
an air mattress or a basketball.
If a Tire Goes Flat
It’s unusual for a tire to “blow out” while you’re driving,
especially
if you maintain your tires properly. If air
goes out of a tire, it’s much more likely to leak out
slowly. But
if you should ever have a “blowout”, here are
a few tips about what to expect and what to do:
If a front tire fails, the flat tire will create a drag that
pulls the vehicle toward that side. Take your foot off the
accelerator pedal and grip the steering wheel firmly.
Steer to maintain lane position, and then gently brake to
a stop well out of the traffic lane.
A rear blowout, particularly on a curve, acts much like a
skid and may require the same correction you’d use
in a skid. In any rear blowout, remove your foot from the
accelerator pedal. Get the vehicle under control by
steering the way you want the vehicle to go.
It may be
very bumpy and noisy, but you can still steer. Gently
brake
to a stop - well off the road if possible.
Pressing the
AIR button will activate the inflator for ten If a tire goes flat, the next part shows how to use your
minutes. jacking equipment to change a flat tire safely.
5-72
Page 351 of 418

Fuses and Circuit Breakers
The wiring circuits in your vehicle are protected from
short circuits by a combination of fuses and circuit
breakers. This greatly reduces the chance of damage
caused by electrical problems.
Look at the silver-colored band inside the fuse.
If the
band is broken or melted, replace the fuse. Be sure you
replace a bad fuse with a new one of the identical
size and rating.
The MaxiFuses are located in
two fuse blocks, one in
the engine compartment and the other under the
rear seat. If a MaxiFuse should blow, have your vehicle
serviced by your dealer immediately.
Removing Fuses
You will find a fuse puller attached in both of the fuse
blocks. Snap the wide end of the fuse puller on
to
the fuse, at the side indentations holding the puller and
pull the fuse
out.
Engine Compartment Fuse Block
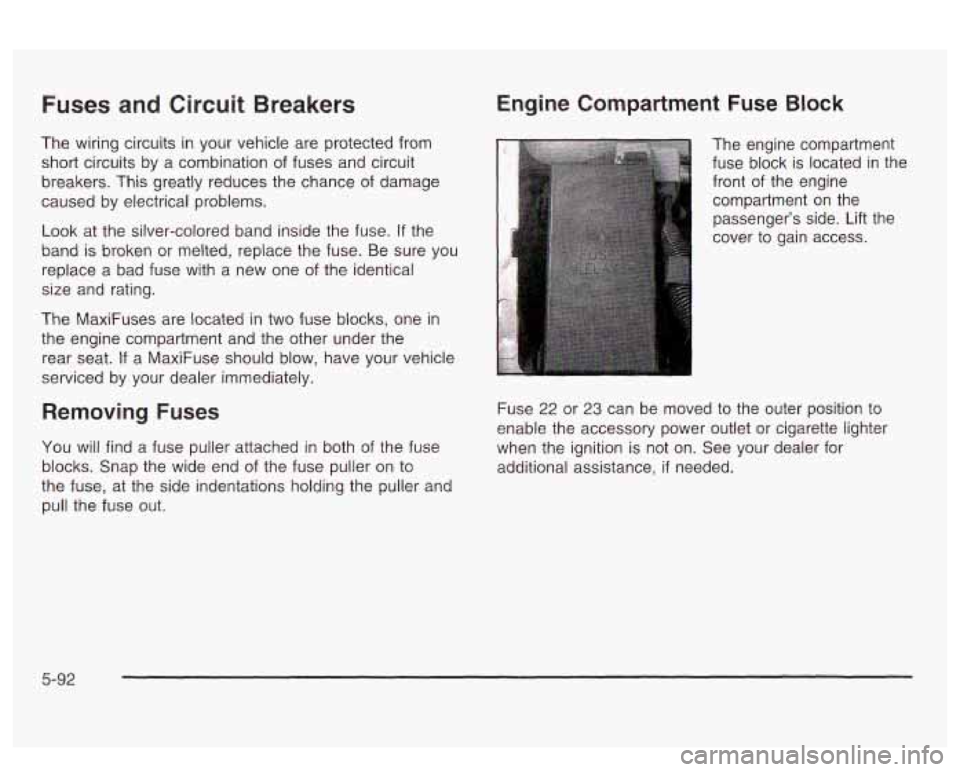
The engine compartment
fuse block is located in the
front
of the engine
compartment on the
passenger’s side. Lift the
cover
to gain access.
Fuse
22 or 23 can be moved to the outer position to
enable the accessory power outlet or cigarette lighter
when the ignition is not on. See your dealer for
additional assistance,
if needed.
5-92
Page 352 of 418
Fuses
1
2
3
7 A
5
6
7
Usage
Not Used
Accessory
Windshield Wipers
>!ct L'sd
Headlamp Low Beam Left
Headlamp Low Beam Right
Spare
Fuses
8
9
10
11
12
13
14
15
16
17
18
19
20
21 22
23
24
r)r LU
26
Usage
Powertrain Control Module Battery
Headlamp High Beam Right
Headlamp High Beam Left Ignition
1
Not Used
Transaxle
Cruise Control Direct Ignition System
Injector Bank
#2
Not Used
Not Used
Powertrain Control Module Ignition
Oxygen Sensor
Injector Bank #1
Auxiliary Power Cigar Lighter
Fog Lamps/Daytime Running Lamps
!-!%-!
Air Conditioning Clutch
5-93
Page 353 of 418
Relays
27
28
29
30
31
32
33
34
35
36
37
38
39
40
Usage
Headlamp High Beam
Headlamp Low Beam
Fog Lamps
Daytime Running Lamps
Horn
Air Conditioning Clutch
HVAC Solenoid
Accessory
Not Used
Starter 1
Cooling Fan 1
Ignition
1
Cooling Fan Series/Parallel
Cooling Fan
2
Circuit
Breakers
41
Fuses
42
43
44
45
46
47
48
49
50
51
52
53
Usage
Starter
Usage
Not Used Not Used
Antilock Brake System
Not Used
Cooling Fan 1
Cooling Fan
2
Spare
Spare
Spare Spare
Spare
Fuse Puller
5-94
Page 356 of 418
Fuses
1
2
Usage
Fuel Pump
Heater, Ventilation, Air Conditioning
Blower
Assembly Line Diagnostic Link
Not Used
Compact Disc (CD) Driver Door Module
Not Used
hllemCl!-y SP?!
Ssn- uppltz, r\.nr I IGfifCll -I In II lflaLaute I t hl Bestrairrt Fuses
10
11
12
13
14
15
16
17
18
19
20
21
22
23 24
25
26
07 LI
28
29
30
31
32
33
Usage
Lamps Park Right
Ventilation Solenoid
Ignition 1
Lamps Park Left Interior Lamp Dimmer Module
Satellite Digital Radio
Heated Seat Left Front
Not Used Rear Door Modules
Stoplamps PARK (P)
/ REVERSE (R)
Audio Retained Accessory Power
Not Used
Not Used Passenger Door Module
Body
Not Used
Ignition Switch
Instrument Panel
Heated Seat Right Front
iiof: Used
Heating, Ventilation, Air Conditioning
ln+nu;-u I nmnr. I1 ILGI IVI LUI I lvcl
5-97
Page 357 of 418
Fuses
34
35
36 37
38
Relays
39
40
41 42
43
Usage
Ignition 3 Rear
Antilock Brake System
Turn SignaVHazard HVAC Battery
Dash Integration Module
Usage
Fuel Pump
Parking Lamps
Ignition 1 Rear Fog Lamps
Not Used
Relays
44
45 46
47
48
49
50
51
52
53
54
55
Usage
Park Brake
Reverse Lamps Retained Accessory Power
Fuel Tank Door Lock
Not Used Ignition
3
Fuel Tank Door Release
Interior Lamps
Trunk Release Front Courtesy Lamps
Not Used
Electronic Level Control Compressor
5-98
Page 382 of 418

ignition Transaxle Lock Check
While parked, and with the parking brake set, try to turn
the ignition key to
OFF in each shift lever position.
The key should turn to OFF only when the shift lever
0 The key should come out only in OFF.
is in PARK (P).
Parking Brake and Automatic Transaxle
Park
(P) Mechanism Check
When you are g this check, your vehicle
could begin to move.
You or others could be
injured and property could be damaged.
Make
sure there is room in front of your vehicle in
case it begins to roll.
Be ready to apply the
regular brake at once should the vehicle begin
to move.
Park on a fairly steep hill, with the vehicle facing
downhill. Keeping your foot on the regular brake, set the
parking brake.
To check the parking brake’s holding ability: With the
engine running and transaxle in NEUTRAL (N),
slowly remove foot pressure from the regular brake
pedal.
Do this until the vehicle is held by the parking
brake only.
To check the PARK (P) mechanism’s holding ability:
With the engine running, shift to PARK (P). Then
release the parking brake followed by the regular
brake.
Underbody Flushing Service
At least every spring, use plain water to flush any
corrosive materials from the underbody. Take care to
clean thoroughly any areas where mud and other debris
can collect.
6-2 1