2003 PONTIAC BONNEVILLE maintenance
[x] Cancel search: maintenancePage 261 of 418
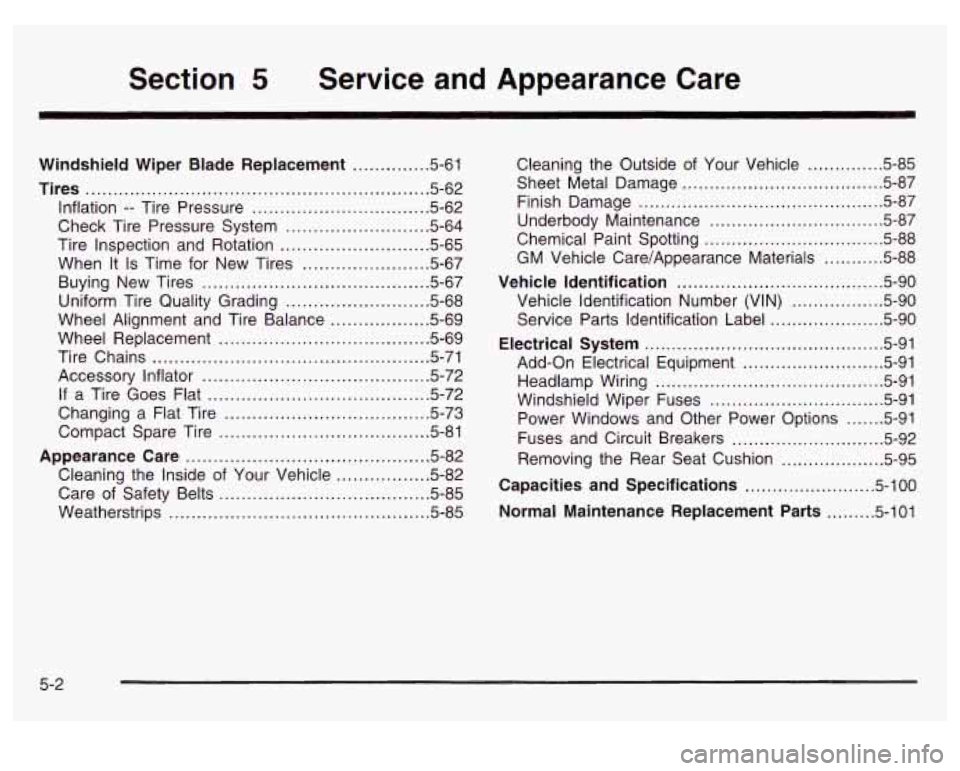
Section 5 Service and Appearance Care
Windshield Wiper Blade Replacement ............. 5-61
Tires .............................................................. 5.62
Inflation
.. Tire Pressure ................................ 5.62
Check Tire Pressure System
.......................... 5.64
Tire Inspection and Rotation
........................... 5.65
When It
Is Time for New Tires ....................... 5-67
Buying New Tires
........................................ 5-67
Uniform Tire Quality Grading
.......................... 5.68
Wheel Replacement
...................................... 5.69
Tire Chains
.................................................. 5-71
Accessory Inflator
......................................... 5.72
If a Tire Goes Flat ........................................ 5.72
Changing a Flat Tire
..................................... 5.73
Compact Spare Tire
..................................... 5-81
Appearance Care ............................................ 5.82
Wheel
Alignment and Tire Balance
.................. 5-69
Cleaning the Inside of Your Vehicle
................. 5-82
Care of Safety Belts
...................................... 5-85
Weatherstrips ............................................... 5.85
Cleaning the Outside of Your Vehicle .............. 5-85
Sheet Metal Damage
..................................... 5.87
Finish Damage
............................................. 5.87
Underbody Maintenance
................... ...... 5.87
Chemical Paint Spotting
................................. 5.88
Vehicle Identification ..................................... 5-90
Vehicle Identification Number (VIN)
...... ., ...... 5-90
Service Parts Identification Label
........ ...... 5-90
Electrical System ............................... ...... 5-91
Add-on Electrical Equipment
................ , ...... 5-91
Headlamp Wiring
.......................................... 5-91
Windshield Wiper Fuses
................................ 5-91
Power Windows and Other Power Options
....... 5-91
Fuses and Circuit Breakers
............................ 5-92
Removing the Rear Seat Cushion
................... 5-95
Capacities and Specifications ........................ 5-100
Normal Maintenance Replacement Parts ......... 5-101
GM Vehicle Care/Appearance Materials .......... 5.88
5-2
Page 262 of 418
Service
Your dealer knows your vehicle best and wants you to
be happy with it. We hope you’ll go to your dealer
for all your service needs. You’ll get genuine GM parts
and GM-trained and supported service people.
We hope you’ll want to keep your GM vehicle all GM
Genuine GM parts have one of these marks:
Doing Your Own Service Work
If you want to do some of your own service work, you’ll
want to use the proper service manual. It tells you
much more about how to service your vehicle than this
manual can.
To order the proper service manual,
see
Service Publications Ordering Information on
page
7-9.
Your vehicle has an air bag system. Before attempting
to do your own service work, see
Servicing Your Air
Bag-Equipped Vehicle on page
1-55.
You should keep a record with all parts receipts and list
the mileage and the date
of any service work you
perform. See
Par/ E: Maintenance Record on page 6-26.
5-3
Page 263 of 418
You can be injured and your vehicle could be damaged if you try to do service work on a
vehicle without knowing enough about
it.
Be sure you have sufficient knowledge,
experience, the proper replacement parts
and tools before you attempt any vehicle maintenance task.
Be sure to use the proper nuts, bolts and
other fasteners. “English” and “metric”
fasteners can be easily confused.
If you
use the wrong fasteners, parts can later
break or fall
off. You could be hurt.
Adding Equipment to the Outside of
Your Vehicle
Things you might add to the outside of your vehicle can
affect the airflow around it. This may cause wind
noise and affect windshield washer performance. Check
with your dealer before adding equipment to the
outside of your vehicle.
5-4
Page 279 of 418
When to Change Engine Oil (Vehicles
Without the
GM Oil Life SystemTM)
If any one of these is true for you, use the short trip/city
maintenance schedule:
e
e
e
e
Most trips are less than 5 miles (8 km). This is
particularly important when outside temperatures
are below freezing.
Most trips include extensive idling (such as frequent
driving in stop-and-go traffic).
You frequently tow a trailer or use a carrier
on top
of your vehicle.
The vehicle is used for delivery service, police, tax1
or other commercial application.
Driving under these conditions causes engine oil
to
break down sooner. If any one of these is true for your
vehicle, then you need to change your oil and filter
every
3,000 miles (5 000 km) or 3 months - whichever
occurs first.
If none of them is true, use the long trip/highway
maintenance schedule. Change the oil and filter every
7,500 miles (1 2 500 km) or 12 months - whichever
occurs first. Driving a vehicle with a fully warmed engine
under highway conditions will cause engine oil
to
break down slower.
When to Change Engine Oil (Vehicles
With the
GM Oil Life SystemrM)
If so equipped, your vehicle has a computer system that
lets you know when to change the engine oil and
filter. This is based on engine revolutions and engine
temperature and not on mileage. Based on driving
conditions, the mileage at which an oil change will be
indicated can vary considerably. For the oil life system to
work properly, you must reset the system every time
the oil is changed.
When the system has calculated that oil life has been
diminished, it will indicate that an oil change is
necessary. An ENGINE
OIL CHANGE SOON message
will come on. Change your oil as soon as possible
within the next two times you stop for fuel. It is possible
that,
if you are driving under the best conditions, the
oil life system may not indicate that an oil change
is necessary for over a year. However, your engine oil
and filter must be changed at least once a year and
at this time the system must be reset. It is also
important to check your oil regularly and keep it at the
proper level.
If the system is ever reset accidentally, you must
change your oil at
3,000 miles (5 000 km) since your
last oil change. Remember
to reset the oil life system
whenever the oil is changed.
5-20
Page 280 of 418
How to Reset the Oil Life System
The GM Oil Life SystemTM calculates when to change
your engine oil and filter based on vehicle use. Anytime
your oil is changed, reset the system
so it can
calculate when the next oil change is required.
If a
situation occurs where you change your oil prior to an
ENGINE
OIL CHANGE SOON message being
turned on, reset the system.
Always reset the engine oil life to
100% after every oil
change. It will not reset itself.
To reset the Oil Life
System, do the following:
1. Display OIL LIFE on the DIC.
2. Press and hold the RESET button for more than
five seconds. The oil life will change to
100%.
What to Do with Used Oil
Used engine oil contains certain elements that may be
unhealthy for your skin and could even cause cancer.
Don't let used oil stay on your skin for very long. Clean
hand cleaner. Wash or properly dispose of clothing or
rags containing used engine oil. See the manufacturer's
warnings about the use and disposal of oil products.
Used oil can be a threat to the environment.
If you
change your QW~ oil, be sure to drain all the oil from the
filter before disposal. Never dispose
of oil by putting it
~. -I.!.- -.--I --:I- ... :LC. ^^^_ --A ..._+_" _" ~ YOU1 SKII I ~IIU II~IIZY vvll11 auap a1 IU vvaLG1, VI u ywwu
in the trash, pouring it on the ground, into sewers, or
into streams or bodies of water. Instead, recycle it
by taking it to a place that collects used oil.
If you have
a problem properly disposing
of your used oil, ask
your dealer, a service station or a local recycling center
for help.
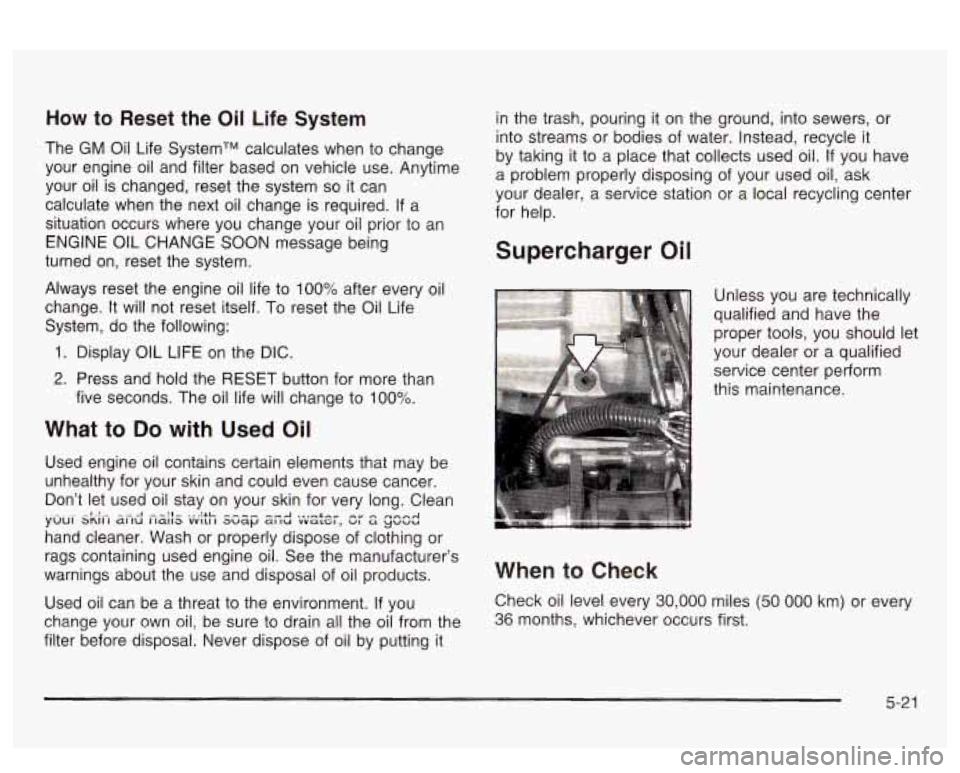
Supercharger Oil
Unless you are technically
qualified and have the
proper tools, you should let
your dealer or a qualified
service center perform
this maintenance.
When to Check
Check oil level every 30,000 miles (50 000 km) or every
36 months, whichever occurs first.
5-21
Page 282 of 418
3. Pull out the filter. Check or replace the engine air
4. To reinstall the housing cover, make sure the filter
cover tabs position through the slots in the housing.
A notch on the sides of the filter cover will indicate
the correct engagement.
cleaner/filter.
5. Fasten the
two clips on the top of the housing when
you are finished.
Refer to the Maintenance Schedule to determine when
to replace the air filter.
See
Part A: Scheduled Maintenance Services on
page
6-4.
Operating : el ne with ? ai :leane r
off can cause you or others to be burned. The
air cleaner not only cleans the air, it stops
flame if the engine backfires. If
it isn’t there
and the engine backfires, you could be burned.
Don’t drive with
it off, and be careful working
on the engine with the air cleaner/filter
off.
I
Notice: If the air cleanedfilter is off, a backfire can
cause a damaging engine fire.
And, dirt can
easily get into your engine, which will damage
it.
Always have the air cleaner/filter in place when
you’re driving.
When to Check and Change
A good time to check your automatic transaxle fluid
level is when the engine oil is changed.
Change both the fluid and filter every
50,000 miles
(83 000 km) if the vehicle is mainly driven under one or
more of
these conditions:
In heavy city traffic where the outside temperature
regularly reaches 90°F (32°C) or higher.
9 In hilly or mountainous terrain.
0 When doing frequent trailer towing.
- I, - SUU~~I 2s IWUIIU ii7 Lam, pwm,c uI U~~lv~Iy 1-...--1 . A-.,: .--I:-- -” Afil;,,nm,
service.
If you do not use your vehicle under any of these
conditions, change the fluid and filter at
100,000 miles
(166 000 km).
See
Part A: Scheduled Maintenance Services on
page
6-4.
5-23
Page 285 of 418
How to Add Fluid
Refer to the Maintenance Schedule to determine what
kind of transaxle fluid
to use. See Part D:
Recommended Fluids and Lubricants on page 6-24.
If the fluid level is low, add only enough of the proper
fluid
to bring the level into the cross-hatched area on the
dipstick.
1. Pull out the dipstick.
2. Using a long-neck funnel, add enough fluid at the
dipstick hole
to bring it to the proper level.
It doesn’t take much fluid, generally less than one
pint
(0.5 L). Don’t overfill.
Notice: We recommend you use only fluid labeled
DEXRON@-Ill, because fluid with that label is
made especially for your automatic transaxle.
Damage caused by fluid other than DEXRON@-Ill
is
not covered by your new vehicle warranty.
3. After adding fluid, recheck the fluid level as
described under “How to Check,” earlier in this
section.
Engine Coolant
The cooling system in your vehicle is filled with
DEX-COOL@ engine coolant. This coolant is designed
to remain
in your vehicle for 5 years or 150,000 miles
(240
000 km), whichever occurs first, if you add
only extended life coolant.
The following explains your cooling system and how to
add coolant when it is low. If you have a problem
with engine overheating, see
Engine Overheating on
page
5-29.
A 50/50 mixture of clean, drinkable water and
DEX-COOL@ coolant will:
Give freezing protection down to -34°F (-37°C).
Give boiling protection up to 265°F (129°C)
Protect against rust and corrosion.
Help keep the proper engine temperature.
Let the warning lights and gages work as
they should.
4. When the correct fluid level is obtained, push the
dipstick back
in all the way.
5-26
Page 303 of 418
Notice: Continuing to drive with worn-out brake
pads could result in costly brake repair.
Some driving conditions or climates may cause a brake
squeal when the brakes are first applied or lightly
applied. This does not mean something
is wrong with
your brakes.
Properly torqued wheel nuts are necessary to help
prevent brake pulsation. When tires are rotated, inspect
brake pads for wear and evenly tighten wheel nuts in
the proper sequence to GM torque specifications.
Brake linings should always be replaced as complete
axle sets.
See
Brake System Inspection on page 6-23.
Brake Pedal Travel
See your dealer if the brake pedal does not return to
normal height, or
if there is a rapid increase in
pedal travel. This could be a sign of brake trouble.
Brake Adjustment
Every time you apply the brakes, with or without the
vehicle moving, your brakes adjust for wear.
Replacing Brake System Parts
The braking system on a vehicle is complex. Its many
parts have to be of top quality and work well together
if
the vehicle is to have really good braking. Your
vehicle was designed and tested with top-quality GM
brake parts. When you replace parts of your braking
system
- for example, when your brake linings
wear down and you need new ones put in
- be sure
you get new approved GM replacement parts.
If
you don’t, your brakes may no longer work properly. For
example,
if someone puts in brake linings that are
wrong for your vehicle, the balance between your front
and rear brakes can change
- for the worse. The
braking performance you’ve come to expect can change
in many other ways
if someone puts in the wrong
replacement brake parts.
Battery
Your new vehicle comes with a maintenance free
ACDelco@ battery. When it’s time for a new battery, get
one that has the replacement number shown on the
original battery’s label. We recommend an ACDelco
battery.
Warning: Battery posts, terminals and related
accessories contain lead and lead compounds,
chemicals known to the State of California to cause
cancer and reproductive harm. Wash hands after
handling.
5-44