2003 PONTIAC BONNEVILLE ESP
[x] Cancel search: ESPPage 129 of 418

Daytime Running Lamps
Daytime Running Lamps (DRL) can make it easier for
others to see the front of your vehicle during the
day. DRL can be helpful in many different driving
conditions, but they can be especially helpful in the
short
periods after dawn and before sunset. Fully functional
daytime running lamps are required on all vehicles
first sold in Canada.
A light sensor on top of the instrument panel monitors
the exterior light level for the operation of DRL and
Twilight Sentinel@,
so be sure it isn’t covered. The DRL
system will make your high-beam headlamps come
on at a reduced brightness when the following conditions
are met:
The ignition is on,
the exterior lamp control is off, and
the transaxle is not in PARK (P).
When the DRL are on, only your high-beam headlamps
will be
on at reduced intensity. The taillamps,
sidemarker and other lamps won’t be on. Your
instrument panel won’t be lit either. When it’s
dark enough outside, your regular intensity
headlamps will come on
at full brightness and the DRL
lighting will turn
off. The parking lamps that normally
come on with your headlamps will also come on. When
it’s bright enough outside, the regular intensity
headlamps and parking lamps will turn back
off, and the
reduced brightness
DRL lighting will turn back on.
To idle your vehicle during the day with the DRL
off,
shift the transaxle into PARK (P). The DRL will stay off
until you shift out of P.4RK (P).
At night, you can turn off all exterior lamps when you
are in PARK
(P) by turning the Twilight Sentinel@ knob
all the way to
OFF.
If the knob was already in OFF, it must be cycled to ON
and back to OFF. Turn the knob clockwise to turn the
exterior lighting back on. The lamps will come back
on automatically when you put the transaxle in gear.
As with any vehicle, you should turn on the regular
headlamp system when you need it.
3-1 4
Page 148 of 418
Climate Controls Personalization
If your vehicle is equipped with this feature, up to two
drivers are able to store and recall climate control
settings for the temperature, the fan speed and the
direction
of the airflow.
Memory buttons
1 and 2 are located on the driver’s
door panel and correspond to the numbers
1 or 2 found
on the back
of each remote keyless entry transmitter.
To store settings, do the following:
1. Select the desired temperature, fan speed and
airflow mode,
If desired, a separate temperature
setting may also be selected for the front seat
passenger. For information on how to
do this, see
Automatic Climate Control System on page 3-28.
2. Locate memory buttons 1 and 2 on the driver’s
door panel.
3. Press the memory button on the door panel that
corresponds to the number on the back of the
transmitter you are programming, until you hear two
beeps. The beeps confirm that your selection has
been saved and can now
be recalled. For more
information on the memory feature, see
Memory
Seat and Mirrors on page 2-48.
Follow these steps each time you want to change the
stored settings.
To recall the climate control settings last stored on your
transmitter, press the unlock button on your remote
keyless entry transmitter and put the ignition in
ACCESSORY or RUN.
3-33
Page 170 of 418
Systems Monitor
I TRUNKAJAR
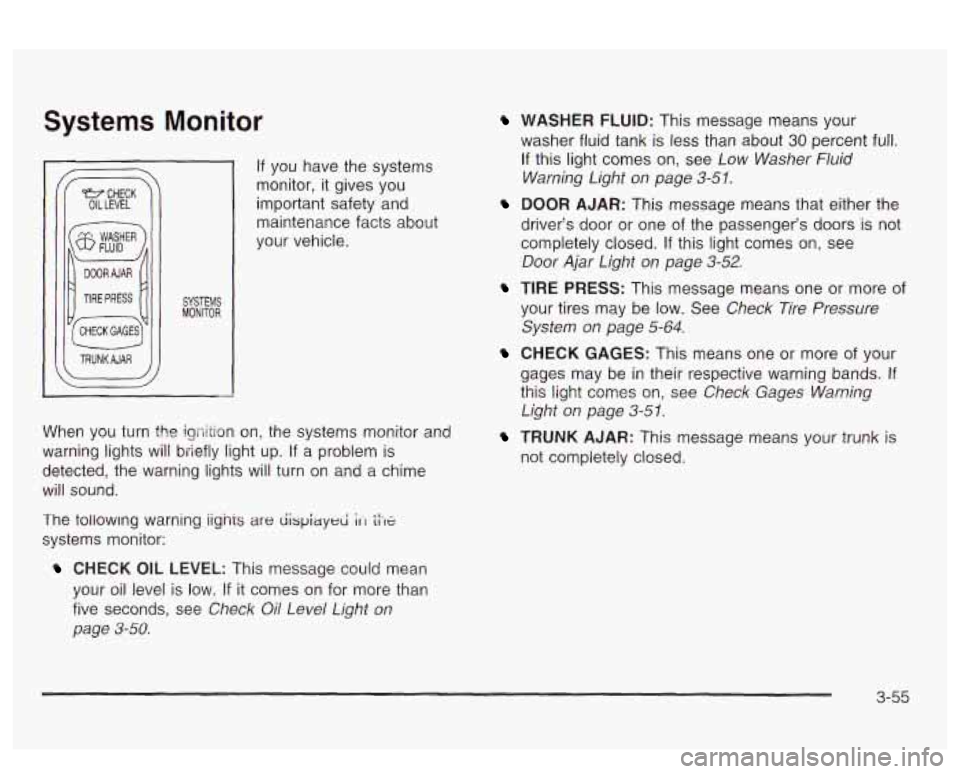
If you have the systems
monitor, it gives you
important safety and
maintenance facts about
your vehicle.
When you turn the igriition on, the systems monitor and
warning lights will briefly light up. If
a problem is
detected, the warning lights will turn
on and a chime
will sound.
The tollowmg warning iignis
are dispiayed ;It tiX
systems monitor:
CHECK OIL LEVEL: This message could mean
your oil level is low.
If it comes on for more than
five seconds, see
Check Oil Level Light on
page 3-58.
WASHER FLUID: This message means your
washer fluid tank is less than about
30 percent full.
If this light comes on, see Low Washer Fluid
Warning Light on page
3-51.
DOOR AJAR: This message means that either the
driver’s door or one of the passenger’s doors
is not
completely closed.
If this light comes on, see
Door Ajar Light on page 3-52.
TIRE PRESS: This message means one or more of
your tires may be low. See Check Tire Pressure
System on page
5-64.
CHECK GAGES: This means one or more of your
gages may be
in their respective warning bands. If
this light comes on, see Check Gages Warning
Light on page 3-5 1.
TRUNK AJAR: This message means your trunk is
not completely closed.
3-55
Page 177 of 418
DIC Vehicle Personalization
The DIC can be used to program the following
personalization features available with your vehicle:
Automatic Door Locks
Window Lock Out
Security Feedback
Delayed Locking
Perimeter Lighting
Memory Seats
Outside Curb View Assist Mirror
Driver ID
The DIC is used to program the personal choices of two
drivers. The drivers are recognized as DRIVER
#1
and DRIVER #2. You will let the DIC know which driver
you are by using your remote keyless entry transmitter
or by pressing the appropriate memory seat control
button located on the driver’s door or by choosing the
driver with the
DIC. Each remote keyless entry
transmitter was preprogrammed to belong to DRIVER
#I
or DRIVER #2. Each transmitter may be programmed
differently for each driver. When you
press the button with the unlock symbol on
your transmitter, the DIC will automatically change driver
numbers and the vehicle will recall the personalization
settings that were last made to correspond to your
transmitter, including your radio and comfort control
settings. See
Climate Controls Personalization on
page
3-33.
If you unlock the vehicle using your door key instead of
your transmitter, the DIC will not change drivers and
will recall the information from the last transmitter use or
the last driver change using the memory seat controls.
If this happens and you were not the last driver of
the vehicle, simply press your correct driver number on
the memory seat controls or press the button with
the unlock symbol
on your transmitter or select the
personalization programming mode and choose
the correct driver number.
Use the following steps for personalization programming
instructions.
1. Turn the ignition on and keep the transaxle in
2. Press the MODE button to reach personalization
3. Press the SELECT button to enter personalization
PARK (P).
programming display. programming mode.
3-62
Page 214 of 418
AM FM (BAND): Press this button to select AM, FMl,
FM2, XMI or XM2. The band you select will be
displayed. The frequency will also be displayed and,
if the station is in stereo, the stereo indicator will also be
displayed.
If a cassette tape or compact disc is
playing, it will stop and the radio
will play.
A SEEK 7 : Press the up or the down arrow
to go to the next or to the previous radio station and
stay there.
If a cassette tape is playing, press the up or the down
arrow to search for the next or the previous selection on
the tape. Your tape must have at least three seconds
of silence between each selection for SEEK to work. If a
compact disc is playing, press the up arrow
to go to
the start of the next track. Press the down arrow to go
to the start
of the current track if more than eight
seconds have played.
If less than eight seconds have
played, press the down arrow to go to the previous track.
- A !?ln!llmp! v : Press the un or the down
arrow to increase or to decrease volume.
PLAY: Press this button to play a cassette tape or
compact disc when listening to the radio.
Understanding Radio Reception
The range for most AM stations is greater than for FM,
especially at night. The longer range, however, can
cause stations to interfere with each other. AM can pick
up noise from things like storms and power lines. Try
reducing the treble to reduce this noise
if you ever get it.
FM Stereo
FM stereo will give you the best sound, but FM signals
will reach only about
10 to 40 miles (I 6 to 65 km).
Tal! buildings or hills can interfere with FM signals,
causing the sound to come and go.
XMTM Satellite Radio Service
XMTM Satellite Radio gives you digital radio reception
from coast to coast. Just as with FM, tall buildings
nr hills can interfere with Satellite radio signals, causing
the sound to come and
go. Your radio may display
"NO SIGNAL" to indicate interference.
MUTE: Press this button to silence the system. Press it
again, or any other radio button,
to turn on the sound.
3-99
Page 222 of 418
The body takes about an hour to rid itself of the alcohol
in one drink.
No amount of coffee or number of cold
showers will speed that up.
“1’11 be careful” isn’t the right
answer. What
if there’s an emergency, a need to
take sudden action, as when a child darts into the
street?
A person with even a moderate BAC might not
be able to react quickly enough
to avoid the collision.
There’s something else about drinking and driving that
many people don’t know. Medical research shows
that alcohol in a person’s system can make crash
injuries worse, especially injuries to the brain, spinal
cord or heart. This means that when anyone who
has been drinking - driver or passenger - is in a
crash,
that person’s chance ef being killed or
permanently disabled is higher than if the person had
not been drinking. Drinking and then driving
is very dangerous.
Your reflexes, perceptions, attentiveness and
judgement can
be affected by even a small
amount of alcohol. You can have
a serious-or
even fatal-collision
if you drive after drinking.
Please don’t drink and drive or ride with a
driver who has been drinking. Ride home
in a
cab; or if you’re with a group, designate a
driver who will not drink.
4-5
Page 226 of 418
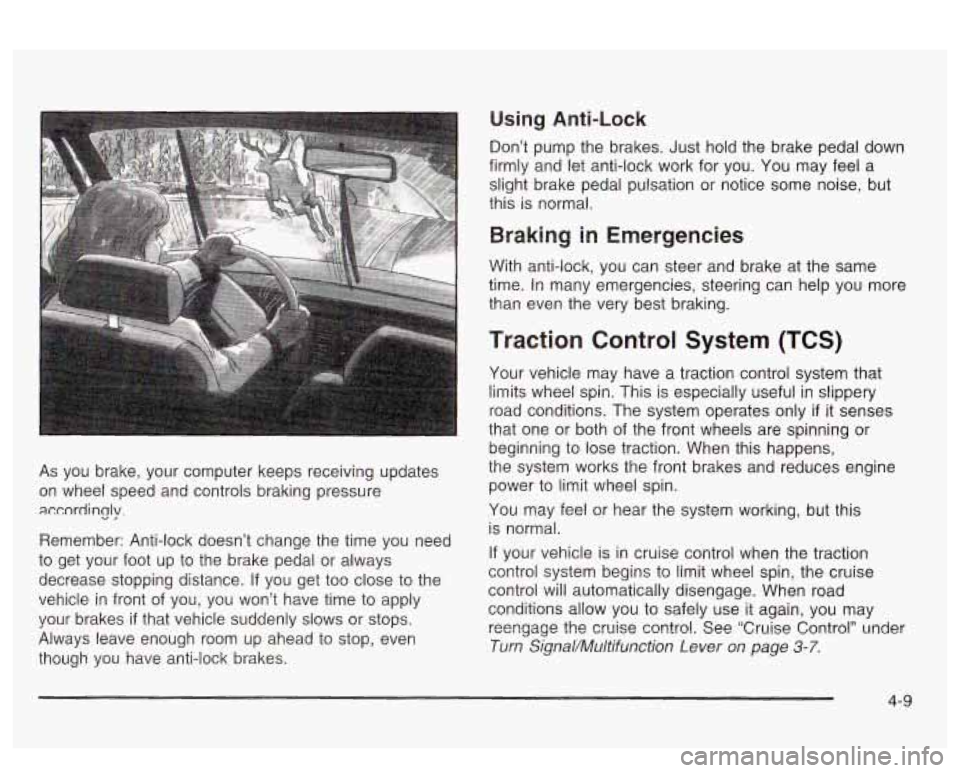
As you brake, your computer keeps receiving updates
on wheel speed and controls braking pressure
accordincjy.
Remember: Anti-lock doesn’t change the time you need
to get your foot up to the brake pedal or always
decrease stopping distance.
If you get too close to the
vehicle in front of you, you won’t have time to apply
your brakes
if that vehicle suddenly slows or stops.
Always leave enough room up ahead to stop, even
though you have anti-lock brakes.
Using Anti-Lock
Don’t pump the brakes. Just hold the brake pedal down
firmly and let anti-lock work for you. You may feel a
slight brake pedal pulsation or notice some noise, but
this is normal.
Braking in Emergencies
With anti-lock, you can steer and brake at the same
time. In many emergencies, steering can help you more
than even the very best braking.
Traction Control System (TCS)
Your vehicle may have a traction control system that
limits wheel
spin. This is especially useful in slippery
road conditions. The system operates only
if it senses
that one or both of the front wheels are spinning or
beginning to lose traction. When this happens,
the system works the front brakes and reduces engine
power
to limit wheel spin.
You may feel or hear the system working, but this
is normal.
If your vehicle is in cruise control when the traction
control system begins to limit wheel spin, the cruise
control will automatically disengage. When road
conditions allow you to safely use it again, you may
reengage the crake contro!. See ‘Cruise Control” under
Turn Signal/Muitifunction Lever on page 3-7.
4-9
Page 227 of 418
TRAC
OFF
This light should come on
briefly when you start the
engine.
If it stays on or
comes on while you
are driving, there’s a
problem with your traction
control system.
See
Traction Control System (TCS) Warning Light on
page 3-43. When this warning light is on, the system will
not limit wheel spin. Adjust your driving accordingly.
The traction control system automatically comes
on whenever you start your vehicle.
To limit wheel spin,
especially in slippery road conditions, you should
always leave the system on. But you can turn the
traction control system
off if you ever need to. You
should turn the system
off if your vehicle ever gets stuck
in sand, mud or snow and rocking the vehicle is
required. See “Rocking Your Vehicle To Get It Out”
under
If You Are Stuck: In Sand, Mud, Ice or Snow on
page 4-30.
To turn the system off,
press the TRACTION
CONTROL button located
on the instrument panel
under the comfort controls.
The traction control system warning light in the
instrument cluster will come on and stay on.
If the
system is limiting wheel spin when you press the button,
the warning light will come on
- but the system won’t
turn
off right away. It will wait until there’s no longer
a current need to limit wheel spin.
You can turn the system back on at any time by
pressing the button again. The traction control system
warning light should
go off.
The switch indicator light should go back on.
4-1 0