2003 NISSAN ALMERA N16 Air conditioner
[x] Cancel search: Air conditionerPage 1 of 3189

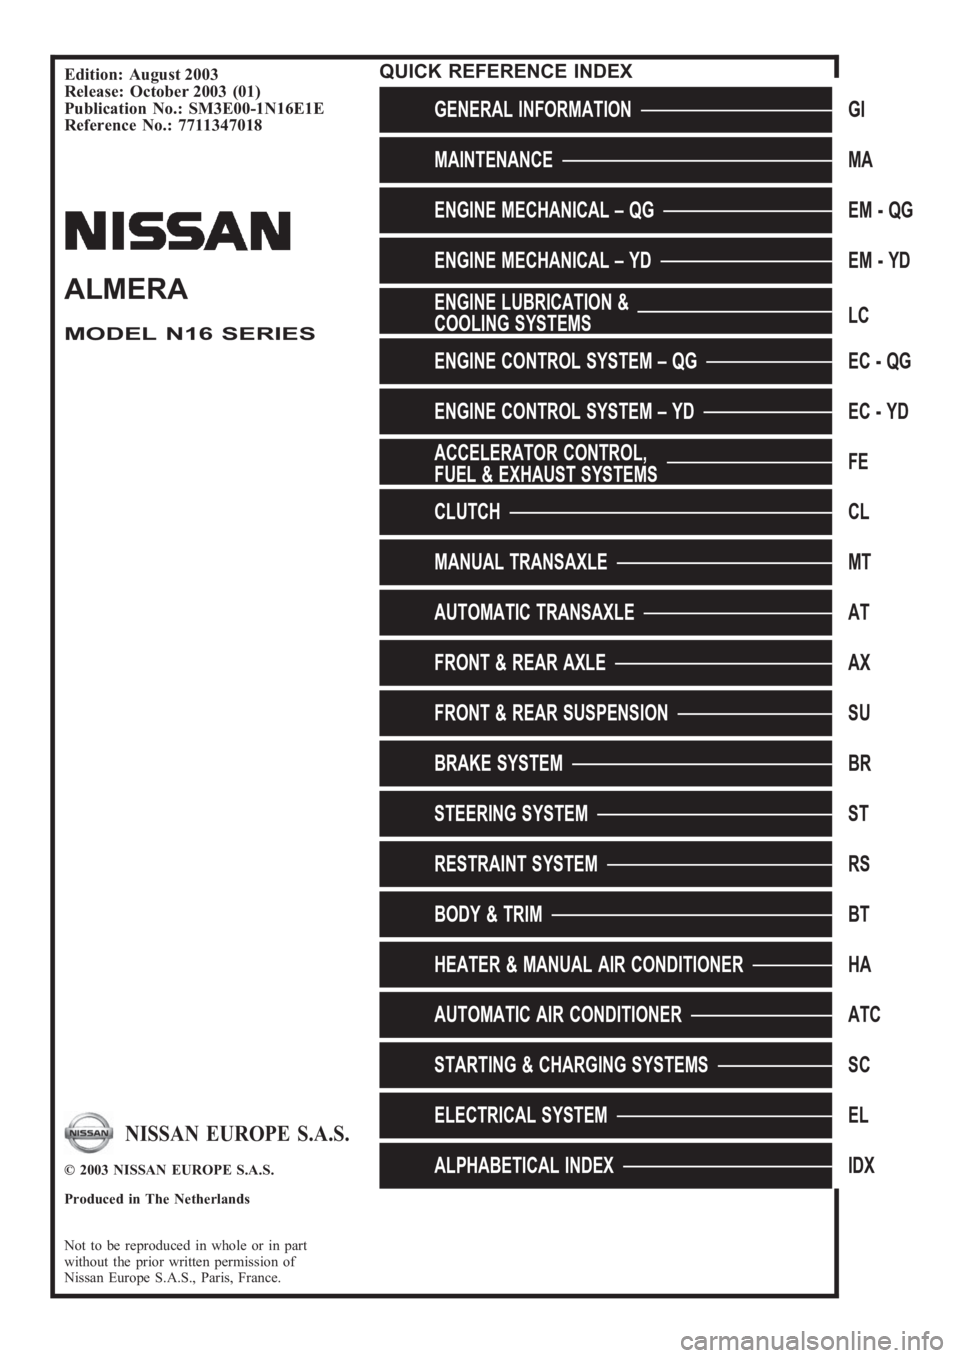
Edition: August 2003
Release: October 2003 (01)
Publication No.: SM3E00-1N16E1E
Reference No.: 7711347018
GENERAL INFORMATIONGI
MAINTENANCEMA
ENGINE MECHANICAL – QGEM-QG
ENGINE MECHANICAL – YDEM-YD
ENGINE LUBRICATION &
COOLING SYSTEMSLC
ENGINE CONTROL SYSTEM – QGEC - QG
ENGINE CONTROL SYSTEM – YDEC - YD
ACCELERATOR CONTROL,
FUEL & EXHAUST SYSTEMSFE
CLUTCHCL
MANUAL TRANSAXLEMT
AUTOMATIC TRANSAXLEAT
FRONT & REAR AXLEAX
FRONT & REAR SUSPENSIONSU
BRAKE SYSTEMBR
STEERING SYSTEMST
RESTRAINT SYSTEMRS
BODY & TRIMBT
HEATER & MANUAL AIR CONDITIONERHA
AUTOMATIC AIR CONDITIONERATC
STARTING & CHARGING SYSTEMSSC
ELECTRICAL SYSTEMEL
ALPHABETICAL INDEXIDX
ALMERA
MODEL N16 SERIES
NISSAN EUROPE S.A.S.
© 2003 NISSAN EUROPE S.A.S.
Produced in The Netherlands
Not to be reproduced in whole or in part
without the prior written permission of
Nissan Europe S.A.S., Paris, France.
QUICK REFERENCE INDEX
Page 13 of 3189

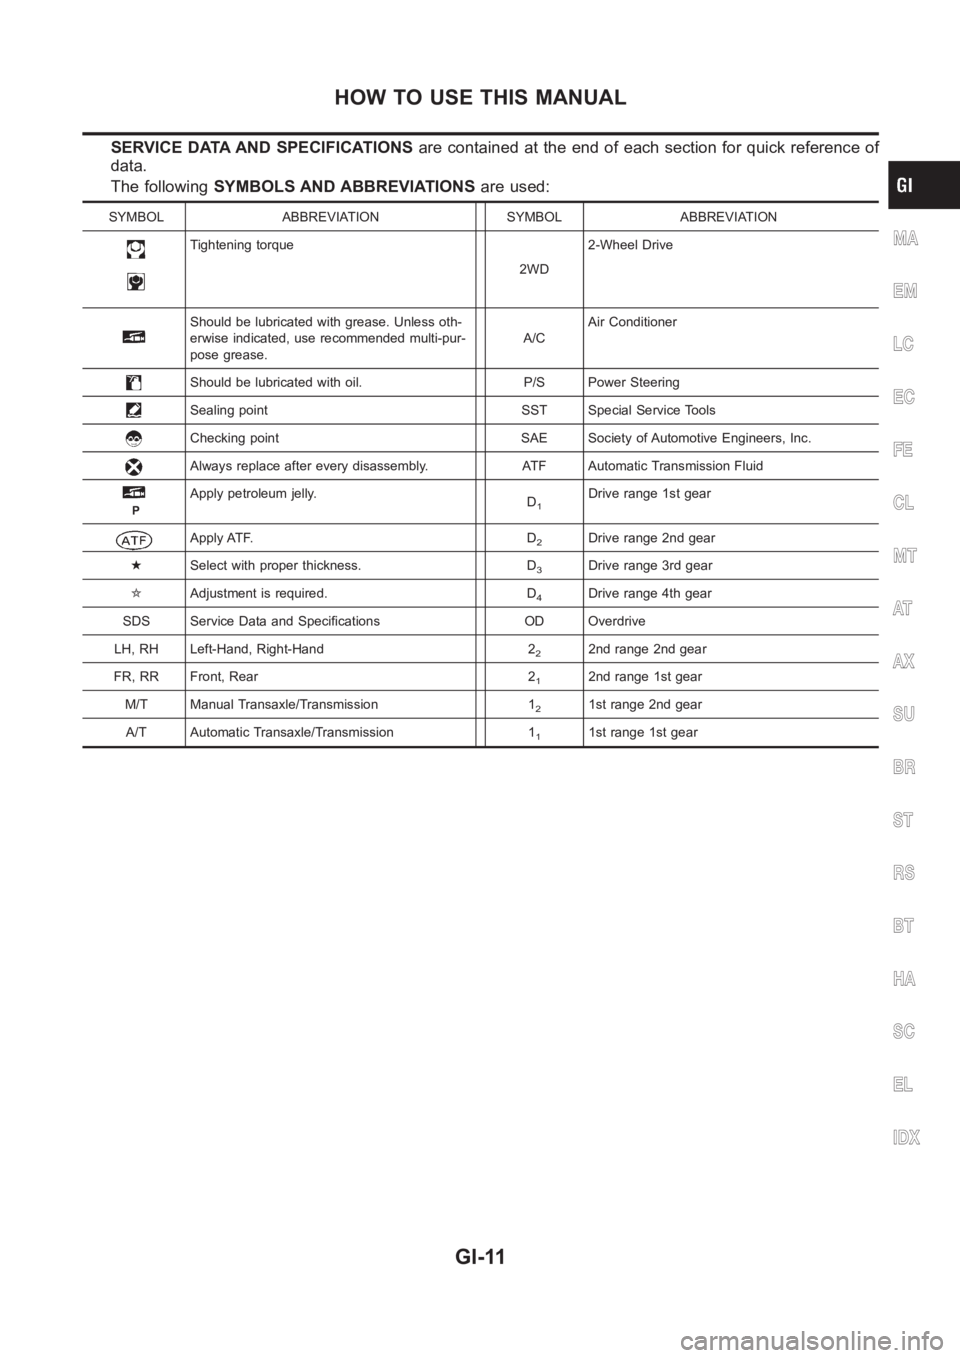
SERVICE DATA AND SPECIFICATIONSare contained at the end of each section for quick reference of
data.
The followingSYMBOLS AND ABBREVIATIONSare used:
SYMBOL ABBREVIATION SYMBOL ABBREVIATION
Tightening torque
2WD2-Wheel Drive
Should be lubricated with grease. Unless oth-
erwise indicated, use recommended multi-pur-
pose grease.A/CAir Conditioner
Should be lubricated with oil. P/S Power Steering
Sealing point SST Special Service Tools
Checking point SAE Society of Automotive Engineers, Inc.
Always replace after every disassembly. ATF Automatic Transmission Fluid
P
Apply petroleum jelly.
D1Drive range 1st gear
Apply ATF. D2Drive range 2nd gear
★Select with proper thickness. D
3Drive range 3rd gear
✩Adjustment is required. D
4Drive range 4th gear
SDS Service Data and Specifications OD Overdrive
LH, RH Left-Hand, Right-Hand 2
22nd range 2nd gear
FR, RR Front, Rear 2
12nd range 1st gear
M/T Manual Transaxle/Transmission 1
21st range 2nd gear
A/T Automatic Transaxle/Transmission 1
11st range 1st gear
MA
EM
LC
EC
FE
CL
MT
AT
AX
SU
BR
ST
RS
BT
HA
SC
EL
IDX
HOW TO USE THIS MANUAL
GI-11
Page 58 of 3189

NJMA0036
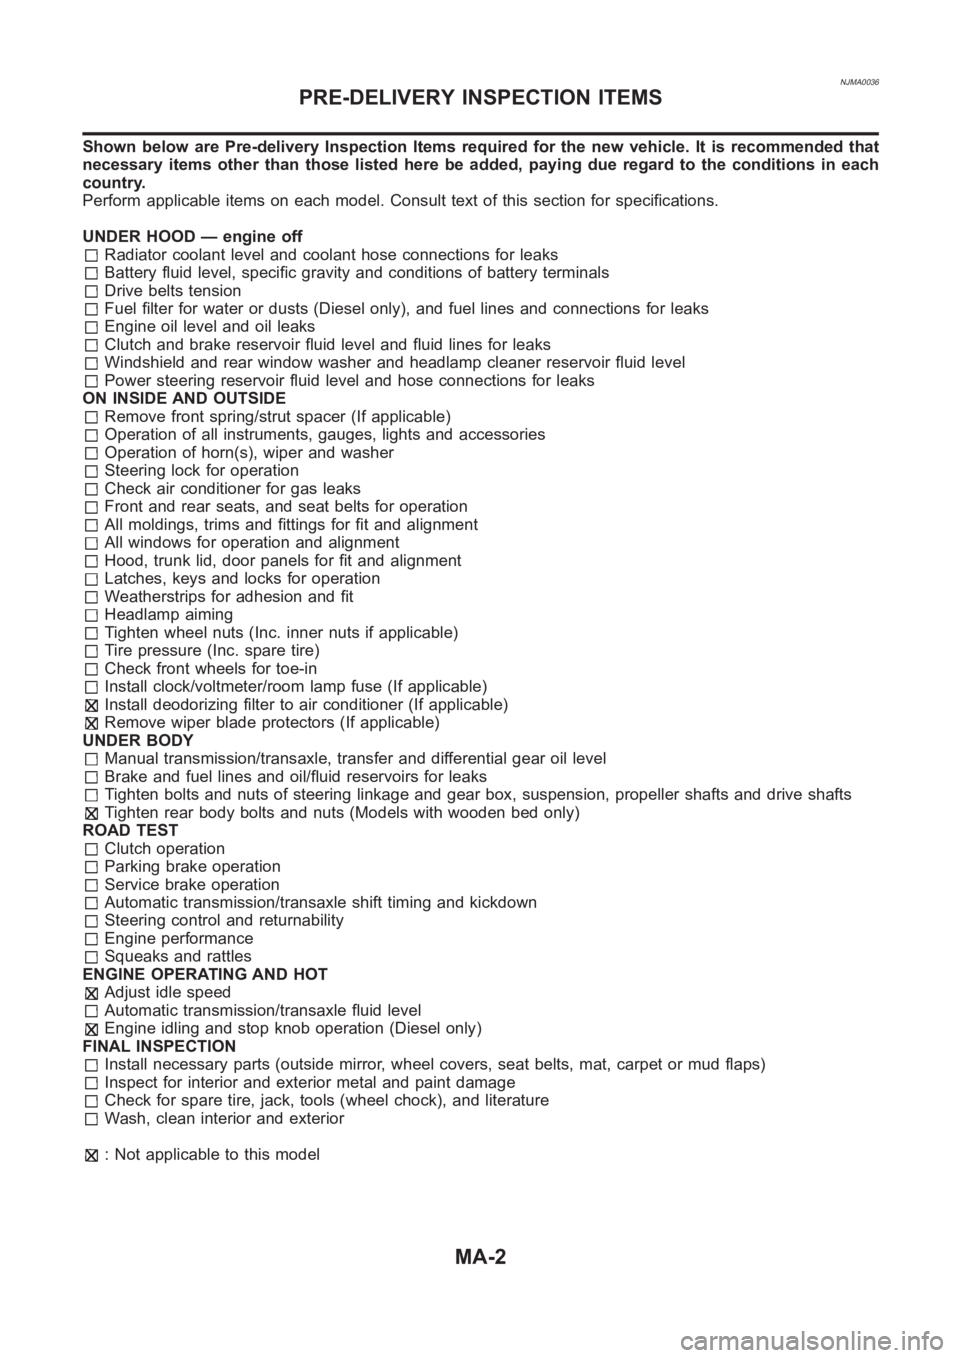
Shown below are Pre-delivery Inspection Items required for the new vehicle. It is recommended that
necessary items other than those listed here be added, paying due regard tothe conditions in each
country.
Perform applicable items on each model. Consult text of this section for specifications.
UNDER HOOD — engine off
Radiator coolant level and coolant hose connections for leaks
Battery fluid level, specific gravity and conditions of battery terminals
Drive belts tension
Fuel filter for water or dusts (Diesel only), and fuel lines and connections for leaks
Engine oil level and oil leaks
Clutch and brake reservoir fluid level and fluid lines for leaks
Windshield and rear window washer and headlamp cleaner reservoir fluid level
Power steering reservoir fluid level and hose connections for leaks
ON INSIDE AND OUTSIDE
Remove front spring/strut spacer (If applicable)
Operation of all instruments, gauges, lights and accessories
Operation of horn(s), wiper and washer
Steering lock for operation
Check air conditioner for gas leaks
Front and rear seats, and seat belts for operation
All moldings, trims and fittings for fit and alignment
All windows for operation and alignment
Hood, trunk lid, door panels for fit and alignment
Latches, keys and locks for operation
Weatherstrips for adhesion and fit
Headlamp aiming
Tighten wheel nuts (Inc. inner nuts if applicable)
Tire pressure (Inc. spare tire)
Check front wheels for toe-in
Install clock/voltmeter/room lamp fuse (If applicable)
Install deodorizing filter to air conditioner (If applicable)
Remove wiper blade protectors (If applicable)
UNDER BODY
Manual transmission/transaxle, transfer and differential gear oil level
Brake and fuel lines and oil/fluid reservoirs for leaks
Tighten bolts and nuts of steering linkage and gear box, suspension, propeller shafts and drive shafts
Tighten rear body bolts and nuts (Models with wooden bed only)
ROAD TEST
Clutch operation
Parking brake operation
Service brake operation
Automatic transmission/transaxle shift timing and kickdown
Steering control and returnability
Engine performance
Squeaks and rattles
ENGINE OPERATING AND HOT
Adjust idle speed
Automatic transmission/transaxle fluid level
Engine idling and stop knob operation (Diesel only)
FINAL INSPECTION
Install necessary parts (outside mirror, wheel covers, seat belts, mat, carpet or mud flaps)
Inspect for interior and exterior metal and paint damage
Check for spare tire, jack, tools (wheel chock), and literature
Wash, clean interior and exterior
: Not applicable to this model
PRE-DELIVERY INSPECTION ITEMS
MA-2
Page 79 of 3189

EM-1
ENGINE MECHANICAL
B ENGINE
CONTENTS
C
D
E
F
G
H
I
J
K
L
M
SECTION
A
EM
ENGINE MECHANICAL
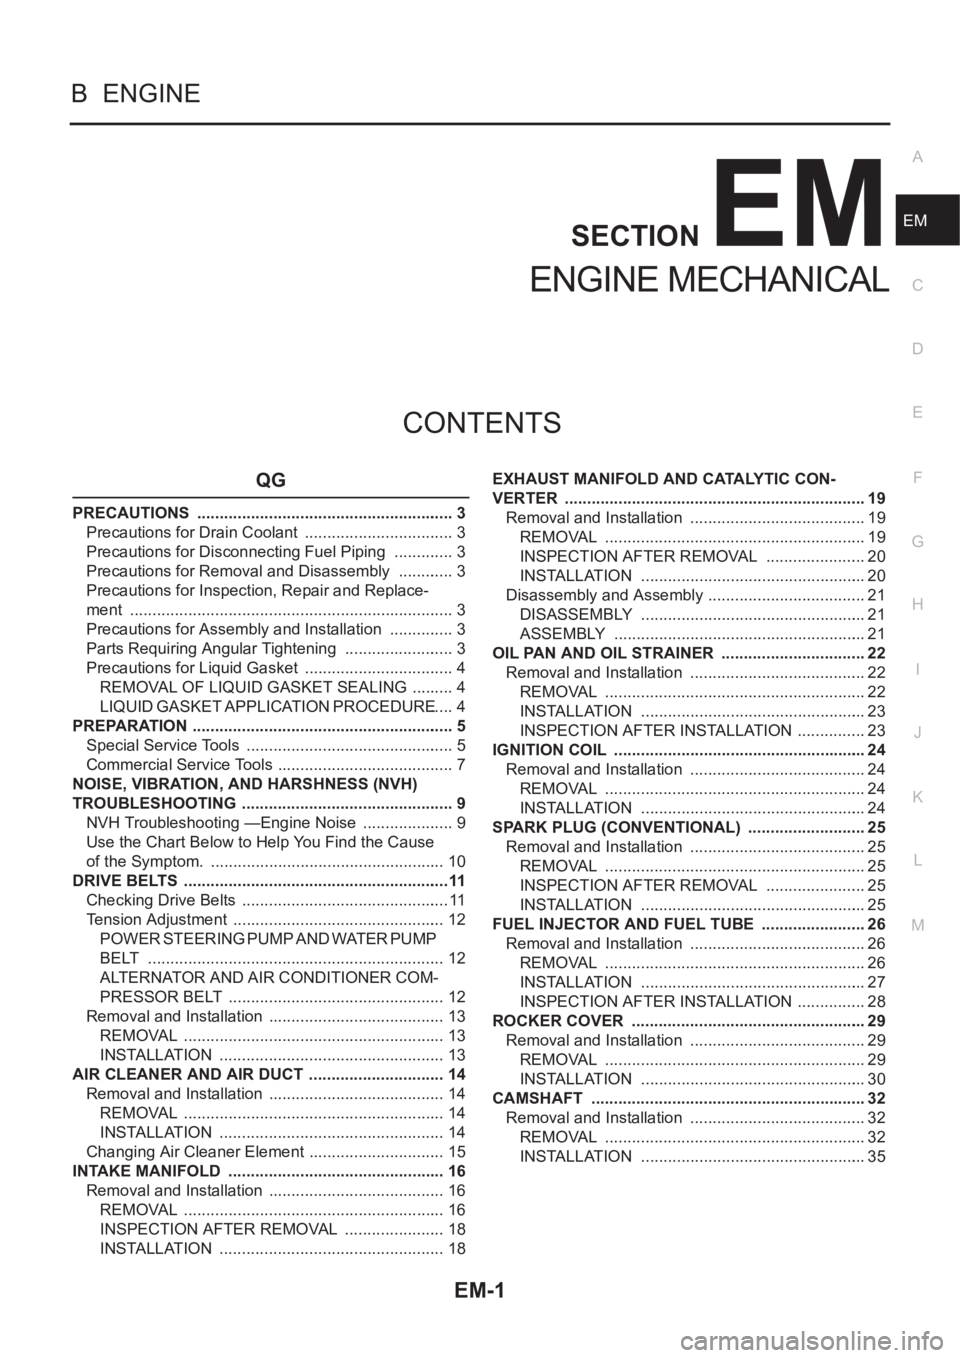
QG
PRECAUTIONS .......................................................... 3
Precautions for Drain Coolant .................................. 3
Precautions for Disconnecting Fuel Piping .............. 3
Precautions for Removal and Disassembly ............. 3
Precautions for Inspection, Repair and Replace-
ment ......................................................................... 3
Precautions for Assembly and Installation ............... 3
Parts Requiring Angular Tightening ......................... 3
Precautions for Liquid Gasket .................................. 4
REMOVAL OF LIQUID GASKET SEALING .......... 4
LIQUID GASKET APPLICATION PROCEDURE ..... 4
PREPARATION ........................................................... 5
Special Service Tools ............................................... 5
Commercial Service Tools ........................................ 7
NOISE, VIBRATION, AND HARSHNESS (NVH)
TROUBLESHOOTING ................................................ 9
NVH Troubleshooting —Engine Noise ..................... 9
Use the Chart Below to Help You Find the Cause
of the Symptom. ..................................................... 10
DRIVE BELTS ............................................................11
Checking Drive Belts ............................................... 11
Tension Adjustment ................................................ 12
POWER STEERING PUMP AND WATER PUMP
BELT ................................................................... 12
ALTERNATOR AND AIR CONDITIONER COM-
PRESSOR BELT ................................................. 12
Removal and Installation ........................................ 13
REMOVAL ........................................................... 13
INSTALLATION ................................................... 13
AIR CLEANER AND AIR DUCT ............................... 14
Removal and Installation ........................................ 14
REMOVAL ........................................................... 14
INSTALLATION ................................................... 14
Changing Air Cleaner Element ............................... 15
INTAKE MANIFOLD ................................................. 16
Removal and Installation ........................................ 16
REMOVAL ........................................................... 16
INSPECTION AFTER REMOVAL ....................... 18
INSTALLATION ................................................... 18EXHAUST MANIFOLD AND CATALYTIC CON-
VERTER .................................................................... 19
Removal and Installation ........................................ 19
REMOVAL ........................................................... 19
INSPECTION AFTER REMOVAL ....................... 20
INSTALLATION ................................................... 20
Disassembly and Assembly .................................... 21
DISASSEMBLY ................................................... 21
ASSEMBLY ......................................................... 21
OIL PAN AND OIL STRAINER ..............................
... 22
Removal and Installation ........................................ 22
REMOVAL ........................................................... 22
INSTALLATION ................................................... 23
INSPECTION AFTER INSTALLATION ................ 23
IGNITION COIL ......................................................... 24
Removal and Installation ........................................ 24
REMOVAL ........................................................... 24
INSTALLATION ................................................... 24
SPARK PLUG (CONVENTIONAL) ........................... 25
Removal and Installation ........................................ 25
REMOVAL ........................................................... 25
INSPECTION AFTER REMOVAL ....................... 25
INSTALLATION ................................................... 25
FUEL INJECTOR AND FUEL TUBE ........................ 26
Removal and Installation ........................................ 26
REMOVAL ........................................................... 26
INSTALLATION ................................................... 27
INSPECTION AFTER INSTALLATION ................ 28
ROCKER COVER ..................................................... 29
Removal and Installation ........................................ 29
REMOVAL ........................................................... 29
INSTALLATION ................................................... 30
CAMSHAFT .............................................................. 32
Removal and Installation ........................................ 32
REMOVAL ........................................................... 32
INSTALLATION ................................................... 35
Page 89 of 3189
![NISSAN ALMERA N16 2003 Electronic Repair Manual DRIVE BELTS
EM-11
[QG]
C
D
E
F
G
H
I
J
K
L
MA
EM
DRIVE BELTSPFP:02117
Checking Drive BeltsEBS00LPY
●Before inspecting the engine, make sure the engine has cooled down; wait approximately NISSAN ALMERA N16 2003 Electronic Repair Manual DRIVE BELTS
EM-11
[QG]
C
D
E
F
G
H
I
J
K
L
MA
EM
DRIVE BELTSPFP:02117
Checking Drive BeltsEBS00LPY
●Before inspecting the engine, make sure the engine has cooled down; wait approximately](/manual-img/5/57350/w960_57350-88.png)
DRIVE BELTS
EM-11
[QG]
C
D
E
F
G
H
I
J
K
L
MA
EM
DRIVE BELTSPFP:02117
Checking Drive BeltsEBS00LPY
●Before inspecting the engine, make sure the engine has cooled down; wait approximately 30 minutes
after the engine has been stopped.
●Visually inspect all belts for wear, damage, or cracks on contacting surfaces and edge areas.
●When measuring deflection, apply 98 N (10 kg, 22 lb) at the ▼ marked point.
CAUTION:
When measuring belt tension immediately after belt is installed, first set the tension to the standard.
Then, rotate crankshaft for more than two turns in order to eliminate variance in belt deflection
between the pulleys. Re-measure and adjust the tension to the standard.
PBIC0764E
Deflection adjustment Unit: mm (in)
Used belt
New belt
Limit After adjustment
AlternatorWithout air conditioner compressor 10.2 (0.402)6.5 - 7.0
(0.256 - 0.276)5.5 - 6.1
(0.217 - 0.240)
With air conditioner compressor 8.1 (0.319)5.3 - 5.7
(0.209 - 0.224)4.5 - 5.0
(0.177 - 0.197)
Power steering oil pump 7.1 (0.280)4.4 - 4.9
(0.173 - 0.193)3.9 - 4.4
(0.154 - 0.173)
Applied pushing force 98 N (10 kg, 22 lb)
Page 90 of 3189
![NISSAN ALMERA N16 2003 Electronic Repair Manual EM-12
[QG]
DRIVE BELTS
Tension Adjustment
EBS00LPZ
CAUTION:
●When belt is replaced with a new one, tighten it a little
stronger than current one to accommodate for insufficient
ada NISSAN ALMERA N16 2003 Electronic Repair Manual EM-12
[QG]
DRIVE BELTS
Tension Adjustment
EBS00LPZ
CAUTION:
●When belt is replaced with a new one, tighten it a little
stronger than current one to accommodate for insufficient
ada](/manual-img/5/57350/w960_57350-89.png)
EM-12
[QG]
DRIVE BELTS
Tension Adjustment
EBS00LPZ
CAUTION:
●When belt is replaced with a new one, tighten it a little
stronger than current one to accommodate for insufficient
adaptability with pulley grooves.
●When tension of belt being used exceeds “Retightening
limit”, adjust it to value for “Used belt”.
●When installing belt, make sure that it is correctly engaged with pulley groove.
●Keep oil and water away from belt.
●Do not twist or bend belt excessively.
●When adjusting belt, remove snap retainer from adjusting bolt thread (to prevent the retainer from
becoming pinched or missing).
●After adjustment, be sure to install snap retainer to adjusting bolt thread.
NOTE:
Snap retainer can prevent adjusting bolt from dropping due to vibration during driving.
POWER STEERING PUMP AND WATER PUMP BELT
1. Loosen lock nut (A) and power steering pump mounting nut (B).
2. Turn adjusting bolt (C) to adjust. Refer to EM-11, "
Checking
Drive Belts" .
3. Tighten lock nut (A) and power steering pump mounting nut (B)
in this order.
ALTERNATOR AND AIR CONDITIONER COMPRESSOR BELT
1. Remove RH splash cover (with undercover attached).
2. Loosen lock nut (G).
3. Turn adjusting bolt (H) to adjust.
Refer to EM-11, "
Checking Drive Belts" .
4. Tighten lock nut (G).
Portion Belt tightening method for adjustment
Power steering pump and water pump
beltAdjusting bolt on power steering pump
Alternator and air conditioner compres-
sor beltAdjusting bolt on idler pulley
PBIC0531E
Nut A :
: 16.7 - 23.5 N·m (1.7 - 2.4 kg-m, 13 - 17 ft-lb)
Nut B :
: 26.5 - 36.3 N·m (2.7 - 3.7 kg-m, 20 - 26 ft-lb)
PBIC0532E
Nut G :
: 24.5 - 31.4 N·m (2.5 - 3.2 kg-m, 18 - 23 ft-lb)
Page 146 of 3189
![NISSAN ALMERA N16 2003 Electronic Repair Manual EM-68
[QG]
ENGINE ASSEMBLY
WARNING:
●Position vehicle on a flat and solid surface.
●Place chocks at front and back of rear wheels.
●Do not remove engine until exhaust system has complete NISSAN ALMERA N16 2003 Electronic Repair Manual EM-68
[QG]
ENGINE ASSEMBLY
WARNING:
●Position vehicle on a flat and solid surface.
●Place chocks at front and back of rear wheels.
●Do not remove engine until exhaust system has complete](/manual-img/5/57350/w960_57350-145.png)
EM-68
[QG]
ENGINE ASSEMBLY
WARNING:
●Position vehicle on a flat and solid surface.
●Place chocks at front and back of rear wheels.
●Do not remove engine until exhaust system has completely cooled off, otherwise, you may burn
yourself and/or fire may break out in fuel line.
●Before disconnecting fuel hose, release pressure.
Refer to EC-34 (WITH EURO-OBD), EC-428 (WITHOUT EURO-OBD).
●Be sure to lift engine and transaxle in a safe manner.
●For engines not equipped with engine slingers, attach proper slingers and bolts described in
PARTS CATALOG.
CAUTION:
●When lifting engine, be sure to clear surrounding parts. Use special care near accelerator wire
casing, brake lines and brake master cylinder.
●When lifting the engine, always use engine slingers in a safe manner.
●When removing drive shaft, be careful not to damage grease seal of transaxle.
●Before separating engine and transaxle, remove crankshaft position sensor (POS) from the cylin-
der block assembly.
●Always be extra careful not to damage edge of crankshaft position sensor (POS), or signal plate
teeth.
Engine cannot be removed separately from transaxle. Remove engine with transaxle as an assembly.
REMOVAL
1. Drain coolant from radiator and cylinder block. Refer to LC-17, "Chacking Engine Coolant".
2. Remove coolant reservoir tank and bracket.
3. Drain engine oil.
4. Remove battery and battery tray.
5. Remove air cleaner and air duct.
6. Remove drive belts.
7. Remove alternator and air conditioner compressor from engine.
8. Remove power steering oil pump from engine and position aside.
Power steering oil pump does not need to be disconnected from power steering tubes.
9. Remove the following parts:
●RH and LH front tires
●Splash covers
●RH and LH brake caliper assemblies
Refer to BR-28,"Removal".
Brake hose does not need to be disconnected from brake
caliper assembly. Never depress brake pedal.
●RH & LH drive shaft. Refer to AX-11, "Removal".
When removing drive shaft, be careful not to damage
transaxle side grease seal.
●Disconnect control rod and support rod from transaxle. (M/T
models.)
Refer to MT-26, "Removal".
●Disconnect control cable from transaxle. (A/T models.)
Refer to AT-411, "Removal".
SEM174D
SEM109G
Page 157 of 3189
![NISSAN ALMERA N16 2003 Electronic Repair Manual CYLINDER BLOCK
EM-79
[QG]
C
D
E
F
G
H
I
J
K
L
MA
EM
18. Install flywheel or drive plate.
●Install drive plate in direction shown in figure.
●Fix crankshaft with ring gear stopper (special service NISSAN ALMERA N16 2003 Electronic Repair Manual CYLINDER BLOCK
EM-79
[QG]
C
D
E
F
G
H
I
J
K
L
MA
EM
18. Install flywheel or drive plate.
●Install drive plate in direction shown in figure.
●Fix crankshaft with ring gear stopper (special service](/manual-img/5/57350/w960_57350-156.png)
CYLINDER BLOCK
EM-79
[QG]
C
D
E
F
G
H
I
J
K
L
MA
EM
18. Install flywheel or drive plate.
●Install drive plate in direction shown in figure.
●Fix crankshaft with ring gear stopper (special service tool).
●Tighten mounting bolts diagonally in several steps.
19. Install oil level gauge guide.
●Press it in with punch mark for installing instruction in direction
shown in figure.
●Apply locking agent to pressed position.
20. Install knock sensor.
●Install sensor with connector facing lower right by 45° as
shown.
CAUTION:
●If any impact by dropping is applied to the knock sensor,
replace it with new one.
●Make sure that there is no foreign material on the cylin-
der block mating surface and the back surface of the
knock sensor.
●Do not tighten the mounting bolts while holding the con-
nector.
●Make sure that the knock sensor does not interfere with other parts.
21. Install crankshaft position sensor (POS).
●Tighten bolt after fully inserting crankshaft position sensor (POS) into cylinder block.
22. Tighten accessory brackets to the following tightening torque.
23. Assemble in the reverse order of disassembly.
PBIC0595E
PBIC0596E
Power steering pump bracket:
: 16.7 - 23.5 N·m (1.7 - 2.4 kg-m, 13 - 17 ft-lb)
Alternator air conditioner compressor bracket:
: 33.3 - 46.1 N·m (3.4 - 4.7 kg-m, 25 - 34 ft-lb)
PBIC0597E