Page 148 of 227

IUse the correct jack up points; never
use any other part of the vehicle for
jack support.
INever jack up the vehicle more than
necessary.
INever use blocks on or under the
jack.
IDo not start or run engine while ve-
hicle is on the jack, as it may cause
the vehicle to move. This is especially
true for vehicles with limited slip dif-
ferential carriers.
IDo not allow passengers to stay in
the vehicle while it is on the jack.
Installing the spare tire1. Clean any mud or dirt from the surface
between the wheel and hub.
2. Carefully put the wheel on and tighten the
wheel nuts finger tight. When replacing a
front tire, make sure the hole in the spare tire
wheel is aligned with the pin on the brake
rotor.
3. With the wheel nut wrench, tighten wheel
nuts alternately and evenly until they are tight.
4. Lower the vehicle slowly until the tire touches
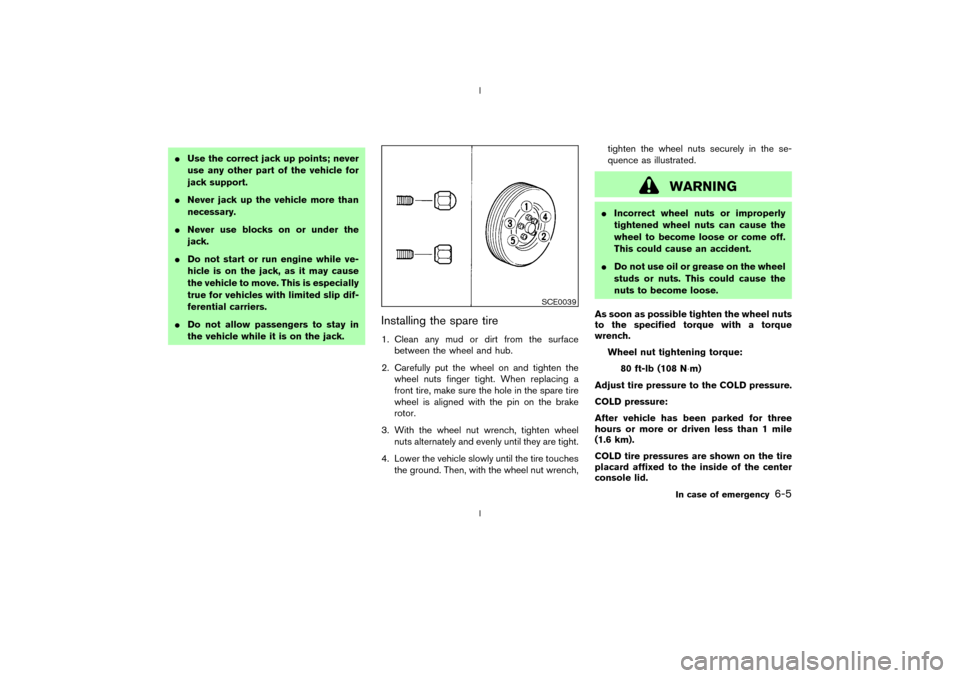
the ground. Then, with the wheel nut wrench,tighten the wheel nuts securely in the se-
quence as illustrated.
WARNING
IIncorrect wheel nuts or improperly
tightened wheel nuts can cause the
wheel to become loose or come off.
This could cause an accident.
IDo not use oil or grease on the wheel
studs or nuts. This could cause the
nuts to become loose.
As soon as possible tighten the wheel nuts
to the specified torque with a torque
wrench.
Wheel nut tightening torque:
80 ft-lb (108 N×m)
Adjust tire pressure to the COLD pressure.
COLD pressure:
After vehicle has been parked for three
hours or more or driven less than 1 mile
(1.6 km).
COLD tire pressures are shown on the tire
placard affixed to the inside of the center
console lid.
SCE0039
In case of emergency
6-5
Z
02.9.13/Z33-D/V5.0
X
Page 171 of 227

CHECKING ENGINE OIL LEVEL1. Park the vehicle on a level surface and apply
parking brake.
2. Run the engine until it reaches operating
temperature.
3. Turn off the engine.Wait more than 10
minutes for the oil to drain back into the
oil pan.
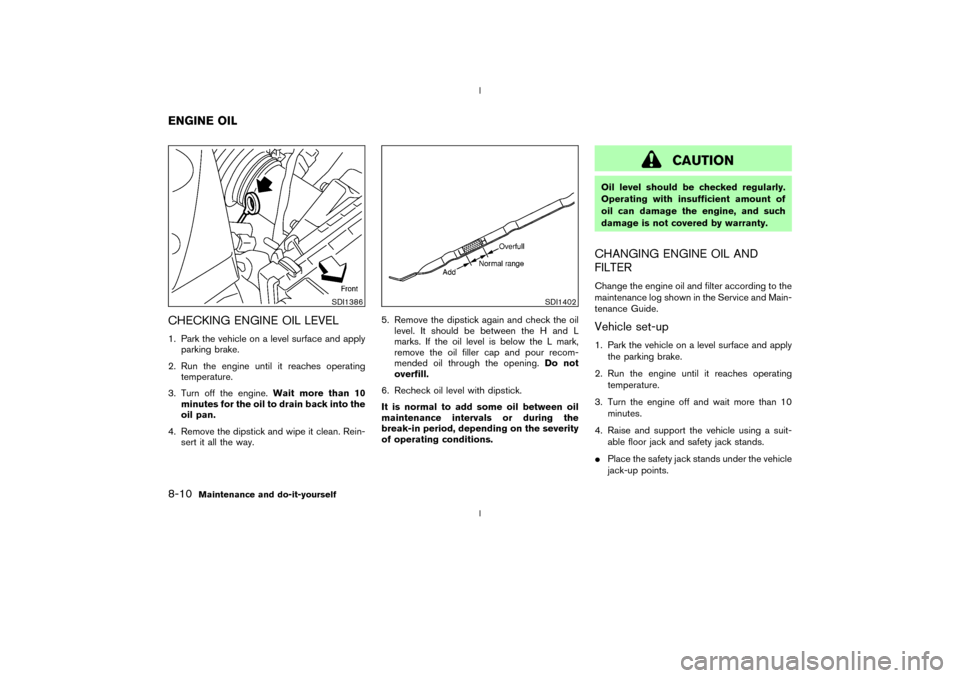
4. Remove the dipstick and wipe it clean. Rein-
sert it all the way.5. Remove the dipstick again and check the oil
level. It should be between the H and L
marks. If the oil level is below the L mark,
remove the oil filler cap and pour recom-
mended oil through the opening.Do not
overfill.
6. Recheck oil level with dipstick.
It is normal to add some oil between oil
maintenance intervals or during the
break-in period, depending on the severity
of operating conditions.
CAUTION
Oil level should be checked regularly.
Operating with insufficient amount of
oil can damage the engine, and such
damage is not covered by warranty.CHANGING ENGINE OIL AND
FILTERChange the engine oil and filter according to the
maintenance log shown in the Service and Main-
tenance Guide.Vehicle set-up1. Park the vehicle on a level surface and apply
the parking brake.
2. Run the engine until it reaches operating
temperature.
3. Turn the engine off and wait more than 10
minutes.
4. Raise and support the vehicle using a suit-
able floor jack and safety jack stands.
IPlace the safety jack stands under the vehicle
jack-up points.
SDI1386
SDI1402
ENGINE OIL8-10
Maintenance and do-it-yourself
Z
02.9.13/Z33-D/V5.0
X
Page 172 of 227

IA suitable adapter should be attached to the
jack stand saddle.
5. Remove the plastic engine undercover.
a. Remove the small plastic clip at the center
point of the undercover.
b. Then remove the other bolts that hold the
undercover in place.
CAUTION
Make sure the correct lifting and sup-
port points are used to avoid vehicle
damage.
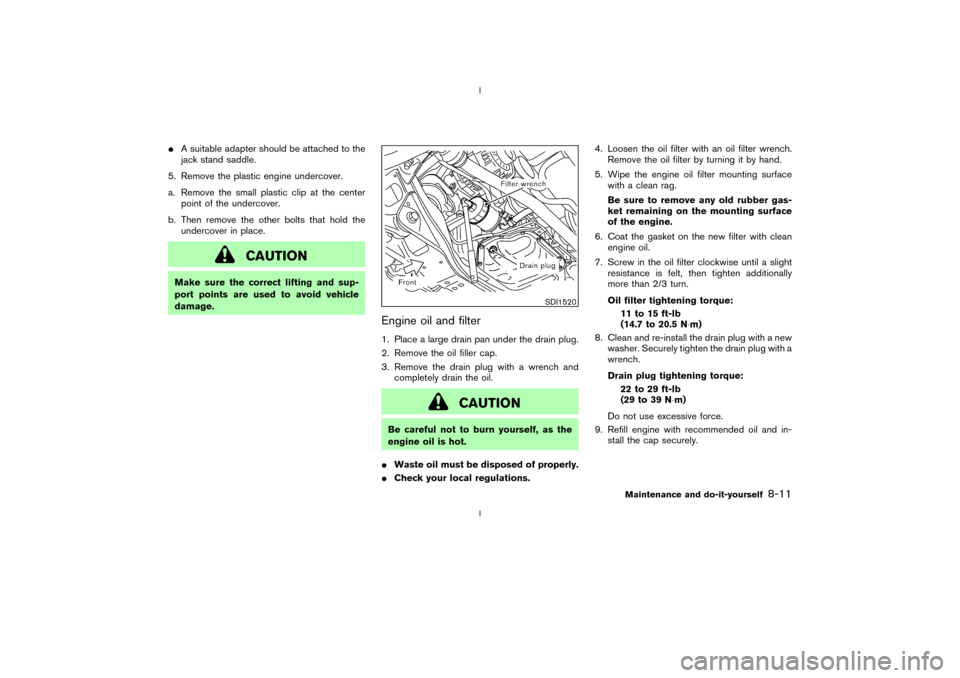
Engine oil and filter1. Place a large drain pan under the drain plug.
2. Remove the oil filler cap.
3. Remove the drain plug with a wrench and
completely drain the oil.
CAUTION
Be careful not to burn yourself, as the
engine oil is hot.
IWaste oil must be disposed of properly.
ICheck your local regulations.4. Loosen the oil filter with an oil filter wrench.
Remove the oil filter by turning it by hand.
5. Wipe the engine oil filter mounting surface
with a clean rag.
Be sure to remove any old rubber gas-
ket remaining on the mounting surface
of the engine.
6. Coat the gasket on the new filter with clean
engine oil.
7. Screw in the oil filter clockwise until a slight
resistance is felt, then tighten additionally
more than 2/3 turn.
Oil filter tightening torque:
11 to 15 ft-lb
(14.7 to 20.5 N×m)
8. Clean and re-install the drain plug with a new
washer. Securely tighten the drain plug with a
wrench.
Drain plug tightening torque:
22 to 29 ft-lb
(29 to 39 N×m)
Do not use excessive force.
9. Refill engine with recommended oil and in-
stall the cap securely.
SDI1520
Maintenance and do-it-yourself
8-11
Z
02.9.13/Z33-D/V5.0
X