2003 GMC SIERRA DENALI length
[x] Cancel search: lengthPage 145 of 428

2. Set the driver’s and passenger’s temperature.
To find your comfort setting, start with a
74°F
(23°C) temperature setting and allow about
20 minutes for the system to regulate. Turn the
driver’s or passenger’s side temperature knob
to adjust the temperature setting as necessary. If
you choose the temperature setting of
60°F
(15°C) the system will remain at the maximum
cooling setting. If you choose the temperature
setting of
90°F (32°C) the system will remain at the
maximum heat setting. Choosing either maximum
setting will not cause the vehicle to heat or cool any
faster.
Be careful not
to cover the sensor located on the
top of the instrument panel near the windshield.
This sensor regulates air temperature based on sun
load, and also turns on your headlamps.
To avoid blowing cold air in cold weather, the
system will delay turning on the fan until warm air
is available. The length of delay depends on
the engine coolant temperature. Pressing the fan switch will override this delay and change the fan
to
a selected speed.
Manual Operation
To change the current setting, select one of the
following:
A 8f? v (Fan): This button allows you to manually
adjust the fan speed. Press the up arrow
to increase fan
speed and the down arrow
to decrease fan speed.
4d (Mode): Press this button to manually change the
direction of the airflow in your vehicle; keep pressing the
button until the desired mode appears on the display.
If you press the mode button
to select an air delivery
mode, the display will change
to show you the selected
air mode delivery. The display will then show the
current status of the system. When the system is turned
off, the display will go blank after displaying the
current status
of the system.
f;’ (Vent): This mode directs air to the instrument
panel vents.
+2 (Bi-Level): This mode directs half of the air to the
instrument panel vents, then directs the remaining air
to
the floor vents. A little air is directed toward the
windshield and the side window vents. Cooler air is
directed
to the upper vents and warmer air to the floor
vents.
3-20
Page 212 of 428

Many adults - by some estimates, nearly half the adult
population
- choose never to drink alcohol, so they
never drive after drinking. For persons under 21,
it’s against the law in every
U.S. state to drink alcohol.
There are good medical, psychological and
developmental reasons for these laws.
The obvious way to eliminate the leading highway safety
problem is for people never to drink alcohol and then
drive. But what
if people do? How much is “too much” if
someone plans to drive? It’s a lot less than many might
think. Although it depends
on each person and situation,
here is some general information on the problem.
The Blood Alcohol Concentration (BAC)
of someone
who is drinking depends upon four things:
The amount of alcohol consumed
0 The drinker’s body weight
The amount of food that is consumed before and
during drinking
consume the alcohol.
0 The length of time it has taken the drinker to
According to the American Medical Association, a 180
Ib
(82 kg) person who drinks three 12 ounce (355 ml)
bottles of beer in an hour will end up with a BAC
of about
0.06 percent. The person would reach the
same BAC by drinking three
4 ounce (120 ml) glasses
of wine or three mixed drinks
if each had 1 - 1/2 ounces
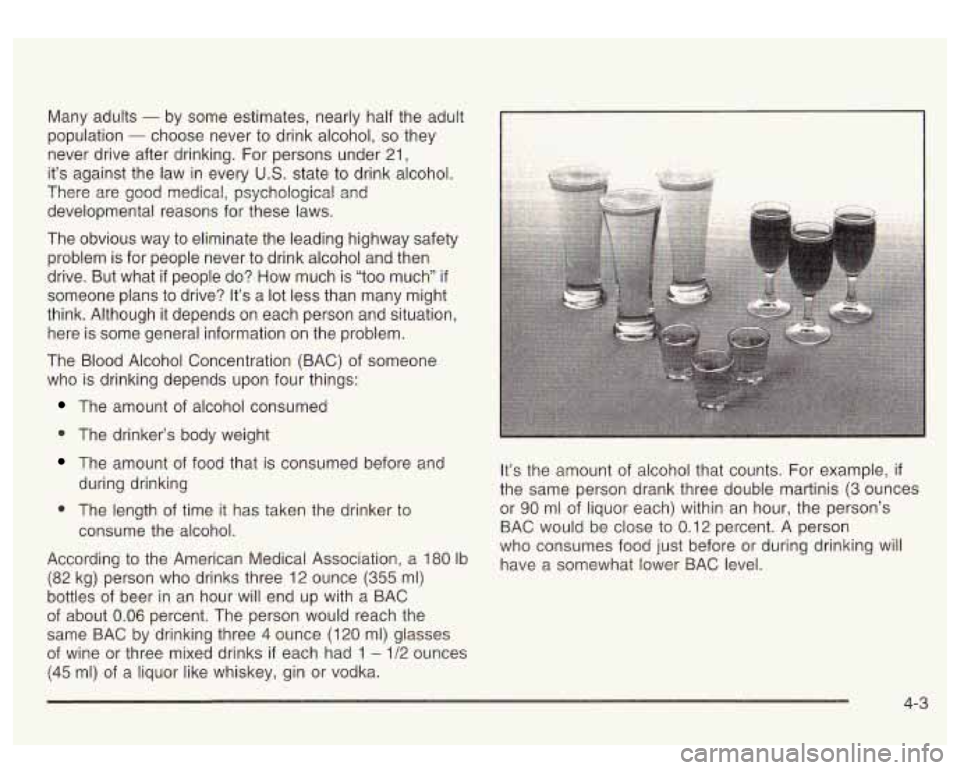
(45 mi) of a liquor like whiskey, gin or vodka. It’s the
amount of alcohol that counts. For example,
if
the same person drank three double martinis (3 ounces
or
90 ml of liquor each) within an hour, the person’s
BAC would be close to 0.1 2 percent. A person
who consumes food just before or during drinking will
have a somewhat lower BAC level.
4-3
Page 234 of 428

Q: Am I likely to stall when going downhill?
A: It’s much more likely to happen going uphill. But if it
* Stop your vehicle by applying the regular brakes.
happens
going downhill, here’s what to do.
Apply the parking brake.
Shift to PARK (P) and, while still braking, restart the
Shift back to a low gear, release the parking brake,
engine.
and
drive straight down.
0 If the engine won’t start, get out and get help.
Driving Across an Incline
Sooner or later, an off-road trail will probably go across
the incline of a hill. If this happens, you have to
decide whether to try to drive across the incline. Here
are some things to consider:
A hill that can be driven straight up or down may be
too steep to drive across. When you go straight up or
down a hill, the length of the wheel bas (the distance
from the front wheels to the rear wheels) reduces the
likelihood the vehicle will tumble end over end. But
when you drive across an incline, the much more
narrow track width (the distance between the left and
right wheels) may not prevent the vehicle from tilting
and rolling over. Also, driving across an incline puts
more wight on the downhill wheels. This could cause
a downhill slide or a rollover.
0
0
Surface conditions can be a problem when you drive
across a hill. Loose gravel, muddy spots, or even wet
grass can cause your tires to slip sideways, downhill.
If the vehicle slips sideways, it can hit something that
will trip it (a rock,
a rut, etc.) and roll over.
Hidden obstacles can make the steepness of the
incline even worse.
If you drive across a rock with the
uphill wheels, or
if the downhill wheels drop into a rut
or depression, your vehicle can tilt even more.
For reasons like these, you need to decide carefully
whether to try to drive across an incline. Just because the
trail goes across the incline doesn’t mean you hat to drive
it. The last vehicle to try it might have rolled over.
Driving across an incline that’s too steep will
make your vehicle roll over. You could be
seriously injured or killed.
If you have any
doubt about the steepness
of the incline, don’t
drive across it. Find another route instead.
4-25
Page 256 of 428

Th.,,ds yo^ pur inside your vehicle can strike
and injure people in a sudden stop or turn, or
in a crash.
Put things in the trunk of your vehicle. In a
trunk, put them
as far forward as you can.
Try to spread the weight evenly.
Never stack heavier things, like suitcases,
inside the vehicle
so that some of them
are above the tops of the seats.
Don’t leave an unsecured child restraint in
your vehicle.
When you carry something inside the
vehicle, secure it whenever you can.
There’s also important loading information for off-road
driving in this manual. See “Loading Your Vehicle
for Off-Road Driving“ under
Operating Your
All- Wheel-Drive Vehicle Off Paved Roads on page 4- 16.
Payload
Payload capacity is the maximum load capacity that your
vehicle can carry. Be sure to include the weight of the
occupants as part of your load.
If you added any accessories or
equipment after your vehicle left the
factory, remember to subtract the weight of these things
from the payload. Your dealer can help you with this.
Remember not to exceed the Gross Axle Weight Rating
(GAWR) of the front or rear axle.
Two-Tiered Loading
By positioning four 2’’ x 6’’ wooden planks across the
width of the pickup box, you can create an upper
load platform. The planks must be inserted in the pickup
box depressions. The length of the planks must allow
for at least a
3/4 inch (2 cm) bearing surface on
each end of the plank.
When using this upper load platform, be sure the load is
securely tied down to prevent it from shifting. The
load’s center of gravity should be positioned in a zone
over the rear axle. The zone is located in the area
between the front of each wheel well and the rear of
each wheel well. The center of gravity height must not
extend above the top of the pickup box flareboard.
Any load that extends beyond the vehicle’s taillamp area
must be properly marked according to local laws and
regulations.
Remember not to exceed the Gross Axle Weight Rating
(GAWR) of the front or rear axle.
4-47
Page 329 of 428

Windshield Wiper Blade Replacement
Windshield wiper blades should be inspected at least
twice a year for wear and cracking. See
At Least Twice
a Year on page
6-1 I for more information.
Replacement blades come in different types and are
removed in different ways. For proper type and length,
see
Normal Maintenance Replacement Parts on
page
5- 105.
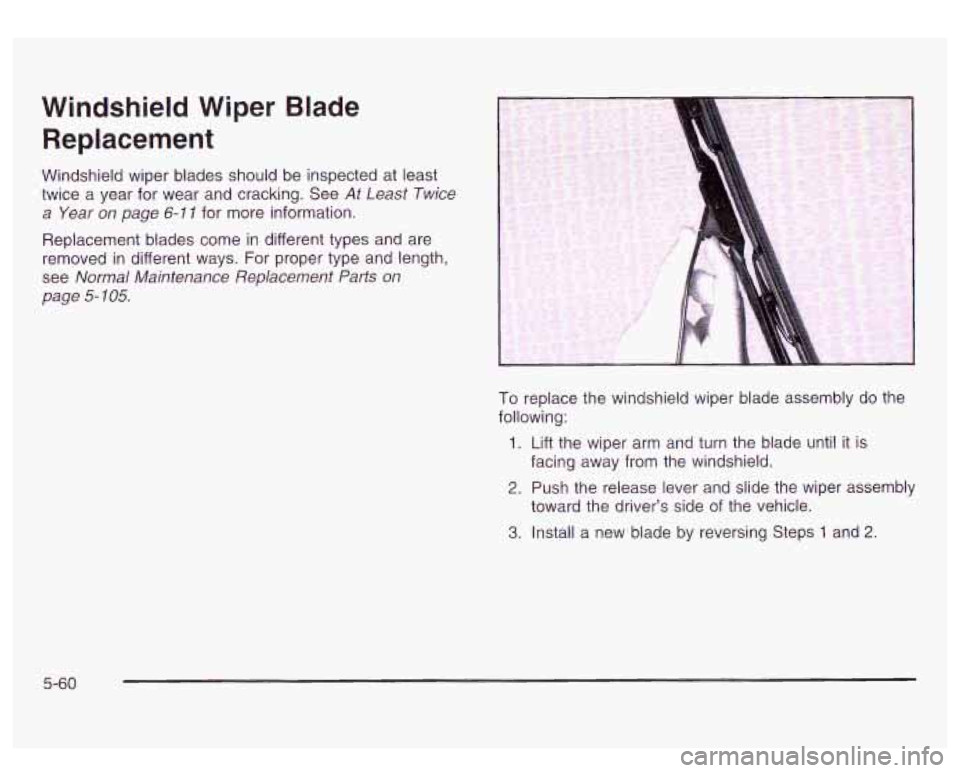
To replace the windshield wiper blade assembly do the
following:
1. Lift the wiper arm and turn the blade until it is
facing away from the windshield.
2. Push the release lever and slide the wiper assembly
3. Install a new blade by reversing Steps 1 and 2.
toward the driver’s side of the vehicle.
5-60