Page 269 of 428
Trailer Wiring Harness
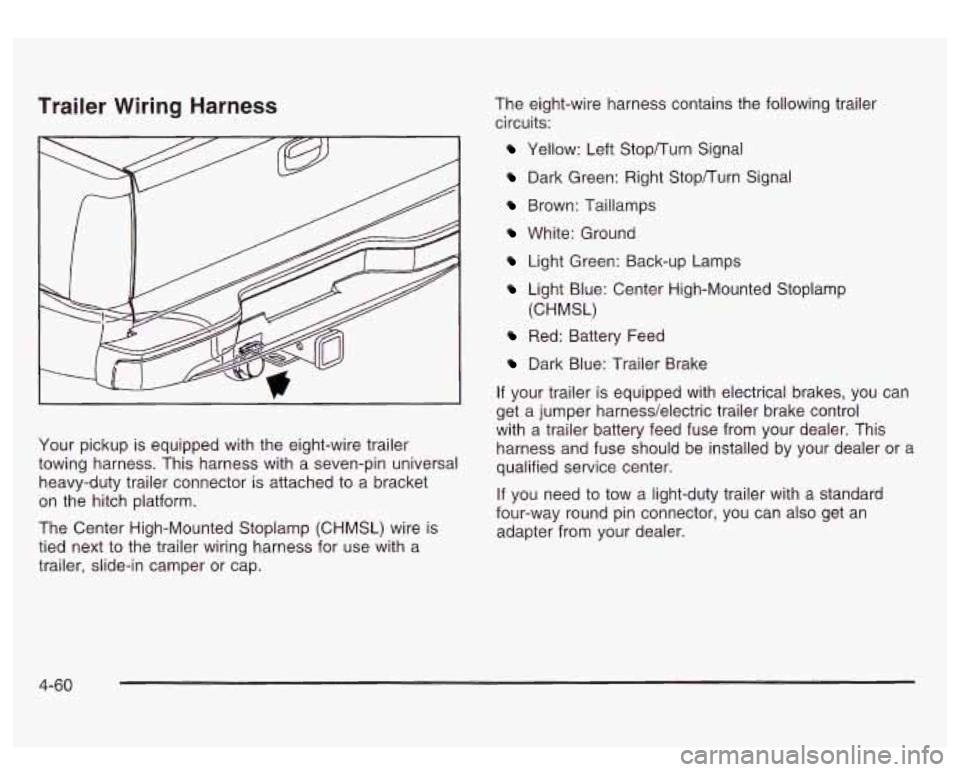
Your pickup is equipped with the eight-wire trailer
towing harness. This harness with a seven-pin universa
heavy-duty trailer connector is attached to a bracket
on the hitch platform.
The Center High-Mounted Stoplamp (CHMSL) wire is
tied next to the trailer wiring harness for use with a
trailer, slide-in camper or cap. The
eight-wire harness contains the following trailer
circuits:
Yellow: Left Stopnurn Signal
Dark Green: Right Stopnurn Signal
Brown: Taillamps
White: Ground
Light Green: Back-up Lamps
Light Blue: Center High-Mounted Stoplamp
(CHMSL)
Red: Battery Feed
Dark Blue: Trailer Brake
If your trailer
is equipped with electrical brakes, you can
get a jumper harnesdelectric trailer brake control
with a trailer battery feed fuse from your dealer. This
harness and fuse should be installed by your dealer or a
qualified service center.
If you need to tow a light-duty trailer with a standard
four-way round pin connector, you can also get an
adapter from your dealer.
4-60
Page 283 of 428
Checking Engine Oil
It’s a good idea to check your engine oil every time you
get fuel. In order to get an accurate reading, the oil
must be warm and the vehicle must be on level ground.
The engine oil dipstick has
a yellow looped handle
and is located on the
passenger’s side of the
vehicle. See
Engine
Compartment
Overview
on page 5- 12 for more
information on location. Turn
off the
engine and give the oil several minutes to
drain back into the oil pan.
If you don’t, the oil dipstick
might not show the actual level.
Pull out the dipstick and clean it with a paper towel or
cloth, then push it back in all the way. Remove it again,
keeping the tip down, and check the level.
5-1 4
Page 290 of 428
Automatic Transmission Fluid
When to Check and Change
A good time to check your automatic transmission fluid
level
is when the engine oil is changed.
Change both the fluid and filter every
50,000 miles
(83
000 km) if the vehicle is mainly driven under one or
more
of these conditions:
In heavy city traffic where the outside temperature
regularly reaches 90°F (32°C) or higher.
In hilly or mountainous terrain.
When doing frequent trailer towing.
Uses such as found in taxi, police or delivery
If you do not use your vehicle under any of these
conditions, change the fluid and filter every
100,000 miles (1 66 000 km).
See
Part A: Scheduled Maintenance Services on
page
6-4.
service.
How to Check
Because this operation can be a little difficult, you may
choose to have this done at the dealership service
department.
If you do it yourself, be sure to follow all the instructions
here, or you could get a false reading on the dipstick.
Notice: Too much or too little fluid can damage
your transmission. Too much can mean that some
of the fluid could come out and fall on hot engine
part
or exhaust system parts, starting a fire.
Too little fluid could cause the transmission to overheat. Be sure to get an accurate reading if you
check your transmission fluid.
Wait at least
30 minutes before checking the
transmission fluid level
if you have been driving:
0 When outside temperatures are above 90°F (32°C).
At high speed for quite a while.
In heavy traffic - especially in hot weather.
While pulling a trailer.
To get the right reading, the fluid should be at normal
operating temperature, which is 180°F
to 200°F
(82°C to 93°C).
5-2
1
Page 291 of 428
Get the vehicle warmed up by driving about 15 miles
(24 km) when outside temperatures are above
50°F
(1 OOC). If it's colder than 50°F (lO°C), drive the
vehicle
in THIRD (3) until the engine temperature
gage moves and then remains steady for 10 minutes.
A cold fluid check can be made after the vehicle has been
sitting for eight hours or more with the engine
off, but this
is used only as a reference. Let the engine run at idle for
five minutes
if outside temperatures are 50°F (1 0°C) or
more.
If it's colder than 50°F (1 OOC), you may have to idle
the engine longer. Should the fluid level be low during this
cold check, you
must check the fluid hot before adding
fluid. Checking the fluid hot will give you a more accurate
reading of the fluid level.
Checking the Fluid Level
Prepare your vehicle as follows:
Park your vehicle on a level place. Keep the engine
running.
With the parking brake applied, place the shift lever
in PARK (P).
With your foot on the brake pedal, move the shift
lever through each gear range, pausing for about
three seconds in each range. Then, position the shift
lever in PARK
(P).
Let the engine run at idle for three minutes or more. Then, without
shutting
off the engine, follow these steps:
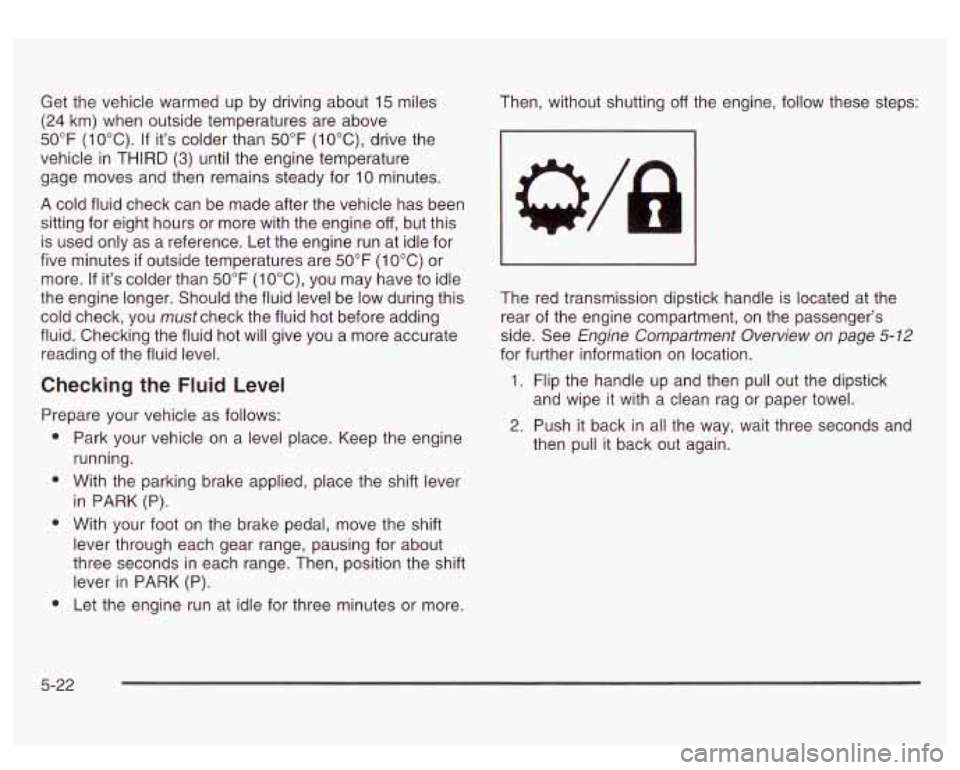
The red transmission dipstick handle is located at the
rear of the engine compartment, on the passenger's
side. See
Engine Compartment Overview on page 5-12
for further information on location.
1. Flip the handle up and then pull out the dipstick
and wipe it with a clean rag or paper towel.
3. Push it back in all the way, wait three seconds and
then pull it back out again.
5-22
Page 296 of 428
Coolant Surge Tank Pressure Cap
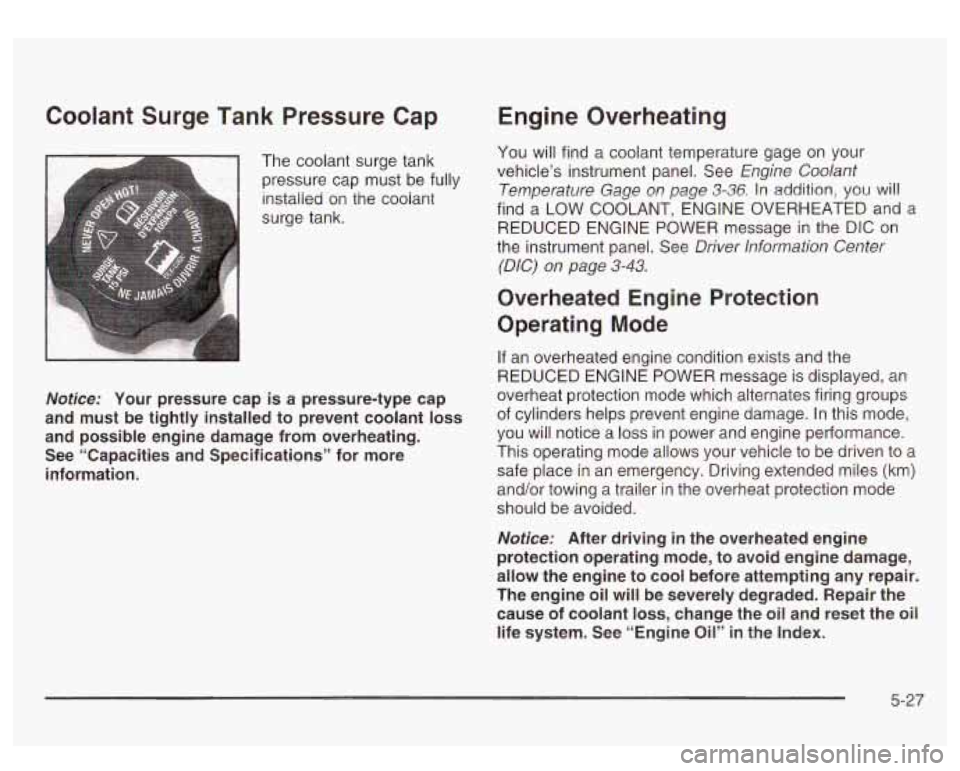
The coolant surge tank
pressure cap must be fully
installed on the coolant
surge tank.
Nofice: Your pressure cap is a pressure-type cap
and must be tightly installed to prevent coolant loss
and possible engine damage from overheating. See “Capacities and Specifications” for more
information.
Engine Overheating
You will find a coolant temperature gage on your
vehicle’s instrument panel. See
Engine Coolant
Temperature Gage
on page 3-36. In addition, you will
find a LOW COOLANT, ENGINE OVERHEATED and a
REDUCED ENGINE POWER message in the DIC on
the instrument panel. See
Driver lnformation Center
(DIC)
on page 3-43.
Overheated Engine Protection
Operating Mode
If an overheated engine condition exists and the
REDUCED ENGINE POWER message is displayed, an
overheat protection mode which alternates firing groups
of cylinders helps prevent engine damage. In this mode,
you will notice a
loss in power and engine performance.
This operating mode allows your vehicle to be driven to
a
safe place in an emergency. Driving extended miles (km)
and/or towing a trailer in the overheat protection mode
should be avoided.
Nofice: After driving in the overheated engine
protection operating mode, to avoid engine damage,
allow the engine to cool before attempting any repair.
The engine oil will be severely degraded. Repair the
cause of coolant
loss, change the oil and reset the oil
life system. See “Engine
Oil” in the Index.
5-27
Page 298 of 428
If No Steam Is Coming From
Your Engine
An overheat warning, along with a low coolant message,
can indicate
a serious problem. See “Low Coolant”
under
DIC Warnings and Messages on page 3-53.
If you get an engine overheat warning with no low
coolant message, but see or hear no steam, the problem
may not be too serious. Sometimes the engine can
get a little
too hot when you:
Climb a long hill on a hot day.
Stop after high-speed driving.
Idle for long periods in traffic.
Tow a trailer. See “Driving on Grades” under
Towing a Trailer on page 4-51.
If you get the overheat warning with no sign of steam,
try this for a minute or
so:
1. If your air conditioner is on, turn it off.
2. Turn on your heater to full hot at the highest fan
speed and open the window as necessary.
3. If you’re in a traffic jam, shift to NEUTRAL (N);
otherwise, shift to the highest gear while
driving
- AUTOMATIC OVERDRIVE (@ ).
If you no longer have the overheat warning, you can
drive. Just
to be safe, drive slower for about 10 minutes.
If the warning doesn’t come back on, you can drive
normally.
If the warning continues, pull over, stop, and park your
vehicle right away.
If there’s still no sign of steam, push down the accelerator
until the engine speed
is about twice as fast as normal
idle speed for at least three minutes while you’re parked.
If you still have the warning, turn off the engine andget
everyone out
of the vehicle until it cools down. Also, see
Overheated Engine Protection Operating Mode listed
previously in this section.
You may decide not
to lift the hood but to get service
help right away.
5-29
Page 305 of 428
6. Then replace the
pressure cap. Be sure
the pressure cap is
hand-tight and
fully seated. Engine Fan Noise
Your vehicle has a clutched engine cooling fan. When the
clutch is engaged, the fan spins faster to provide more air
to cool the engine. In most everyday driving conditions,
the fan is spinning slower and the clutch is not fully
engaged. This improves fuel economy and reduces fan
noise. Under heavy vehicle loading, trailer towing and/or
high outside temperatures, the fan speed increases as
the clutch more fully engages.
So you may hear an
increase in fan noise. This is normal and should not be
mistaken as the transmission slipping or making extra
shifts. It
is merely the cooling system functioning properly.
The fan will slow down when additional cooling is not
required and the clutch disengages.
You may also hear this fan noise when you start the
engine. It will go away as the fan clutch partially
disengages.
5-36
Page 323 of 428
2. Press the retainer clip (B), located behind the turn
signal housing, towards the outside
of the vehicle.
3. Pull the turn signal housing out of the vehicle.
4. Press the locking release lever, turn the bulb socket
counterclockwise and remove it from the turn signal
housing.
5. Remove the old bulb from the bulb socket.
6.
7.
8.
9.
Put a new bulb into the bulb socket. Use care not
to touch the bulb with your fingers or hands.
Put the bulb socket back into the turn signal
housing and turn it clockwise until it locks.
Put the turn signal housing back into the vehicle
placing the hook and posts on the inner side into
the alignment holes first, then the outer side into the
retainer bracket until you hear a click.
Put the headlamp assembly back into the vehicle.
Roof Marker Lamps
5-54