2003 GMC SIERRA DENALI tow
[x] Cancel search: towPage 184 of 428
TRANSMISSION HOT
If the transmission fluid temperature becomes high, the
message center will display this message.
When the transmission enters the protection mode, you
may notice a change in the transmission shifting
patterns. When the transmission fluid temperature
returns to normal, the display will turn
off and the
transmission shifting patterns will return
to normal.
Nofice: If you keep driving your vehicle with the
transmission
TRANS FLUID HOT message
displayed, you can damage the transmission.
This
could lead to costly repairs that may not be covered
under your warranty. The
following situations can cause the transmission to
operate at higher temperatures:
Towing a trailer
Hot outside air temperatures
0 Hauling a large or heavy load
Low transmission fluid level
High transmission fluid level
transmission oil cooler.
0 Restricted air flow to the radiator and the auxiliary
A temporary solution to hotter transmission operating
temperatures may be to let the transmission
cool down.
If the transmission is operated at higher temperatures
on a frequent basis, see
Scheduled Maintenance
on page 6-5 for the proper transmission maintenance
intervals.
3-59
Page 191 of 428

Setting the Tone (BassTTreble)
AUDIO: Press and release the AUDIO knob until
BASS, MID or TREB appears on the display. Turn the
knob to increase or to decrease. The display will
show the bass, midrange, or treble level. If a station is
weak or noisy, you may want to decrease the treble.
To adjust the bass, midrange, and treble to the middle
position, push and hold the AUDIO knob. The radio
will produce one beep and adjust the display level to the
middle position.
To adjust all tone and speaker controls to the middle
position, push and hold the AUDIO knob when no tone
or speaker control is displayed. The radio will produce
one beep and display ALL with the level display in
the middle position.
AUTO
EQ (Automatic Equalization): Press this button
to choose equalization settings.
Your audio system allows you to choose from four
different equalization settings: normal, driver, rear and
spacious. These settings can be used while listening to
the radio, the cassette tape, or the CD player.
NORMAL: This setting enhances the stereo effect.
DRIVER: This setting gives the driver the best sound
quality.
REAR: This setting gives the rear seat passengers the
best sound quality. SPACIOUS:
This setting makes the listening space
seem larger.
The radio will save seperate
AUTO EQ settings for each
preset and source.
Adjusting the Speakers (Balance/Fade)
AUDIO: To adjust the balance to the right and the
left speakers, push and release the AUDIO knob until
BAL appears on the display. Turn the knob to move the
sound toward the right or the left speakers.
To adjust the fade to the front and the rear speakers,
push and release the AUDIO knob until FADE appears
on the display. Turn the knob to move the sound
toward the front or the rear speakers.
To adjust the balance and fade to the middle position,
push the AUDIO knob then push it again and hold it until
the radio produces one beep. The balance and fade
will be adjusted to the middle position and the display
will show the speaker balance.
To adjust all tone and speaker controls to the middle
position, push and hold the AUDIO knob when no tone
or speaker control is displayed. The radio
will produce
one beep and display ALL with the level display in
the middle position.
3-66
Page 210 of 428
Section Driving Your Vehicle
Your Driving. the Road. and Your Vehicle .......... 4-2
Drunken Driving
............................................. 4-2
Control
of a Vehicle ........................................ 4-5
Defensive Driving
........................................... 4.2
Braking
......................................................... 4-6
Locking Rear Axle
.......................................... 4-8
Steering
........................................................ 4-9
Off -Road Recovery ....................................... 4-13
Passing
....................................................... 4-14
Loss
of Control ............................................. 4-15
Operating Your All-Wheel-Drive Vehicle
Off
Paved Roads ............................................ 4-16
Driving in Rain and on Wet Roads
................. -4-30
QUADRASTEERTM
....................................... 4-10
Driving at Night
................................ ..... 4-29
City Driving
.................................................. 4-33
Freeway Driving
........................................... 4-34 Before Leaving
on a Long
Trip ....................... 4-35
Hill and Mountain Roads
................................ 4-36
If You Are Stuck: In Sand, Mud,
Highway Hypnosis
........................................ 4.36
Winter Driving
.............................................. 4-38
Ice or Snow
.............................................. 4-42
Towing
.......................................................... 4-45
Towing Your Vehicle
..................................... 4-45
Recreational Vehicle Towing
........................... 4-45
Loading Your Vehicle
................................... -4-45
Truck-Camper Loading Information
.................. 4-48
Trailer Recommendations
.................. ...... 4-50
Pickup Conversion to
Chassis Cab
............................................. 4-50
Towing a Trailer
........................................... 4-51
4- 1
Page 221 of 428
I
Higher Speeds (40 m.p.h./64 km/h and above)
J
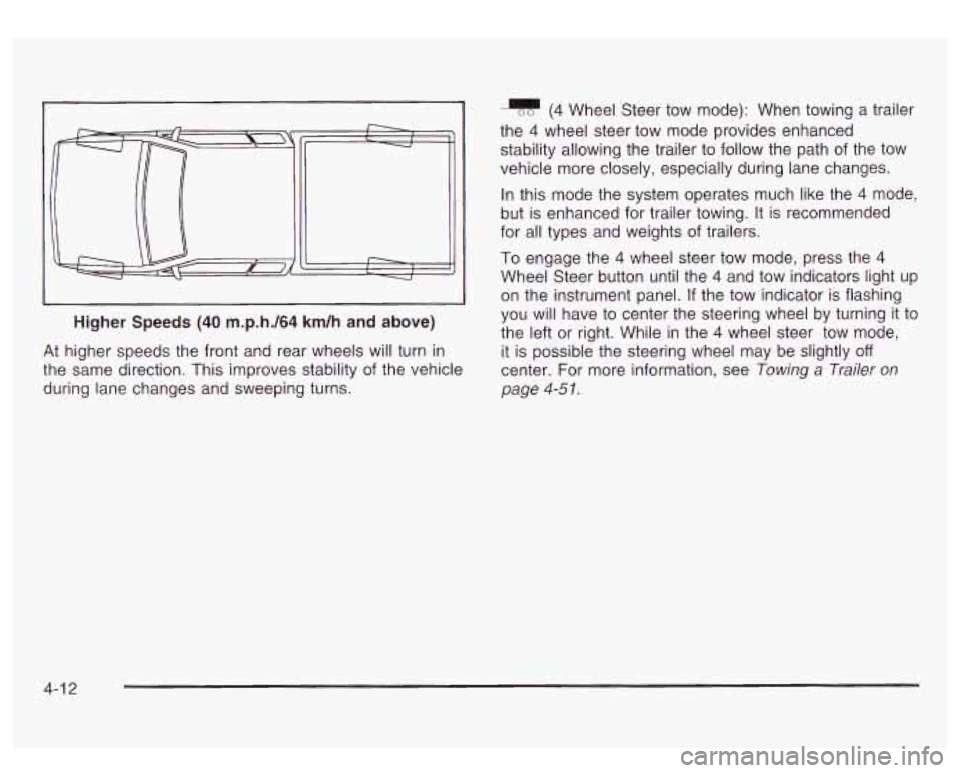
At higher speeds the front and rear wheels will turn in
the same direction. This improves stability of the vehicle
during lane changes and sweeping turns.
(4 Wheel Steer tow mode): When towing a trailer
the
4 wheel steer tow mode provides enhanced
stability allowing the trailer to follow the path of the tow
vehicle more closely, especially during lane changes.
In this mode the system operates much like the
4 mode,
but is enhanced for trailer towing. It is recommended
for all types and weights
of trailers.
To engage the
4 wheel steer tow mode, press the 4
Wheel Steer button until the 4 and tow indicators light up
on the instrument panel.
If the tow indicator is flashing
you will have to center the steering wheel by turning it to
the left or right. While in the
4 wheel steer tow mode,
it is possible the steering wheel may be slightly
off
center. For more information, see Towing a Trailer on
page
4-5 I.
4-1 2
Page 252 of 428
Rocking Your Vehicle To Get It Out
First, turn your steering wheel left and right. That will
clear the area around your front wheels. Then shift back
and forth between REVERSE
(R) and a forward gear,
spinning the wheels as little as possible. Release
the accelerator pedal while you shift, and press lightly
on the accelerator pedal when the transmission is
in gear. By slowly spinning your wheels in the forward
and reverse directions, you will cause a rocking
motion that may free your vehicle.
If that doesn’t get
you out after a few tries, you may need to be towed out.
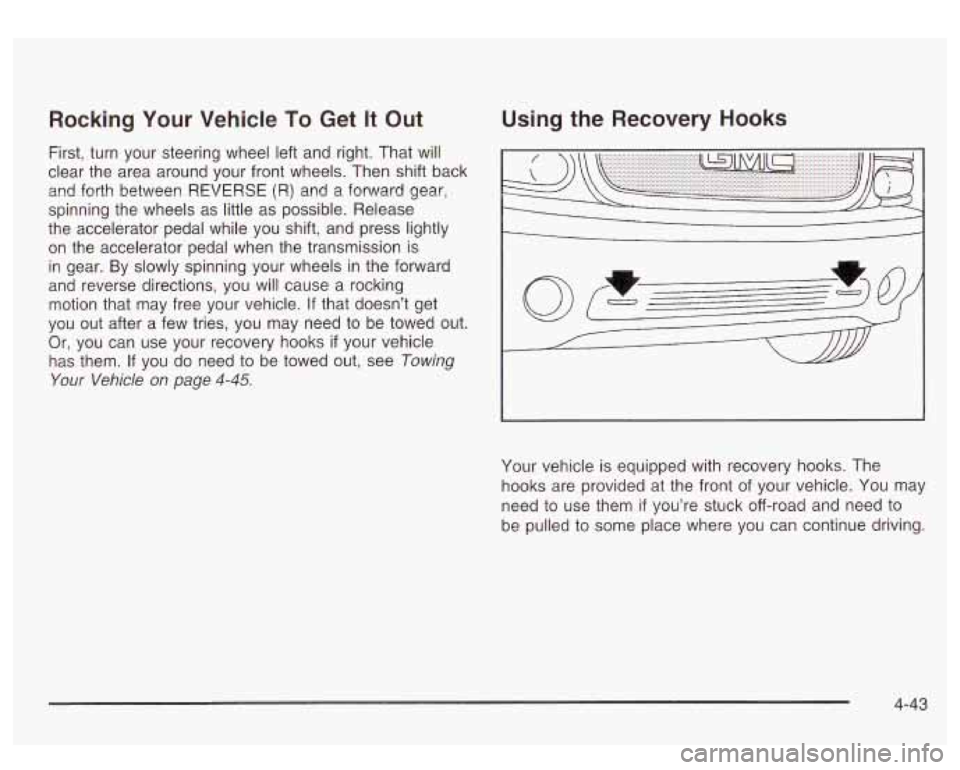
Or, you can use your recovery hooks
if your vehicle
has them.
If you do need to be towed out, see Towing
Your Vehicle on page 4-45.
Using the Recovery Hooks
I
Your vehicle is equipped with recovery hooks. The
hooks are provided at the front of your vehicle. You may
need to use them
if you’re stuck off-road and need to
be pulled to some place where you can continue driving.
4-43
Page 253 of 428
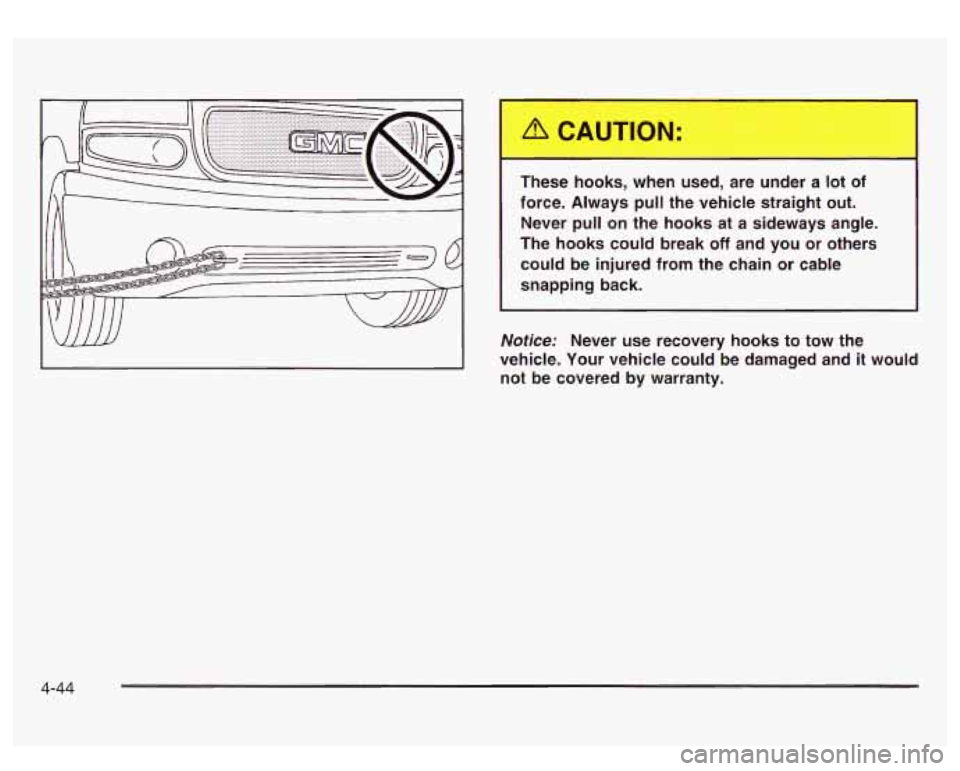
These hooks, when used, are under a lot of
force. Always
pull the vehicle straight out.
Never pull on the hooks at a sideways angle.
The hooks could break
off and you or others
could be injured from the chain or cable
snapping back.
Notice: Never use recovery hooks to tow the
vehicle. Your vehicle could be damaged and
it would
not be covered by warranty.
4-44
Page 254 of 428
Towing Loading Your Vehicle
Towing Your Vehicle
Consult your dealer or a professional towing service if
you need to have your disabled vehicle towed. See
Roadside Assistance Program on page 7-5.
If you want to tow your vehicle behind another vehicle
for recreational purposes (such as behind a motorhome),
see “Recreational Vehicle Towing” following.
Recreational Vehicle Towing
Recreational vehicle towing means towing your vehicle
behind another vehicle
- such as behind a motorhome.
The two most common types of recreational vehicle
towing are known as “dinghy towing” (towing your
vehicle with all four wheels on the ground) and “dolly
towing” (towing your vehicle with two wheels on
the ground and two wheels up on a device known
as a
“dolly”).
Your vehicle was not designed to be towed with any of
its wheels on the ground. If your vehicle must be
towed, see
Towing Your Vehicle on page 4-45.
Notice: Towing an all-wheel-drive vehicle with all
four wheels on the ground, or even with only two
of
its wheels on the ground, will damage drivetrain
components. Don’t tow an all-wheel-drive vehicle if
any
of its wheels will be on the ground.
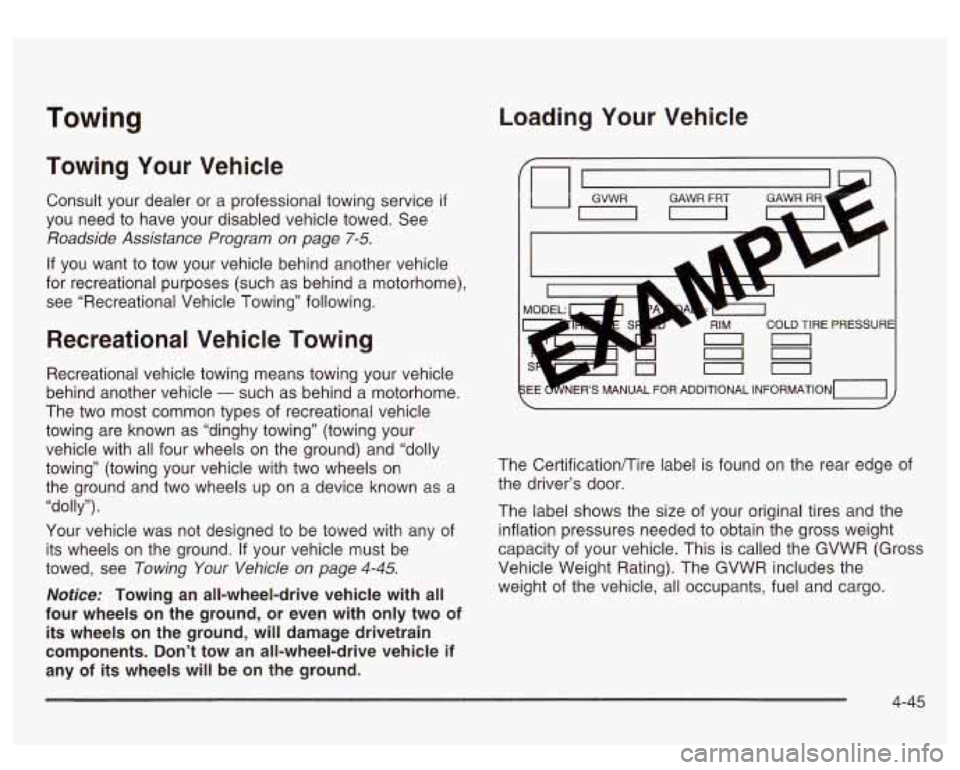
COLD TIRE PRESSURE
00
The Certificationflire label is found on the rear edge of
the driver’s door.
The label shows the size of your original tires and the
inflation pressures needed to obtain the gross weight
capacity of your vehicle. This is called the GVWR (Gross
Vehicle Weight Rating). The GVWR includes the
weight of the vehicle, all occupants, fuel and cargo.
4-45
Page 259 of 428
If your slide-in camper and its load weighs less than the
CWR, the center of gravity zone for your vehicle may
be larger.
Your dealer can help you make a good vehicle-camper
match. He’ll also help you determine your CWR.
After you’ve loaded your vehicle and camper, drive
to a
weigh station and weigh the front and rear wheels
separately. This will tell you the loads on your axles.
The loads on the front and rear axles shouldn’t be more
than either of the GAWRs. The total of the axle loads
should not be more than the GVWR.
Open your driver’s door and look at the Certification/Tire
label to find out your GAWR and GVWR.
If you’ve gone over your weight ratings, move or take
out some things until all the weight falls below the
ratings. Of course, you should always tie down any
loose items when you load your vehicle or camper.
When you install and load your slide-in camper, check
the manufacturer’s instructions.
If you want more information on curb weights, cargo
weights, Cargo Weight Rating and the correct center of
gravity zone for your vehicle, your dealer can help
you. Just ask for a copy of ”Consumer Information,
Truck-Camper Loading.”
Trailer Recommendations
You must subtract your hitch loads from the CWR for
your vehicle. Weigh your vehicle with the trailer
attached, so that you won’t go over the GVWR or
GAWR.
If you are using a weight-distributing hitch,
weigh the vehicle without the spring bars in place.
You’ll get the best performance
if you spread out the
weight of your load the right way, and
if you choose the
correct hitch and trailer brakes.
For more information, see ”Trailer Towing” in the Index.
Pickup Conversion to
Chassis Cab
General Motors is aware that some vehicle owners may
consider having the pickup box removed and
a
commercial or recreational body installed. Before you do
so, first contact GM Customer Assistance for information
on such conversions specific to this vehicle. Owners
should be aware that, as manufactured, there are
differences between a chassis cab and a pickup with
the box removed which may affect vehicle safety.
The components necessary
to adapt a pickup to permit
its safe use with a specialized body should be
installed by a body builder in accordance with the
information available from GM Customer Assistance.
See
Customer Assistance Offices on page 7-4.
4-50