2003 GMC SIERRA DENALI tow
[x] Cancel search: towPage 111 of 428

Compass Calibration
The compass may need calibration if one of the
following occurs:
After approximately five seconds, the display does
not show a compass heading
(N for North, for
example), there may be a strong magnetic field
interfering with the compass. Such interference may
be caused by a magnetic antenna mount, magnetic
note pad holder or a similar magnetic item.
The compass does not display the correct heading
and the compass zone variance is set correctly.
In order to calibrate, CAL must be displayed in the
mirror compass windows.
If CAL is not displayed, push
the
on/off button for approximately 12 seconds or
until CAL is displayed.
The compass can be calibrated in one of two ways:
Drive the vehicle in circles at 5 mph (8 km/h) or less
until the display reads a direction, or
@ drive the vehicle on your everyday routine and after
several turns the compass will become calibrated
and will display a direction.
Passenger Air Bag Indicator
Your vehicle may be equipped with a passenger air bag
indicator, on the mirror glass, just above the buttons.
If your vehicle has this feature, the mirror will display the
word
ON, or an air bag symbol in Canada, when the
passenger air bag is engaged. For more information,
see
Passenger Sensing System on page 1-68.
Cleaning the Mirror
When cleaning the mirror, use a paper towel or similar
material dampened with glass cleaner. Do not spray
glass cleaner directly on the mirror as that may cause
the liquid cleaner to enter the mirror housing.
2-30
Page 112 of 428

Outside Power Mirrors
If your vehicle is equipped
with outside power mirrors,
the controls are located
on the driver’s door
armrest.
Move the selector switch located above the control pad
to the left or right to choose the mirror you want to
adjust, then press the dots located on the four-way
control pad to adjust the mirror.
The mirrors include ground illumination lamps (puddle
lamps) in the base of the mirror. For more information on
these lamps, see
Puddle Lamps under Exterior Lamps
on page 3-1
1.
The mirrors also include a memory function which works
in conjunction with the memory seats. See “Memory
Seats” in the Index for more information.
Outside Power Foldaway Mirrors
If your vehicle is equipped with outside power foldaway
mirrors the mirrors can be folded in toward the body
of the vehicle.
To fold
in the mirrors, move the upper selector switch,
located above the mirror control, to the middle position.
Press the right side of the mirror control to fold the
mirrors toward the body
of the vehicle. The mirror glass
on one or both sides of the vehicle may automatically
adjust before the mirror folds inward. When the
mirror glass or mirror starts moving, you can release the
mirror control.
To return the mirrors and the mirror glass to their
normal position press the left side of the mirror control.
If the mirrors are manually folded, use the power
mirror control to return it to it’s original position.
Outside Automatic Dimming Mirror
The driver’s outside mirror will adjust for the glare of any
headlamps behind you. This feature is controlled by
the on and
off settings on the electrochromic mirror. See
“Electrochromic Mirror Operation” under
Automatic
Dimming Rearview Mirror with Onstat? Compass and
Temperature Display on page
2-28.
2-3 1
Page 120 of 428

Storage Areas
Glow Box
To open your glove box, pull the lever upward and pull
the door downward.
Cupholder(s)
Your vehicle may be equipped with cupholders for the
front and rear seat passengers, located in the center
console and on the rear of the center console storage
area.
To use the front cupholders press down on
the raised area
of the access door. Close the door by
pushing it all the way down until it locks back into place.
To access the rear cupholders, pull down on the door
located on the back of the console.
Center Console Storage Area
Your vehicle may be equipped with a console
compartment between the bucket seats.
To open it press the button on the side and swing the
console lid open.
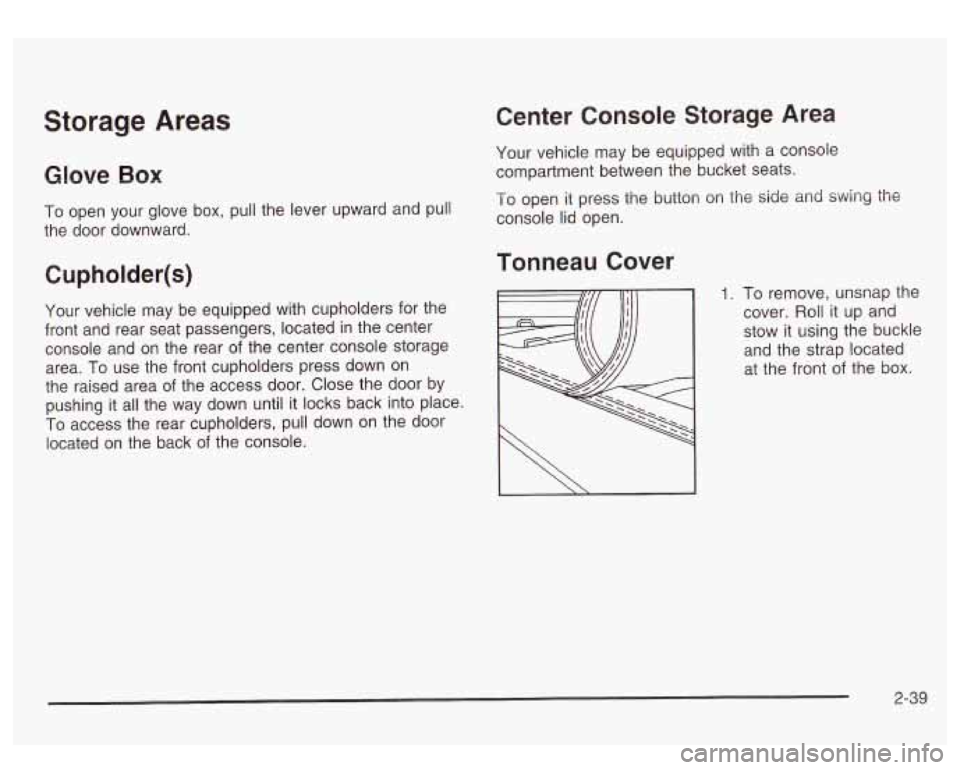
Tonneau Cover
1. To remove, unsnap the
cover. Roll it up and
stow it using the buckle
and the strap located
at the front
of the box.
I \ I
2-39
Page 126 of 428

Section 3 Instrument Panel
I~s~Pu~~~IP Panel OWWV~~W ............................... 3.2
Hazard Warning Flashers
................................ 3.3
Other Warning Devices ................................... 3.4
Horn
............................................................. 3.4
Tilt Wheel
..................................................... 3.4
Turn SignaVMultifunction Lever
......................... 3.5
Exterior Lamps
............................................. 3.11
Interior Lamps
.............................................. 3.15
Accessory Power Outlets
............................... 3.16
Ashtrays and Cigarette Lighter
........................ 3.17
Climate Controls
............................................ 3.18
Dual Automatic Climate Control System
........... 3.18
Warning Lights, Gages and Indicators
............. 3.24
Instrument Panel Cluster
................................ 3.25
Speedometer and Odometer
........................... 3.26
Tachometer
................................................ -3-26
Safety Belt Reminder Light
............................. 3.26
Air Bag Readiness Light
................................ 3-27
Passenger Air Bag Status Indicator
................. 3.30
Battery Warning Light
.................................... 3.33
Brake System Warning Light
.......................... 3.34
Anti-Lock Brake System Warning Light
............. 3.35
Air
Bag
Off Light .......................................... 3-28
Voltmeter Gage
............................................ 3-33
Engine Coolant Temperature Gage
..... ..... 3.36 Transmission Temperature
Gage
..................... 3.36
Malfunction Indicator Lamp
............................. 3.38
Oil Pressure Gage
........................................ 3-40
Cruise Control Light
...................................... 3.41
Tow/Haul Mode Light
.................................... 3-41
Fuel Gage
................................................... 3.42
Driver Information Center (DIC)
....................... 3.43
DIC Operation and Displays
........................... 3.43
DIC Warnings and Messages
......................... 3.53
Audio System(s)
............................................. 3.61
Setting the Time
...................... .......... 3.6 1
Radio with Cassette and CD ..... .............. 3.62
Rear Seat Audio (RSA)
............................. 3.76
CD Changer
................................................ 3-78
Theft-Deterrent Feature
................................. -3-81
Audio Steering Wheel Controls
....................... 3.81
Understanding Radio Reception
...................... 3-82
Care of Your Cassette Tape Player
................ -3-83
Care of Your CDs
......................................... 3.84
Care of Your CD Player
................................ 3.84
Fixed Mast Antenna
...................................... 3.84
XMTM Satellite Radio Antenna System
............. 3.84
DAB Radio Antenna System
........................... 3.84
Low Fuel Warning Light
................................. 3-42
Page 128 of 428

Hazard Warning Flashers The main components of your instrument panel are the
following:
A. Dome Lamp Override Button
9. Exterior Lamp Control
C. Air Outlets
D. Storage Compartment
E. Multifunction Lever
F. Instrument Panel Cluster
G. Shift Lever
H. Tow/Haul Selector Switch (If Equipped)
I. Audio System
J. Comfort Control System
K. Instrument Panel Fuse Block
L. Hood Release
M. Audio Steering Wheel Controls
(If Equipped)
N. Center Instrument Panel Fuse Block
0. Tilt Lever
P. Parking Brake Release
Q. Compact Disc Changer (If Equipped)
R. Ashtray
S. Accessory Power Outlet
1. Air Bag Off Switch and 4-Wheel Steer Button
U. Glovebox Your hazard
warning flashers let you warn others. They
also let police know you have a problem. Your front
and rear turn signal lamps will flash on and
off.
3-3
Page 131 of 428

Turn Signal On Chime
If your turn signal is left on for more than 3/4 of a mile
(1.2 km), a chime will sound at each flash of the
turn signal. To turn
off the chime, move the turn signal
lever to the
off position.
Headlamp High/Low Beam Changer
To change the headlamps from low to high beam, push
the lever toward the instrument panel.
To return the
low-beam headlamps, pull the multifunction lever toward
you. Then release it.
When the high beams are
on, this light on the
instrument panel cluster
also will be on.
I I
Flash-To-Pass Feature
This feature allows you to use your high-beam
headlamps to signal a driver in front
of you that you
want to pass. It works even
if your headlamps are off
To use it, pull the turn signal lever toward you.
If your headlamps are
off or on low-beam, your
high-beam headlamps will turn on. They’ll stay on as long
as you hold the lever toward you and the high-beam
indicator on the instrument panel will come on. Release
the lever
to turn the high-beam headlamps off.
Windshield Wipers
0: OFF
$? : MIST
You control the windshield wipers by turning the band
with the wiper symbol on it.
For a single wiping cycle, turn the band to mist.
Hold it
there until the wipers start, then let go. The wipers
will stop after one wipe.
If you want more wipes, hold
the band on mist longer.
3-6
Page 136 of 428

Exterior Lamps
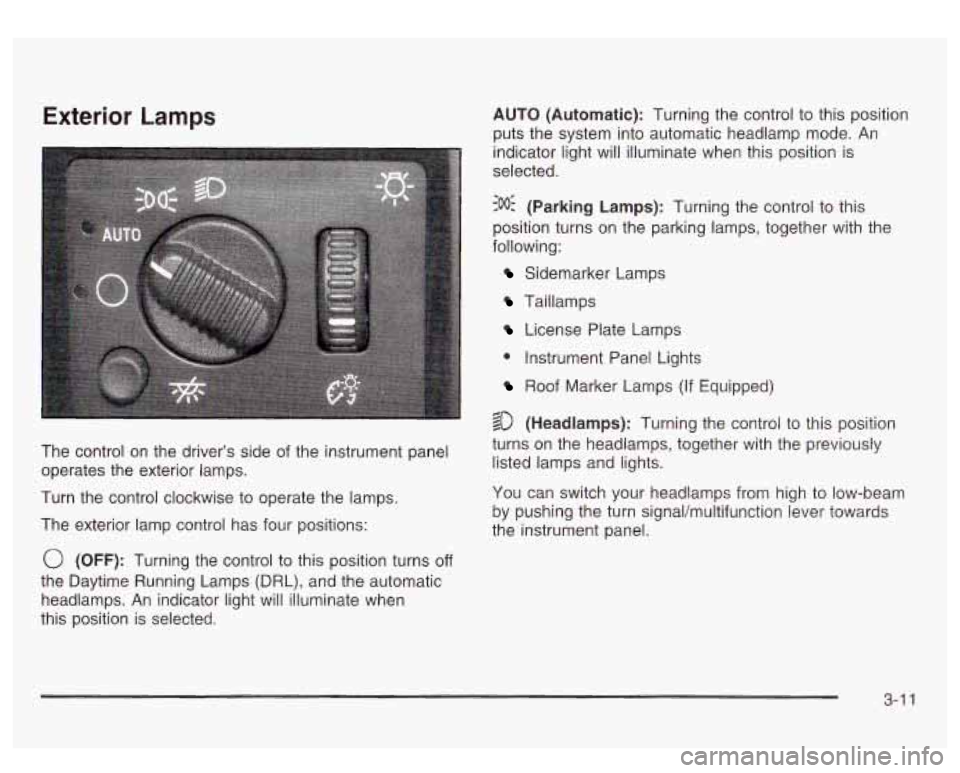
The control on the driver’s side of the instrument panel
operates the exterior lamps.
Turn the control clockwise to operate the lamps.
The exterior lamp control has four positions:
0 (OFF): Turning the control to this position turns off
the Daytime Running Lamps (DRL), and the automatic
headlamps. An indicator light will illuminate when
this position is selected. AUTO
(Automatic): Turning the control to this position
puts the system into automatic headlamp mode.
An
indicator light will illuminate when this position is
selected.
:oO: (Parking Lamps): Turning the control to this
position turns on the parking lamps, together with the
following:
Sidemarker Lamps
Taillamps
License Plate Lamps
0 Instrument Panel Lights
Roof Marker Lamps (If Equipped)
$0 (Headlamps): Turning the control to this position
turns on the headlamps, together with the previously
listed lamps and lights.
You can switch your headlamps from high to low-beam
by pushing the turn signal/multifunction lever towards
the instrument panel.
3-1 1
Page 145 of 428

2. Set the driver’s and passenger’s temperature.
To find your comfort setting, start with a
74°F
(23°C) temperature setting and allow about
20 minutes for the system to regulate. Turn the
driver’s or passenger’s side temperature knob
to adjust the temperature setting as necessary. If
you choose the temperature setting of
60°F
(15°C) the system will remain at the maximum
cooling setting. If you choose the temperature
setting of
90°F (32°C) the system will remain at the
maximum heat setting. Choosing either maximum
setting will not cause the vehicle to heat or cool any
faster.
Be careful not
to cover the sensor located on the
top of the instrument panel near the windshield.
This sensor regulates air temperature based on sun
load, and also turns on your headlamps.
To avoid blowing cold air in cold weather, the
system will delay turning on the fan until warm air
is available. The length of delay depends on
the engine coolant temperature. Pressing the fan switch will override this delay and change the fan
to
a selected speed.
Manual Operation
To change the current setting, select one of the
following:
A 8f? v (Fan): This button allows you to manually
adjust the fan speed. Press the up arrow
to increase fan
speed and the down arrow
to decrease fan speed.
4d (Mode): Press this button to manually change the
direction of the airflow in your vehicle; keep pressing the
button until the desired mode appears on the display.
If you press the mode button
to select an air delivery
mode, the display will change
to show you the selected
air mode delivery. The display will then show the
current status of the system. When the system is turned
off, the display will go blank after displaying the
current status
of the system.
f;’ (Vent): This mode directs air to the instrument
panel vents.
+2 (Bi-Level): This mode directs half of the air to the
instrument panel vents, then directs the remaining air
to
the floor vents. A little air is directed toward the
windshield and the side window vents. Cooler air is
directed
to the upper vents and warmer air to the floor
vents.
3-20