2003 CHEVROLET ASTRO light
[x] Cancel search: lightPage 128 of 386

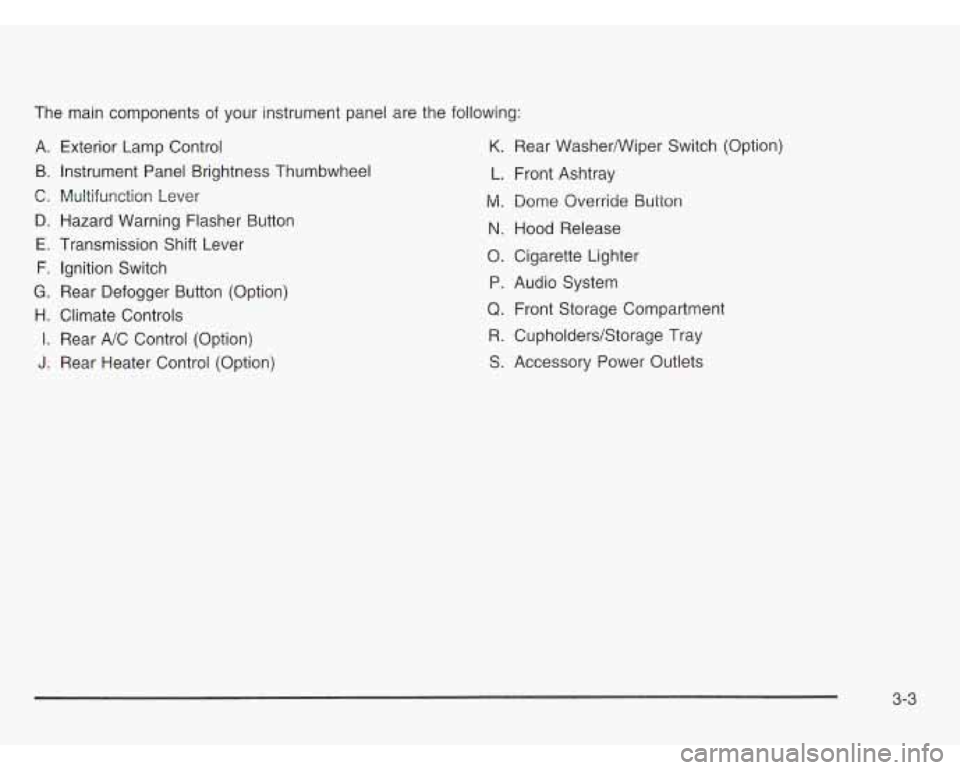
The main components of your instrument panel are the following:
A. B.
C. D. E.
F.
G.
H.
I.
I.
Exterior Lamp Control
Instrument Panel Brightness Thumbwheel
Multifunction Lever
Hazard Warning Flasher Button
Transmission Shift Lever
Ignition Switch
Rear Defogger Button (Option)
Climate Controls
Rear A/C Control (Option)
Rear Heater Control (Option) Y.
L.
M.
N.
0.
P.
Q.
R.
S.
Rear WasherNViper Switch (Option)
Front Ashtray
Dome Override Button
Hood Release
Cigarette Lighter
Audio System Front Storage Compartment
Cupholders/Storage Tray
Accessory Power Outlets
3-3
Page 132 of 386

If a bulb is burned out, replace it to help avoid an
accident.
If the arrows don’t go on at all when you signal
a turn, check for burned-out bulbs and a blown fuse.
See
Fuses and Circuit Breakers on page 5-93.
If you have a trailer towing option with added wiring
for the trailer lamps, a different turn signal flasher
is used. With this flasher installed, the signal indicator
will flash even
if a turn signal bulb is burned out.
Check the front and rear turn signal lamps regularly
to make sure they are working.
Turn Signal On Chime
If your turn signal is left on for more than 3/4 of a mile
(1.2 km), a chime will sound at each flash of the
turn signal. To turn
off the chime, move the turn signal
lever to the center position.
Headlamp High/Low-Beam Changer
To change the headlamps from low beam to high or
high to low, pull the multifunction lever all the way
toward you. Then release it.
When the high beams are
on, this indicator light located on the instrument
panel cluster also will
be on.
Flash-to-Pass
This feature lets you use your high-beam headlamps to
signal a driver in front of you that you want to pass.
It works even
if your headlamps are in automatic.
To use it, pull the turn signal lever toward you, but not
so far that you hear a click.
If your headlamps are in automatic or on low beam,
your high-beam headlamps will turn on. They’ll stay
on
as long as you hold the lever toward you and the
high-beam indicator located on the cluster comes on.
Release the lever to return to normal operation.
3-7
Page 133 of 386

Windshield Wipers For fewer wipes choose a setting closer to LOW.
Use this setting for light rain and snow.
- -
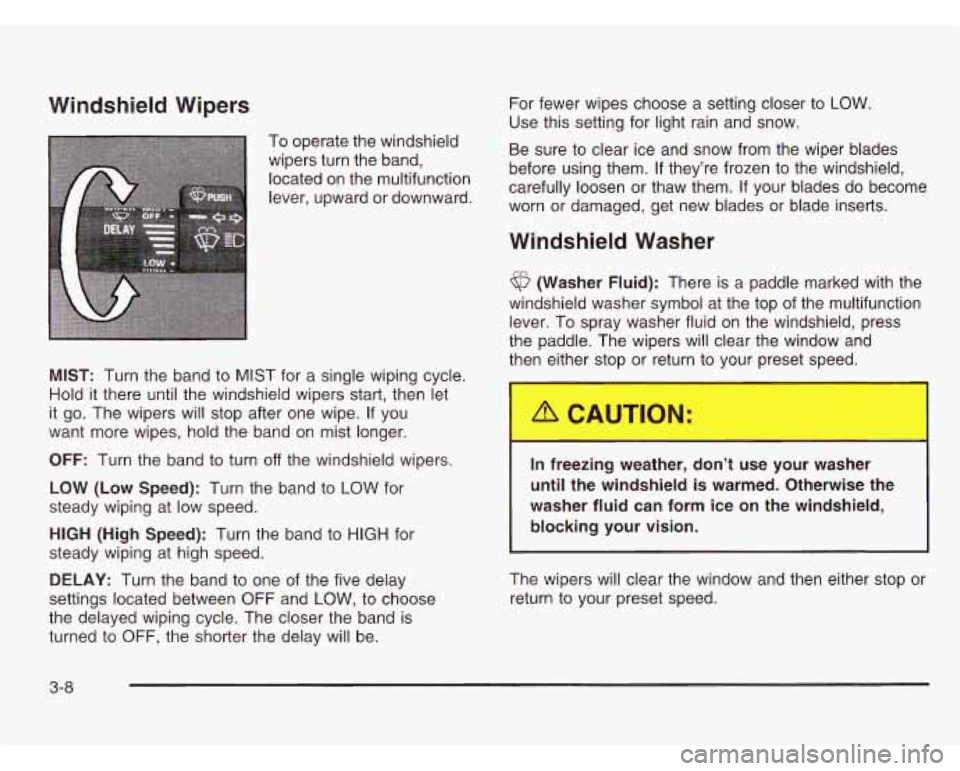
To operate the windshield
wipers turn the band,
located On the multifunction carefully loosen or thaw them. If your blades do become
lever’ Or worn or damaged, get new blades or blade inserts. Be
sure to clear ice and snow from the wiper blades
before using them.
If they’re frozen to the windshield,
Windshield Washer
6 (Washer Fluid): There is a paddle marked with the
windshield washer symbol at the top of the multifunction
lever. To spray washer fluid on the windshield, press
the paddle. The wipers will clear the window and
then either stop or return to vour preset speed.
MIST: Turn the band to MIST for a single wiping cycle.
Hold
it there until the windshield wipers start, then let
it go. The wipers will stop after one wipe. If you
want more wipes, hold the band on mist longer.
OFF: Turn the band to turn off the windshield wipers.
LOW (Low Speed): Turn the band to LOW for
steady wiping at low speed.
HIGH (High Speed): Turn the band to HIGH for
steady wiping at high speed.
DELAY: Turn the band to one of the five delay
settings located between OFF and
LOW, to choose
the delayed wiping cycle. The closer the band is
turned to OFF, the shorter the delay will be.
In freezing weather, don’t u- - your washer
until the windshield is warmed. Otherwise the
washer fluid can form ice on the windshield,
blocking your vision.
The wipers will clear the window and then either stop or
return to your preset speed.
3-8
Page 137 of 386

Passing Another Vehicle While Using
Cruise Control
Use the accelerator pedal to increase your speed.
When you take your foot
off the pedal, your vehicle will
slow down to the cruise control speed you set earlier.
Using Cruise Control on Hills
How well your cruise control will work on hills depends
upon your speed, load and the steepness
of the hills.
When going up steep hills, you may want to step on the
accelerator pedal to maintain your speed. When going
downhill, you may have to brake or shift to a lower gear to
keep your speed down. Of course, applying the brake
takes you out of cruise control. Many drivers find this to
be too much trouble and don’t use cruise control on
steep hills.
Ending Cruise Control
There are two ways to turn off the cruise control:
Step lightly on the brake pedal.
Move the cruise switch to OFF.
Erasing Speed Memory
When you turn off the cruise control or the ignition, your
cruise control set speed memory is erased.
Exterior Lamps
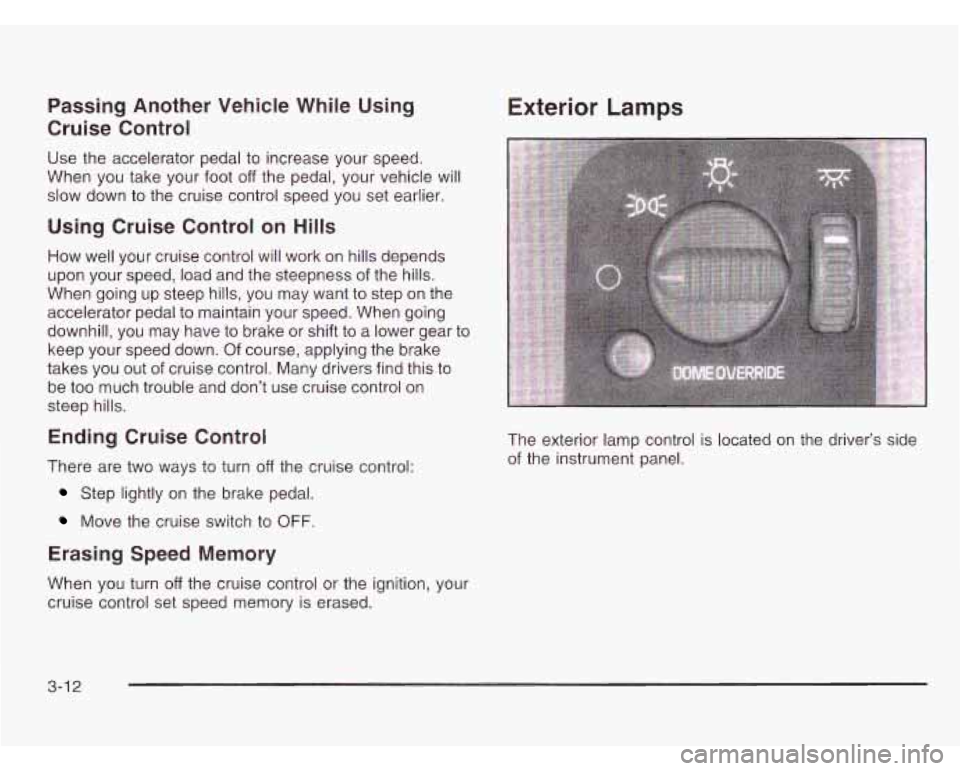
The exterior lamp control is located on the driver’s side
of the instrument panel.
3-1 2
Page 138 of 386

The exterior lamp control has three positions:
0 (Off): Turning the control to this position turns off
all lamps except the Daytime Running Lamps (DRL).
%: (Parking Lamps): Turning the control to this
position turns on the parking lamps, together with the
following:
Sidemarker Lamps
0 Taillamps
License Plate Lamps
0 Instrument Panel Lights
Ashtray Lamp
-g- (Headlamps): Turning the control to this position
turns on the headlamps, together with the previously
listed lamps and lights.
Automatic Headlamp System
When it is dark enough outside, your automatic
headlamp system will turn on your headlamps at the
normal brightness along with other lamps such as
the taillamps, sidemarker, parking lamps and the
instrument panel lights. The radio lights will also dim.
Your vehicle is equipped with a light sensor on the top
of
the instrument panel in the defroster grille. Be sure it
is not covered, or the system will be on whenever
the ignition is on.
The system may also turn on your headlamps when
driving through a parking garage, heavy overcast
weather or a tunnel. This is normal.
There
is a delay in the transition between the daytime and
nighttime operation of the Daytime Running Lamps (DRL)
and the automatic headlamp systems
so that driving
under bridges or bright overhead street lights does not
affect the system. The DRL and automatic headlamp
system will only be affected when the light sensor sees a
change in lighting lasting longer than the delay.
3-1 3
Page 139 of 386

To idle your vehicle with the automatic headlamp
system
off, set the parking brake while the ignition is off.
Then start your vehicle. The automatic headlamp
system will stay
off until you release the parking brake.
You may be able to turn
off your automatic headlamp
system. See “Daytime Running Lamps (DRL)” later
in this section for more information.
As with any vehicle, you should turn on the regular
headlamps when you need them.
Lamps On Reminder
A reminder tone will sound when your headlamps or
parking lamps are manually turned on and your ignition
is
in OFF, LOCK or ACCESSORY. To disable the
tone, turn the instrument panel brightness thumbwheel
all the way down. In the automatic mode, the
headlamps turn off once the ignition key is in OFF.
Daytime Running Lamps (DRL)
Daytime Running Lamps (DRL) can make it easier
for others to see the front of your vehicle during the day.
DRL can be helpful in many different driving conditions,
but they can be especially helpful in the short periods
after dawn and before sunset. Fully functional daytime
running lamps are required on all vehicles first sold
in Canada.
The DRL system will make your headlamps come on
at a reduced brightness when the following conditions
are met:
The ignition is on,
the exterior lamp control is off.
the automatic transmission is not in PARK (P),
the light sensor determines it is daytime and
the parking brake is released.
When the DRL are on, only your DRL lamps will be on.
The taillamps, sidemarker and other lamps won’t be on.
Your instrument panel won’t be lit up either.
3-1 4
Page 140 of 386

When it begins to get dark, the automatic headlamp
system will switch from DRL to the headlamps or the
last chosen headlamp setting that was used.
To idle your vehicle with the DRL
off, put the transmission
in PARK (P). The DRL
will stay off until you shift out
of PARK (P).
The following does not apply to vehicles first sold
in Canada.
When necessary, you may turn off the automatic
headlamp system and the Daytime Running Lamps
(DRL) feature by following the steps below:
1. Turn the ignition to RUN.
2. Press the DOME OVERRIDE button four times
within six seconds. After the fourth press of the
button, a chime will sound informing you that
the system is
off.
To return to the automatic mode, push the DOME
OVERRIDE button four times within six seconds
(the chime will sound), or turn the ignition to
off and
then to RUN again.
As with any vehicle, you should turn on the regular
headlamp system when you need it.
Interior Lamps
Instrument Panel Brightness Control
The thumbwheel for this feature is located to the right of
the exterior lamps control.
(Instrument Panel Brightness): Turn the thumbwheel
up to brighten the lights or down to dim them.
Moving the thumbwheel up to the first position will
activate the interior dome lamps.
Exit Lighting
With exit lighting, the interior lamps will come on when
you remove the key from the ignition. The lights will not
come on
if the DOME OVERRIDE button is pressed in.
Entry Lighting
Your vehicle is equipped with an illuminated entry
feature.
When a door is opened, the dome lamps will come on
if the DOME OVERRIDE button is in the out position.
When all the doors are closed, the lamps will stay on
for a short period of time and will then go out.
If the
DOME OVERRIDE button is pressed in, the lamps will
not come on.
3-1 5
Page 141 of 386

Dome Lamps
The dome lamps will come on when you open a door,
except with the liftgate glass (if equipped).
You can also turn the dome lamps on by turning the
thumbwheel, located next to the exterior lamp control,
all the way up. In this position, the dome lamps will
remain on whether a door is opened or closed.
You can use the
DOME OVERRIDE button, located
near the exterior lamp control, to set the dome lamps
to come on automatically when a door is opened,
or to remain
off. To turn the lamps off, press the button
into the
in position, the dome lamps will remain off
when a door is open. To return the lamps to automatic
operation, press the button again and return it to the
out position. With the button in this position, the dome
lamps will come on when you open a door.
Battery Run-Down Protection
This feature shuts off the dome, courtesy, vanity, reading
and glove box lights
if they are left on for more than
20 minutes when the ignition is off. This will keep your
battery from running down.
If the battery run-down protection shuts off the interior
lamps, it may be necessary to do one of the following to
return to normal operation:
Shut off all lamps and close all doors, or
turn the ignition key to RUN.
Accessory Power Outlets
If your vehicle has this feature, you can plug accessory
electrical equipment into an accessory power outlet.
Just pull on the outlet cover to remove it and follow the
proper installation instructions that are included with
any electrical equipment that you install.
The accessory power outlet is located on the
passenger’s side of the front storage compartment.
These circuits are protected by a fuse and have
maximum current levels.
Certain power accessory plugs may not be compatible
to the power accessory outlet and could result in
blown vehicle or adapter fuses.
If you experience a
problem, see your dealer for additional information on
the power accessory plugs.
Notice: When using an accessory power outlet,
maximum electrical load must not exceed
25 amps.
Always turn
off any electrical equipment when
not in use. Leaving electrical equipment on for
extended periods will drain your battery.
Notice: Power outlets are designed for accessory
plugs only.
Do not hang any type of accessory
or accessory bracket from the plug. Improper use of
the power outlet can cause damage not covered
by your warran-ly.
3-1 6