2003 CHEVROLET ASTRO climate control
[x] Cancel search: climate controlPage 2 of 386

The 2003 Chevrolet Astro Owner Manual
Seats and Restraint Systems ........................... I-!
Front Seats ............................................... 1-2
Rear Seats
............................................... 1-7
Safety Belts
............................................. 1-13
Child Restraints
....................................... 1-35
Air Bag System
....................................... 1-62
Restraint System Check
............................ 1-71
Keys
........................................................ 2-2
Doors and Locks
....................................... 2-7
Windows
................................................. 2-1 6
Theft-Deterrent Systems
............................ 2-1 8
Mirrors
.................................................... 2-32
HomeLink@ Transmitter
............................. 2-34
Features and Controls ..................................... 2-1
Starting and Operating Your Vehicle
........... 2-19
Storage Areas
Instrument Panel .
Instrument Panel
Climate Controls
......................................... 2-38
........................................... 3-1
Overview .......................... 3-2
...................................... 3-18
Warning Lights. Gages and Indicators
......... 3-23
Audio System(s)
....................................... 3-38
Driving Your Vehicle ....................................... 4-1
Your Driving, the Road, and Your Vehicle
........ 4-2
Towing
................................................... 4-29
Service and Appearance Care .......................... 5-1
Service ..................................................... 5-3
Fuel
......................................................... 5-5
All-Wheel Drive
........................................ 5-52
Rear Axle ............................................... 5-53
Front Axle
............................................... 5-54
Bulb Replacement
.................................... 5-55
Windshield Wiper Blade Replacement ......... 5-62
Tires
...................................................... 5-63
Appearance Care
..................................... 5-83
Vehicle Identification
................................. 5-91
Electrical System
...................................... 5-92
Capacities and Specifications
..................... 5-99
Normal Maintenance Replacement Parts
...... 5-1 01
Maintenance Schedule ..................................... 6-1
Maintenance Schedule
................................ 6-2
Customer Assistance Information .................... 7-1
Customer Assistance Information
.................. 7-2
Reporting Safety Defects ........................... 7-10
Checking Things Under
the Hood
............... 5-11
Index ................................................................ 1
Page 5 of 386
Vehicle Damage Warnings
Also, in this book you will find these notices:
Notice: These mean there is something that could
damage your vehicle.
A notice will tell you about something that can damage
your vehicle. Many times, this damage would not be
covered by your warranty, and it could be costly. But the
notice will tell you what to do to help avoid the damage.
When you read other manuals, you might see CAUTION
and NOTICE warnings in different colors or in different
words.
You’ll also see warning labels on your vehicle. They use
the same words, CAUTION or NOTICE.
Vehicle Symbols
Your vehicle has components and labels that use
symbols instead of text. Symbols, used on your vehicle,
are shown along with the text describing the operation
or information relating to a specific component, control,
message, gage or indicator.
If you need help figuring out a specific name of a
component, gage or indicator reference the following
topics:
Seats and Restraint Systems in Section 1
Features and Controls in Section 2
Instrument Panel Overview in Section 3
Climate Controls in Section 3
Warning Lights, Gages and Indicators in Section 3
Audio System(s) in Section 3
Engine Compartment Overview in Section 5
iv
Page 93 of 386

To fully open the rear
doors, push in on the
clip and
lift the check
assembly up
off the
mounting bracket.
Do this on each door. Replace the check assemblies on
the mounting brackets before closing the doors.
It can be dangerous to drive with the rear
glass open because carbon monoxide (CO)
gas can come into your vehicle. You can’t see
or smell CO.
It can cause unconsciousness
and even death. If you must drive with the rear
glass open or if electrical wiring or other cable
connections must pass through the seal between the body and the rear glass:
Make sure all other windows are shut.
Turn the fan on your heating or cooling
system to its highest speed and select the control setting that will force outside air into your vehicle. See ”Climate Controls”
in the Index.
instrument panel, open them
all the way.
If you have air outlets on or under the
See ”Engine Exhaust”
in the Index.
2-1 4
Page 126 of 386

Section 3 Instrument Panel
Instrument Panel Overview ............................... 3.2
Hazard Warning Flashers
................................ 3-4
Other Warning Devices
................................... 3-5
Horn
............................................................. 3-5
Tilt Wheel
..................................................... 3-5
Turn SignaVMultifunction Lever
......................... 3.6
Exterior Lamps
.......................................... 3.12
Interior Lamps
................................ ....... 3.15
Accessory Power Outlets
............................... 3.16
Ashtrays and Cigarette Lighter
........................ 3.17
Climate Controls ............................................ 3.18
Climate Control System
................................. 3.18
Rear Heating System
................................... -3-1 9
Rear Air Conditioning System ......................... 3.20
Rear Climate Control System
......................... 3.21
Warning Lights, Gages and Indicators ............. 3.23
Instrument Panel Cluster
................................ 3.24
Speedometer and Odometer
........................... 3.25
Safety Belt Reminder Light
............................. 3.26
Air Bag Readiness Light
................................ 3-26
Charging System Light
.................................. 3.27
Voltmeter Gage
........................................... -3-28
Brake System Warning Light
.......................... 3.28 Anti-Lock
Brake System Warning Light
............. 3.29
Engine Coolant Temperature Gage
= = =. ~ = = ~ ~ ~ = i. 3-39
Malfunction Indicator Lamp
............................. 3.30
Oil Pressure Gage
........................................ 3.34
Security Light
.............................................. -3-35
Service All-Wheel Drive Light
......................... 3.35
Tow/Haul Mode Light
......... ................... 3.36
Fuel Gage
................................................... 3.36
Low Fuel Warning Light
................................. 3.37
Audio System@) ............................................. 3.38
Setting the Time for Radios with
the Set Button
.......................................... 3-38
Setting the Time for Radios with
HR and MN Buttons .................................. 3-38
AM-FM Radio
............................................... 3.39
Radio with CD
.............................................. 3-41
Theft-Deterrent Feature
........... ................ 3.47
Understanding Radio Reception
................... 3.50
Care of Your CDs
......................................... 3-50
Care of Your CD Player
................................ 3-50
Fixed Mast Antenna
...................................... 3.50
Check Gages Warning
Light
........................... 3-36
Rear Seat Audio (RSA)
. . .... ............ 3.46
3-
1
Page 128 of 386
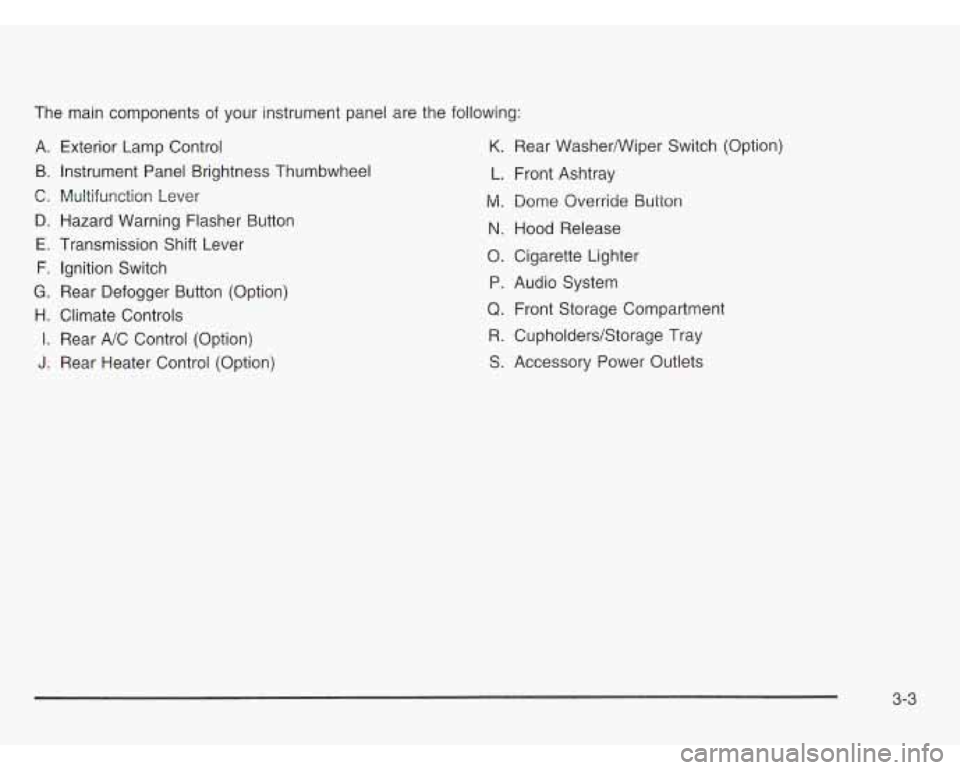
The main components of your instrument panel are the following:
A. B.
C. D. E.
F.
G.
H.
I.
I.
Exterior Lamp Control
Instrument Panel Brightness Thumbwheel
Multifunction Lever
Hazard Warning Flasher Button
Transmission Shift Lever
Ignition Switch
Rear Defogger Button (Option)
Climate Controls
Rear A/C Control (Option)
Rear Heater Control (Option) Y.
L.
M.
N.
0.
P.
Q.
R.
S.
Rear WasherNViper Switch (Option)
Front Ashtray
Dome Override Button
Hood Release
Cigarette Lighter
Audio System Front Storage Compartment
Cupholders/Storage Tray
Accessory Power Outlets
3-3
Page 143 of 386
Climate Controls
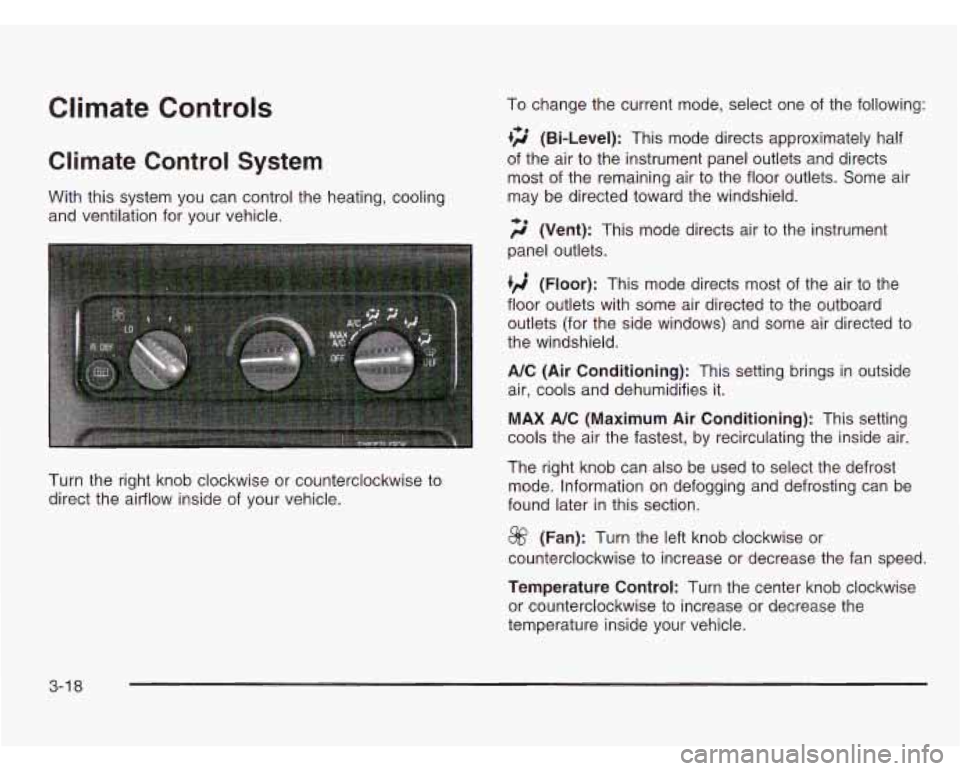
Climate Control System
With this system you can control the heating, cooling
and ventilation for your vehicle.
Turn the right knob clockwise or counterclockwise to
direct the airflow inside of your vehicle. To change
the current mode, select one of the following:
+2 (Bi-Level): This mode directs approximately half
of the air to the instrument panel outlets and directs
most of the remaining air to the floor outlets. Some air
may be directed toward the windshield.
;$’ (Vent): This mode directs air to the instrument
panel outlets.
(Floor): This mode directs most of the air to the
floor outlets with some air directed to the outboard
outlets (for the side windows) and some air directed to
the windshield.
A/C (Air Conditioning): This setting brings in outside
air, cools and dehumidifies it.
MAX A/C (Maximum Air Conditioning): This setting
cools the air the fastest, by recirculating the inside air.
The right knob can also be used to select the defrost
mode. Information on defogging and defrosting can be
found later in this section.
@ (Fan): Turn the left knob clockwise or
counterclockwise to increase or decrease the fan speed.
Temperature Control: Turn the center knob clockwise
or counterclockwise to increase or decrease the
temperature inside your vehicle.
3-1 8
Page 144 of 386
Defogging and Defrosting
Turn the right knob to select the defog or defrost mode.
+3 (Blend): With this setting, the outside air comes
out
of both the floor and defroster outlets. Adjust the
temperature knob for warmer or cooler air. The air
conditioning compressor may operate in this setting to
dehumidfy the air.
9 (Defrost): This setting operates the defroster.
Most of the air comes out near the windshield, with
some going to the floor outlets and front side windows.
The air conditioning compressor may operate in this
setting to dehumidify the air.
The bi-level setting is useful for cold weather with a
large number of passengers or very humid conditions to
help keep the windshield clear. Use defrost to remove
fog or ice from the windshield quickly in extremely
cold conditions. The temperature knob should be in the
red area and the fan control toward high.
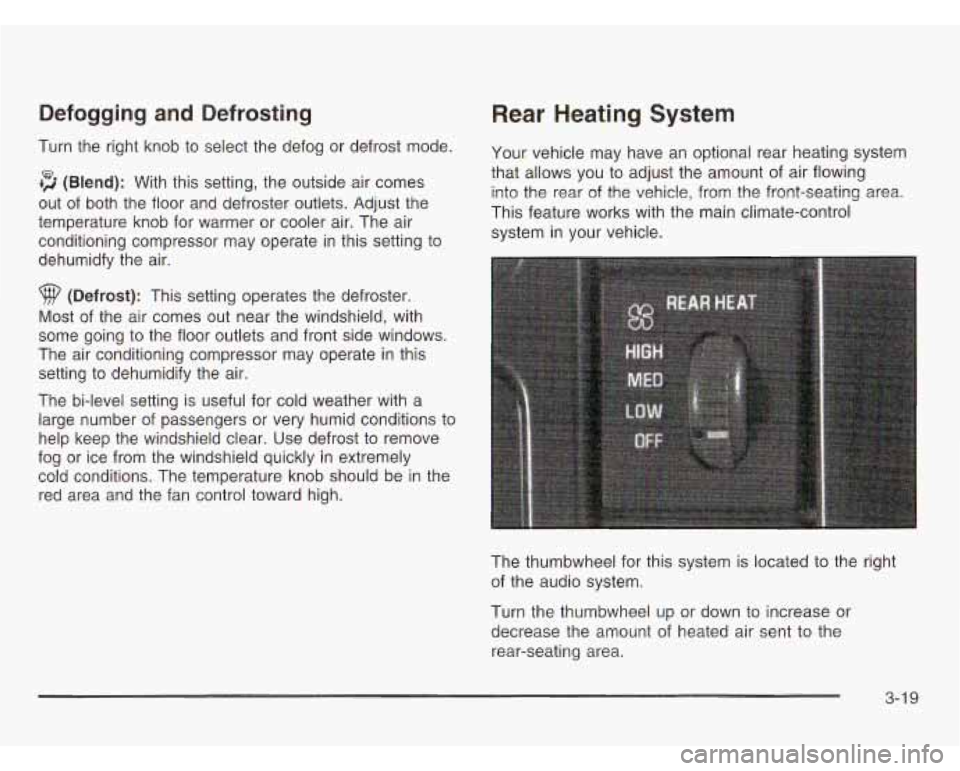
Rear Heating System
Your vehicle may have an optional rear heating system
that allows you to adjust the amount of air flowing
into the rear
of the vehicle, from the front-seating area.
This feature works with the main climate-control
system in your vehicle.
The thumbwheel for this system is located to the right
of the audio system.
Turn the thumbwheel up or down to increase or
decrease the amount of heated air sent to the
rear-seating area.
3-1 9
Page 145 of 386
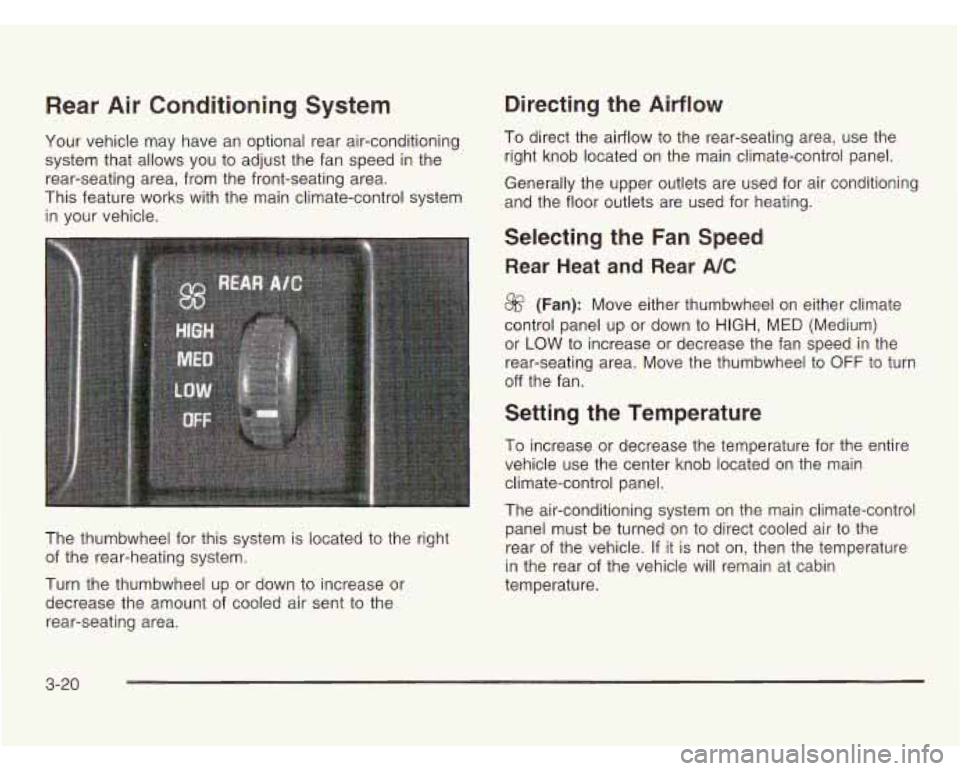
Rear Air Conditioning System
Your vehicle may have an optional rear air-conditioning
system that allows you to adjust the fan speed in the
rear-seating area, from the front-seating area.
This feature works with the main climate-control system
in your vehicle.
The thumbwheel for this system is located to the right
of the rear-heating system.
Turn the thumbwheel up or down to increase or
decrease the amount of cooled air sent to the
rear-seating area.
Directing the Airflow
To direct the airflow to the rear-seating area, use the
right knob located
on the main climate-control panel.
Generally the upper outlets are used for air conditioning
and the floor outlets are used for heating.
Selecting the Fan Speed
Rear Heat and Rear A/C
8f? (Fan): Move either thumbwheel on either climate
control panel up or down
to HIGH, MED (Medium)
or
LOW to increase or decrease the fan speed in the
rear-seating area. Move the thumbwheel to
OFF to turn
off the fan.
Setting the Temperature
To increase or decrease the temperature for the entire
vehicle use the center knob located on the main
climate-control panel.
The air-conditioning system on the main climate-control
panel must be turned on to direct cooled air to the
rear of the vehicle. If it is not on, then the temperature
in the rear of the vehicle will remain at cabin
temperature.
3-20