2003 CHEVROLET ASTRO brake light
[x] Cancel search: brake lightPage 6 of 386
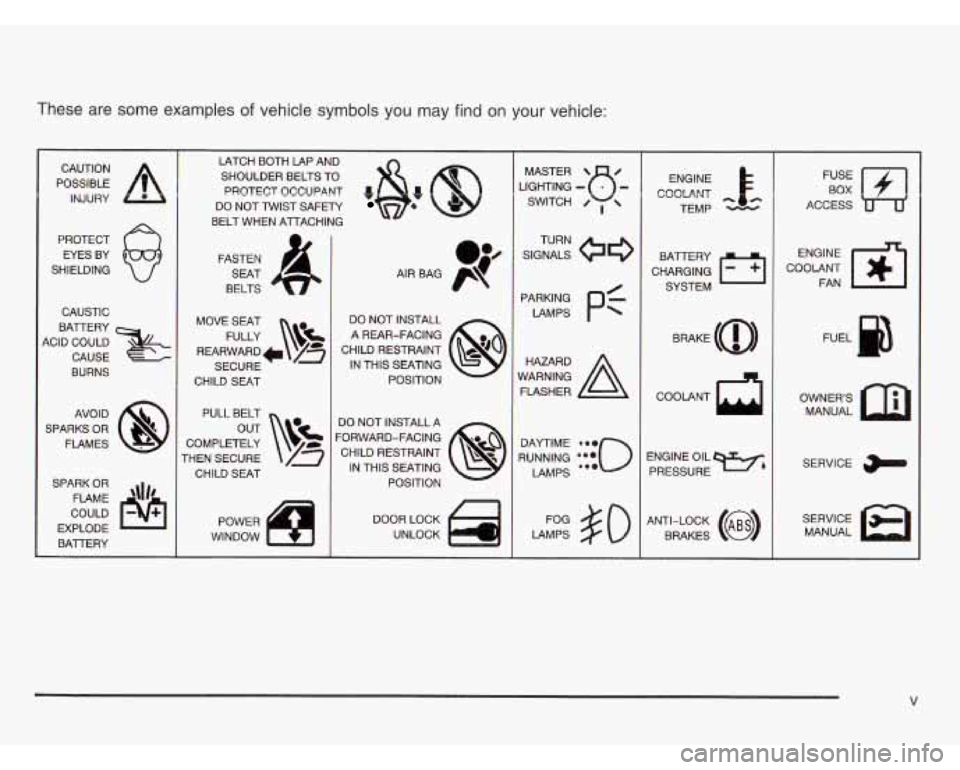
These are some examples of vehicle symbols you may find on your vehicle:
POSSIBLE A
CAUTION INJURY
PROTECT EYES BY
SHIELDING
CAUSTIC
BATTERY
KID COULD
CAUSE
BURNS
AVOID
SPARKS OR FLAMES
SPARK OR COULD
EXPLODE FLAME
\\I/'
BAlTERY I
LATCH BOTH LAP AND
SHOULDER BELTS TO
PROTECT OCCUPANT
*&: @
DO NOT TWIST SAFETY
BELT WHEN AlTACHING
FASTEN SEAT
BELTS
MOVE SEAT FULLY
\!$!
REARWARD /a
SECURE
CHILD
SEAT
PULL BELT
COMPLETELY
rHEN SECURE CHILD SEAT
POWER
WINDOW DO NOT INSTALL
A REAR-FACING
CHILD RESTRAINT IN THIS SEATING POSITION
DO NOT INSTALL A
'ORWARD-FACING CHILD RESTRAINT IN THIS SEATING POSITION
DOOR LOCK UNLOCK LIGHTING
- MASTER SWITCH u- 0 ,
SIGNALS
TURN
LAMPS
Pf
RUNNING ***o
DAYTIME 0.0
LAMPS ea.
LAMPS $0
ENGINE
COOLANT
cc
TEMP
CHARGING
I-1
BATTERY SYSTEM
BRAKE
(a)
ENGINE OIL PRESSURE
Wb
ANTI-LOCK (@)
BRAKES COOLANT
FAN
OWNERS MANUAL
SERVICE
MANUAL
V
Page 104 of 386
If you manually select SECOND (2), the transmission
will drive in second gear. You may use this feature
for reducing torque to the rear wheels when you
are trying to start your vehicle from a stop on slippery
road surfaces.
FIRST (1): This position gives you even more power
(but lower fuel economy) than
SECOND (2). You can
use it on very steep hills, or in deep snow or mud.
If the
shift selector lever is put in FIRST
(I), the transmission
won’t shift into first gear until the vehicle is going
slow enough.
Notice: If your rear wheels won’t turn, don’t try
to drive. This might happen if you were stuck in
very deep sand or mud or were
up against a solid
object. You could damage your transmission.
Also, if you stop when going uphill, don’t hold
your vehicle there with only the accelerator pedal.
This could overheat and damage the transmission. Use your brakes or shift into
PARK (P) to hold
your vehicle in position on a hill.
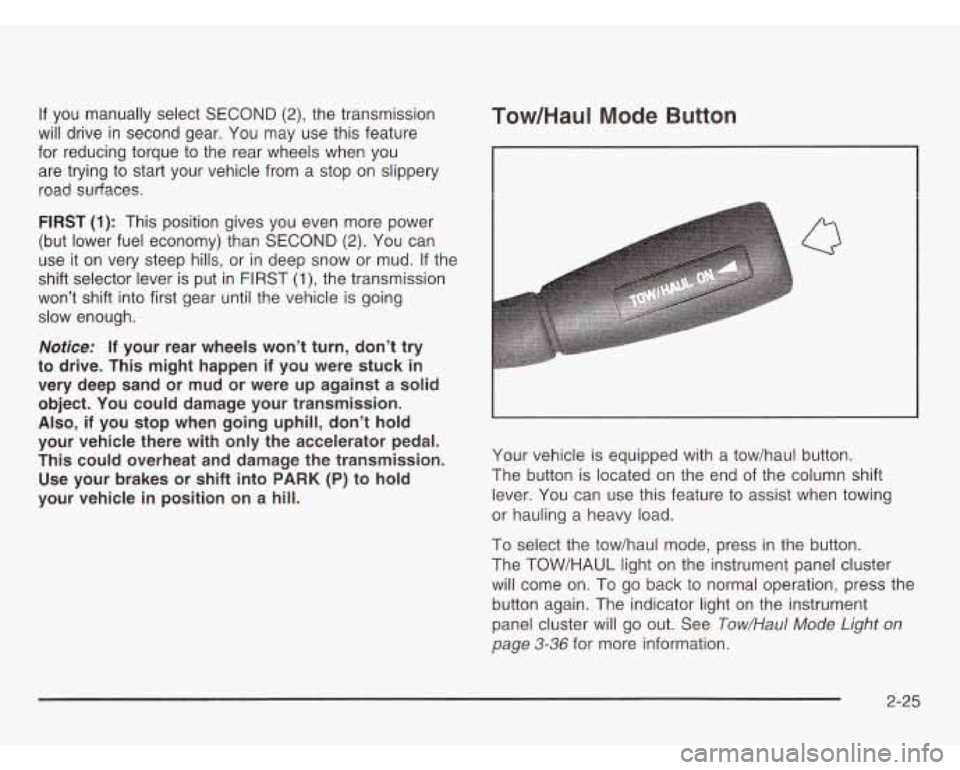
Tow/HauI Mode Button
I
Q
Your vehicle is equipped with a tow/haul button.
The button is located on the end of the column shift
lever. You can use this feature to assist when towing
or hauling a heavy load.
To select the tow/haul mode, press in the button.
The TOW/HAUL light on the instrument panel cluster
will come on. To go back to normal operation, press the
button again. The indicator light on the instrument
panel cluster will go out. See
Tow/Hau/ Mode Light on
page 3-36 for more information.
2-25
Page 105 of 386
All-Wheel Drive
If your vehicle has all-wheel drive, your engine’s driving
power is sent
to all four wheels for extra traction
when needed.
This is like four-wheel drive, but there is no separate
lever or switch to engage or disengage the front axle.
It is fully automatic, and adjusts itself as needed for
road conditions.
You may experience a brief vehicle vibration upon
acceleration when driving in slippery conditions.
This is normal and is an indication that the all-wheel
drive system is functioning properly.
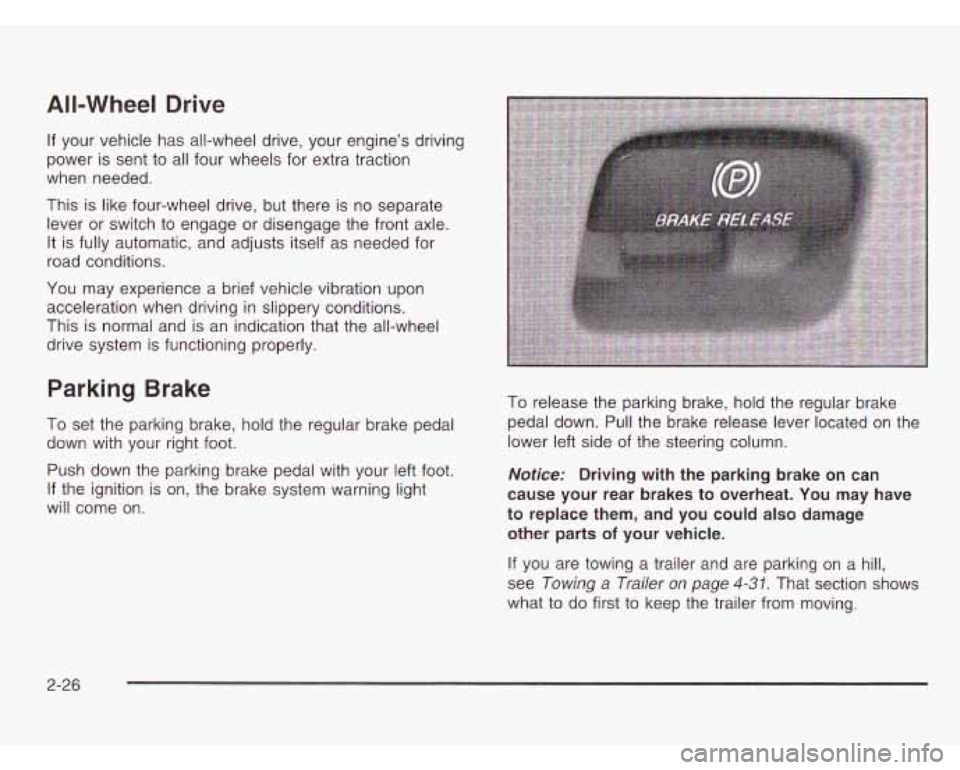
Parking Brake
To set the parking brake, hold the regular brake pedal
down with your right foot.
Push down the parking brake pedal with your left foot.
If the ignition is on, the brake system warning light
will come on.
To release the parking brake, hold the regular brake
pedal down.
Pull the brake release lever located on the
lower left side of the steering column.
Notice: Driving with the parking brake on can
cause your rear brakes to overheat. You may have
to replace them, and you could also damage
other parts
of your vehicle.
If you are towing a trailer and are parking on a hill,
see
Towing a Trailer on page 4-31. That section shows
what to do first to keep the trailer from moving.
2-26
Page 126 of 386

Section 3 Instrument Panel
Instrument Panel Overview ............................... 3.2
Hazard Warning Flashers
................................ 3-4
Other Warning Devices
................................... 3-5
Horn
............................................................. 3-5
Tilt Wheel
..................................................... 3-5
Turn SignaVMultifunction Lever
......................... 3.6
Exterior Lamps
.......................................... 3.12
Interior Lamps
................................ ....... 3.15
Accessory Power Outlets
............................... 3.16
Ashtrays and Cigarette Lighter
........................ 3.17
Climate Controls ............................................ 3.18
Climate Control System
................................. 3.18
Rear Heating System
................................... -3-1 9
Rear Air Conditioning System ......................... 3.20
Rear Climate Control System
......................... 3.21
Warning Lights, Gages and Indicators ............. 3.23
Instrument Panel Cluster
................................ 3.24
Speedometer and Odometer
........................... 3.25
Safety Belt Reminder Light
............................. 3.26
Air Bag Readiness Light
................................ 3-26
Charging System Light
.................................. 3.27
Voltmeter Gage
........................................... -3-28
Brake System Warning Light
.......................... 3.28 Anti-Lock
Brake System Warning Light
............. 3.29
Engine Coolant Temperature Gage
= = =. ~ = = ~ ~ ~ = i. 3-39
Malfunction Indicator Lamp
............................. 3.30
Oil Pressure Gage
........................................ 3.34
Security Light
.............................................. -3-35
Service All-Wheel Drive Light
......................... 3.35
Tow/Haul Mode Light
......... ................... 3.36
Fuel Gage
................................................... 3.36
Low Fuel Warning Light
................................. 3.37
Audio System@) ............................................. 3.38
Setting the Time for Radios with
the Set Button
.......................................... 3-38
Setting the Time for Radios with
HR and MN Buttons .................................. 3-38
AM-FM Radio
............................................... 3.39
Radio with CD
.............................................. 3-41
Theft-Deterrent Feature
........... ................ 3.47
Understanding Radio Reception
................... 3.50
Care of Your CDs
......................................... 3-50
Care of Your CD Player
................................ 3-50
Fixed Mast Antenna
...................................... 3.50
Check Gages Warning
Light
........................... 3-36
Rear Seat Audio (RSA)
. . .... ............ 3.46
3-
1
Page 137 of 386
Passing Another Vehicle While Using
Cruise Control
Use the accelerator pedal to increase your speed.
When you take your foot
off the pedal, your vehicle will
slow down to the cruise control speed you set earlier.
Using Cruise Control on Hills
How well your cruise control will work on hills depends
upon your speed, load and the steepness
of the hills.
When going up steep hills, you may want to step on the
accelerator pedal to maintain your speed. When going
downhill, you may have to brake or shift to a lower gear to
keep your speed down. Of course, applying the brake
takes you out of cruise control. Many drivers find this to
be too much trouble and don’t use cruise control on
steep hills.
Ending Cruise Control
There are two ways to turn off the cruise control:
Step lightly on the brake pedal.
Move the cruise switch to OFF.
Erasing Speed Memory
When you turn off the cruise control or the ignition, your
cruise control set speed memory is erased.
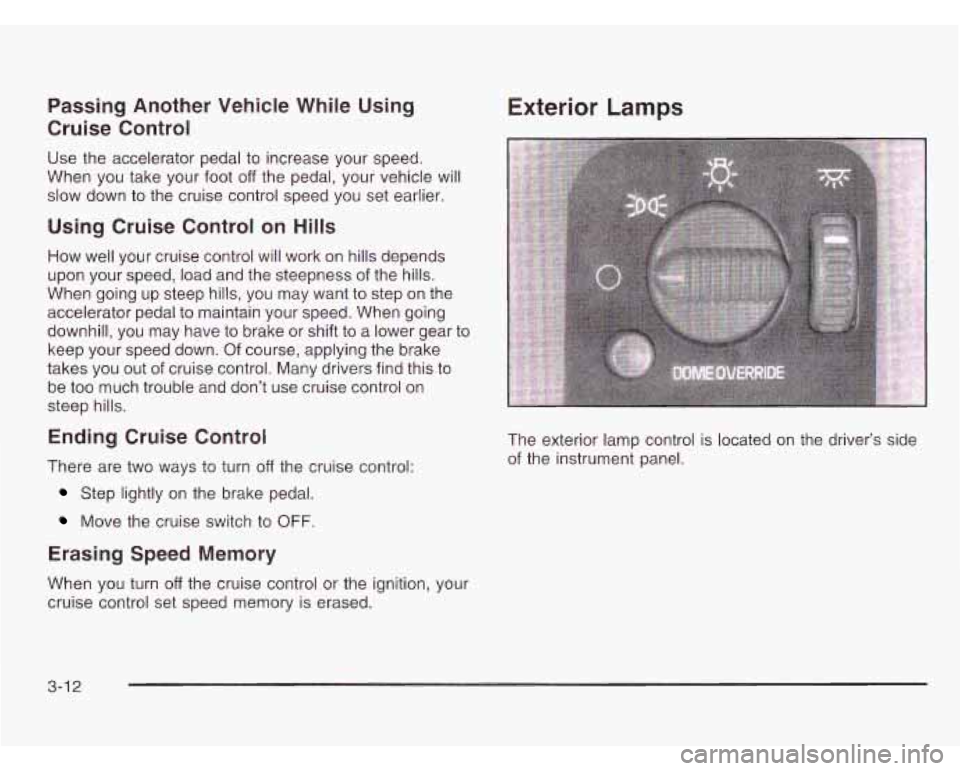
Exterior Lamps
The exterior lamp control is located on the driver’s side
of the instrument panel.
3-1 2
Page 139 of 386
To idle your vehicle with the automatic headlamp
system
off, set the parking brake while the ignition is off.
Then start your vehicle. The automatic headlamp
system will stay
off until you release the parking brake.
You may be able to turn
off your automatic headlamp
system. See “Daytime Running Lamps (DRL)” later
in this section for more information.
As with any vehicle, you should turn on the regular
headlamps when you need them.
Lamps On Reminder
A reminder tone will sound when your headlamps or
parking lamps are manually turned on and your ignition
is
in OFF, LOCK or ACCESSORY. To disable the
tone, turn the instrument panel brightness thumbwheel
all the way down. In the automatic mode, the
headlamps turn off once the ignition key is in OFF.
Daytime Running Lamps (DRL)
Daytime Running Lamps (DRL) can make it easier
for others to see the front of your vehicle during the day.
DRL can be helpful in many different driving conditions,
but they can be especially helpful in the short periods
after dawn and before sunset. Fully functional daytime
running lamps are required on all vehicles first sold
in Canada.
The DRL system will make your headlamps come on
at a reduced brightness when the following conditions
are met:
The ignition is on,
the exterior lamp control is off.
the automatic transmission is not in PARK (P),
the light sensor determines it is daytime and
the parking brake is released.
When the DRL are on, only your DRL lamps will be on.
The taillamps, sidemarker and other lamps won’t be on.
Your instrument panel won’t be lit up either.
3-1 4
Page 153 of 386
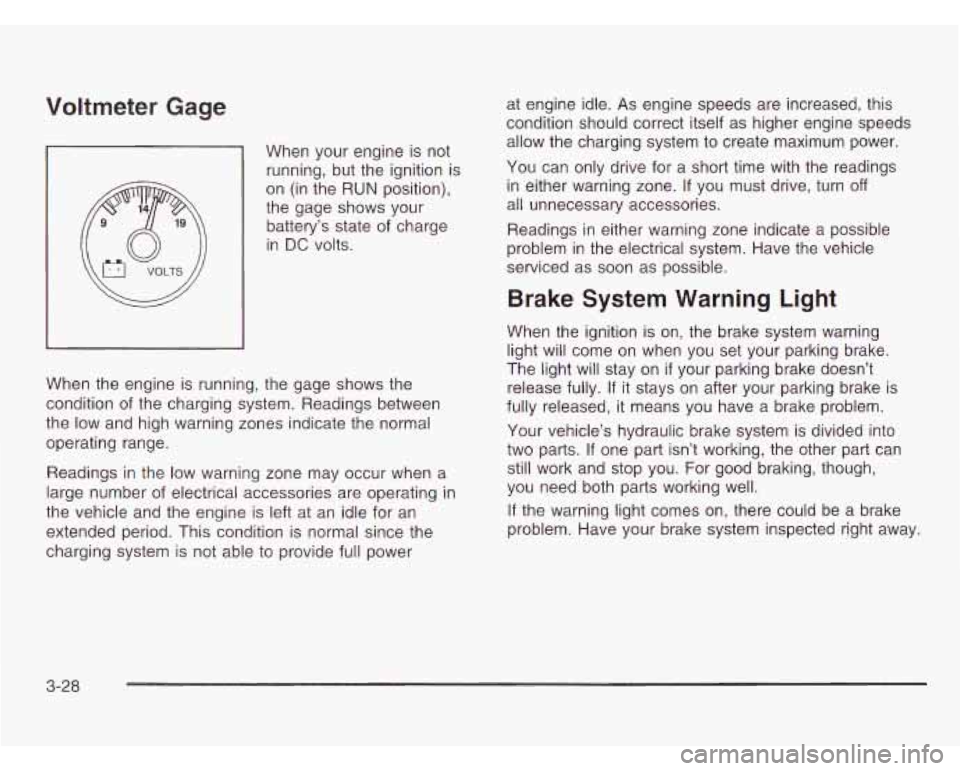
Voltmeter Gage
When your engine is not
running, but the ignition is
on (in the RUN position),
the gage shows your
battery’s state of charge
in
DC volts.
When the engine is running, the gage shows the
condition of the charging system. Readings between
the low and high warning zones indicate the normal
operating range.
Readings in the low warning zone may occur when a
large number of electrical accessories are operating in
the vehicle and the engine is left at an idle for an
extended period. This condition
is normal since the
charging system
is not able to provide full power at engine
idle.
As engine speeds are increased, this
condition should correct itself as higher engine speeds
allow the charging system to create maximum power.
You can only drive for a short time with the readings
in either warning zone.
If you must drive, turn off
all unnecessary accessories.
Readings in either warning zone indicate a possible
problem in the electrical system. Have the vehicle
serviced as soon as possible.
Brake System Warning Light
When the ignition is on, the brake system warning
light will come on when you set your parking brake.
The light will stay on
if your parking brake doesn’t
release fully.
If it stays on after your parking brake is
fully released, it means you have a brake problem.
Your vehicle’s hydraulic brake system is divided into
two parts.
If one part isn’t working, the other part can
still work and stop you. For good braking, though,
you need both parts working well.
If the warning light comes on, there could be a brake
problem. Have your brake system inspected right away.
3-28
Page 154 of 386
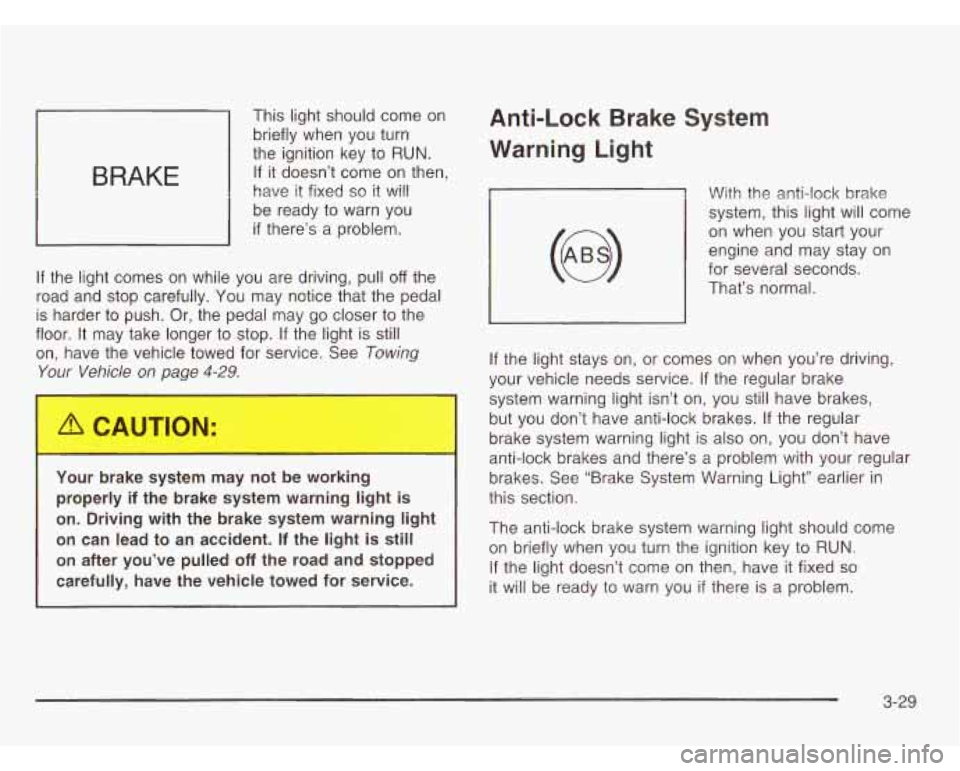
BRAKE
This light should come on
briefly when you turn
the ignition key to
RUN.
If it doesn’t come on then,
have it fixed
so it will
be ready to warn you
if there’s a problem.
If the light comes on while you are driving, pull
off the
road and stop carefully. You may notice that the pedal
is harder to push. Or, the pedal may
go closer to the
floor. It may take longer to stop. If the light is still
on, have the vehicle towed for service. See
Towing
Your Vehicle on page 4-29.
I
You- -)rake system may not be working
properly
if the brake system warning light is
on. Driving with the brake system warning light
on can lead to an accident. If the light is still
on after you’ve pulled off the road and stopped
carefully, have the vehicle towed for service.
Anti-Lock Brake System
Warning light
With the anti-lock brake
system, this light will come
on when you start your
engine and may stay on
for several seconds.
That’s normal.
If the light stays on, or comes on when you’re driving,
your vehicle needs service. If the regular brake
system warning light isn’t on, you still have brakes,
but you don’t have anti-lock brakes. If the regular
brake system warning light is also on, you don’t have
anti-lock brakes and there’s a problem with your regular
brakes. See “Brake System Warning Light” earlier in
this section.
The anti-lock brake system warning light should come
on briefly when you turn the ignition key to
RUN.
If the light doesn’t come on then, have it fixed so
it will be ready to warn you if there is a problem.
3-29