2003 BMW 760LI SEDAN rear entertainment
[x] Cancel search: rear entertainmentPage 5 of 229
At a glance
Operation
Driving tips
Communications
Navigation
Entertainment
Mobility
Reference
71Turn signal indicators/headlamp
flasher
72Wiper system
73Washer fluid
73Programmable cruise control
75Active cruise control
*
Everything under control
82Odometer, outside temperature
display, clock
82Tachometer
83Service Interval Display
85Check Control
86Computer
91Changing settings
Technology for comfort,
convenience and safety
93PDC Park Distance Control
*
94Driving stability control/
DSC Dynamic Stability Control
96Driving stability control/ABS Antilock
Braking System
97Dynamic Drive
97EDC Electronic Damping Control
*
98Flat Tire Monitor
*
99TPM Tire Pressure Monitor
*
101Self-leveling suspension
*
101Adaptive brake lamp
Lamps
102Parking lamps/low beams
103Instrument lighting
103High beams/standing lamps
103Front fog lamps
103Interior lamps
A congenial climate
105Automatic climate control
111Rear air conditioner
*
112Parked-car ventilation system
Practical interior accessories
114Integrated universal remote control
*
115Sun blinds
*
116Rear cooler
*
117Glove compartment
117Storage compartments118Beverage holders
118Ashtray, front
119Cigarette lighter, front
119Power socket
119Ashtray, rear
119Cigarette lighter, rear
120Center armrest
120Ski bag
*
Things to remember when driving
124Break-in procedures
124General driving notes
125Brake system
126Cargo loading
127Roof-mounted luggage rack
*
127Entry/pass tags
Navigation
130GPS
130Map CD
131Starting the navigation system
131Display in assistance window
*
131Selection options
132Destination entry
132Manual entry of destination address
134Selecting the town or city and the
street from the directory
134Map-guided destination selection
135Selecting destination in "Information"
135Selecting interesting destinations
136Recent destinations
136Destination list
137Selecting route
137Starting the destination guidance
system
138Displaying route
139Selecting new route
139Voice guidance
140Terminating/interrupting active
destination guidance
140Address book
142Location
142Wordmatch principle
143What to do if É
Page 19 of 229
At a glance
Controls
Driving tips
Communications
Navigation
Entertainment
Mobility
Reference
17
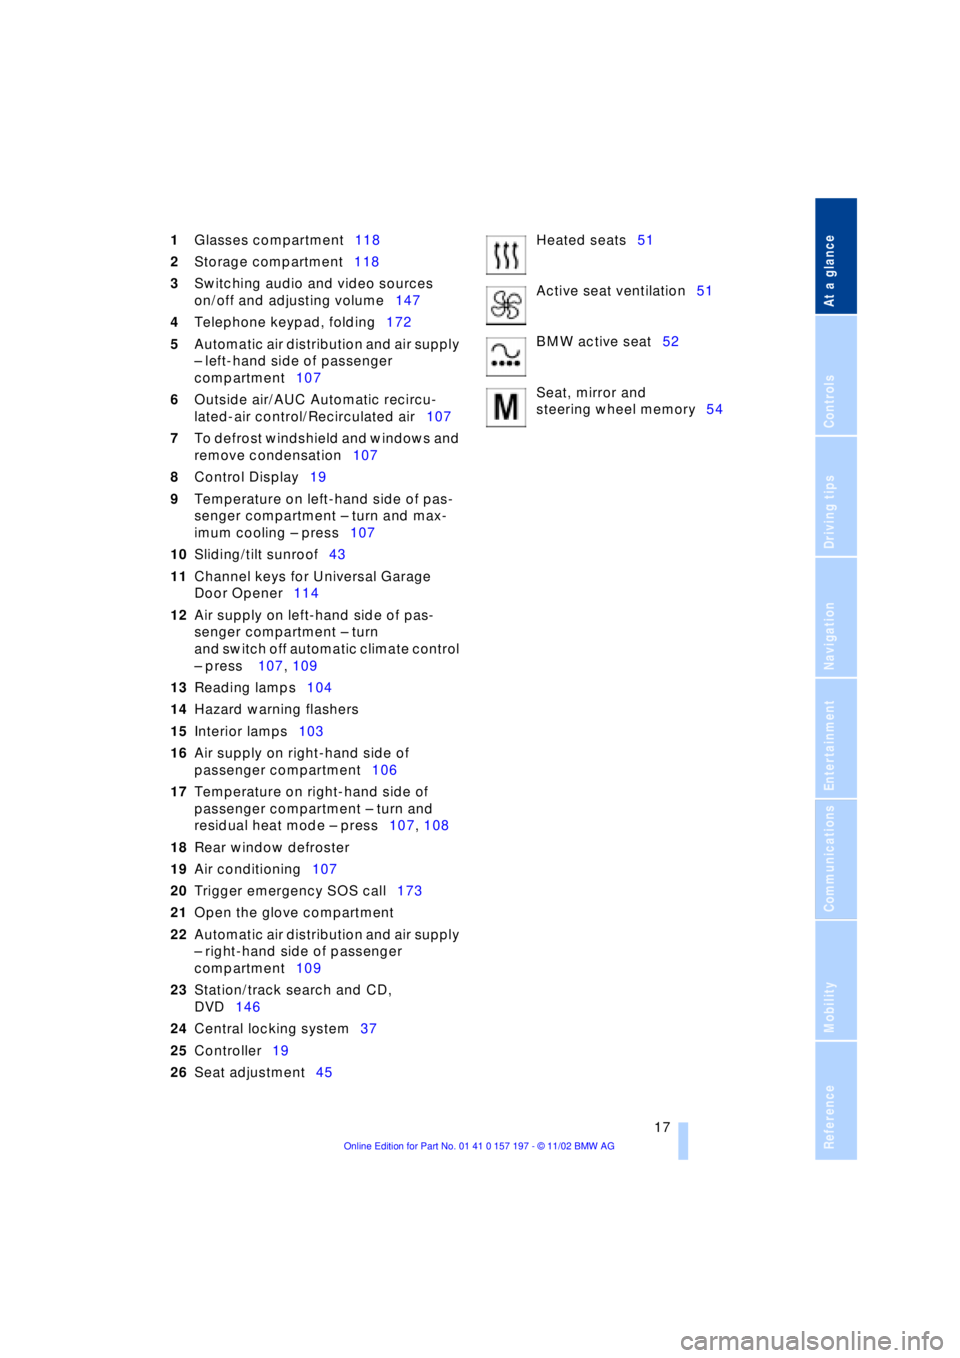
1Glasses compartment118
2Storage compartment118
3Switching audio and video sources
on/off and adjusting volume147
4Telephone keypad, folding172
5Automatic air distribution and air supply
Ð left-hand side of passenger
compartment107
6Outside air/AUC Automatic recircu-
lated-air control/Recirculated air107
7To defrost windshield and windows and
remove condensation107
8Control Display19
9Temperature on left-hand side of pas-
senger compartment Ð turn and max-
imum cooling Ð press107
10Sliding/tilt sunroof43
11Channel keys for Universal Garage
Door Opener114
12Air supply on left-hand side of pas-
senger compartment Ð turn
and switch off automatic climate control
Ð press 107, 109
13Reading lamps104
14Hazard warning flashers
15Interior lamps103
16Air supply on right-hand side of
passenger compartment106
17Temperature on right-hand side of
passenger compartment Ð turn and
residual heat mode Ð press107, 108
18Rear window defroster
19Air conditioning107
20Trigger emergency SOS call173
21Open the glove compartment
22Automatic air distribution and air supply
Ð right-hand side of passenger
compartment109
23Station/track search and CD,
DVD146
24Central locking system37
25Controller19
26Seat adjustment45Heated seats51
Active seat ventilation51
BMW active seat52
Seat, mirror and
steering wheel memory54
Page 25 of 229
At a glance
Controls
Driving tips
Communications
Navigation
Entertainment
Mobility
Reference
23
>Units of measure and display
format91
>Brightness92
>Lock Control Center in rear24
8Climate
>Automatic climate control105
>Heated seats51
>Parked-car ventilation system112
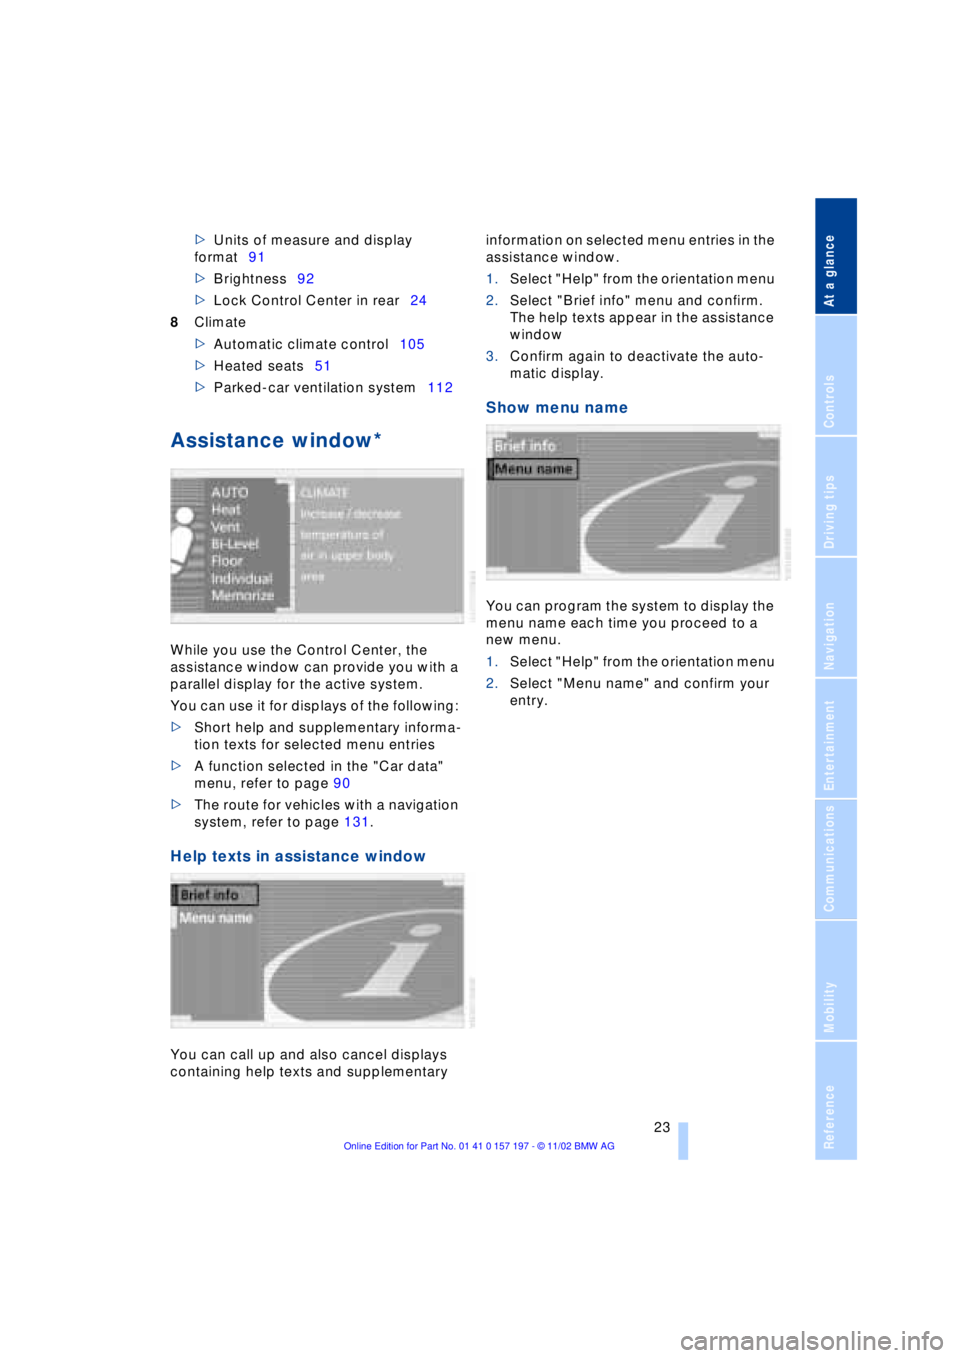
Assistance window*
While you use the Control Center, the
assistance window can provide you with a
parallel display for the active system.
You can use it for displays of the following:
>Short help and supplementary informa-
tion texts for selected menu entries
>A function selected in the "Car data"
menu, refer to page 90
>The route for vehicles with a navigation
system, refer to page 131.
Help texts in assistance window
You can call up and also cancel displays
containing help texts and supplementary information on selected menu entries in the
assistance window.
1.Select "Help" from the orientation menu
2.Select "Brief info" menu and confirm.
The help texts appear in the assistance
window
3.Confirm again to deactivate the auto-
matic display.
Show menu name
You can program the system to display the
menu name each time you proceed to a
new menu.
1.Select "Help" from the orientation menu
2.Select "Menu name" and confirm your
entry.
Page 26 of 229
Control Center
24
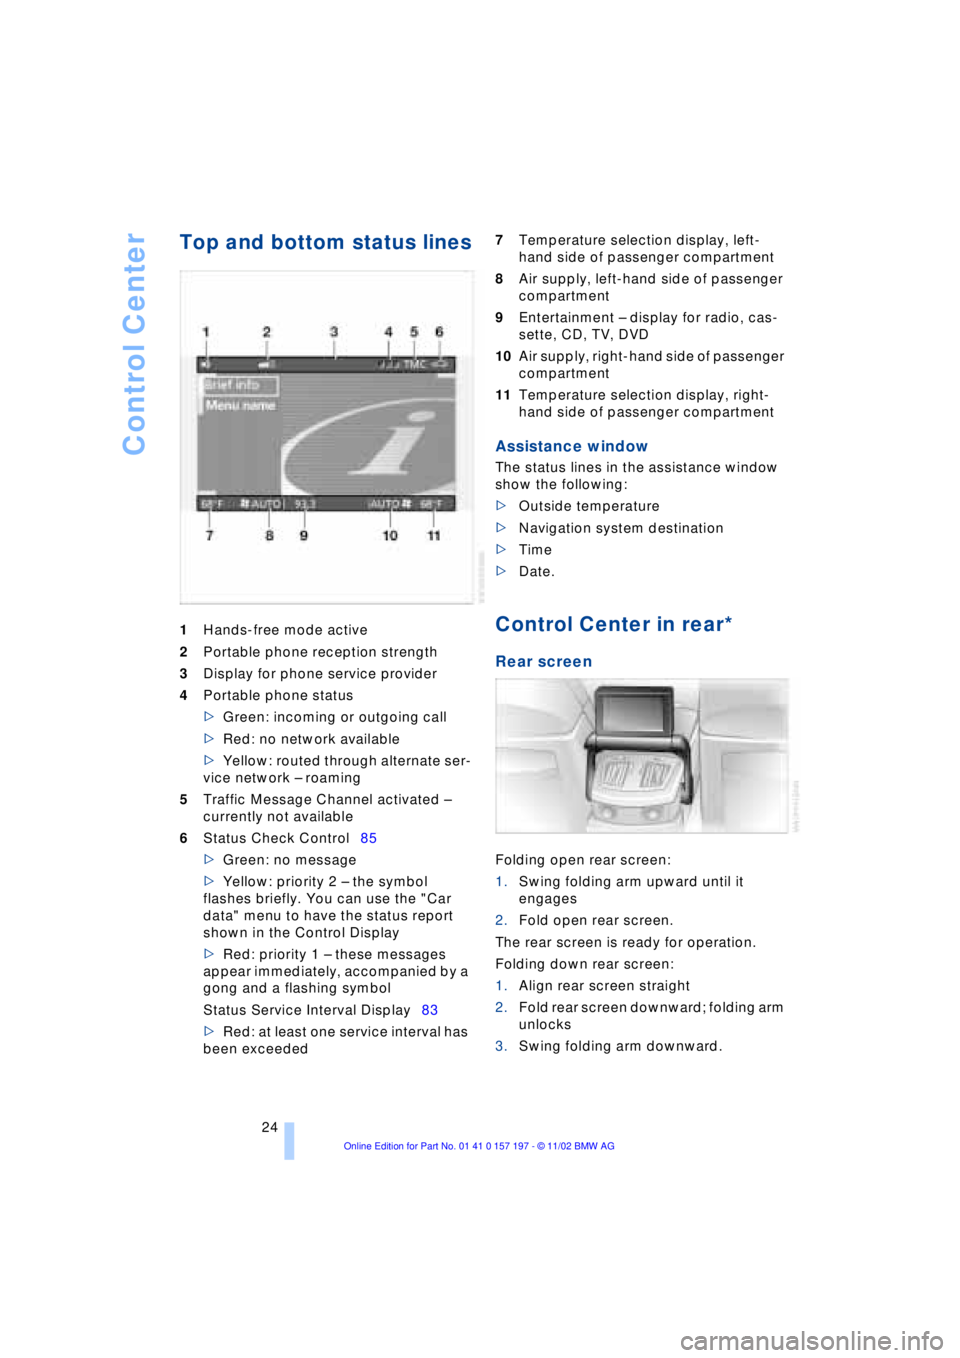
Top and bottom status lines
1Hands-free mode active
2Portable phone reception strength
3Display for phone service provider
4Portable phone status
>Green: incoming or outgoing call
>Red: no network available
>Yellow: routed through alternate ser-
vice network Ð roaming
5Traffic Message Channel activated Ð
currently not available
6Status Check Control85
>Green: no message
>Yellow: priority 2 Ð the symbol
flashes briefly. You can use the "Car
data" menu to have the status report
shown in the Control Display
>Red: priority 1 Ð these messages
appear immediately, accompanied by a
gong and a flashing symbol
Status Service Interval Display83
>Red: at least one service interval has
been exceeded 7Temperature selection display, left-
hand side of passenger compartment
8Air supply, left-hand side of passenger
compartment
9Entertainment Ð display for radio, cas-
sette, CD, TV, DVD
10Air supply, right-hand side of passenger
compartment
11Temperature selection display, right-
hand side of passenger compartment
Assistance window
The status lines in the assistance window
show the following:
>Outside temperature
>Navigation system destination
>Time
>Date.
Control Center in rear*
Rear screen
Folding open rear screen:
1.Swing folding arm upward until it
engages
2.Fold open rear screen.
The rear screen is ready for operation.
Folding down rear screen:
1.Align rear screen straight
2.Fold rear screen downward; folding arm
unlocks
3.Swing folding arm downward.
Page 27 of 229
At a glance
Controls
Driving tips
Communications
Navigation
Entertainment
Mobility
Reference
25
Swing the rear screen downward
when the ski bag is used, as other-
wise it could be damaged.
Do not swing the rear screen up or down
with the beverage holders open, as other-
wise it could be damaged.<
The rear screen switches off automat-
ically when it is swung downward.
Some functions are not available on the
rear screen, e.g. the BMW Assist function
can only be operated in the front Control
Display. Some functions only permit limited
operation on the rear screen, e.g. the
speed limit can only be displayed. Setting
is carried out via the front controller, refer
to page 89.<
Controller
The controller is located on the center arm-
rest.
Rear lock
The available functions are operated with
the respective controller.
In the Control Display you can limit or deac-
tivate operation of the rear screen.
1.Select the "Settings" menu and confirm
2.Select "Rear" and confirm.
3.Setting operation of rear screen:
>Select "Limited Release" and con-
firm to lock the functions used in the
front Control Display
When headphones are con-
nected, all audio and video func-
tions continue to be selectable in the
rear, with the exception of the audio or
video source activated in the front Con-
trol Display.<>Select "None Release" and confirm
to switch off the rear screen
>Select "Full Release" and confirm to
switch off all locks.
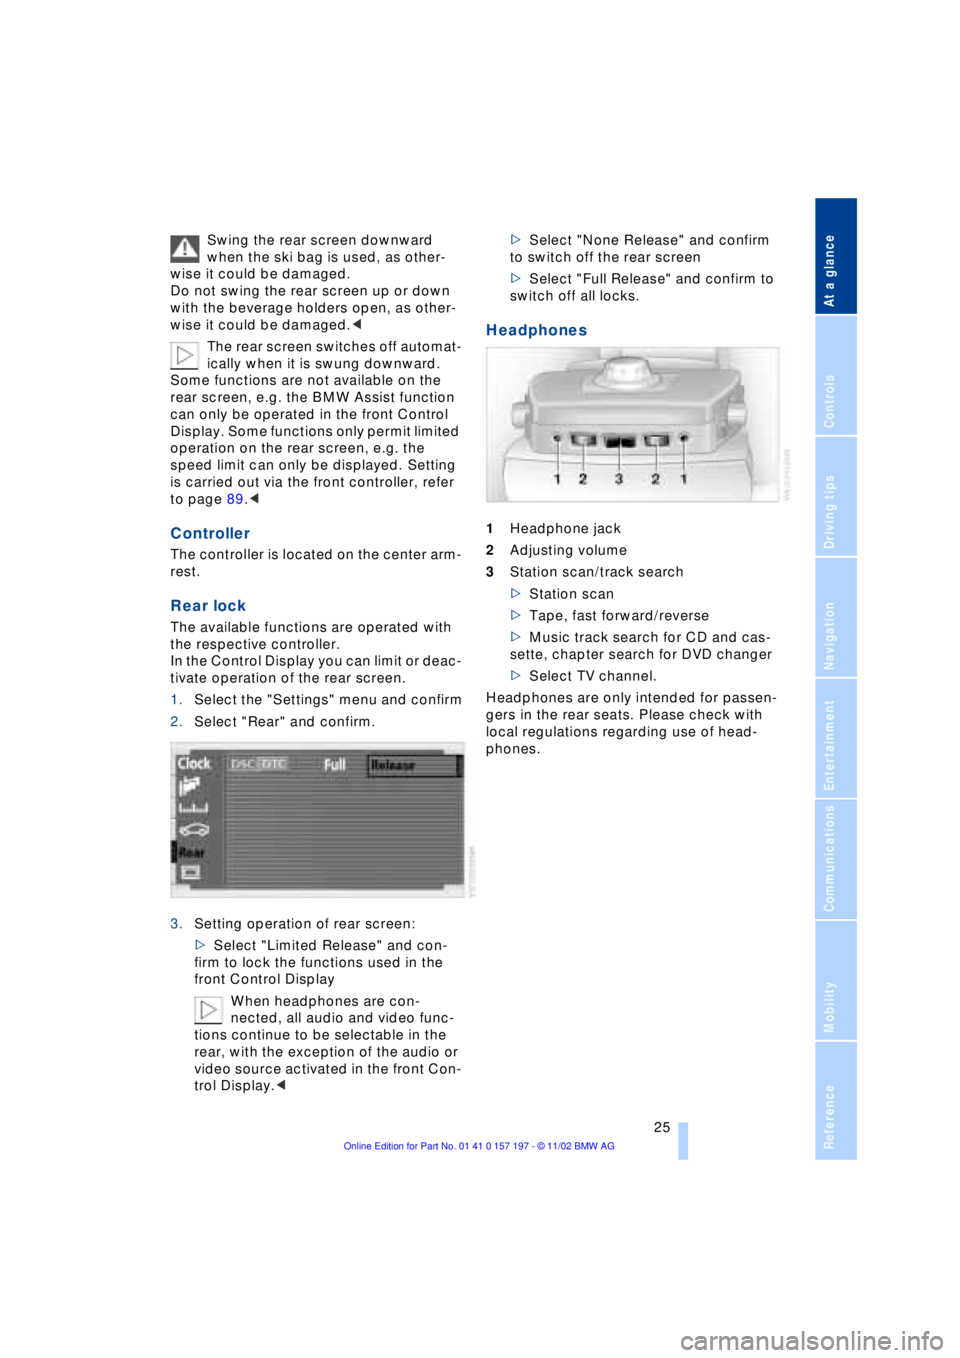
Headphones
1Headphone jack
2Adjusting volume
3Station scan/track search
>Station scan
>Tape, fast forward/reverse
>Music track search for CD and cas-
sette, chapter search for DVD changer
>Select TV channel.
Headphones are only intended for passen-
gers in the rear seats. Please check with
local regulations regarding use of head-
phones.
Page 43 of 229
At a glance
Controls
Driving tips
Communications
Navigation
Entertainment
Mobility
Reference
41
Alarm system
The concept
The vehicle alarm system responds:
>When a door, the hood, or the luggage
compartment lid is opened
>To movement in the vehicle's interior Ð
interior motion sensor
>To changing the vehicle's tilt if someone
attempts to steal the wheels or tow the
vehicle
>To interruption of battery voltage.
The system responds to unauthorized
vehicle entry and attempted theft by simul-
taneously activating:
>An acoustic alarm, which lasts for a
period of approx. 30 seconds
>The hazard warning flashers for approx.
five minutes
>The high beams, which flash on and off
in the same rhythm.
Arming and disarming the alarm
system
When you lock or unlock the vehicle, either
with the remote control unit or at the door
lock, the alarm system is armed or dis-
armed at the same time.
The system indicates that it has been cor-
rectly armed by switching on the hazard
warning flashers for a single cycle and by
emitting an acoustic signal.
You can have different acknowledg-
ment signals set to confirm arming
and disarming.<
You can open the luggage compartment
lid even if the alarm is armed using
button 3of the remote control, refer
to page 36. It is armed once again when
the lid is closed.
Pressing the Panic mode button for a
longer period triggers the alarm, refer
to page 36.<
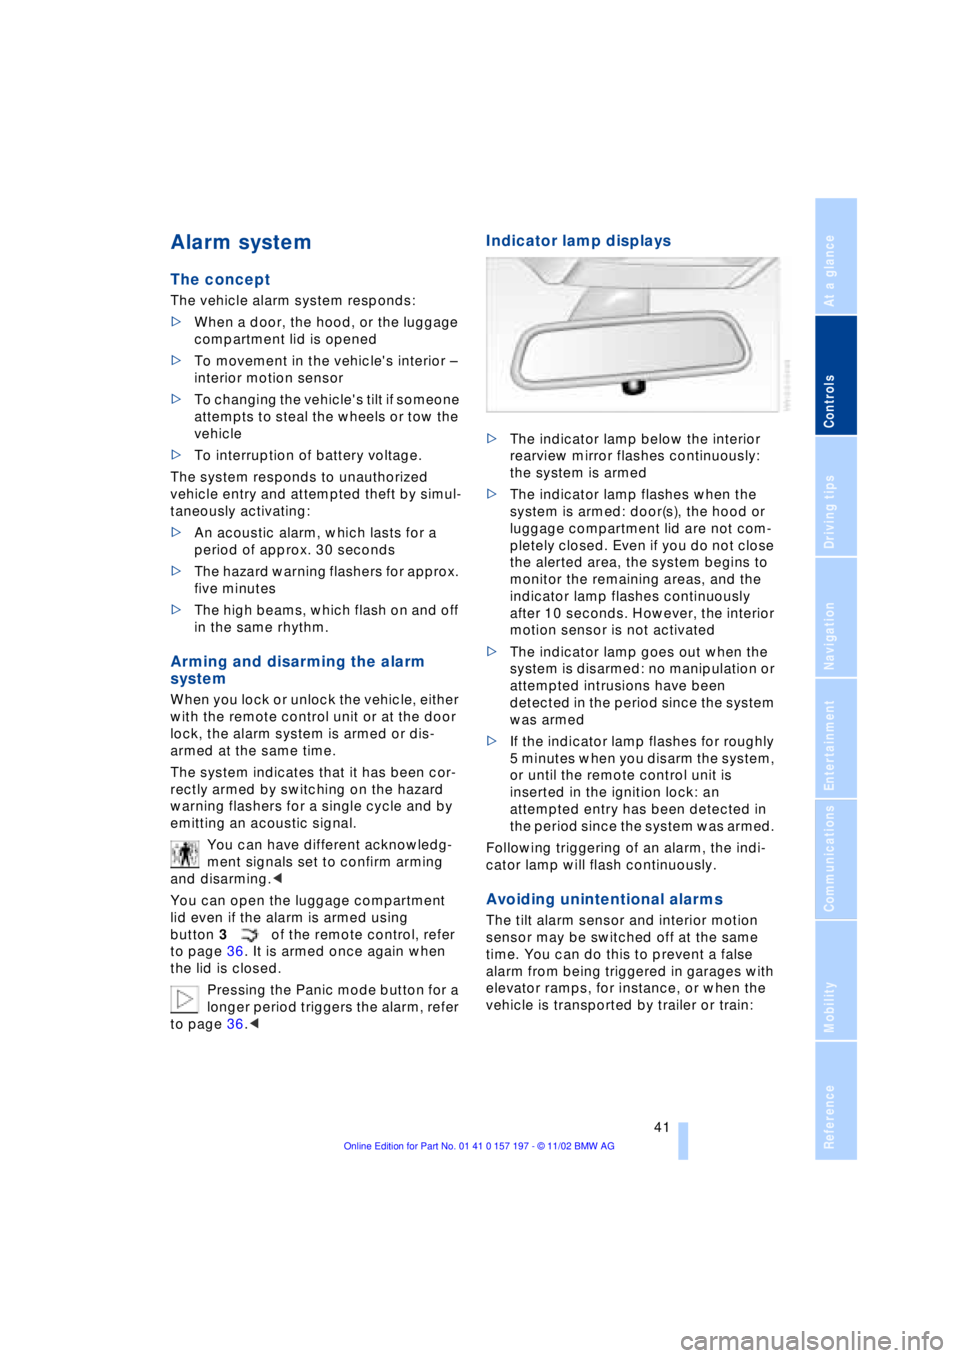
Indicator lamp displays
>The indicator lamp below the interior
rearview mirror flashes continuously:
the system is armed
>The indicator lamp flashes when the
system is armed: door(s), the hood or
luggage compartment lid are not com-
pletely closed. Even if you do not close
the alerted area, the system begins to
monitor the remaining areas, and the
indicator lamp flashes continuously
after 10 seconds. However, the interior
motion sensor is not activated
>The indicator lamp goes out when the
system is disarmed: no manipulation or
attempted intrusions have been
detected in the period since the system
was armed
>If the indicator lamp flashes for roughly
5 minutes when you disarm the system,
or until the remote control unit is
inserted in the ignition lock: an
attempted entry has been detected in
the period since the system was armed.
Following triggering of an alarm, the indi-
cator lamp will flash continuously.
Avoiding unintentional alarms
The tilt alarm sensor and interior motion
sensor may be switched off at the same
time. You can do this to prevent a false
alarm from being triggered in garages with
elevator ramps, for instance, or when the
vehicle is transported by trailer or train:
Page 45 of 229
At a glance
Controls
Driving tips
Communications
Navigation
Entertainment
Mobility
Reference
43
When you close the windows they will
slow down as they approach the end
of their travel; this is to allow the safety fea-
ture to respond more precisely to any
obstructions encountered in this critical
range.<
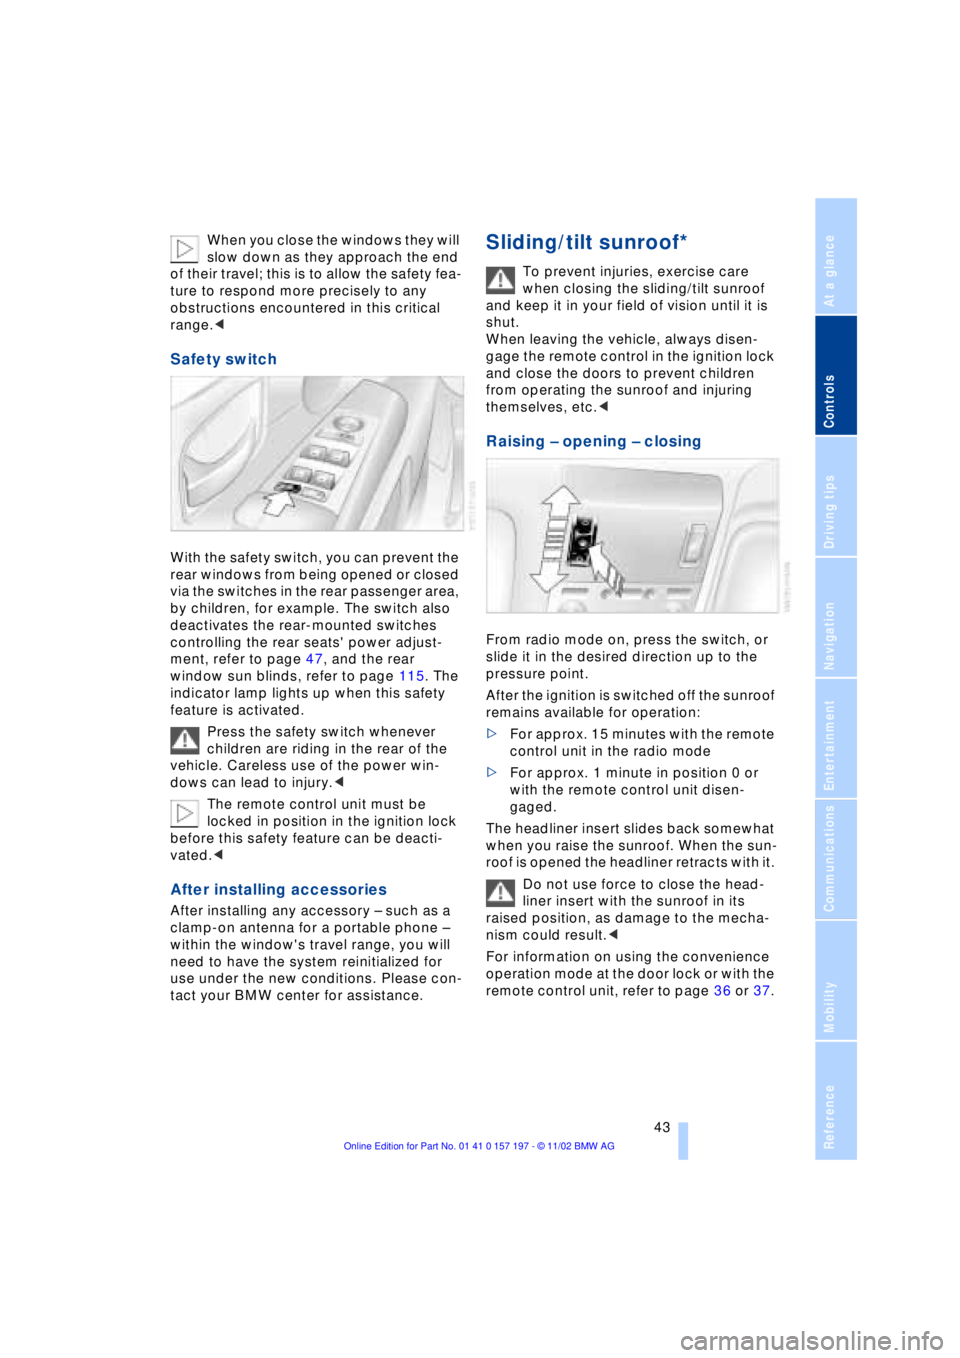
Safety switch
With the safety switch, you can prevent the
rear windows from being opened or closed
via the switches in the rear passenger area,
by children, for example. The switch also
deactivates the rear-mounted switches
controlling the rear seats' power adjust-
ment, refer to page 47, and the rear
window sun blinds, refer to page 115. The
indicator lamp lights up when this safety
feature is activated.
Press the safety switch whenever
children are riding in the rear of the
vehicle. Careless use of the power win-
dows can lead to injury.<
The remote control unit must be
locked in position in the ignition lock
before this safety feature can be deacti-
vated.<
After installing accessories
After installing any accessory Ð such as a
clamp-on antenna for a portable phone Ð
within the window's travel range, you will
need to have the system reinitialized for
use under the new conditions. Please con-
tact your BMW center for assistance.
Sliding/tilt sunroof*
To prevent injuries, exercise care
when closing the sliding/tilt sunroof
and keep it in your field of vision until it is
shut.
When leaving the vehicle, always disen-
gage the remote control in the ignition lock
and close the doors to prevent children
from operating the sunroof and injuring
themselves, etc.<
Raising Ð opening Ð closing
From radio mode on, press the switch, or
slide it in the desired direction up to the
pressure point.
After the ignition is switched off the sunroof
remains available for operation:
>For approx. 15 minutes with the remote
control unit in the radio mode
>For approx. 1 minute in position 0 or
with the remote control unit disen-
gaged.
The headliner insert slides back somewhat
when you raise the sunroof. When the sun-
roof is opened the headliner retracts with it.
Do not use force to close the head-
liner insert with the sunroof in its
raised position, as damage to the mecha-
nism could result.<
For information on using the convenience
operation mode at the door lock or with the
remote control unit, refer to page 36 or 37.
Page 47 of 229
At a glance
Controls
Driving tips
Communications
Navigation
Entertainment
Mobility
Reference
45
Adjustments
Sit safely
The ideal sitting position can make a vital
contribution to relaxed driving that is as
fatigue-free as possible. The sitting posi-
tion plays an important role together with
the safety belts and airbags in providing
occupants with maximum levels of passive
safety in an accident. To ensure that the
safety systems operate with optimal effi-
ciency, we strongly urge you to observe the
instructions contained in the following sec-
tion.
For additional information on transporting
children safely, refer to page 57.
Sitting safely with airbags
Always maintain an adequate dis-
tance between yourself and the air-
bags. Always hold the steering wheel by
its rim with hands at the 9 o'clock and
3 o'clock positions, to minimize the risk of
injuries to your hands and arms in the event
of airbag deployment.
No one and nothing is to come between the
airbags and the seat occupant.
To prevent possible leg injuries should the
knee airbag deploy in an accident, ensure
that the front passenger assumes a correct
sitting position. Do not use the cover of the
front airbag on the front passenger side as
a storage area for objects, or as a rest for
feet or legs.<
For airbag locations and additional infor-
mation on airbags, refer to page 55.
Safe sitting position with safety belts
For the safety of all vehicle occupants,
please comply with the following instruc-
tions for wearing safety belts.
Never allow more than one person to
wear a single safety belt. Never allow
infants or small children to ride in a pas-
senger's lap.
Avoid twisting the belt while routing it firmly
across the hips and shoulder. Wear it as snugly against your body as possible. Do
not allow the belt to rest against hard or
fragile objects.
Do not route the belt across your neck, or
run it across sharp edges. Be sure that the
belt does not become caught or jammed.
Avoid wearing loose or bulky clothing that
would prevent the belt from resting
securely against your body; pull on the
shoulder strap periodically to keep it ten-
sioned.
In the event of a frontal impact, a loose lap
belt could slide over your hips, leading to
abdominal injury. In addition, the safety
belt's restraint effectiveness is reduced if
the belt is worn loosely.
Expectant mothers should always wear
their safety belts, taking care to position
the lap belt against the lower hips, where it
will not exert pressure against the abdom-
inal area.<
For putting on safety belts, refer to
page 50.
Seats
For your personal safety when adjusting
the seat position, please follow the instruc-
tions below carefully.
Never attempt to adjust your seat
while operating the vehicle. The seat
could respond with unexpected move-
ment, and the ensuing loss of vehicle con-
trol could lead to an accident.
Never recline the backrest to an extremely
horizontal position while operating the
vehicle Ð this precaution is especially
important for front passengers and the
occupants of electric power rear seats to
remember. Failure to observe these pre-
cautions can prevent the belts from pro-
viding effective protection against injury, as
passengers could slide under the belts in
an accident.<