2003 BMW 760LI SEDAN language
[x] Cancel search: languagePage 6 of 229
Contents
Entertainment
146Controls
146Care instructions
147Switching on/off
147Using with ignition off
147Volume adjustment
147Tone control
Radio
149Starting
149Stopping
149Selecting frequency band
150Selecting a station
150Storing and retrieving a station
151Weather Band
CD Compact Disc
153Starting
153Stopping
154Searching for music tracks in the
Control Display
154Using the buttons to search for music
tracks
CD changer
156Starting
156Stopping
156Status displays
157Searching for music tracks in the
Control Display
157Using the buttons to search for music
tracks
Cassette
158Starting
158Stopping
158Selecting side A or B
158Switching "Booktape" on/off
158Noise suppression
159Searching for music tracks
TV
160Starting
160Stopping
160Storing programs
160Selecting programs
161Adjusting the picture
*
161Selecting standard
DVD changer
164Care instructions
164Starting
164Stopping
164Status displays
164DVD control
165Selecting a track
166Chapter search
166Adjusting picture
166Freezing frame
166Selecting picture format
166Selecting language, subtitles and
viewing angle
167Opening DVD-specific menu
Using the phone in your vehicle
170Safety notice
171Care instructions
171Controls
172Telephone keypad, folding
173Hands-free system
173Making an SOS call
174Telephoning with the
car phone
174Using the BMW portable phone
174Getting started
175Telephone directory
176Selecting a number from the Top 8 list
176Redialing
176Missed calls
BMW Assist
178Requirements
178Roadside Assistance of the BMW
Group
Refueling
182Fuel filler door
183Fuel specifications
Wheels and tires
184Tire inflation pressure
186Tire condition
186Tire replacement
187Wheel and tire combinations
Page 23 of 229
At a glance
Controls
Driving tips
Communications
Navigation
Entertainment
Mobility
Reference
21
To exit from the list, select
the symbol and confirm.
Symbols
To select the second page
To return to the first page
To exit from the list
To transfer the current display to the
assistance window. For more
detailed information on the assis-
tance window, refer to page 23
To transmit vehicle data to the
BMW Service Center
To set display units and formats,
refer to page 91
To change the language of the dis-
play texts, refer to page 91
To select settings for vehicle func-
tions
To set the brightness of the screen,
refer to page 92
Page 24 of 229
Control Center
22
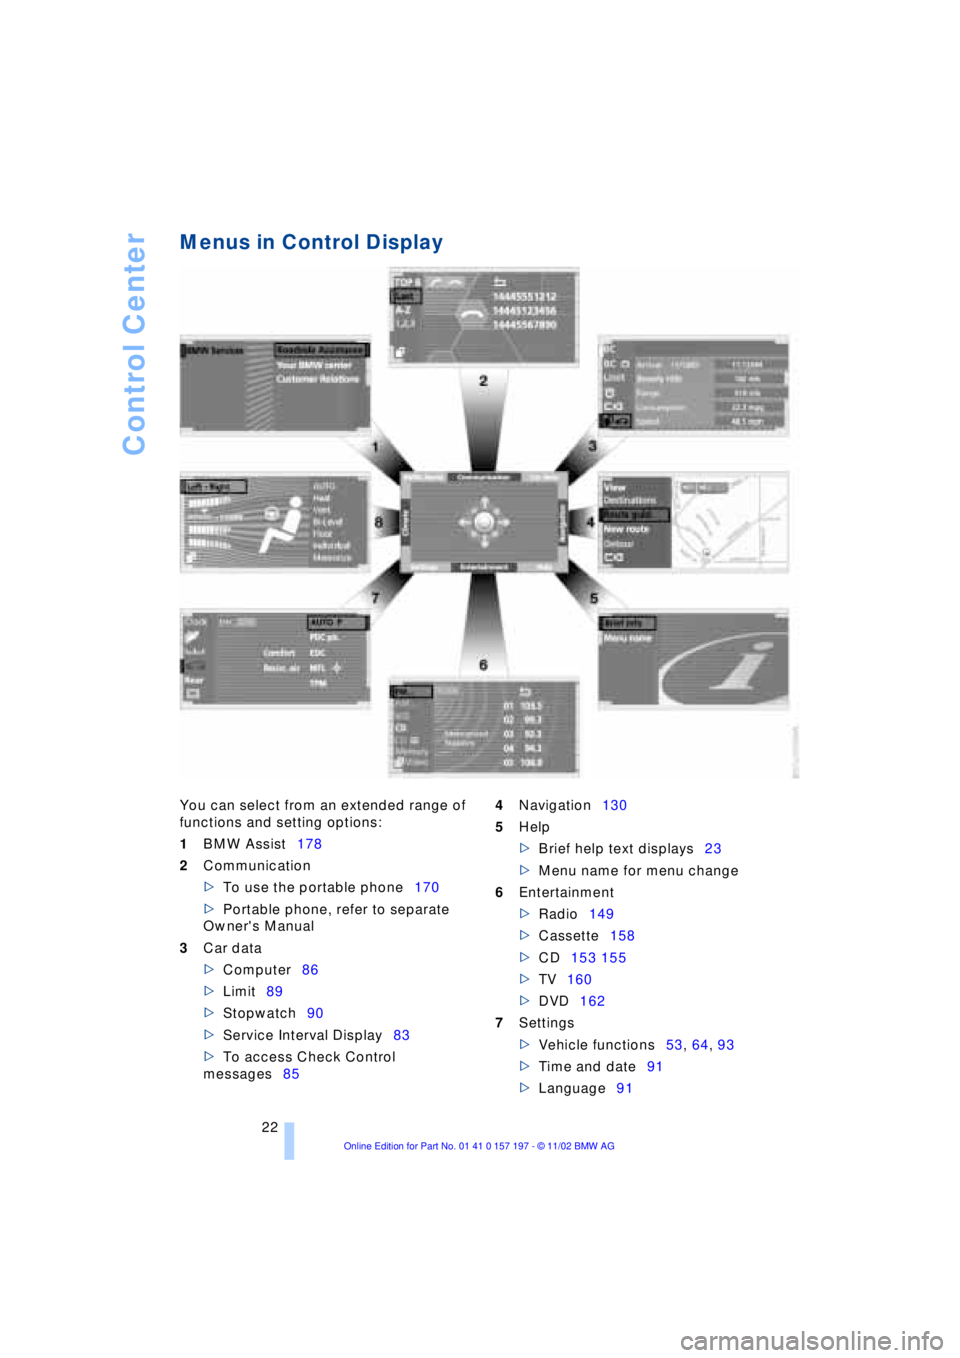
Menus in Control Display
You can select from an extended range of
functions and setting options:
1BMW Assist178
2Communication
>To use the portable phone170
>Portable phone, refer to separate
Owner's Manual
3Car data
>Computer86
>Limit89
>Stopwatch90
>Service Interval Display83
>To access Check Control
messages854Navigation130
5Help
>Brief help text displays23
>Menu name for menu change
6Entertainment
>Radio149
>Cassette158
>CD153 155
>TV160
>DVD162
7Settings
>Vehicle functions53, 64, 93
>Time and date91
>Language91
Page 62 of 229
Adjustments
60
Vehicle Memory, Key
Memory
How the system functions
Doubtless you have often reflected on how
great it would be if you could configure
your vehicle's various adjustment settings
to meet your own personal requirements. In
developing your vehicle, BMW has incor-
porated a number of options for personal
adjustment which you can set in the Con-
trol Center. You can have these pro-
grammed at your BMW center.
The available configuration settings fall into
two categories, according to whether their
primary orientation is the vehicle Ð Vehicle
Memory Ð or the individual Ð Key Memory.
You can have up to four different basic set-
tings adjusted for four different persons.
The only requirement is that each person
uses his or her own remote control.
When your vehicle is unlocked with the
remote control, the vehicle recognizes the
individual user by means of a data
exchange with the key, and makes adjust-
ments accordingly.
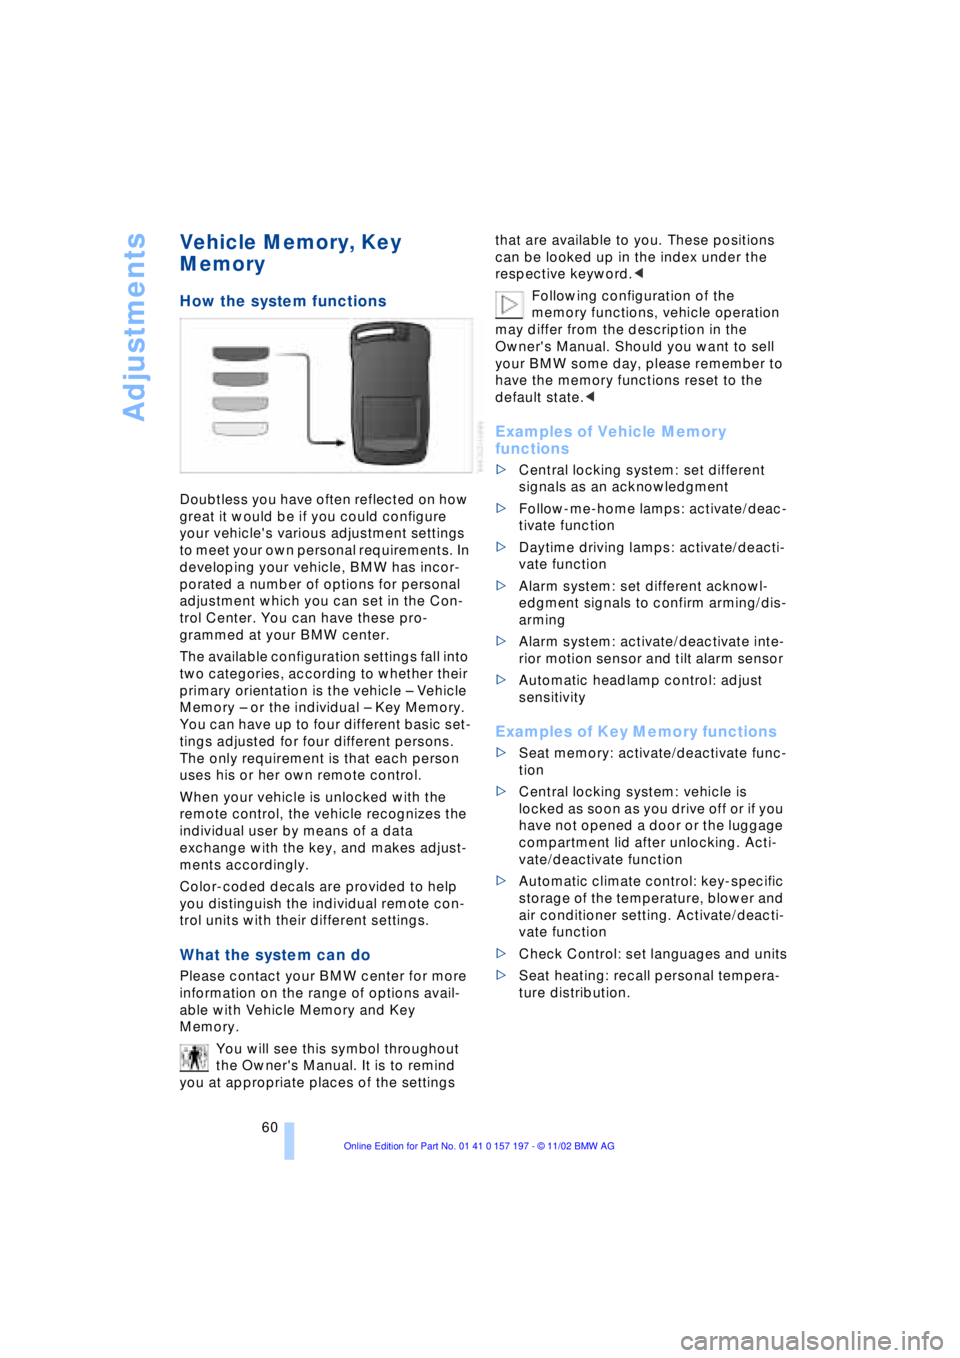
Color-coded decals are provided to help
you distinguish the individual remote con-
trol units with their different settings.
What the system can do
Please contact your BMW center for more
information on the range of options avail-
able with Vehicle Memory and Key
Memory.
You will see this symbol throughout
the Owner's Manual. It is to remind
you at appropriate places of the settings that are available to you. These positions
can be looked up in the index under the
respective keyword.<
Following configuration of the
memory functions, vehicle operation
may differ from the description in the
Owner's Manual. Should you want to sell
your BMW some day, please remember to
have the memory functions reset to the
default state.<
Examples of Vehicle Memory
functions
>Central locking system: set different
signals as an acknowledgment
>Follow-me-home lamps: activate/deac-
tivate function
>Daytime driving lamps: activate/deacti-
vate function
>Alarm system: set different acknowl-
edgment signals to confirm arming/dis-
arming
>Alarm system: activate/deactivate inte-
rior motion sensor and tilt alarm sensor
>Automatic headlamp control: adjust
sensitivity
Examples of Key Memory functions
>Seat memory: activate/deactivate func-
tion
>Central locking system: vehicle is
locked as soon as you drive off or if you
have not opened a door or the luggage
compartment lid after unlocking. Acti-
vate/deactivate function
>Automatic climate control: key-specific
storage of the temperature, blower and
air conditioner setting. Activate/deacti-
vate function
>Check Control: set languages and units
>Seat heating: recall personal tempera-
ture distribution.
Page 88 of 229
Everything under control
86
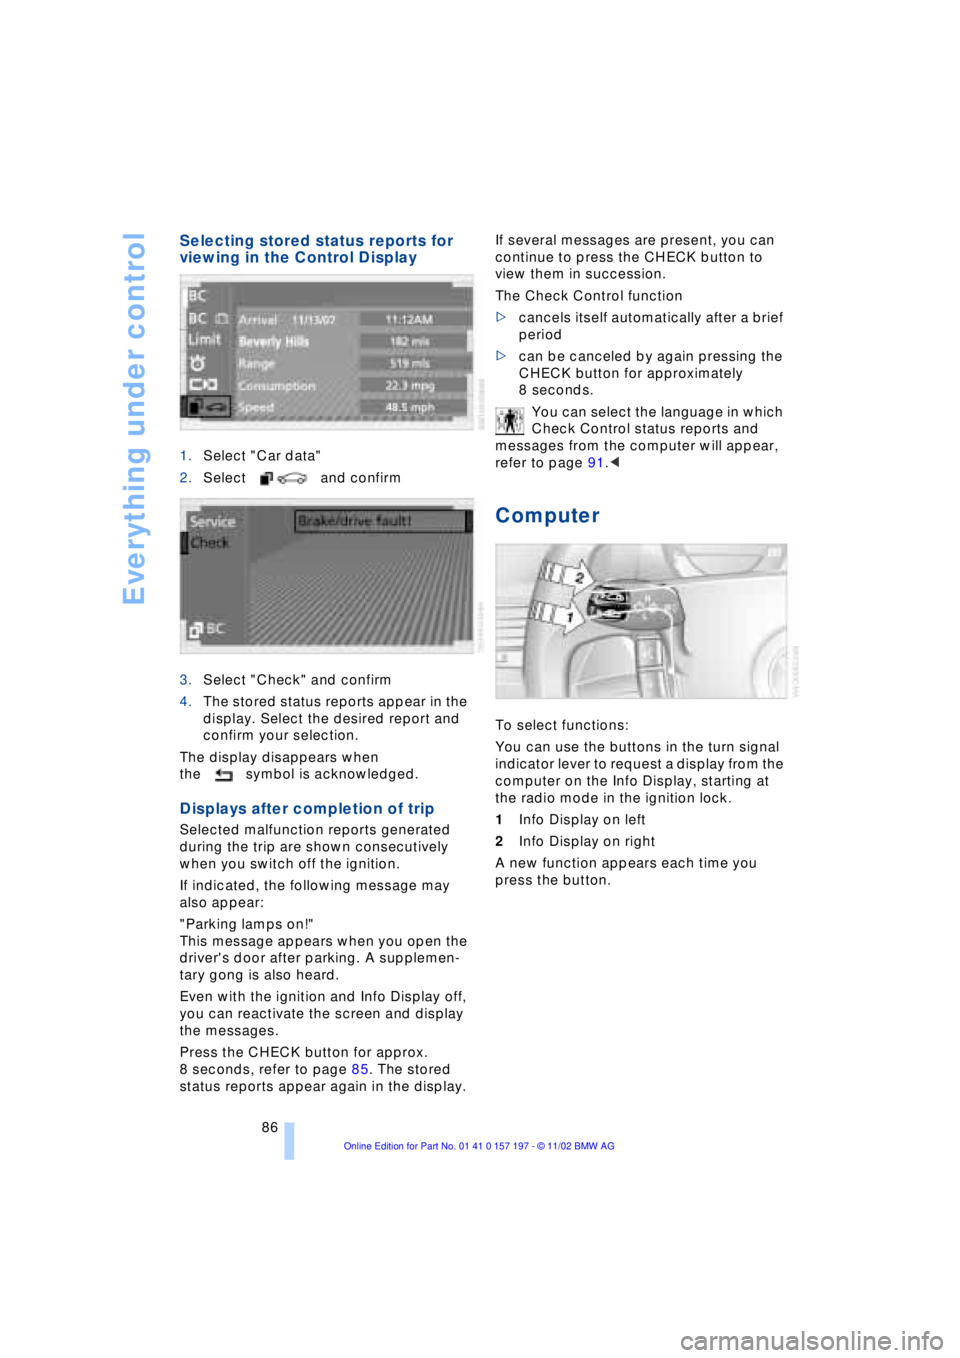
Selecting stored status reports for
viewing in the Control Display
1.Select "Car data"
2.Select and confirm
3.Select "Check" and confirm
4.The stored status reports appear in the
display. Select the desired report and
confirm your selection.
The display disappears when
the symbol is acknowledged.
Displays after completion of trip
Selected malfunction reports generated
during the trip are shown consecutively
when you switch off the ignition.
If indicated, the following message may
also appear:
"Parking lamps on!"
This message appears when you open the
driver's door after parking. A supplemen-
tary gong is also heard.
Even with the ignition and Info Display off,
you can reactivate the screen and display
the messages.
Press the CHECK button for approx.
8 seconds, refer to page 85. The stored
status reports appear again in the display. If several messages are present, you can
continue to press the CHECK button to
view them in succession.
The Check Control function
>cancels itself automatically after a brief
period
>can be canceled by again pressing the
CHECK button for approximately
8 seconds.
You can select the language in which
Check Control status reports and
messages from the computer will appear,
refer to page 91.<
Computer
To select functions:
You can use the buttons in the turn signal
indicator lever to request a display from the
computer on the Info Display, starting at
the radio mode in the ignition lock.
1Info Display on left
2Info Display on right
A new function appears each time you
press the button.
Page 93 of 229
At a glance
Controls
Driving tips
Communications
Navigation
Entertainment
Mobility
Reference
91
Importing display
1.Select the desired function and confirm
Ð here, computer "BC"
2.Select and confirm. This resets
the stopwatch to zero and then restarts
it. The function appears in the assis-
tance window.
The symbol is highlighted if
the function displayed in the asssis-
tance window is selected in the Control
Display. You can also choose to view brief
help texts explaining selected menu
entries, refer to page 23, or the travel route
on vehicles equipped with a GPS naviga-
tion system, refer to page 131.<
Changing settings
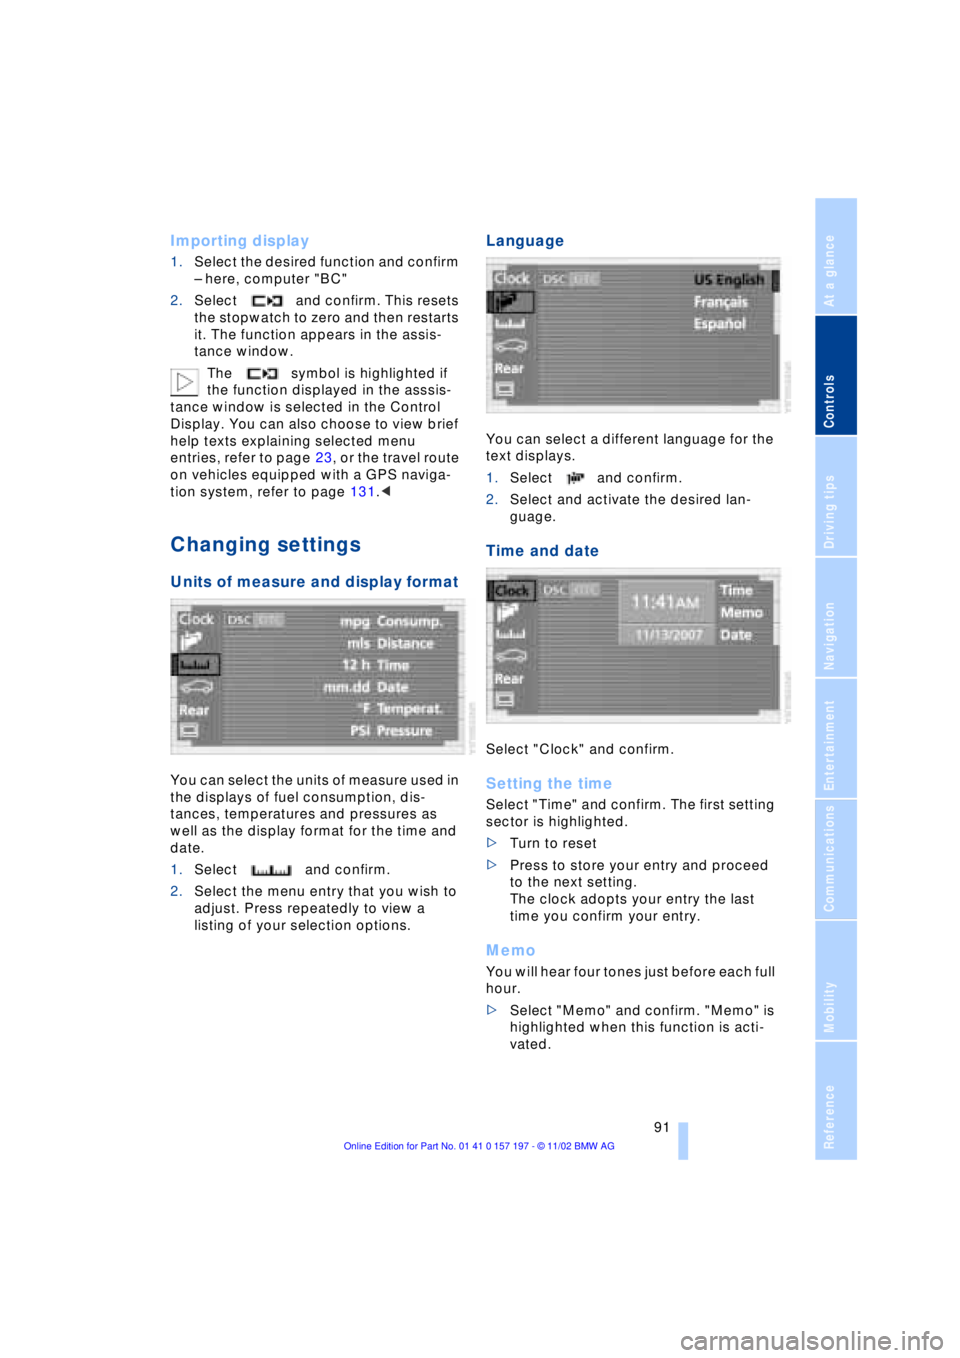
Units of measure and display format
You can select the units of measure used in
the displays of fuel consumption, dis-
tances, temperatures and pressures as
well as the display format for the time and
date.
1.Select and confirm.
2.Select the menu entry that you wish to
adjust. Press repeatedly to view a
listing of your selection options.
Language
You can select a different language for the
text displays.
1.Select and confirm.
2.Select and activate the desired lan-
guage.
Time and date
Select "Clock" and confirm.
Setting the time
Select "Time" and confirm. The first setting
sector is highlighted.
>Turn to reset
>Press to store your entry and proceed
to the next setting.
The clock adopts your entry the last
time you confirm your entry.
Memo
You will hear four tones just before each full
hour.
>Select "Memo" and confirm. "Memo" is
highlighted when this function is acti-
vated.
Page 164 of 229
DVD changer
162
DVD changer
Precautions when using laser
equipment
The BMW DVD changer is a Class 1 laser
product.
Never remove the cover from the
housing. Do not operate the unit if the
cover is damaged. Operation without the
cover can lead to serious eye injury from
invisible laser beams.
Always refer all repair and maintenance
operations to qualified technicians.<
Copy protection
Macrovision copy protection:
This product incorporates copyright
protection technology that is protected by
method claims of certain U.S. patents and
other intellectual property rights owned by
Macrovision Corporation and other rights
owners. Use of this copyright protection
technology must be authorized by Macrovi-
sion Corporation, and is intended for home
and other limited viewing uses only unless
otherwise authorized by Macrovision Cor-
poration. Reverse engineering or disas-
sembly is prohibited.<
To prevent CDs from being copied
illegally, they are often provided with
copy protection by the manufacturer.
Please observe the information on your CD.
These CDs differ from the CD Audio Stan-
dard Red Book, on the basis of which all
CD players, changers and your BMW DVD
changer are designed. Under certain cir-
cumstances this can prevent or restrict the
playing of CDs on the DVD changer. In this
case please contact the CD dealer or man-
ufacturer.<
Supported media formats
The DVD changer can play the following
formats:
>Video DVD
>CD-DA Ð Audio CD
>CD-R.
The DVD Audio format is not sup-
ported by the DVD changer. However,
many audio DVDs available in stores also
contain a video track in the DVD Video
format in addition to the audio track. These
DVDs can be played back by the DVD
changer. Please see the information on
your DVD to determine whether your audio
DVD contains an additional video track.<
DVDs are usually divided into tracks
and chapters and can contain dif-
ferent subtitles, camera angles or sound
tracks, languages and sound formats.
Depending on the version of the DVD,
these functions can be selected either
directly with the DVD control system or only
via the DVD-specific menu. See the infor-
mation on your DVD for possible selec-
tions.<
Location
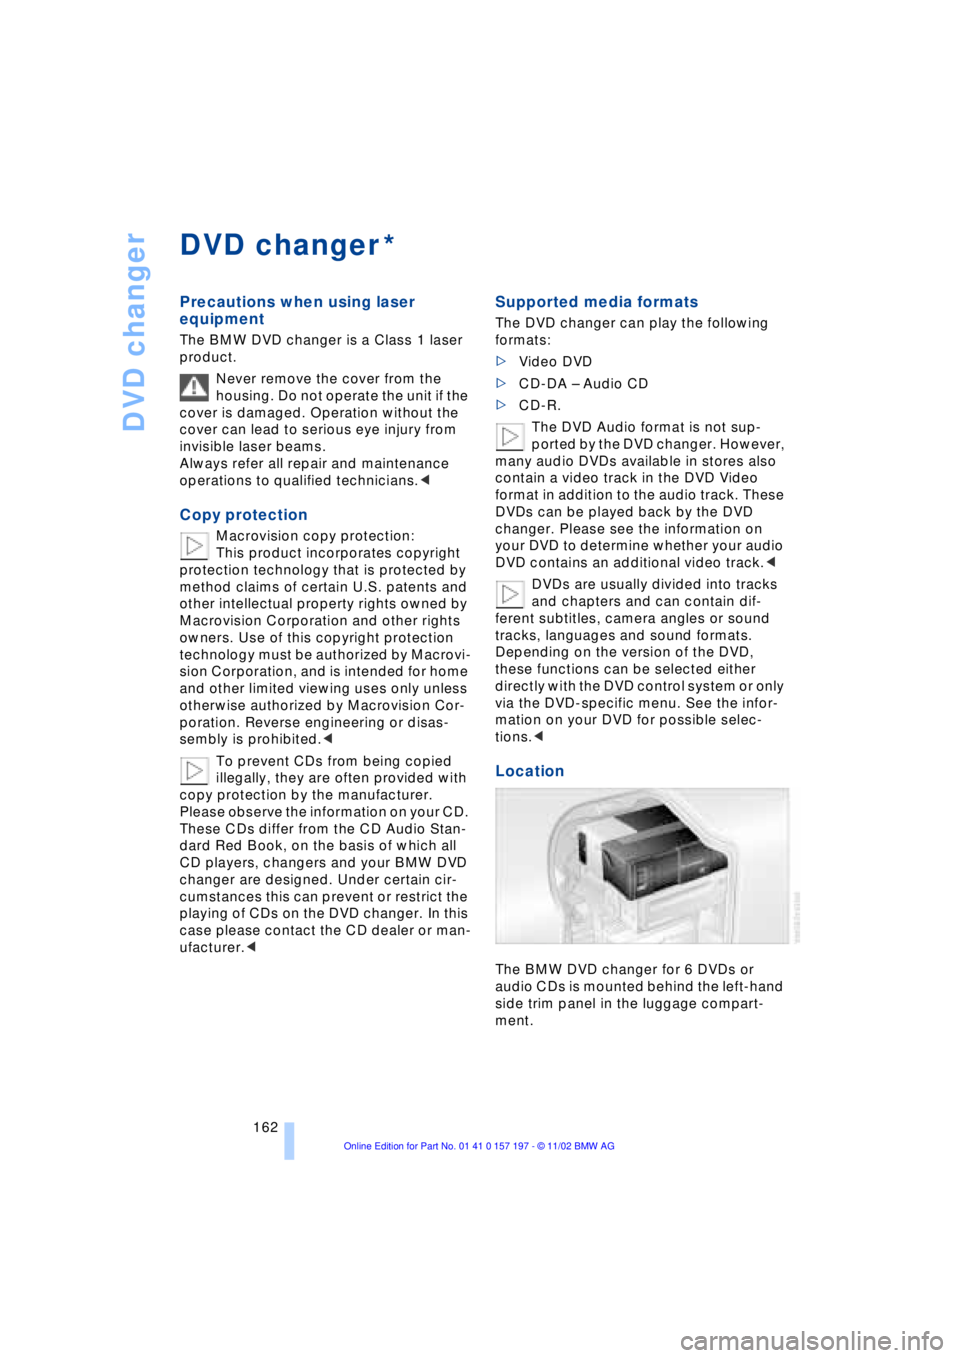
The BMW DVD changer for 6 DVDs or
audio CDs is mounted behind the left-hand
side trim panel in the luggage compart-
ment.
*
Page 168 of 229
DVD changer
166
Chapter search
You can change to the next or pre-
vious chapter during playback.<
1.Display DVD controller, refer to
page 164
2.Select the direction
Confirm repeatedly, continuing until
you reach the desired chapter
or with buttons
select the direction
Press repeatedly, continuing until you
reach the desired chapter on the current
DVD.
Playback begins at the chapter selected.
Adjusting picture
1.During playback, press controller
2.Select and confirm.
3.Adjusting the picture, refer to page 161.
Freezing frame
1.Display DVD controller, refer to
page 164
2.At the desired position,
select and confirm.
The film is stopped
3.To restart the DVD:
Select or and confirm.
DVD playback is continued at the point
at which it was interrupted.
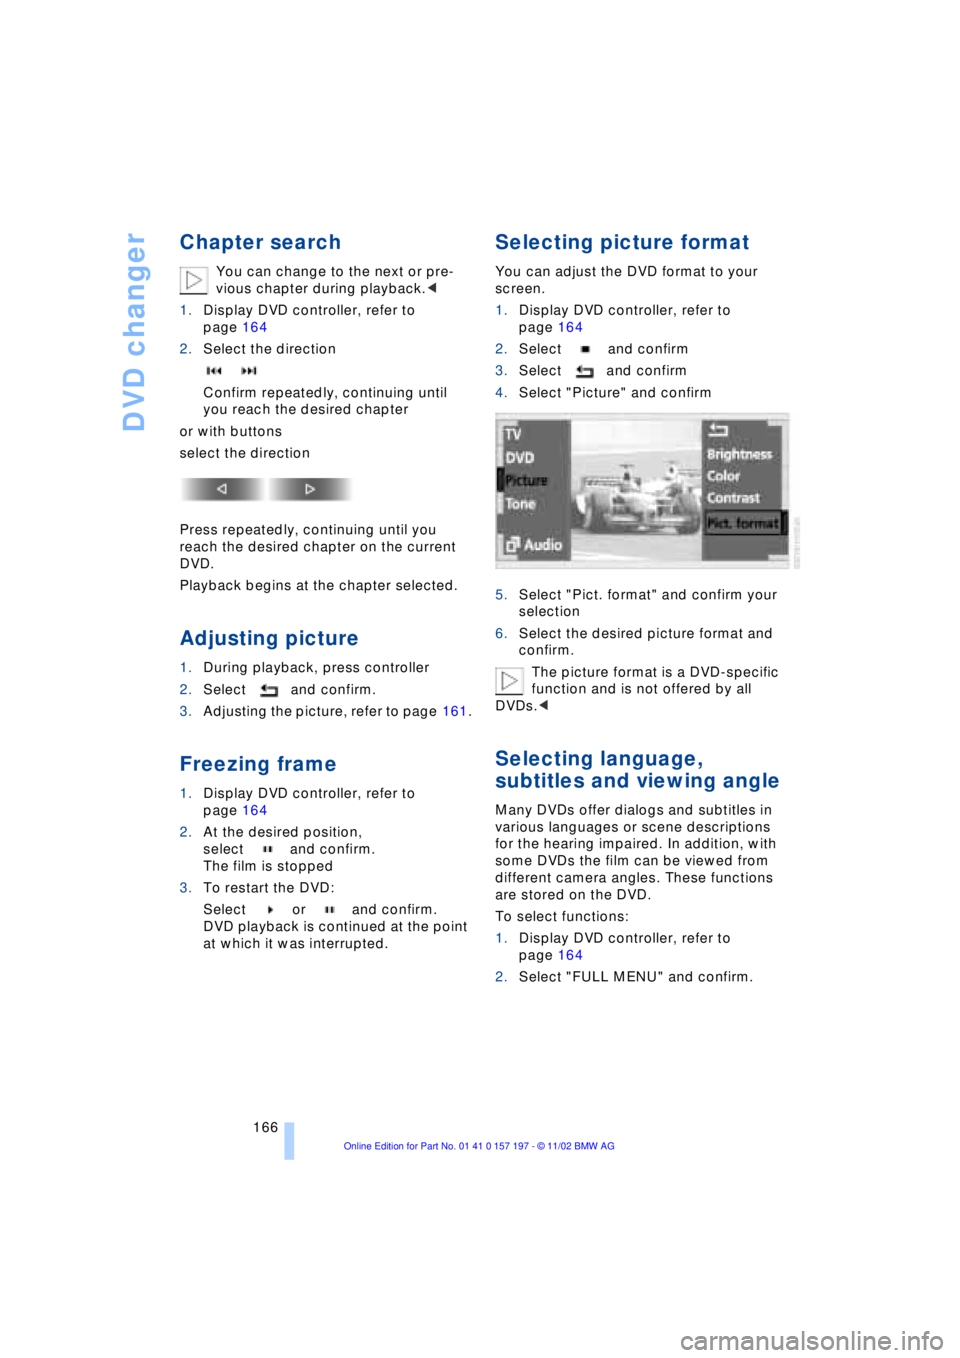
Selecting picture format
You can adjust the DVD format to your
screen.
1.Display DVD controller, refer to
page 164
2.Select and confirm
3.Select and confirm
4.Select "Picture" and confirm
5.Select "Pict. format" and confirm your
selection
6.Select the desired picture format and
confirm.
The picture format is a DVD-specific
function and is not offered by all
DVDs.<
Selecting language,
subtitles and viewing angle
Many DVDs offer dialogs and subtitles in
various languages or scene descriptions
for the hearing impaired. In addition, with
some DVDs the film can be viewed from
different camera angles. These functions
are stored on the DVD.
To select functions:
1.Display DVD controller, refer to
page 164
2.Select "FULL MENU" and confirm.