2003 BMW 760LI SEDAN engine
[x] Cancel search: enginePage 4 of 229
Contents
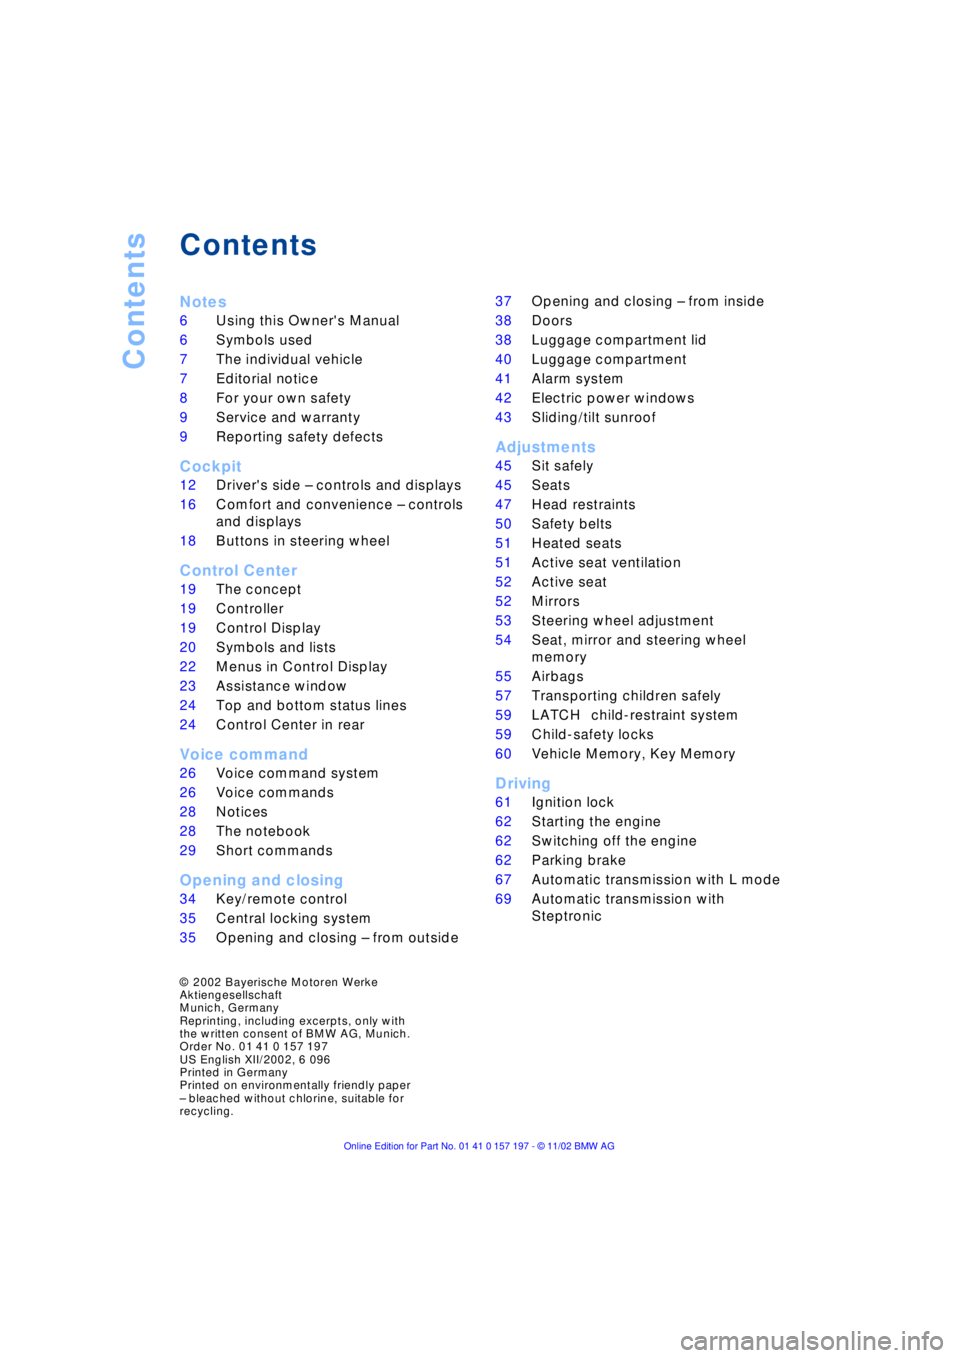
Contents
Notes
6Using this Owner's Manual
6Symbols used
7The individual vehicle
7Editorial notice
8For your own safety
9Service and warranty
9Reporting safety defects
Cockpit
12Driver's side Ð controls and displays
16Comfort and convenience Ð controls
and displays
18Buttons in steering wheel
Control Center
19The concept
19Controller
19Control Display
20Symbols and lists
22Menus in Control Display
23Assistance window
*
24Top and bottom status lines
24Control Center in rear
*
Voice command
26Voice command system
26Voice commands
28Notices
28The notebook
29Short commands
Opening and closing
34Key/remote control
35Central locking system
35Opening and closing Ð from outside 37Opening and closing Ð from inside
38Doors
38Luggage compartment lid
40Luggage compartment
41Alarm system
42Electric power windows
43Sliding/tilt sunroof
*
Adjustments
45Sit safely
45Seats
47Head restraints
50Safety belts
51Heated seats
*
51Active seat ventilation
*
52Active seat
*
52Mirrors
53Steering wheel adjustment
54Seat, mirror and steering wheel
memory
55Airbags
57Transporting children safely
59LATCH
*
child-restraint system
59Child-safety locks
60Vehicle Memory, Key Memory
Driving
61Ignition lock
62Starting the engine
62Switching off the engine
62Parking brake
67Automatic transmission with L mode
69Automatic transmission with
Steptronic
*
© 2002 Bayerische Motoren Werke
Aktiengesellschaft
Munich, Germany
Reprinting, including excerpts, only with
the written consent of BMW AG, Munich.
Order No. 01 41 0 157 197
US English XII/2002, 6 096
Printed in Germany
Printed on environmentally friendly paper
Ð bleached without chlorine, suitable for
recycling.
Page 7 of 229
At a glance
Operation
Driving tips
Communications
Navigation
Entertainment
Mobility
Reference
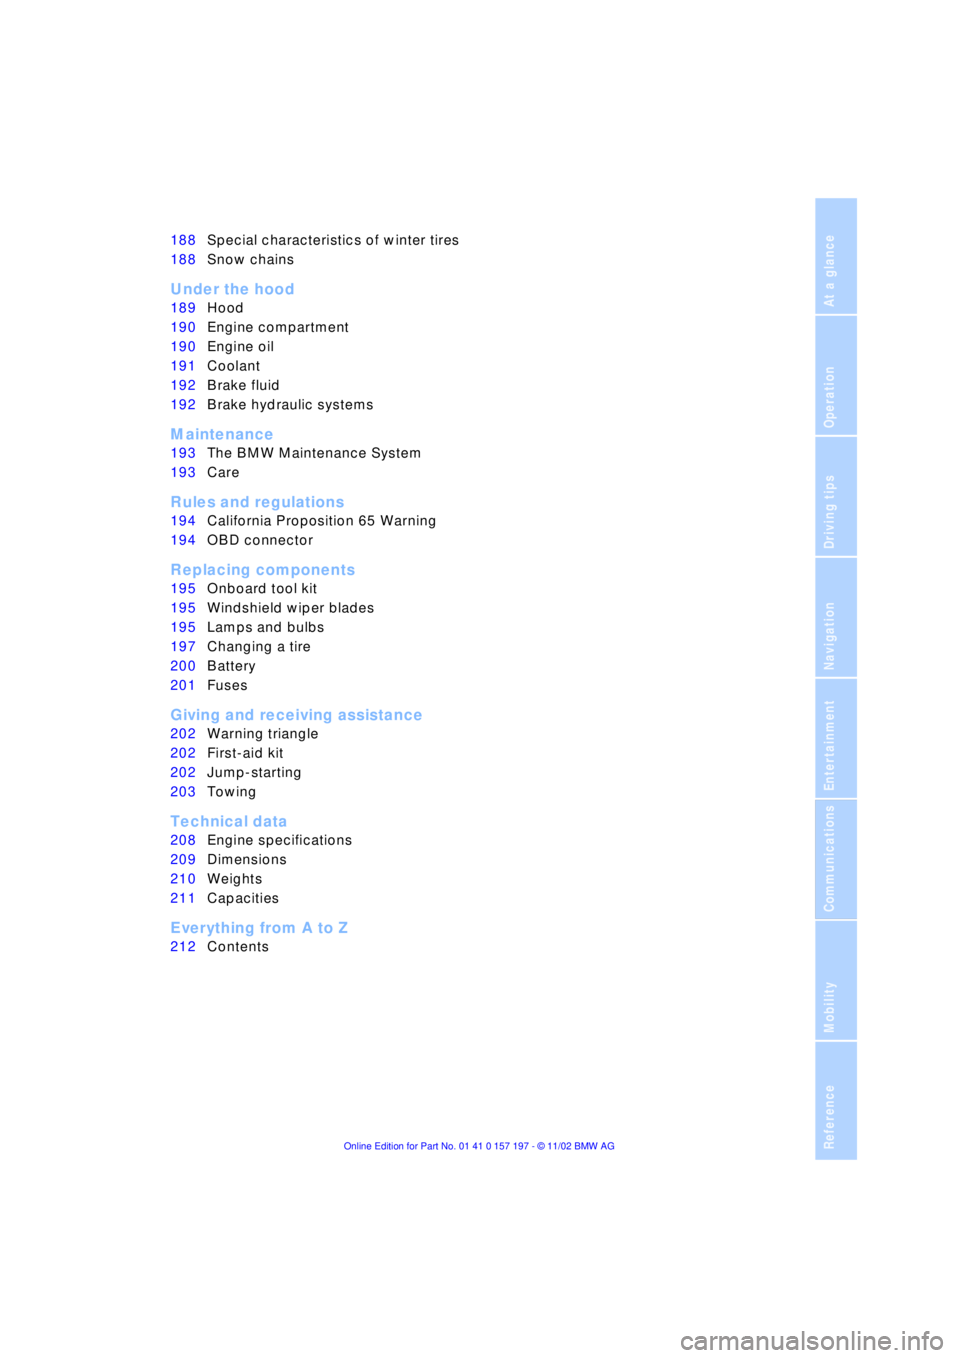
188Special characteristics of winter tires
188Snow chains
*
Under the hood
189Hood
190Engine compartment
190Engine oil
191Coolant
192Brake fluid
192Brake hydraulic systems
Maintenance
193The BMW Maintenance System
193Care
Rules and regulations
194California Proposition 65 Warning
194OBD connector
Replacing components
195Onboard tool kit
195Windshield wiper blades
195Lamps and bulbs
197Changing a tire
200Battery
201Fuses
Giving and receiving assistance
202Warning triangle
*
202First-aid kit
*
202Jump-starting
203Towing
Technical data
208Engine specifications
209Dimensions
210Weights
211Capacities
Everything from A to Z
212Contents
Page 15 of 229
At a glance
Controls
Driving tips
Communications
Navigation
Entertainment
Mobility
Reference
13
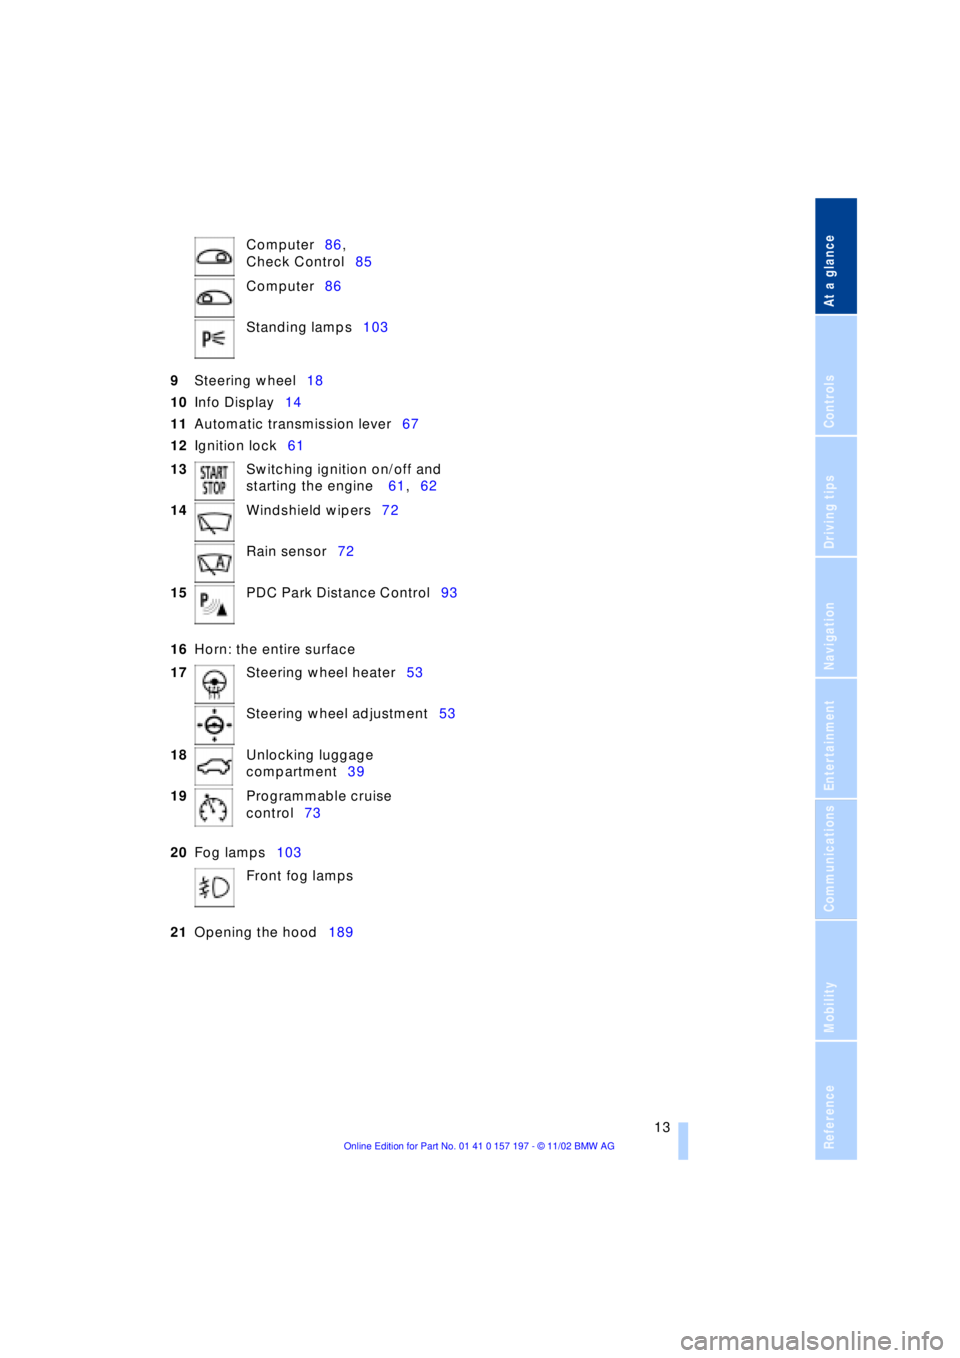
9Steering wheel18
10Info Display14
11Automatic transmission lever67
12Ignition lock61
16Horn: the entire surface
20Fog lamps103
21Opening the hood189 Computer86,
Check Control85
Computer86
Standing lamps103
13Switching ignition on/off and
starting the engine 61,62
14Windshield wipers72
Rain sensor72
15PDC Park Distance Control93
17Steering wheel heater53
Steering wheel adjustment53
18Unlocking luggage
compartment39
19Programmable cruise
control73
Front fog lamps
Page 17 of 229
At a glance
Controls
Driving tips
Communications
Navigation
Entertainment
Mobility
Reference
15
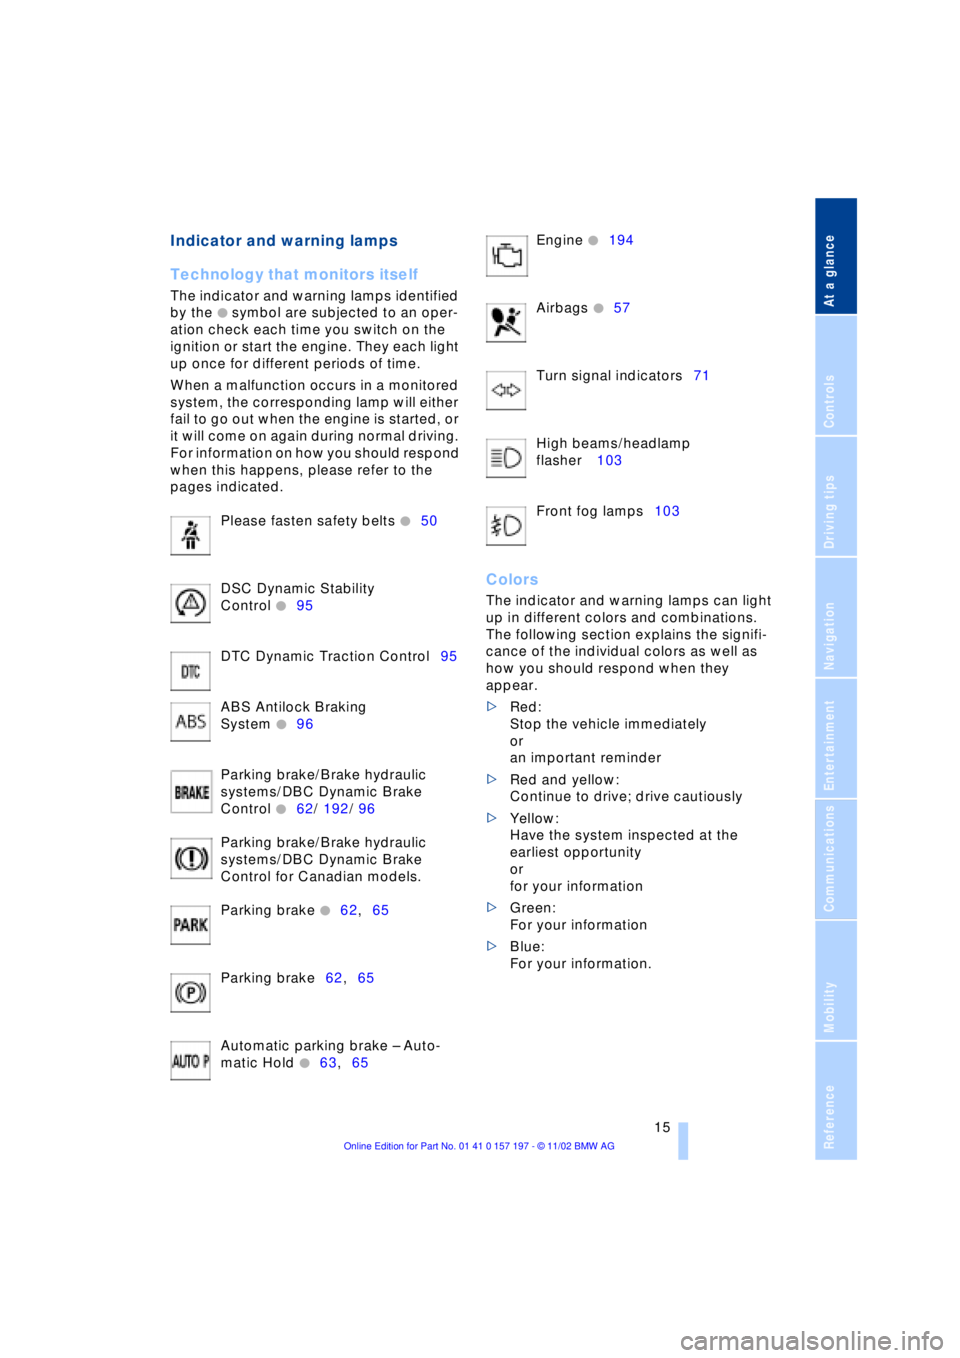
Indicator and warning lamps
Technology that monitors itself
The indicator and warning lamps identified
by the
+ symbol are subjected to an oper-
ation check each time you switch on the
ignition or start the engine. They each light
up once for different periods of time.
When a malfunction occurs in a monitored
system, the corresponding lamp will either
fail to go out when the engine is started, or
it will come on again during normal driving.
For information on how you should respond
when this happens, please refer to the
pages indicated.
Please fasten safety belts
+50
DSC Dynamic Stability
Control
+95
DTC Dynamic Traction Control95
ABS Antilock Braking
System
+96
Parking brake/Brake hydraulic
systems/DBC Dynamic Brake
Control
+62/ 192/ 96
Parking brake/Brake hydraulic
systems/DBC Dynamic Brake
Control for Canadian models.
Parking brake
+62,65
Parking brake62,65
Automatic parking brake Ð Auto-
matic Hold
+63,65 Engine
+194
Airbags
+57
Turn signal indicators71
High beams/headlamp
flasher 103
Front fog lamps103
Colors
The indicator and warning lamps can light
up in different colors and combinations.
The following section explains the signifi-
cance of the individual colors as well as
how you should respond when they
appear.
>Red:
Stop the vehicle immediately
or
an important reminder
>Red and yellow:
Continue to drive; drive cautiously
>Yellow:
Have the system inspected at the
earliest opportunity
or
for your information
>Green:
For your information
>Blue:
For your information.
Page 63 of 229
At a glance
Controls
Driving tips
Communications
Navigation
Entertainment
Mobility
Reference
61
Driving
Ignition lock
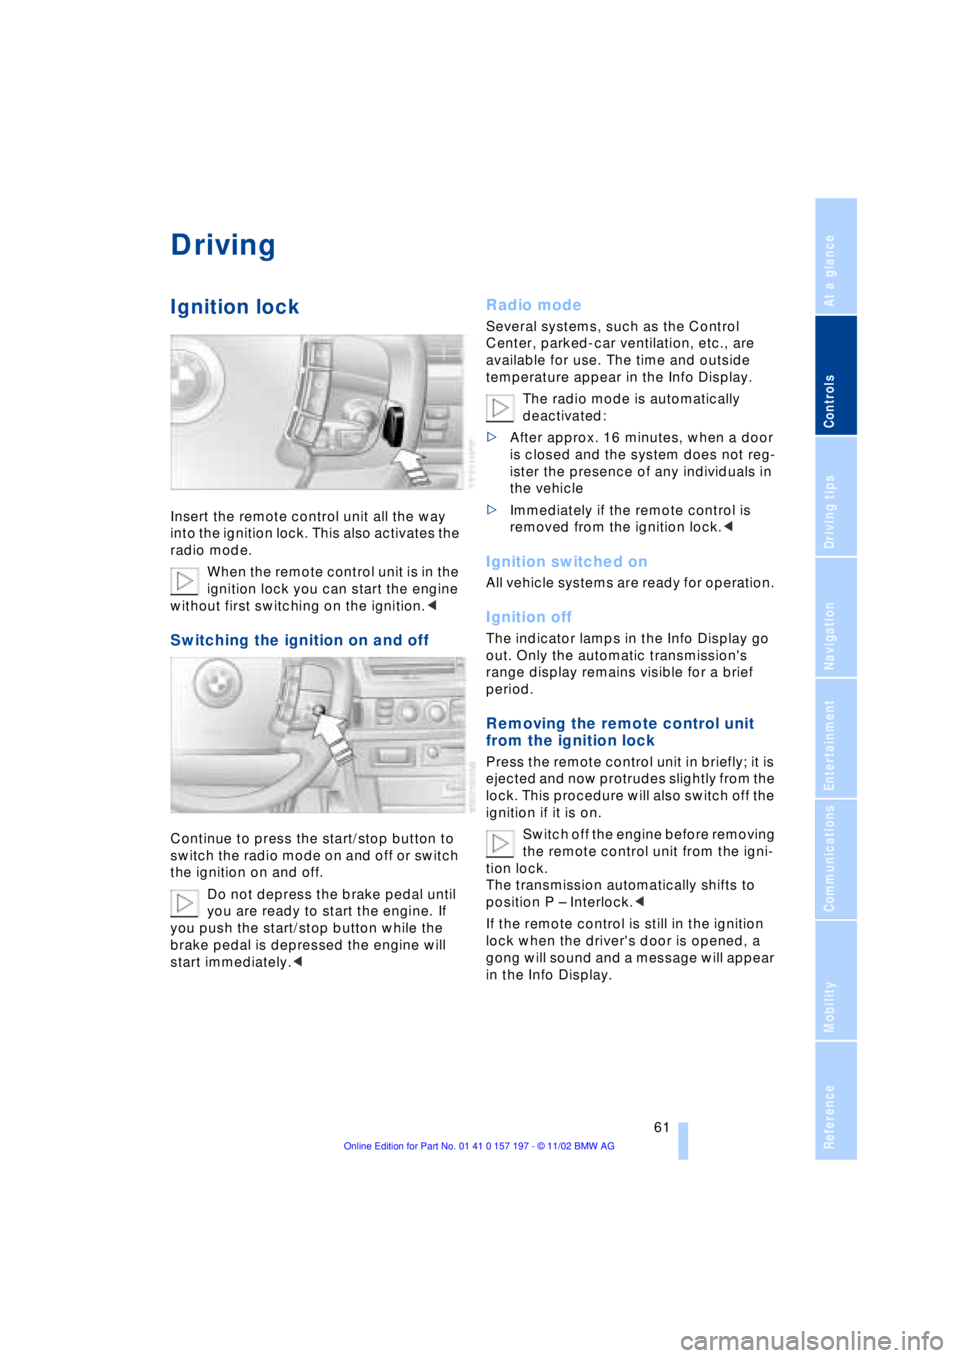
Insert the remote control unit all the way
into the ignition lock. This also activates the
radio mode.
When the remote control unit is in the
ignition lock you can start the engine
without first switching on the ignition.<
Switching the ignition on and off
Continue to press the start/stop button to
switch the radio mode on and off or switch
the ignition on and off.
Do not depress the brake pedal until
you are ready to start the engine. If
you push the start/stop button while the
brake pedal is depressed the engine will
start immediately.<
Radio mode
Several systems, such as the Control
Center, parked-car ventilation, etc., are
available for use. The time and outside
temperature appear in the Info Display.
The radio mode is automatically
deactivated:
>After approx. 16 minutes, when a door
is closed and the system does not reg-
ister the presence of any individuals in
the vehicle
>Immediately if the remote control is
removed from the ignition lock.<
Ignition switched on
All vehicle systems are ready for operation.
Ignition off
The indicator lamps in the Info Display go
out. Only the automatic transmission's
range display remains visible for a brief
period.
Removing the remote control unit
from the ignition lock
Press the remote control unit in briefly; it is
ejected and now protrudes slightly from the
lock. This procedure will also switch off the
ignition if it is on.
Switch off the engine before removing
the remote control unit from the igni-
tion lock.
The transmission automatically shifts to
position P Ð Interlock.<
If the remote control is still in the ignition
lock when the driver's door is opened, a
gong will sound and a message will appear
in the Info Display.
Page 64 of 229
Driving
62
Starting the engine
Do not run the engine in closed
rooms, as otherwise the inhaling of
toxic exhaust gases can cause uncon-
sciousness and death. The exhaust gases
contain carbon monoxide, an odorless and
colorless, but highly toxic gas.
Never leave an unattended vehicle with the
engine running, as such a vehicle repre-
sents a potential safety hazard.<
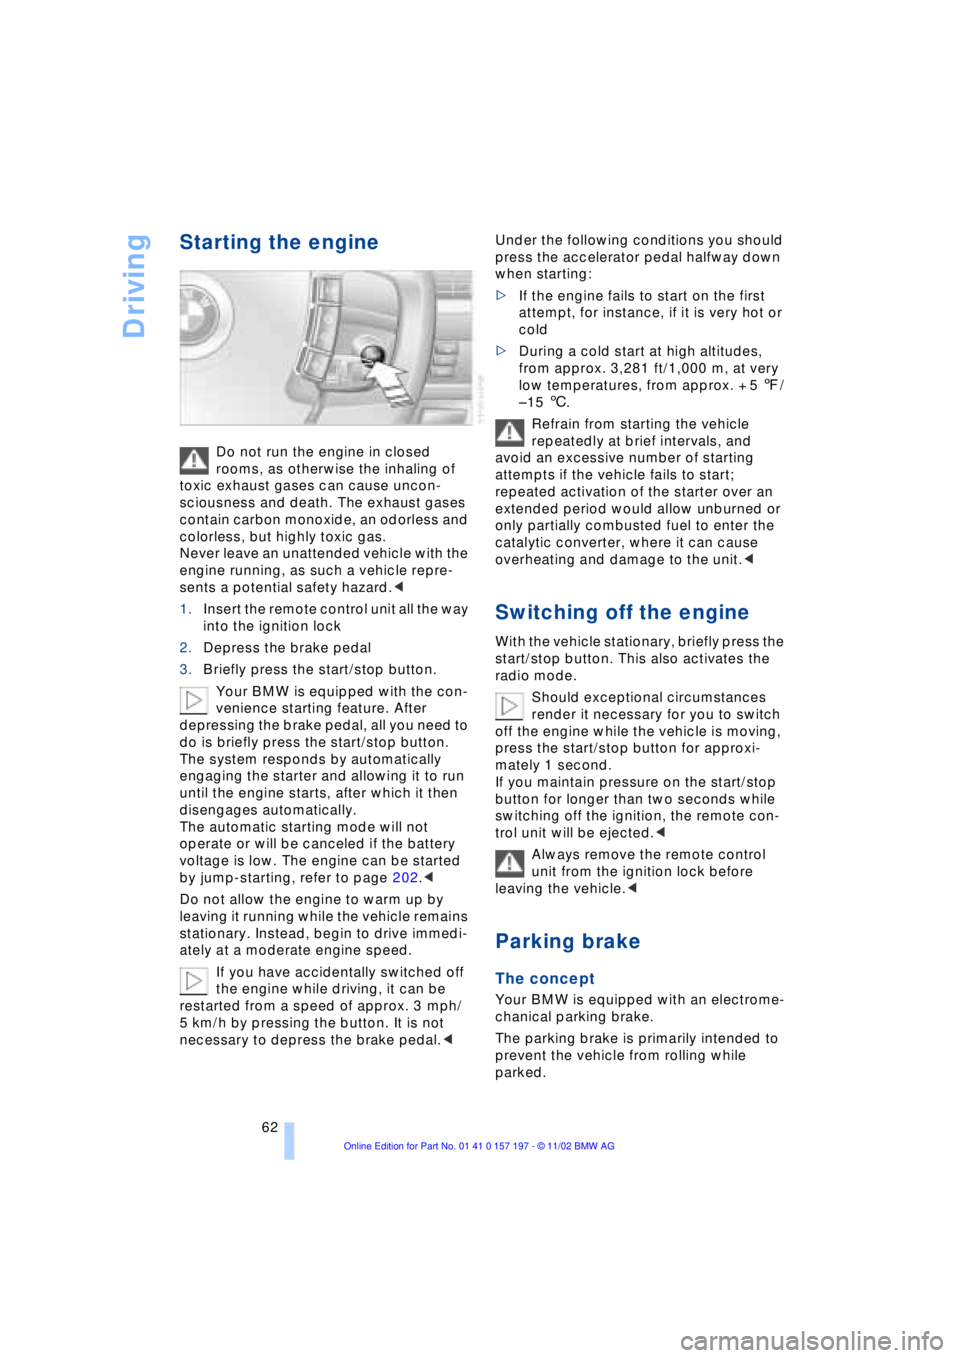
1.Insert the remote control unit all the way
into the ignition lock
2.Depress the brake pedal
3.Briefly press the start/stop button.
Your BMW is equipped with the con-
venience starting feature. After
depressing the brake pedal, all you need to
do is briefly press the start/stop button.
The system responds by automatically
engaging the starter and allowing it to run
until the engine starts, after which it then
disengages automatically.
The automatic starting mode will not
operate or will be canceled if the battery
voltage is low. The engine can be started
by jump-starting, refer to page 202.<
Do not allow the engine to warm up by
leaving it running while the vehicle remains
stationary. Instead, begin to drive immedi-
ately at a moderate engine speed.
If you have accidentally switched off
the engine while driving, it can be
restarted from a speed of approx. 3 mph/
5 km/h by pressing the button. It is not
necessary to depress the brake pedal.< Under the following conditions you should
press the accelerator pedal halfway down
when starting:
>If the engine fails to start on the first
attempt, for instance, if it is very hot or
cold
>During a cold start at high altitudes,
from approx. 3,281 ft/1,000 m, at very
low temperatures, from approx. + 5 7/
Ð 15 6.
Refrain from starting the vehicle
repeatedly at brief intervals, and
avoid an excessive number of starting
attempts if the vehicle fails to start;
repeated activation of the starter over an
extended period would allow unburned or
only partially combusted fuel to enter the
catalytic converter, where it can cause
overheating and damage to the unit.<
Switching off the engine
With the vehicle stationary, briefly press the
start/stop button. This also activates the
radio mode.
Should exceptional circumstances
render it necessary for you to switch
off the engine while the vehicle is moving,
press the start/stop button for approxi-
mately 1 second.
If you maintain pressure on the start/stop
button for longer than two seconds while
switching off the ignition, the remote con-
trol unit will be ejected.<
Always remove the remote control
unit from the ignition lock before
leaving the vehicle.<
Parking brake
The concept
Your BMW is equipped with an electrome-
chanical parking brake.
The parking brake is primarily intended to
prevent the vehicle from rolling while
parked.
Page 65 of 229
At a glance
Controls
Driving tips
Communications
Navigation
Entertainment
Mobility
Reference
63
You have two separate options for
engaging the parking brake:
>Manually, by briefly pressing the button
>Automatically, through activation of the
Automatic Hold mode, refer to page 64.
An electrohydraulic mechanism then
engages the parking brake to prevent the
rear wheels from turning whenever you
switch off the engine.
When the engine is running, parking brake
engagement is controlled by the brake
system's hydraulic circuits, which act on
the disc brakes at the front and rear
wheels.
Brake pedal feel
Because this function is activated using the
brake system's hydraulic circuits, the
response of the brake pedal may change
slightly. Engagement may also be accom-
panied by activation noise Ð this is normal.
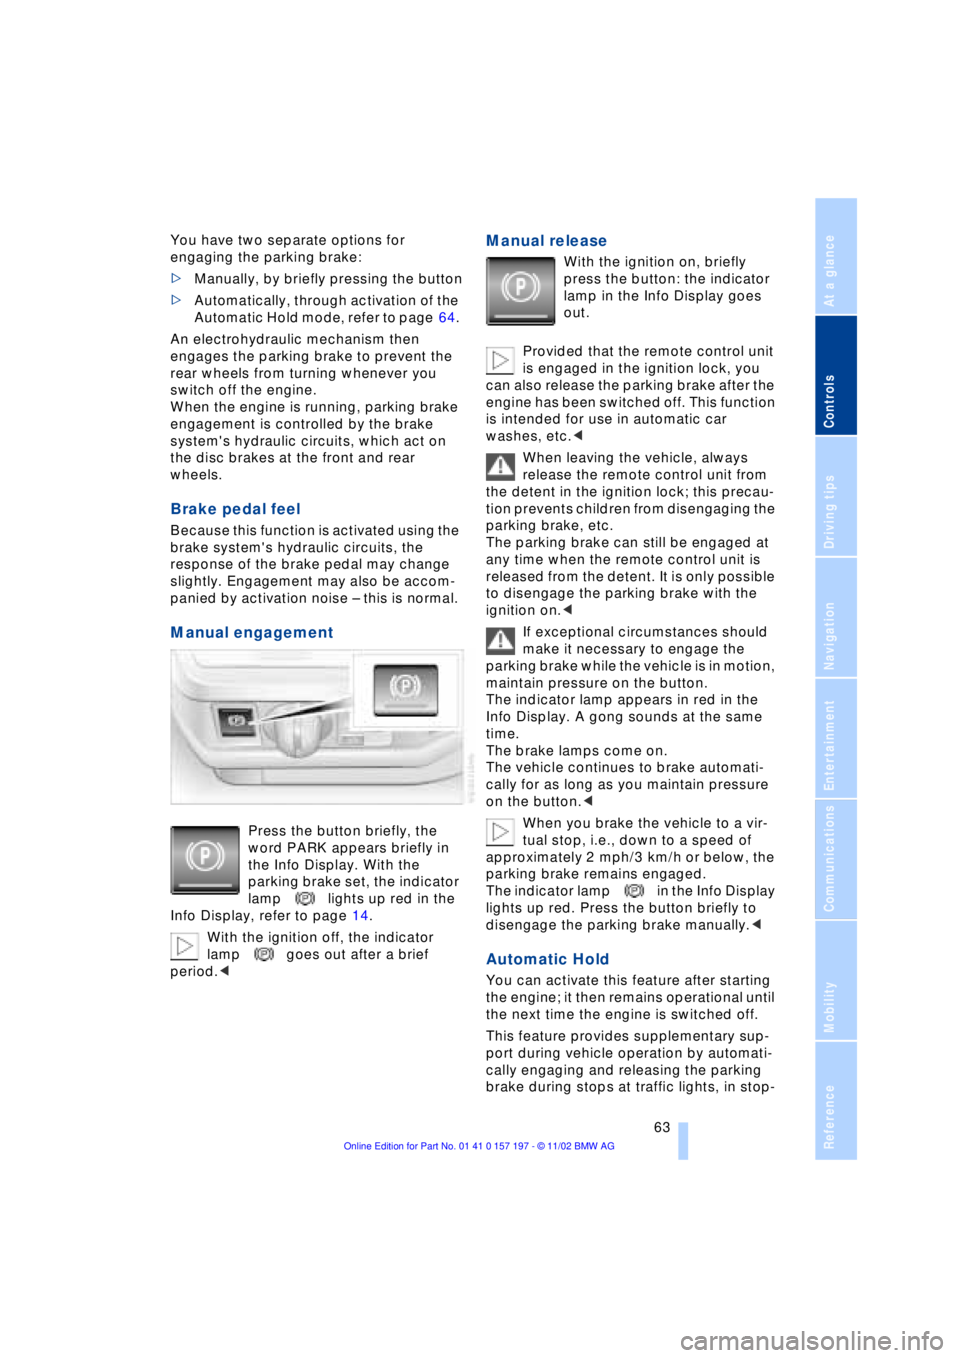
Manual engagement
Press the button briefly, the
word PARK appears briefly in
the Info Display. With the
parking brake set, the indicator
lamp lights up red in the
Info Display, refer to page 14.
With the ignition off, the indicator
lamp goes out after a brief
period.<
Manual release
With the ignition on, briefly
press the button: the indicator
lamp in the Info Display goes
out.
Provided that the remote control unit
is engaged in the ignition lock, you
can also release the parking brake after the
engine has been switched off. This function
is intended for use in automatic car
washes, etc.<
When leaving the vehicle, always
release the remote control unit from
the detent in the ignition lock; this precau-
tion prevents children from disengaging the
parking brake, etc.
The parking brake can still be engaged at
any time when the remote control unit is
released from the detent. It is only possible
to disengage the parking brake with the
ignition on.<
If exceptional circumstances should
make it necessary to engage the
parking brake while the vehicle is in motion,
maintain pressure on the button.
The indicator lamp appears in red in the
Info Display. A gong sounds at the same
time.
The brake lamps come on.
The vehicle continues to brake automati-
cally for as long as you maintain pressure
on the button.<
When you brake the vehicle to a vir-
tual stop, i.e., down to a speed of
approximately 2 mph/3 km/h or below, the
parking brake remains engaged.
The indicator lamp in the Info Display
lights up red. Press the button briefly to
disengage the parking brake manually.<
Automatic Hold
You can activate this feature after starting
the engine; it then remains operational until
the next time the engine is switched off.
This feature provides supplementary sup-
port during vehicle operation by automati-
cally engaging and releasing the parking
brake during stops at traffic lights, in stop-
Page 66 of 229
Driving
64 and-go traffic, etc. As the vehicle then no
longer tends to creep when the transmis-
sion is engaged, it is no longer necessary
to hold the vehicle by depressing the brake
pedal.
It prevents the vehicle from rolling back-
ward during uphill starts.
The parking brake also engages automati-
cally when you switch off the engine after
stopping the vehicle.
You can activate and deactivate the Auto-
matic Hold feature by selecting the "Set-
tings" menu in the Control Center.
A description of the Control Center is pro-
vided on page 19.
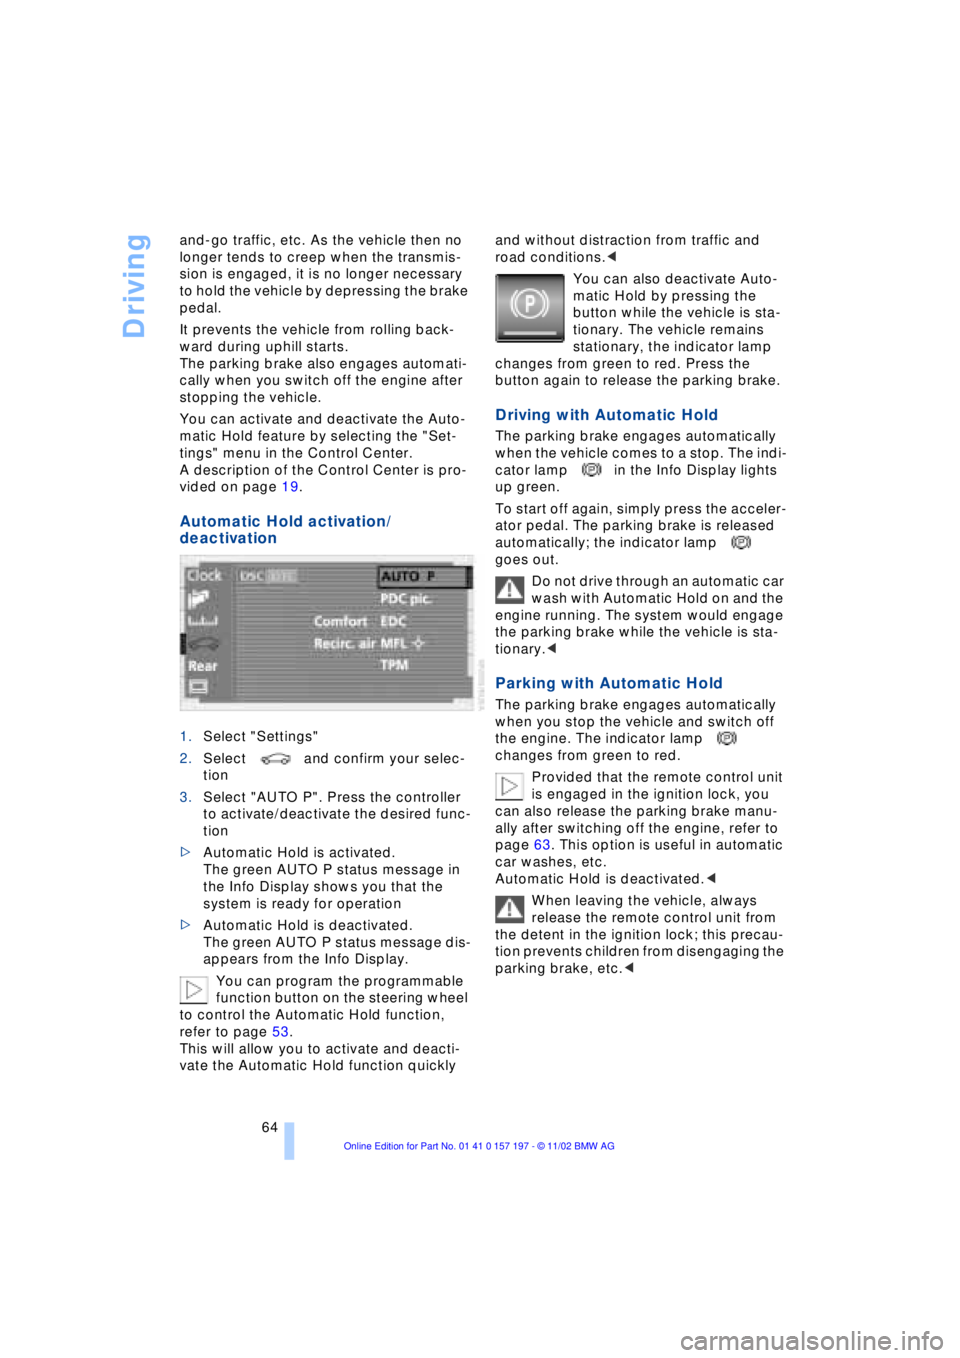
Automatic Hold activation/
deactivation
1.Select "Settings"
2.Select and confirm your selec-
tion
3.Select "AUTO P". Press the controller
to activate/deactivate the desired func-
tion
>Automatic Hold is activated.
The green AUTO P status message in
the Info Display shows you that the
system is ready for operation
>Automatic Hold is deactivated.
The green AUTO P status message dis-
appears from the Info Display.
You can program the programmable
function button on the steering wheel
to control the Automatic Hold function,
refer to page 53.
This will allow you to activate and deacti-
vate the Automatic Hold function quickly and without distraction from traffic and
road conditions.<
You can also deactivate Auto-
matic Hold by pressing the
button while the vehicle is sta-
tionary. The vehicle remains
stationary, the indicator lamp
changes from green to red. Press the
button again to release the parking brake.
Driving with Automatic Hold
The parking brake engages automatically
when the vehicle comes to a stop. The indi-
cator lamp in the Info Display lights
up green.
To start off again, simply press the acceler-
ator pedal. The parking brake is released
automatically; the indicator lamp
goes out.
Do not drive through an automatic car
wash with Automatic Hold on and the
engine running. The system would engage
the parking brake while the vehicle is sta-
tionary.<
Parking with Automatic Hold
The parking brake engages automatically
when you stop the vehicle and switch off
the engine. The indicator lamp
changes from green to red.
Provided that the remote control unit
is engaged in the ignition lock, you
can also release the parking brake manu-
ally after switching off the engine, refer to
page 63. This option is useful in automatic
car washes, etc.
Automatic Hold is deactivated.<
When leaving the vehicle, always
release the remote control unit from
the detent in the ignition lock; this precau-
tion prevents children from disengaging the
parking brake, etc.<