2003 BMW 760LI SEDAN door lock
[x] Cancel search: door lockPage 4 of 229
Contents
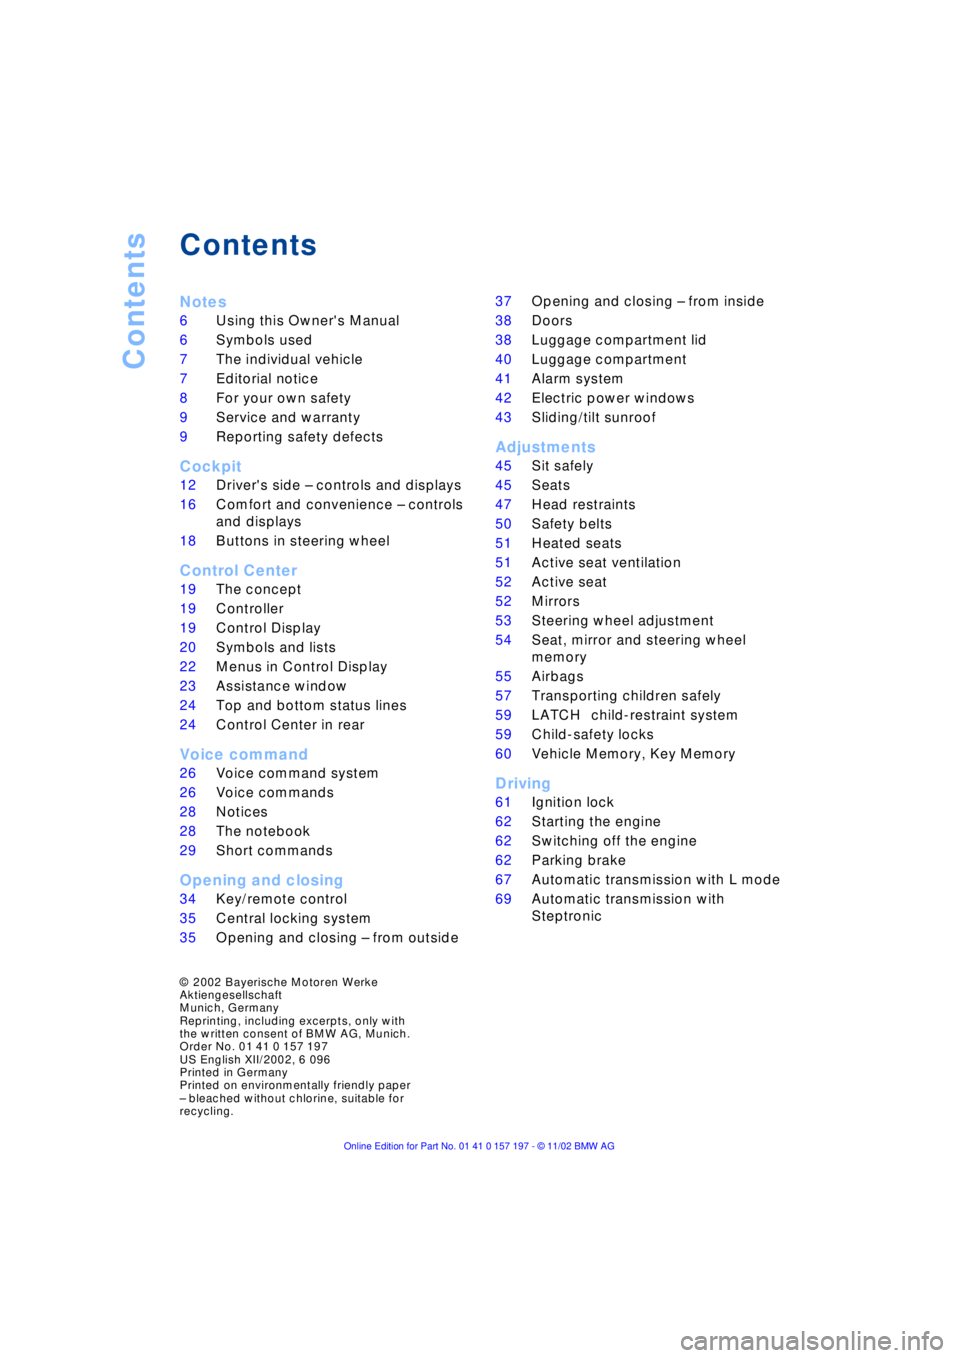
Contents
Notes
6Using this Owner's Manual
6Symbols used
7The individual vehicle
7Editorial notice
8For your own safety
9Service and warranty
9Reporting safety defects
Cockpit
12Driver's side Ð controls and displays
16Comfort and convenience Ð controls
and displays
18Buttons in steering wheel
Control Center
19The concept
19Controller
19Control Display
20Symbols and lists
22Menus in Control Display
23Assistance window
*
24Top and bottom status lines
24Control Center in rear
*
Voice command
26Voice command system
26Voice commands
28Notices
28The notebook
29Short commands
Opening and closing
34Key/remote control
35Central locking system
35Opening and closing Ð from outside 37Opening and closing Ð from inside
38Doors
38Luggage compartment lid
40Luggage compartment
41Alarm system
42Electric power windows
43Sliding/tilt sunroof
*
Adjustments
45Sit safely
45Seats
47Head restraints
50Safety belts
51Heated seats
*
51Active seat ventilation
*
52Active seat
*
52Mirrors
53Steering wheel adjustment
54Seat, mirror and steering wheel
memory
55Airbags
57Transporting children safely
59LATCH
*
child-restraint system
59Child-safety locks
60Vehicle Memory, Key Memory
Driving
61Ignition lock
62Starting the engine
62Switching off the engine
62Parking brake
67Automatic transmission with L mode
69Automatic transmission with
Steptronic
*
© 2002 Bayerische Motoren Werke
Aktiengesellschaft
Munich, Germany
Reprinting, including excerpts, only with
the written consent of BMW AG, Munich.
Order No. 01 41 0 157 197
US English XII/2002, 6 096
Printed in Germany
Printed on environmentally friendly paper
Ð bleached without chlorine, suitable for
recycling.
Page 19 of 229
At a glance
Controls
Driving tips
Communications
Navigation
Entertainment
Mobility
Reference
17
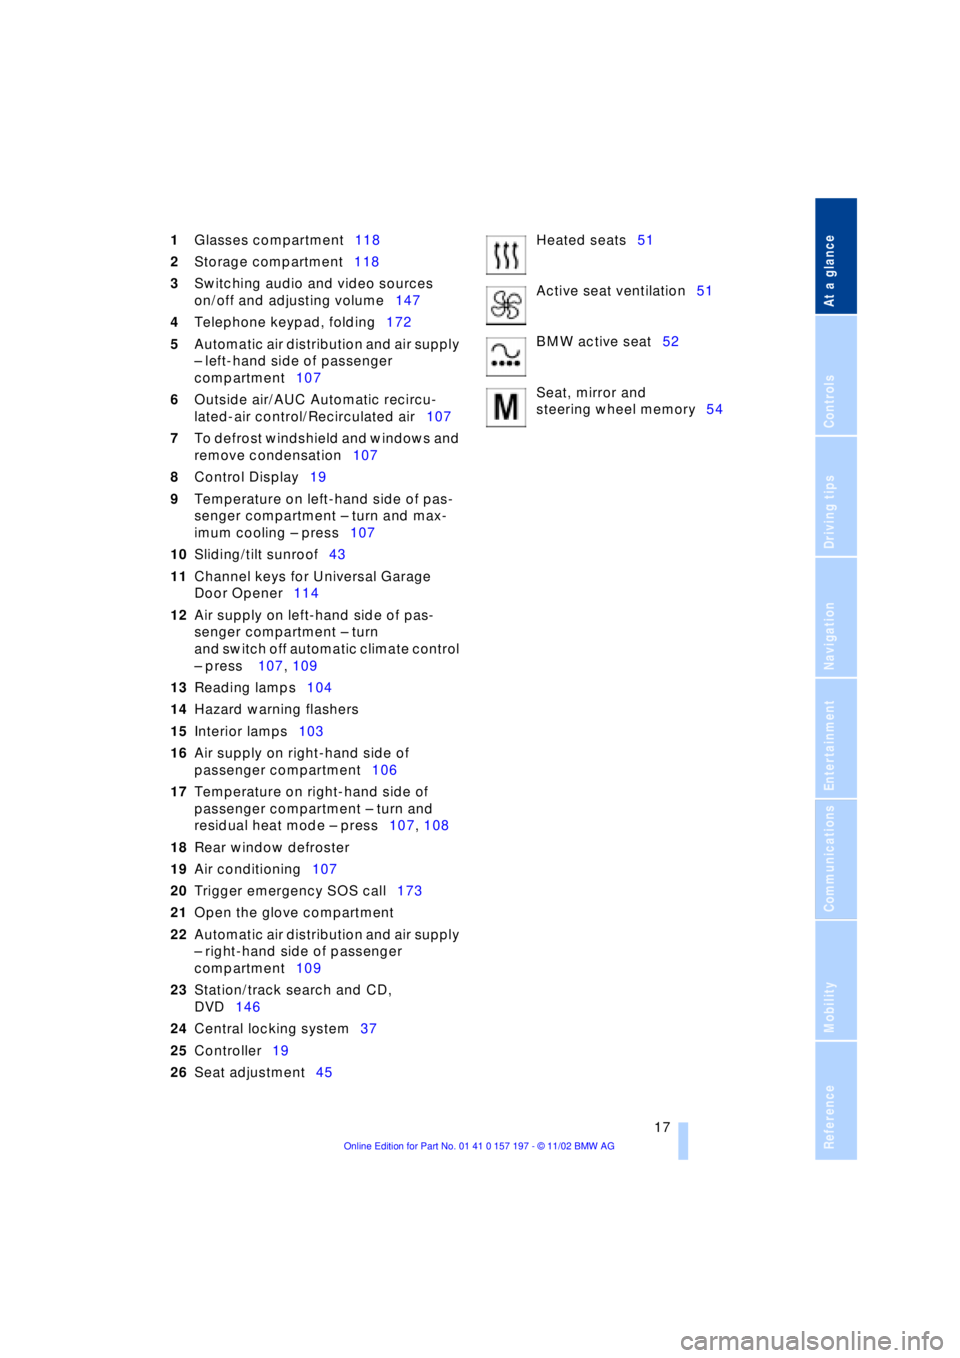
1Glasses compartment118
2Storage compartment118
3Switching audio and video sources
on/off and adjusting volume147
4Telephone keypad, folding172
5Automatic air distribution and air supply
Ð left-hand side of passenger
compartment107
6Outside air/AUC Automatic recircu-
lated-air control/Recirculated air107
7To defrost windshield and windows and
remove condensation107
8Control Display19
9Temperature on left-hand side of pas-
senger compartment Ð turn and max-
imum cooling Ð press107
10Sliding/tilt sunroof43
11Channel keys for Universal Garage
Door Opener114
12Air supply on left-hand side of pas-
senger compartment Ð turn
and switch off automatic climate control
Ð press 107, 109
13Reading lamps104
14Hazard warning flashers
15Interior lamps103
16Air supply on right-hand side of
passenger compartment106
17Temperature on right-hand side of
passenger compartment Ð turn and
residual heat mode Ð press107, 108
18Rear window defroster
19Air conditioning107
20Trigger emergency SOS call173
21Open the glove compartment
22Automatic air distribution and air supply
Ð right-hand side of passenger
compartment109
23Station/track search and CD,
DVD146
24Central locking system37
25Controller19
26Seat adjustment45Heated seats51
Active seat ventilation51
BMW active seat52
Seat, mirror and
steering wheel memory54
Page 36 of 229
Opening and closing
34
Opening and closing
Key/remote control
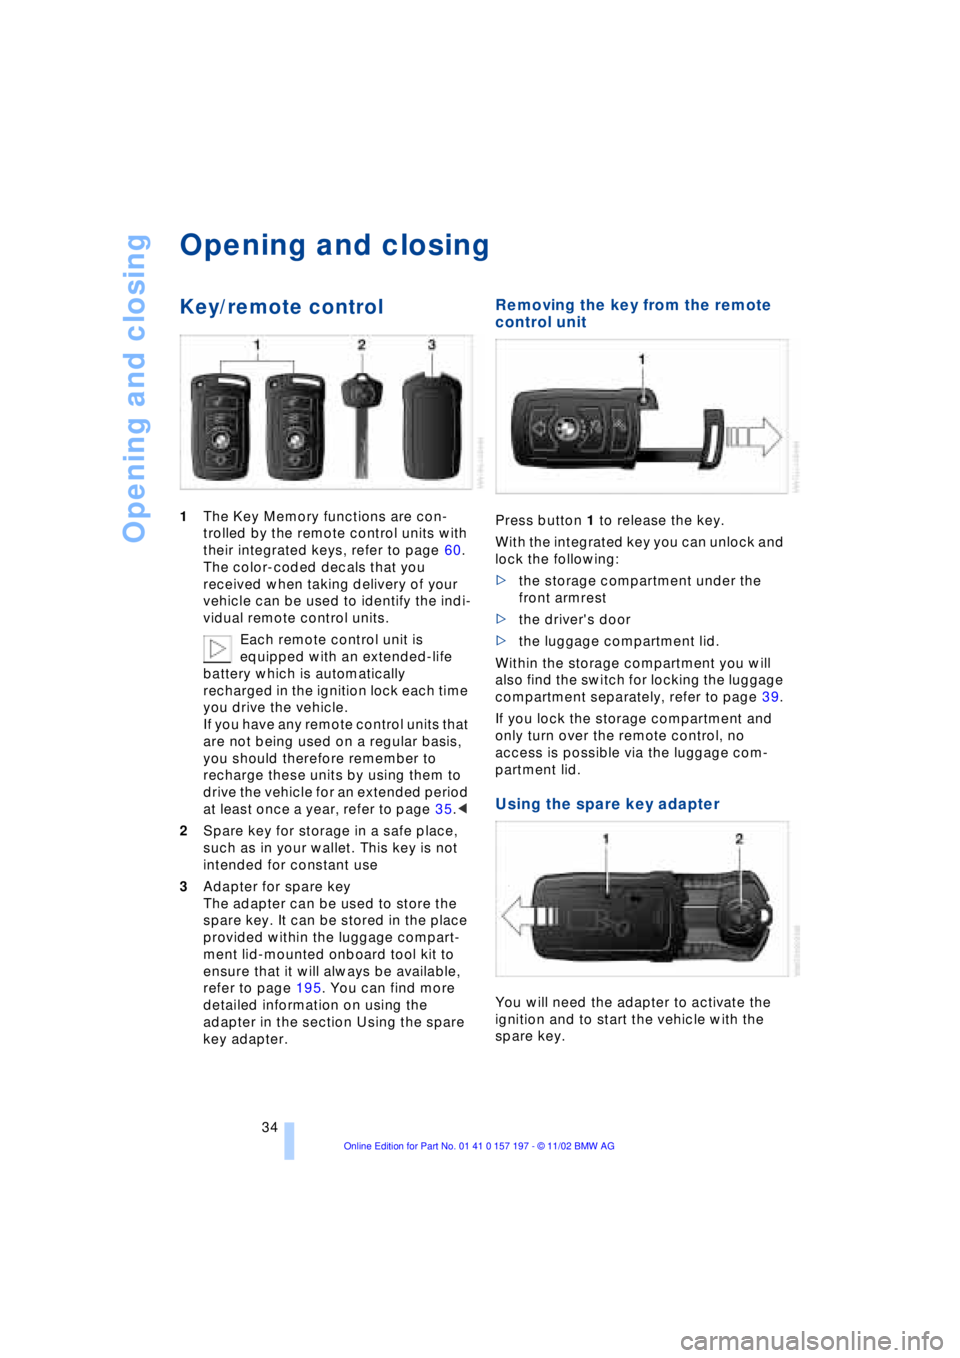
1The Key Memory functions are con-
trolled by the remote control units with
their integrated keys, refer to page 60.
The color-coded decals that you
received when taking delivery of your
vehicle can be used to identify the indi-
vidual remote control units.
Each remote control unit is
equipped with an extended-life
battery which is automatically
recharged in the ignition lock each time
you drive the vehicle.
If you have any remote control units that
are not being used on a regular basis,
you should therefore remember to
recharge these units by using them to
drive the vehicle for an extended period
at least once a year, refer to page 35.<
2Spare key for storage in a safe place,
such as in your wallet. This key is not
intended for constant use
3Adapter for spare key
The adapter can be used to store the
spare key. It can be stored in the place
provided within the luggage compart-
ment lid-mounted onboard tool kit to
ensure that it will always be available,
refer to page 195. You can find more
detailed information on using the
adapter in the section Using the spare
key adapter.
Removing the key from the remote
control unit
Press button 1 to release the key.
With the integrated key you can unlock and
lock the following:
>the storage compartment under the
front armrest
>the driver's door
>the luggage compartment lid.
Within the storage compartment you will
also find the switch for locking the luggage
compartment separately, refer to page 39.
If you lock the storage compartment and
only turn over the remote control, no
access is possible via the luggage com-
partment lid.
Using the spare key adapter
You will need the adapter to activate the
ignition and to start the vehicle with the
spare key.
Page 37 of 229

At a glance
Controls
Driving tips
Communications
Navigation
Entertainment
Mobility
Reference
35
Press lock button 1, slide up the cover and
insert the spare key 2 in the adapter. Close
the cover and insert the adapter in the igni-
tion lock.
Central locking system
The concept
The central locking system is ready for
operation whenever the driver's door is
closed. This simultaneously engages and
releases the locks on the following:
>Doors
>Luggage compartment lid
>Fuel filler door.
The central locking system can be oper-
ated from the outside
>via the remote control
>via the driver's door lock
and from inside via the button for the
central locking system.
When the system is locked from inside, the
fuel filler door remains unlocked. Refer to
page 37.
The anti-theft system is automatically acti-
vated whenever you activate the central
locking system from outside the vehicle.
The alarm system is armed/disarmed at the
same time.
In the event of an accident, the central
locking system unlocks automatically Ð only
those doors which were not locked sepa-
rately with the safety lock buttons, refer to
page 38. In addition, the hazard warning
flashers and interior lamps come on.
Opening and closing Ð from
outside
Using the remote control
When you engage/release the vehicle's
locks, you simultaneously activate/deacti-
vate the anti-theft system, arm/disarm the
alarm system
and switch the interior lamps
on/off. In addition, the remote control offers you
another function:
>Panic mode
In case of danger, you can trigger an
alarm.
You can have various confirmation
signals programmed into the system
to verify that the vehicle has been locked
securely.<
Remote control
1To unlock, convenience opening mode
and alarm system
2To lock and secure, switch off tilt alarm
sensor and interior motion sensor,
switch on interior lamps and door-
mounted proximity lamps
3To open the luggage compartment lid
4To switch on interior lamps, activate
panic mode
Because any persons or animals left
unattended in a parked vehicle could
lock the doors from the inside, you should
always keep the remote control unit with
you; this precaution ensures that you will
remain able to unlock the vehicle from the
outside at all times.<
When it is no longer possible to lock
the vehicle via the remote control, the
battery is discharged. Use this remote con-
trol unit during an extended drive; this will
recharge the battery, refer to page 34.
In the event of a system malfunction,
please contact your BMW center, which is
also your source for replacement keys.<
Page 38 of 229
Opening and closing
36
Unlocking the vehicle
Press button 1.
The interior lamps and the door-mounted
proximity lamps come on.
Press the button once to unlock the driver's
door only; press a second time to unlock all
remaining doors as well as the luggage
compartment lid and the fuel filler door.
Convenience opening mode
Hold button 1pressed. The windows
and the sliding/tilt sunroof open. The
sliding/tilt sunroof will not be retracted if it
is already in its raised position.
Locking and securing
Press button 2.
Switching off the tilt alarm sensor
and interior motion sensor
Press button 2once again
directly after locking. For more detailed
information, refer to page 41.
Switching on interior lamps and
door-mounted proximity lamps
If the vehicle is locked, press
button 2.
Switching on the interior lamps
Press button 4.
You can also use this function to locate
your vehicle in parking garages etc.
Panic mode
By pressing and holding button 4for
more than approx. two seconds, you can
trigger the alarm system in response to any
impending danger.
To switch off the alarm: press any of the
buttons.
Opening the luggage compartment
lid
Maintain pressure on button 3for
approx. 1 second. The luggage compartment lid opens,
regardless of whether it was previously
locked or unlocked.
During opening the luggage compart-
ment lid pivots upward and to the
rear. Ensure that adequate clearance is
available before opening.
To avoid being inadvertently locked out,
never lay the remote control unit down in
the luggage compartment. If the luggage
compartment lid was locked earlier, it will
relock automatically when closed.<
Automatic luggage compartment lid
operation*
Opening the luggage compartment
lid
Maintain pressure on button 3for
approx. 1 second.
The luggage compartment lid opens all the
way, regardless of whether it was previ-
ously locked or unlocked.
To interrupt the opening process:
Press the button again while opening is in
progress.
During opening the luggage compart-
ment lid pivots upward and to the
rear. Ensure that adequate clearance is
available before opening.
To avoid being inadvertently locked out,
never lay the remote control unit down in
the luggage compartment. If the vehicle is
locked, the luggage compartment lid is also
locked again when closed.<
External systems
External systems or devices may cause
local interference in the functions of the
remote control.
Should the remote control unit fail to
operate owing to interference of this kind,
you can respond by using the key to unlock
your vehicle at one of the doors.
Page 39 of 229
At a glance
Controls
Driving tips
Communications
Navigation
Entertainment
Mobility
Reference
37
For US owners only
The transmitter and receiver units comply
with part 15 of the FCC/Federal Communi-
cation Commission regulations. Operation
is governed by the following:
FCC ID: LX8766S
LX8766E
LX8CAS
Compliance statement:
This device complies with part 15 of the
FCC Rules. Operation is subject to the fol-
lowing two conditions:
>This device may not cause harmful
interference, and
>this device must accept any interfer-
ence received, including interference
that may cause undesired operation.
Any unauthorized modifications or
changes to these devices could void
the user's authority to operate this equip-
ment.<
Using the key
One turn of the key in the driver's door lock
unlocks the driver's door only.
Turning the key a second time unlocks all of
the remaining doors, the luggage compart-
ment lid and the fuel filler door.
You can have various confirmation
signals programmed into the system
to verify that the vehicle has been locked
securely.<
Convenience operation
You also have the option of operating the
windows and the sliding/tilt sunroof from
the driver's door lock.>To open:
With the door closed, turn the key to the
Unlock position and hold it there.
>To close:
With the door closed, turn the key to the
Lock position and hold it there.
Watch during the closing process to
be sure that no one is injured.
Releasing the key stops the operation.<
Manual operation
in the event of an electrical malfunction
You can turn the key all the way to the right
or left in the door lock or engage or release
the locking mechanism in the driver's door.
Opening and closing Ð from
inside
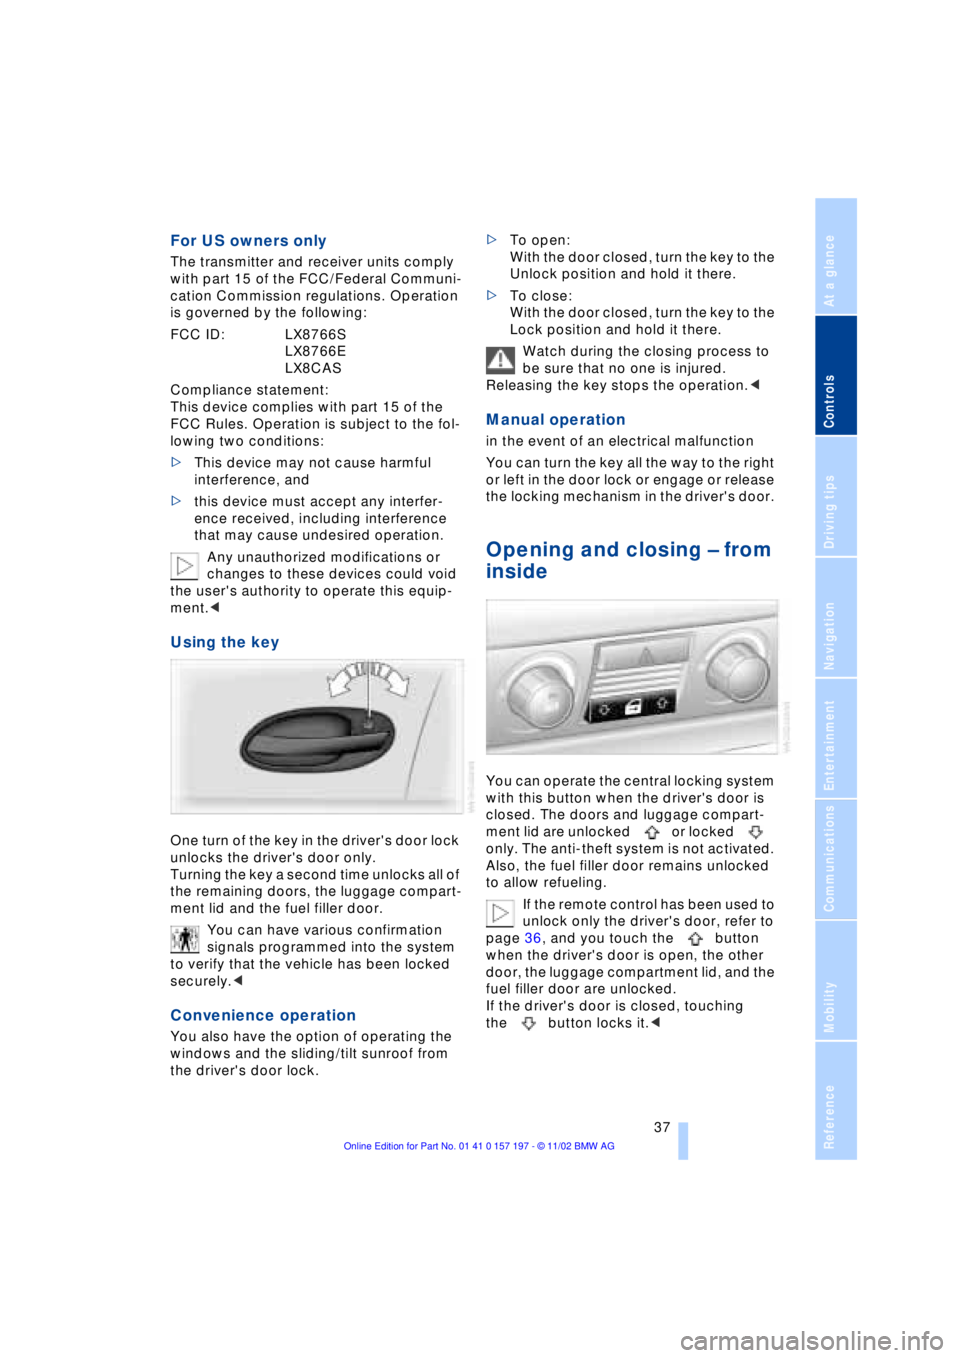
You can operate the central locking system
with this button when the driver's door is
closed. The doors and luggage compart-
ment lid are unlocked or locked
only. The anti-theft system is not activated.
Also, the fuel filler door remains unlocked
to allow refueling.
If the remote control has been used to
unlock only the driver's door, refer to
page 36, and you touch the button
when the driver's door is open, the other
door, the luggage compartment lid, and the
fuel filler door are unlocked.
If the driver's door is closed, touching
the button locks it.<
Page 40 of 229
Opening and closing
38 You can also have the system pro-
grammed to activate the central
locking system automatically whenever the
vehicle is set in motion, or when a specific
interval elapses after it is unlocked, pro-
vided that neither the doors nor the lug-
gage compartment lid are opened in the
meantime. This can be adjusted to be key-
specific.<
Unlocking and opening the doors
>Either unlock the doors together with
the button for the central locking
system and then pull the release handle
above the armrest or
>pull the release handle for each door
twice: the first pull unlocks the door,
and the second one opens it.
When the low beams are switched on,
the interior door handles are also
lighted. The intensity of the lighting is
adjusted using the instrument lighting, refer
to page 103.<
Engaging the locks
>Use the central locking button to lock all
of the doors simultaneously,
or
>press the individual safety lock buttons
down. To prevent the driver from being
inadvertently locked out of the vehicle,
the lock button on the driver's door
automatically extends again after a brief
period if the door remains open.
Do not use the safety lock buttons to
engage the locks during driving, as
they would then fail to disengage automat-
ically in the event of an accident.
Because any persons or animals left unat-
tended in a parked vehicle could lock the
doors from the inside, you should always
keep the remote control unit with you; this
precaution ensures that you will remain
able to unlock the vehicle from the outside
at all times. <
Doors
Soft Close Automatic*
Apply gentle pressure to the door to close
it. The closing process will then be carried
out automatically.
To avoid injuries, ensure that the
door's travel path is completely free
and clear before closing.<
Luggage compartment lid
Opening from outside
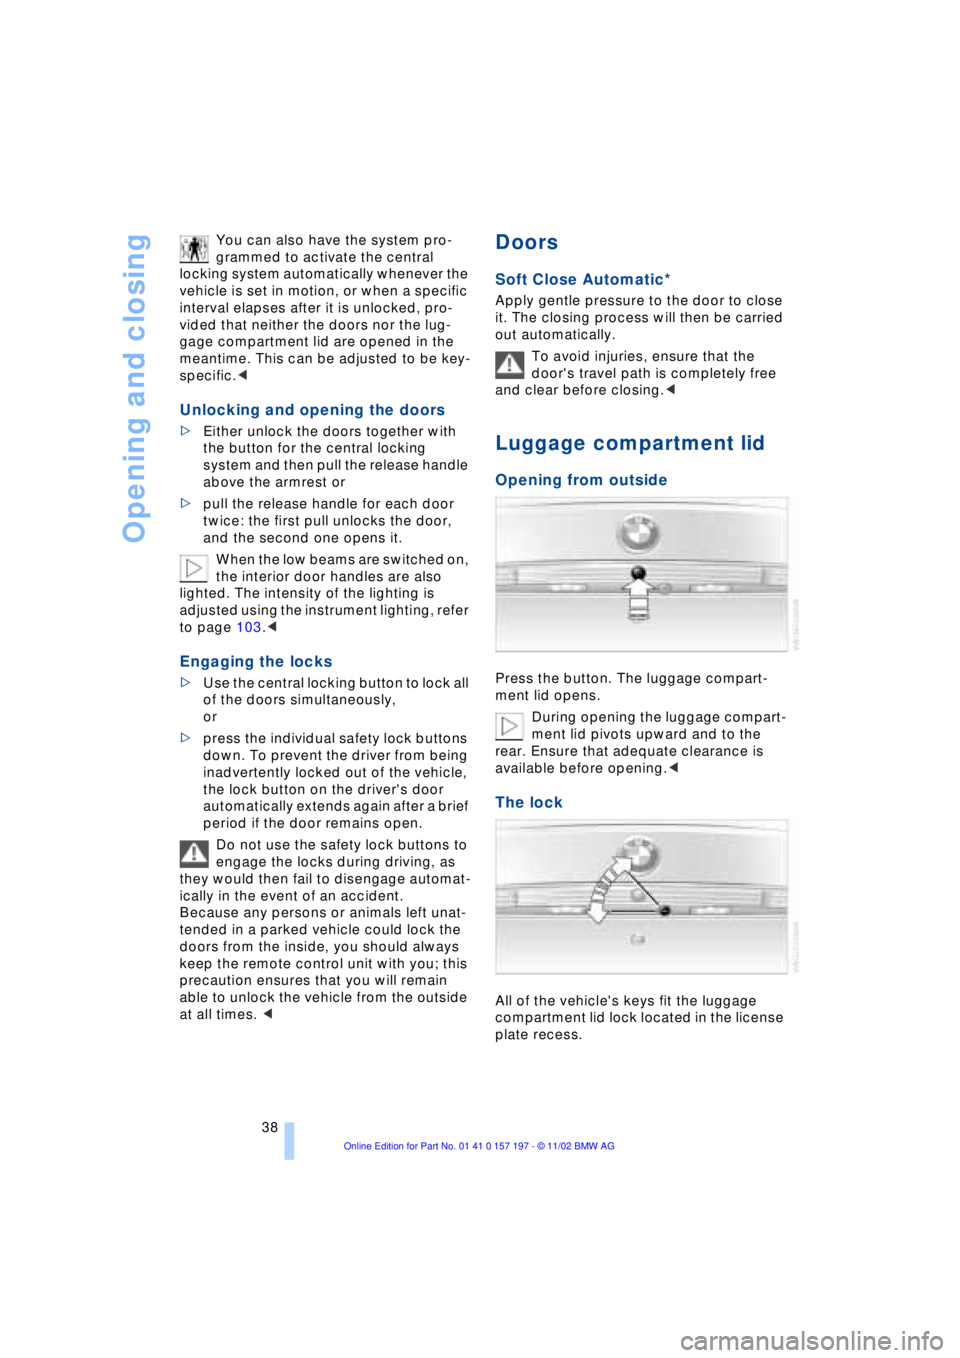
Press the button. The luggage compart-
ment lid opens.
During opening the luggage compart-
ment lid pivots upward and to the
rear. Ensure that adequate clearance is
available before opening.<
The lock
All of the vehicle's keys fit the luggage
compartment lid lock located in the license
plate recess.
Page 43 of 229
At a glance
Controls
Driving tips
Communications
Navigation
Entertainment
Mobility
Reference
41
Alarm system
The concept
The vehicle alarm system responds:
>When a door, the hood, or the luggage
compartment lid is opened
>To movement in the vehicle's interior Ð
interior motion sensor
>To changing the vehicle's tilt if someone
attempts to steal the wheels or tow the
vehicle
>To interruption of battery voltage.
The system responds to unauthorized
vehicle entry and attempted theft by simul-
taneously activating:
>An acoustic alarm, which lasts for a
period of approx. 30 seconds
>The hazard warning flashers for approx.
five minutes
>The high beams, which flash on and off
in the same rhythm.
Arming and disarming the alarm
system
When you lock or unlock the vehicle, either
with the remote control unit or at the door
lock, the alarm system is armed or dis-
armed at the same time.
The system indicates that it has been cor-
rectly armed by switching on the hazard
warning flashers for a single cycle and by
emitting an acoustic signal.
You can have different acknowledg-
ment signals set to confirm arming
and disarming.<
You can open the luggage compartment
lid even if the alarm is armed using
button 3of the remote control, refer
to page 36. It is armed once again when
the lid is closed.
Pressing the Panic mode button for a
longer period triggers the alarm, refer
to page 36.<
Indicator lamp displays
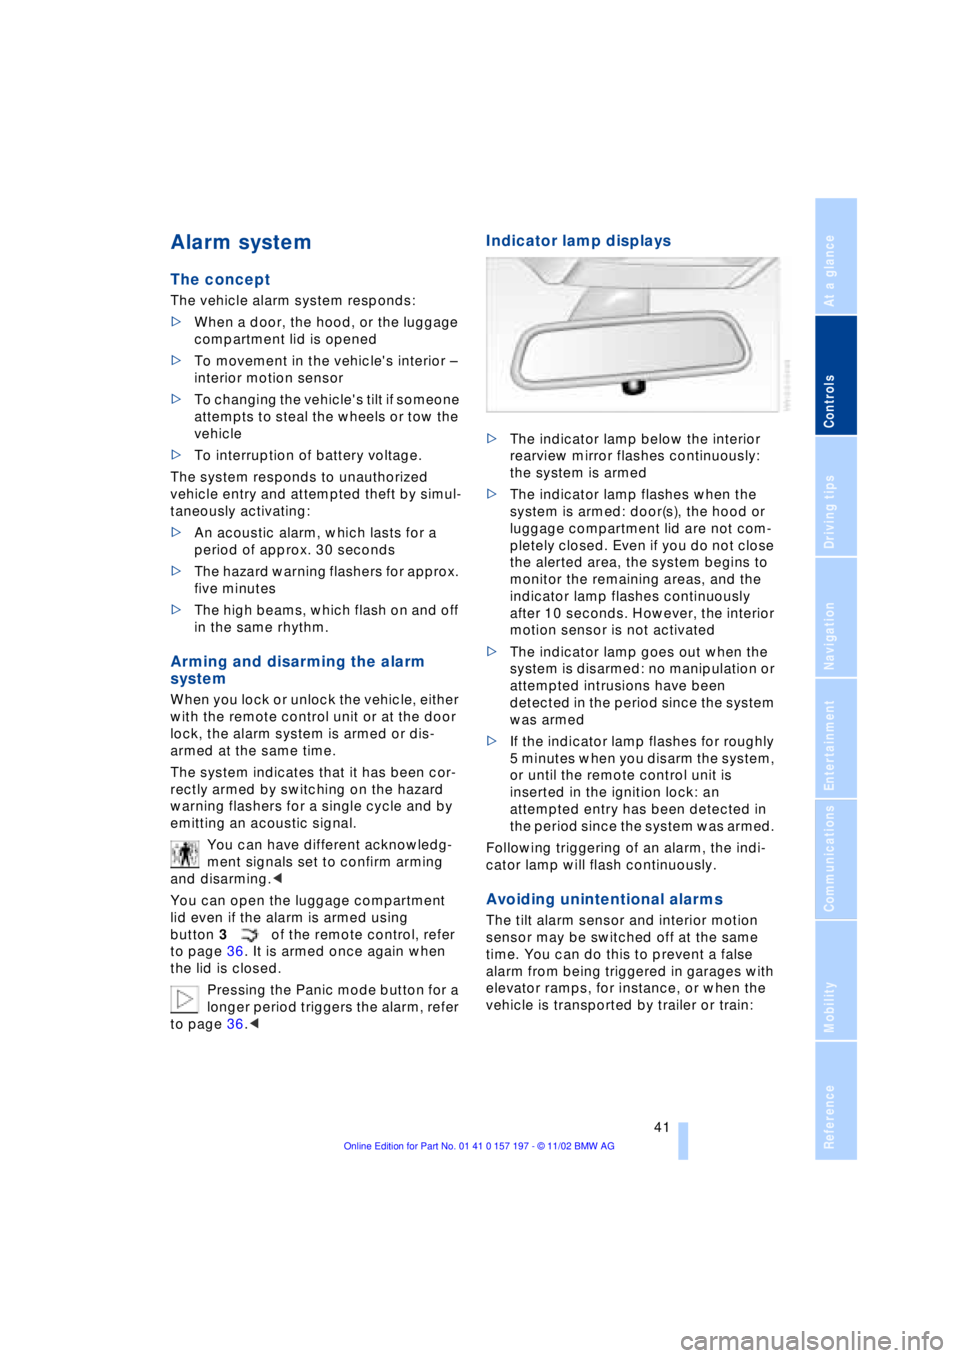
>The indicator lamp below the interior
rearview mirror flashes continuously:
the system is armed
>The indicator lamp flashes when the
system is armed: door(s), the hood or
luggage compartment lid are not com-
pletely closed. Even if you do not close
the alerted area, the system begins to
monitor the remaining areas, and the
indicator lamp flashes continuously
after 10 seconds. However, the interior
motion sensor is not activated
>The indicator lamp goes out when the
system is disarmed: no manipulation or
attempted intrusions have been
detected in the period since the system
was armed
>If the indicator lamp flashes for roughly
5 minutes when you disarm the system,
or until the remote control unit is
inserted in the ignition lock: an
attempted entry has been detected in
the period since the system was armed.
Following triggering of an alarm, the indi-
cator lamp will flash continuously.
Avoiding unintentional alarms
The tilt alarm sensor and interior motion
sensor may be switched off at the same
time. You can do this to prevent a false
alarm from being triggered in garages with
elevator ramps, for instance, or when the
vehicle is transported by trailer or train: