2003 BMW 760LI SEDAN door lock
[x] Cancel search: door lockPage 44 of 229
Opening and closing
42 Lock, i.e. arm by pressing twice; press
button 2of the remote control
twice in succession, refer to page 36, or
lock twice with the key, refer to page 37.
The indicator lamp lights up briefly and
then flashes continuously. The tilt alarm
sensor and the interior motion sensor are
switched off as long as the system is
armed.
If you desire, the
>tilt alarm sensor
>interior motion sensor
can be switched off permanently. Please
contact your BMW center for assistance.<
Interior motion sensor
In order for the interior motion sensor to
function properly, the windows and sliding/
tilt sunroof must be completely closed.
Be sure to deactivate the interior motion
sensor, refer to section on Avoiding unin-
tentional alarms, when you wish to leave
the windows or sliding/tilt sunroof open.
Electric power windows
Opening and closing windows
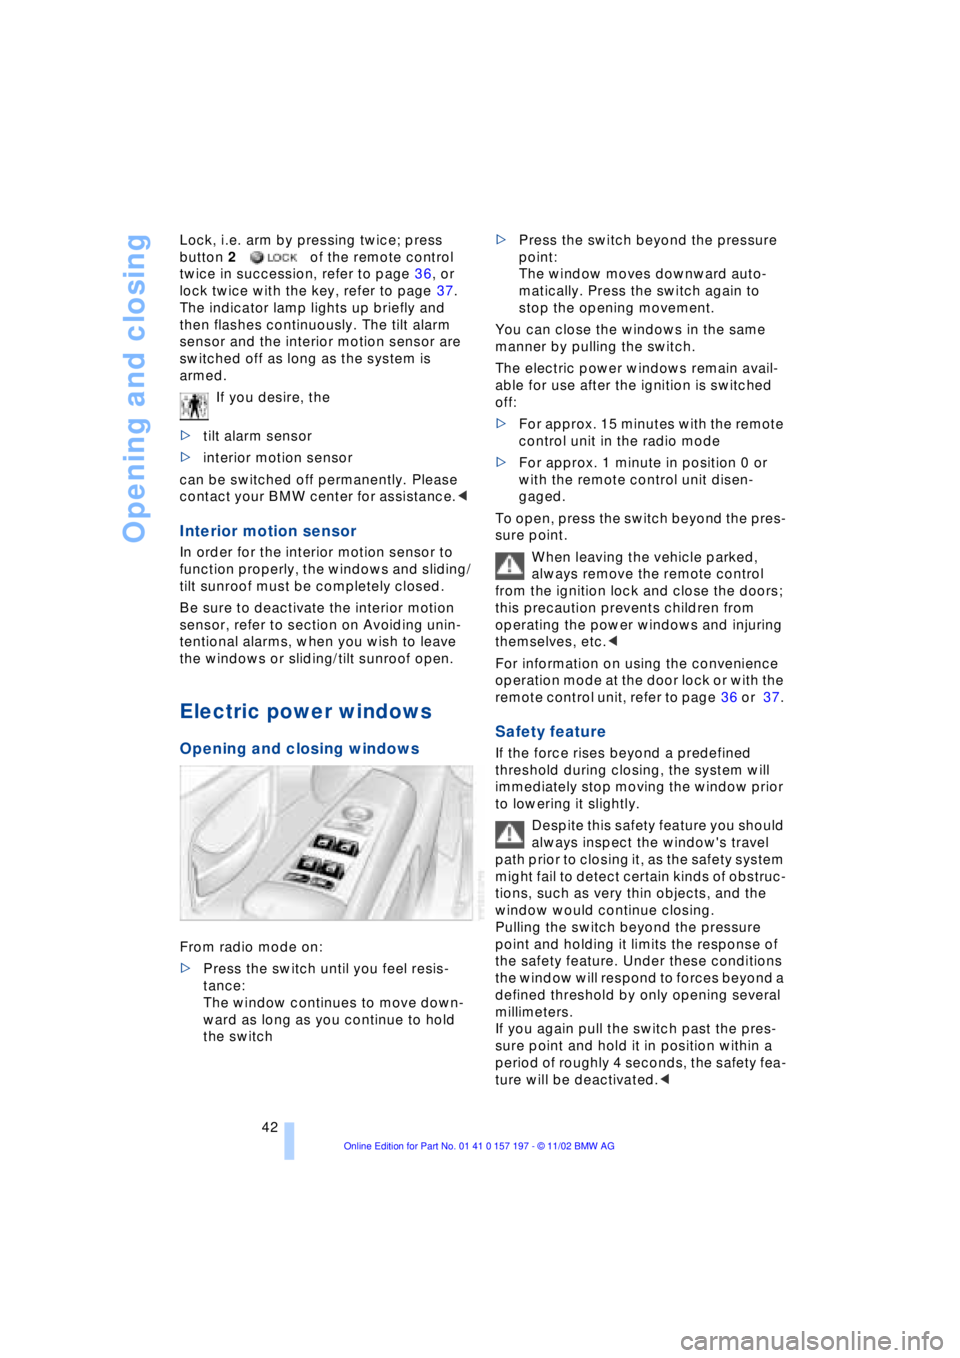
From radio mode on:
>Press the switch until you feel resis-
tance:
The window continues to move down-
ward as long as you continue to hold
the switch >Press the switch beyond the pressure
point:
The window moves downward auto-
matically. Press the switch again to
stop the opening movement.
You can close the windows in the same
manner by pulling the switch.
The electric power windows remain avail-
able for use after the ignition is switched
off:
>For approx. 15 minutes with the remote
control unit in the radio mode
>For approx. 1 minute in position 0 or
with the remote control unit disen-
gaged.
To open, press the switch beyond the pres-
sure point.
When leaving the vehicle parked,
always remove the remote control
from the ignition lock and close the doors;
this precaution prevents children from
operating the power windows and injuring
themselves, etc.<
For information on using the convenience
operation mode at the door lock or with the
remote control unit, refer to page 36 or 37.
Safety feature
If the force rises beyond a predefined
threshold during closing, the system will
immediately stop moving the window prior
to lowering it slightly.
Despite this safety feature you should
always inspect the window's travel
path prior to closing it, as the safety system
might fail to detect certain kinds of obstruc-
tions, such as very thin objects, and the
window would continue closing.
Pulling the switch beyond the pressure
point and holding it limits the response of
the safety feature. Under these conditions
the window will respond to forces beyond a
defined threshold by only opening several
millimeters.
If you again pull the switch past the pres-
sure point and hold it in position within a
period of roughly 4 seconds, the safety fea-
ture will be deactivated.<
Page 45 of 229
At a glance
Controls
Driving tips
Communications
Navigation
Entertainment
Mobility
Reference
43
When you close the windows they will
slow down as they approach the end
of their travel; this is to allow the safety fea-
ture to respond more precisely to any
obstructions encountered in this critical
range.<
Safety switch
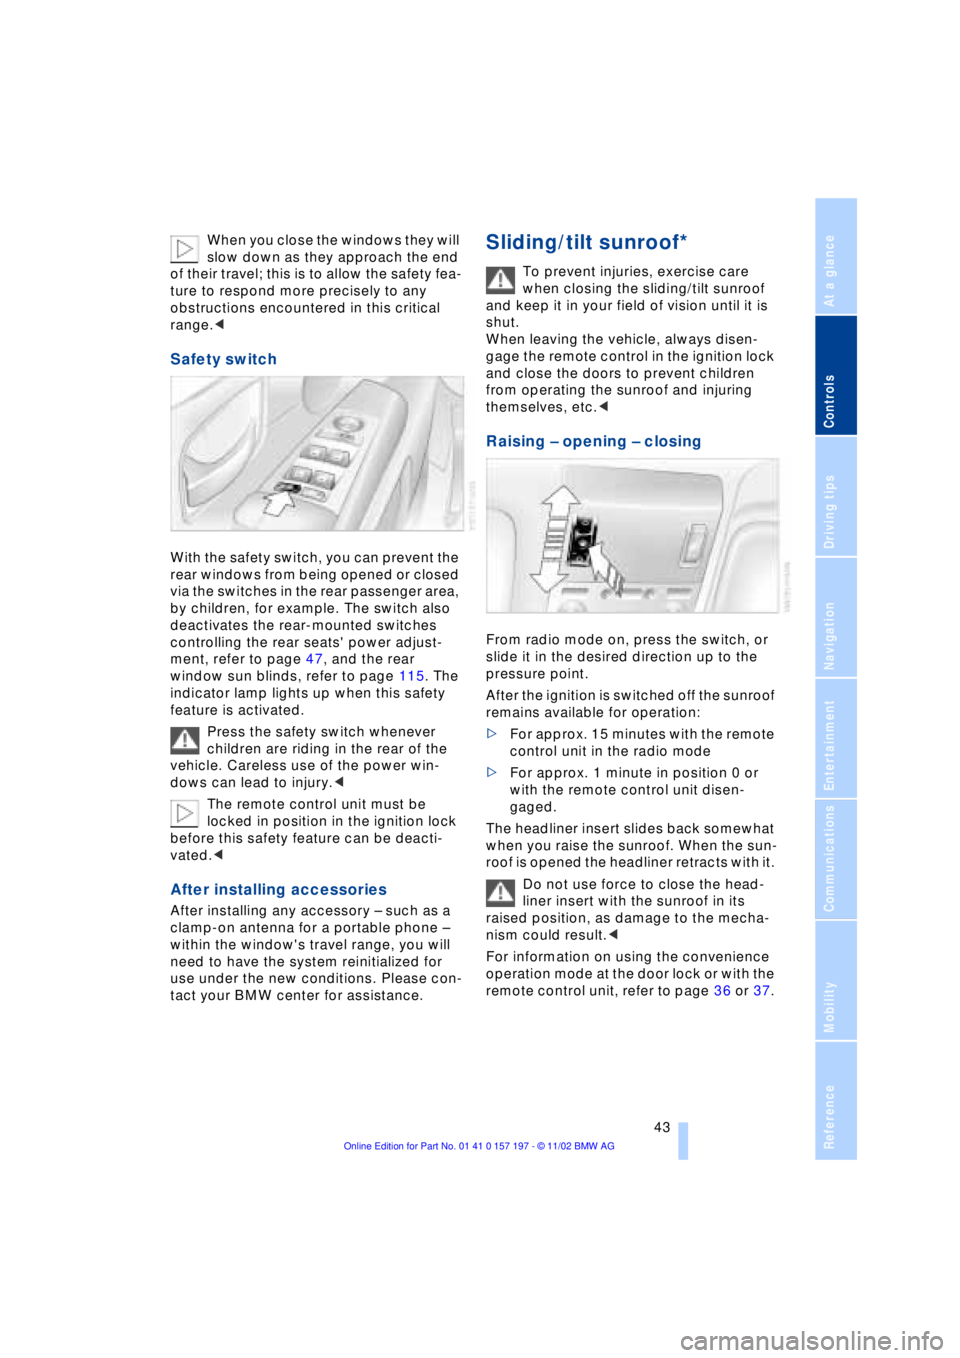
With the safety switch, you can prevent the
rear windows from being opened or closed
via the switches in the rear passenger area,
by children, for example. The switch also
deactivates the rear-mounted switches
controlling the rear seats' power adjust-
ment, refer to page 47, and the rear
window sun blinds, refer to page 115. The
indicator lamp lights up when this safety
feature is activated.
Press the safety switch whenever
children are riding in the rear of the
vehicle. Careless use of the power win-
dows can lead to injury.<
The remote control unit must be
locked in position in the ignition lock
before this safety feature can be deacti-
vated.<
After installing accessories
After installing any accessory Ð such as a
clamp-on antenna for a portable phone Ð
within the window's travel range, you will
need to have the system reinitialized for
use under the new conditions. Please con-
tact your BMW center for assistance.
Sliding/tilt sunroof*
To prevent injuries, exercise care
when closing the sliding/tilt sunroof
and keep it in your field of vision until it is
shut.
When leaving the vehicle, always disen-
gage the remote control in the ignition lock
and close the doors to prevent children
from operating the sunroof and injuring
themselves, etc.<
Raising Ð opening Ð closing
From radio mode on, press the switch, or
slide it in the desired direction up to the
pressure point.
After the ignition is switched off the sunroof
remains available for operation:
>For approx. 15 minutes with the remote
control unit in the radio mode
>For approx. 1 minute in position 0 or
with the remote control unit disen-
gaged.
The headliner insert slides back somewhat
when you raise the sunroof. When the sun-
roof is opened the headliner retracts with it.
Do not use force to close the head-
liner insert with the sunroof in its
raised position, as damage to the mecha-
nism could result.<
For information on using the convenience
operation mode at the door lock or with the
remote control unit, refer to page 36 or 37.
Page 56 of 229
Adjustments
54 1.Select "Settings"
2.Confirm
3.Select "MFL". Continue to press the
controller until the desired function
appears:
>"Recirc. air"
In this mode the supply of outside air
remains blocked, refer to AUC Auto-
matic recirculated-air control on
page 107
>"Navi info"
To repeat the most recent message
from the navigation system, refer to
page 139
>"AUTO P"
To activate/deactivate Automatic Hold,
refer to Automatic Hold on page 63.
You can select the displayed function using
the button in the steering wheel.
If you have activated the Automatic
Hold feature, refer to page 63, you
can use the button to deactivate the
system for parking maneuvers, etc.<
Seat, mirror and steering
wheel memory
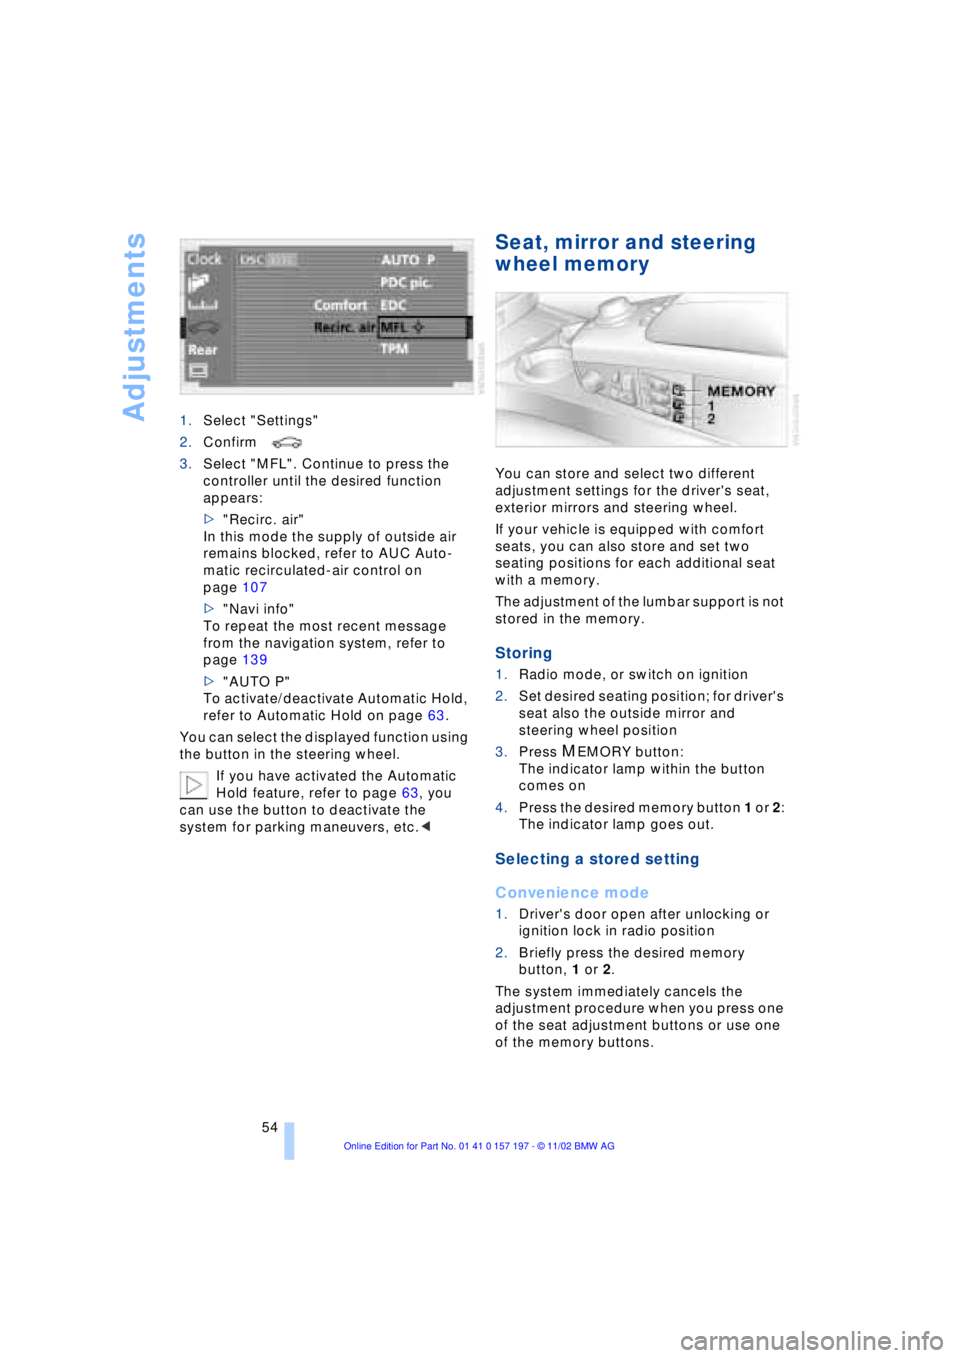
You can store and select two different
adjustment settings for the driver's seat,
exterior mirrors and steering wheel.
If your vehicle is equipped with comfort
seats, you can also store and set two
seating positions for each additional seat
with a memory.
The adjustment of the lumbar support is not
stored in the memory.
Storing
1.Radio mode, or switch on ignition
2.Set desired seating position; for driver's
seat also the outside mirror and
steering wheel position
3.Press
MEMORY button:
The indicator lamp within the button
comes on
4.Press the desired memory button 1 or 2:
The indicator lamp goes out.
Selecting a stored setting
Convenience mode
1.Driver's door open after unlocking or
ignition lock in radio position
2.Briefly press the desired memory
button, 1 or 2.
The system immediately cancels the
adjustment procedure when you press one
of the seat adjustment buttons or use one
of the memory buttons.
Page 57 of 229
At a glance
Controls
Driving tips
Communications
Navigation
Entertainment
Mobility
Reference
55
Safety feature
1.Driver's door closed and ignition
switched either on or off
2.Press memory button 1 or 2 and main-
tain pressure until the adjustment pro-
cess has been completed.
If you press the
MEMORY button acciden-
tally:
Press the button again; the indicator lamp
goes out.
Do not call up a position from the
memory while the vehicle is moving.
There is a risk of accident from unexpected
movement of the seat or steering wheel.<
You can have your vehicle pro-
grammed to automatically dial in your
own individual adjustment settings for the
seat, mirrors and steering wheel whenever
you use your personal remote control unit
to unlock the vehicle.<
When using the Key Memory feature
always make sure that the footwell
behind the driver's seat is empty and unob-
structed. If you fail to do so, any persons or
objects behind the seat could be injured or
damaged by a rearward movement of the
seat.<
Passenger-side exterior mirror tilt
function
Automatic curb monitor
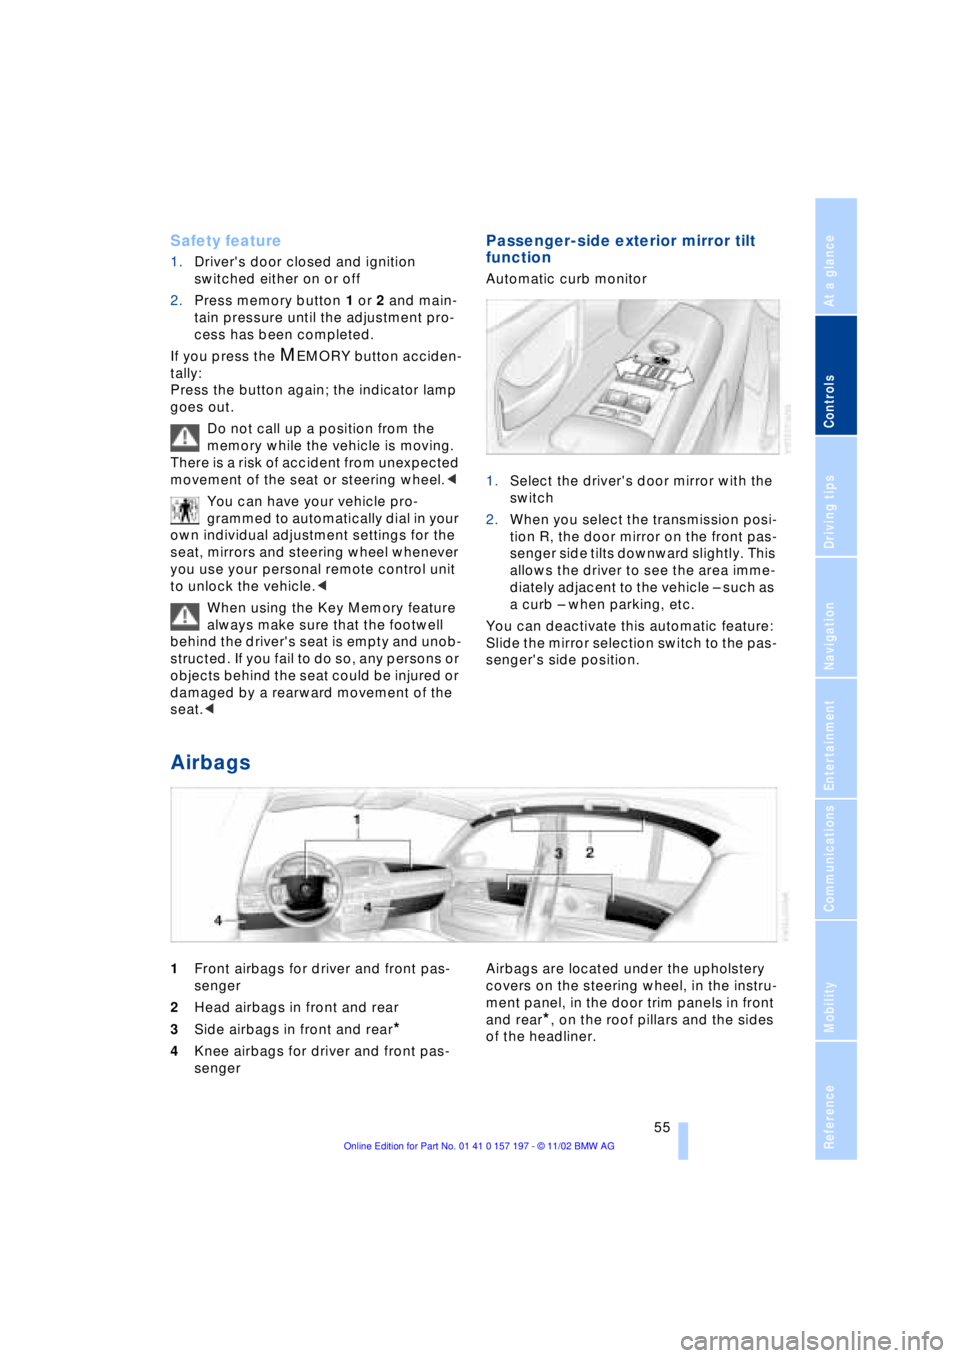
1.Select the driver's door mirror with the
switch
2.When you select the transmission posi-
tion R, the door mirror on the front pas-
senger side tilts downward slightly. This
allows the driver to see the area imme-
diately adjacent to the vehicle Ð such as
a curb Ð when parking, etc.
You can deactivate this automatic feature:
Slide the mirror selection switch to the pas-
senger's side position.
Airbags
1Front airbags for driver and front pas-
senger
2Head airbags in front and rear
3Side airbags in front and rear
*
4Knee airbags for driver and front pas-
senger Airbags are located under the upholstery
covers on the steering wheel, in the instru-
ment panel, in the door trim panels in front
and rear*, on the roof pillars and the sides
of the headliner.
Page 61 of 229
At a glance
Controls
Driving tips
Communications
Navigation
Entertainment
Mobility
Reference
59
LATCH* child-restraint
system
LATCH: Lower Anchor and Tethers for
CHildren.
If the vehicle is equipped with electric
power seats, these must be returned
to their standard adjustment setting before
a LATCH child-restraint system can be
used, refer to page 47.<
Access to anchorage points
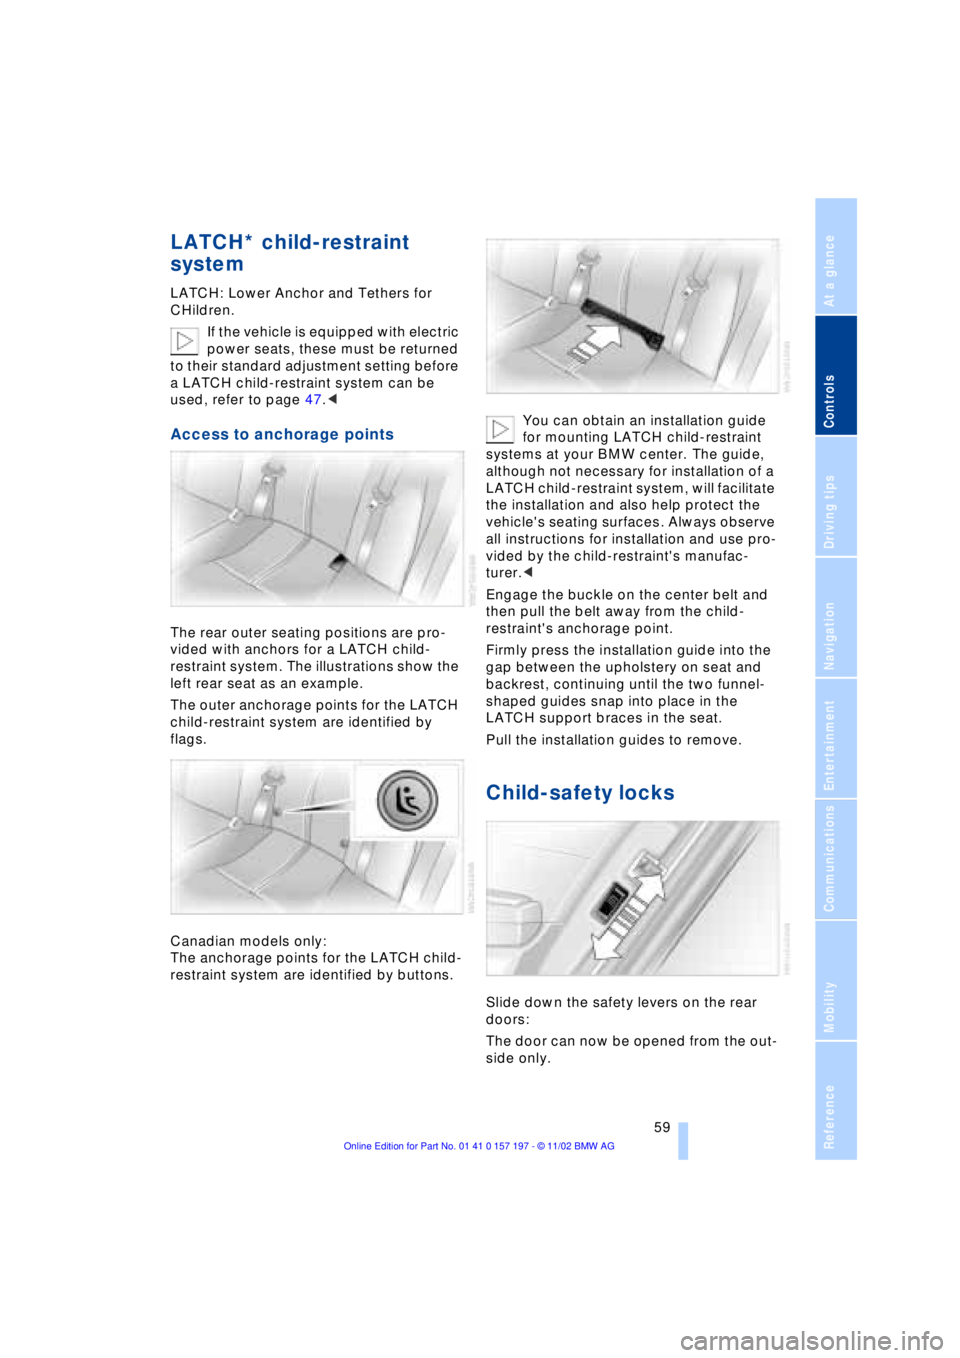
The rear outer seating positions are pro-
vided with anchors for a LATCH child-
restraint system. The illustrations show the
left rear seat as an example.
The outer anchorage points for the LATCH
child-restraint system are identified by
flags.
Canadian models only:
The anchorage points for the LATCH child-
restraint system are identified by buttons.You can obtain an installation guide
for mounting LATCH child-restraint
systems at your BMW center. The guide,
although not necessary for installation of a
LATCH child-restraint system, will facilitate
the installation and also help protect the
vehicle's seating surfaces. Always observe
all instructions for installation and use pro-
vided by the child-restraint's manufac-
turer.<
Engage the buckle on the center belt and
then pull the belt away from the child-
restraint's anchorage point.
Firmly press the installation guide into the
gap between the upholstery on seat and
backrest, continuing until the two funnel-
shaped guides snap into place in the
LATCH support braces in the seat.
Pull the installation guides to remove.
Child-safety locks
Slide down the safety levers on the rear
doors:
The door can now be opened from the out-
side only.
Page 62 of 229
Adjustments
60
Vehicle Memory, Key
Memory
How the system functions
Doubtless you have often reflected on how
great it would be if you could configure
your vehicle's various adjustment settings
to meet your own personal requirements. In
developing your vehicle, BMW has incor-
porated a number of options for personal
adjustment which you can set in the Con-
trol Center. You can have these pro-
grammed at your BMW center.
The available configuration settings fall into
two categories, according to whether their
primary orientation is the vehicle Ð Vehicle
Memory Ð or the individual Ð Key Memory.
You can have up to four different basic set-
tings adjusted for four different persons.
The only requirement is that each person
uses his or her own remote control.
When your vehicle is unlocked with the
remote control, the vehicle recognizes the
individual user by means of a data
exchange with the key, and makes adjust-
ments accordingly.
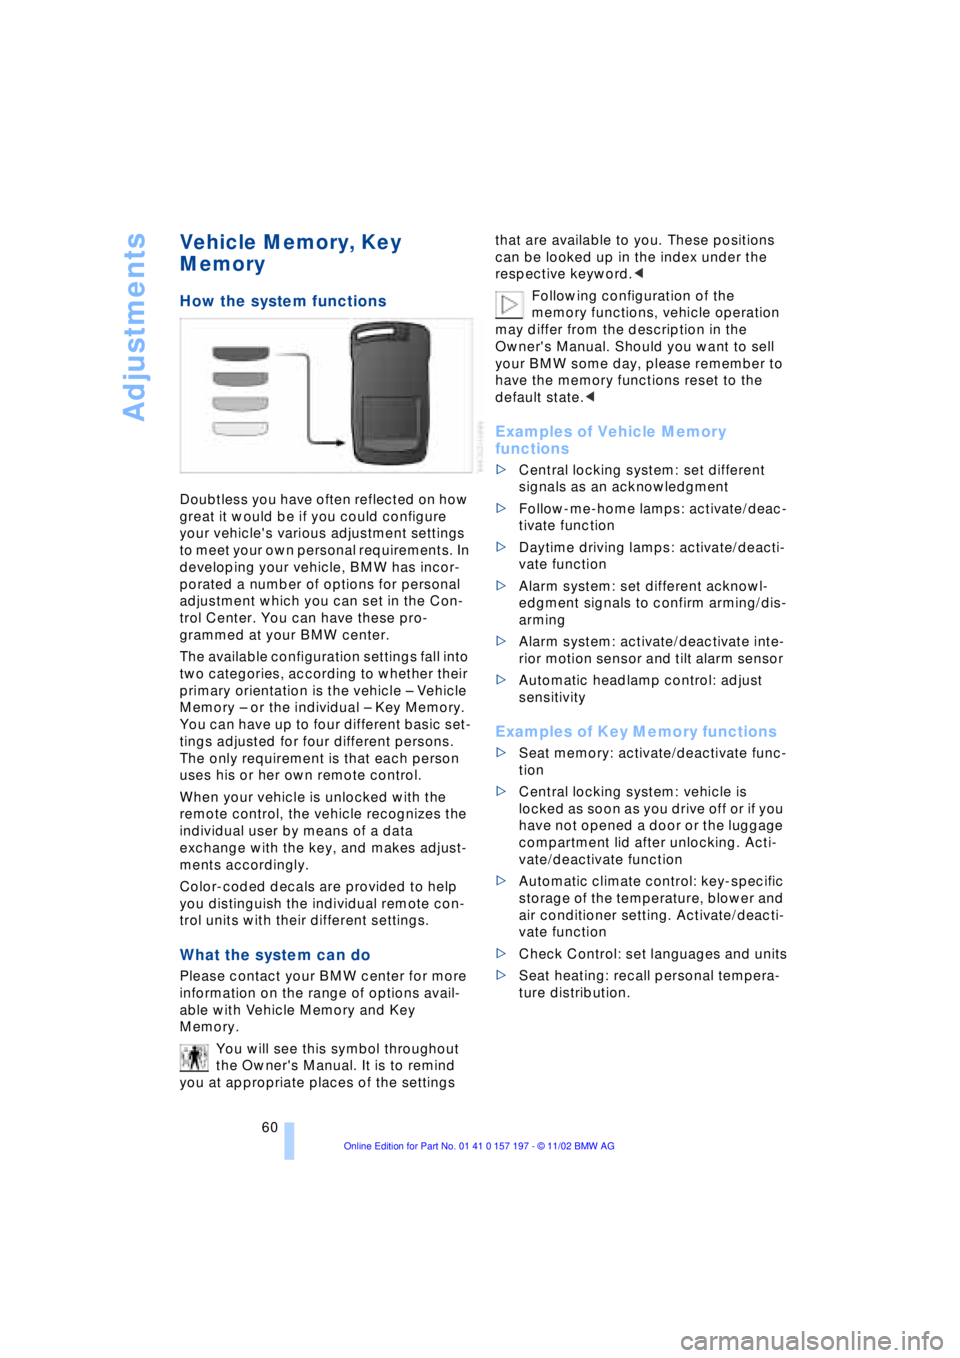
Color-coded decals are provided to help
you distinguish the individual remote con-
trol units with their different settings.
What the system can do
Please contact your BMW center for more
information on the range of options avail-
able with Vehicle Memory and Key
Memory.
You will see this symbol throughout
the Owner's Manual. It is to remind
you at appropriate places of the settings that are available to you. These positions
can be looked up in the index under the
respective keyword.<
Following configuration of the
memory functions, vehicle operation
may differ from the description in the
Owner's Manual. Should you want to sell
your BMW some day, please remember to
have the memory functions reset to the
default state.<
Examples of Vehicle Memory
functions
>Central locking system: set different
signals as an acknowledgment
>Follow-me-home lamps: activate/deac-
tivate function
>Daytime driving lamps: activate/deacti-
vate function
>Alarm system: set different acknowl-
edgment signals to confirm arming/dis-
arming
>Alarm system: activate/deactivate inte-
rior motion sensor and tilt alarm sensor
>Automatic headlamp control: adjust
sensitivity
Examples of Key Memory functions
>Seat memory: activate/deactivate func-
tion
>Central locking system: vehicle is
locked as soon as you drive off or if you
have not opened a door or the luggage
compartment lid after unlocking. Acti-
vate/deactivate function
>Automatic climate control: key-specific
storage of the temperature, blower and
air conditioner setting. Activate/deacti-
vate function
>Check Control: set languages and units
>Seat heating: recall personal tempera-
ture distribution.
Page 63 of 229
At a glance
Controls
Driving tips
Communications
Navigation
Entertainment
Mobility
Reference
61
Driving
Ignition lock
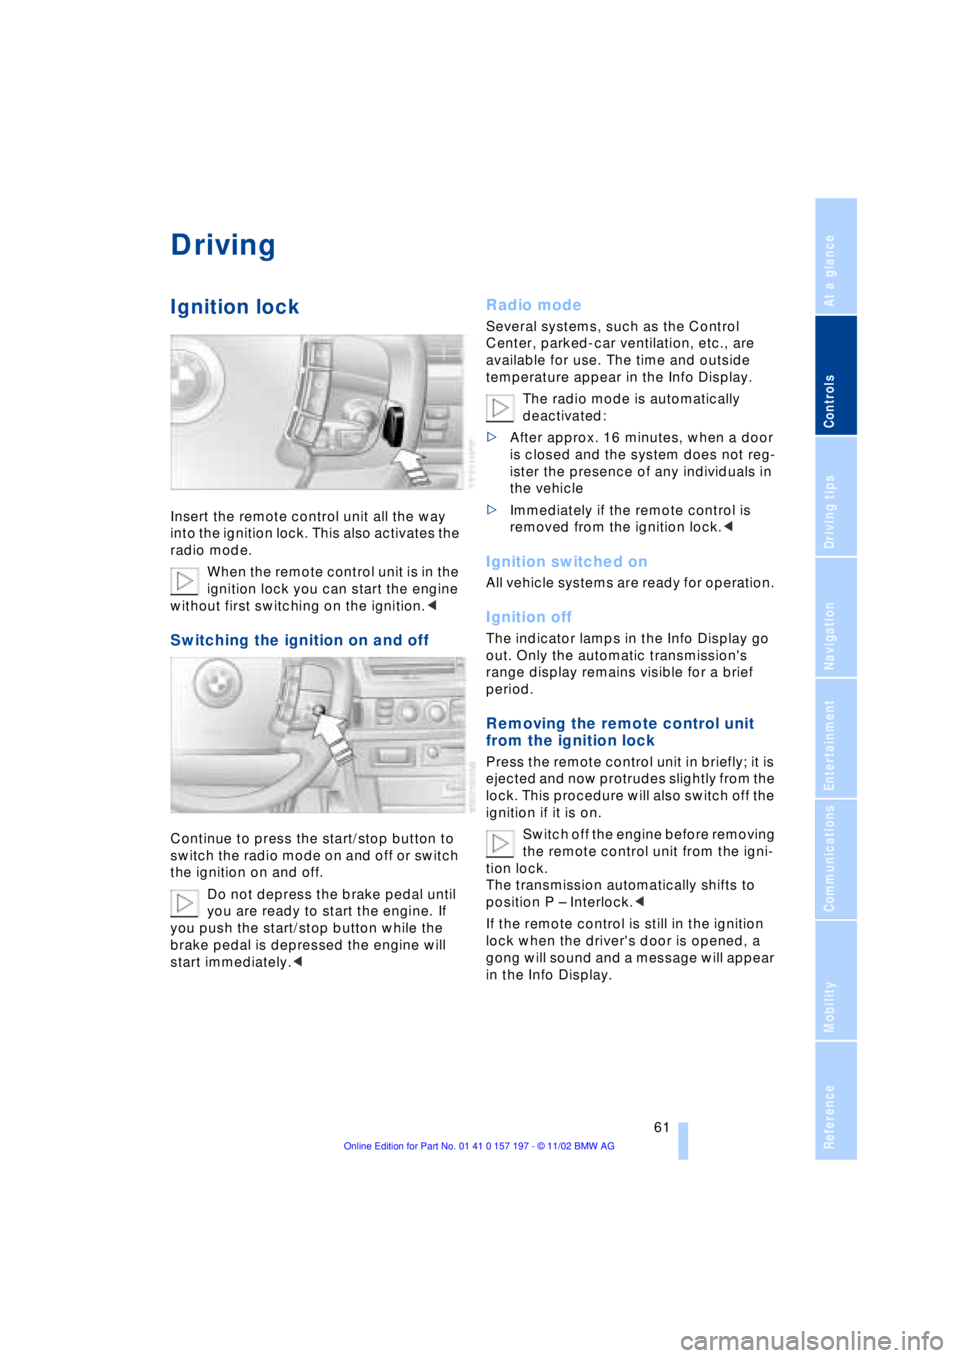
Insert the remote control unit all the way
into the ignition lock. This also activates the
radio mode.
When the remote control unit is in the
ignition lock you can start the engine
without first switching on the ignition.<
Switching the ignition on and off
Continue to press the start/stop button to
switch the radio mode on and off or switch
the ignition on and off.
Do not depress the brake pedal until
you are ready to start the engine. If
you push the start/stop button while the
brake pedal is depressed the engine will
start immediately.<
Radio mode
Several systems, such as the Control
Center, parked-car ventilation, etc., are
available for use. The time and outside
temperature appear in the Info Display.
The radio mode is automatically
deactivated:
>After approx. 16 minutes, when a door
is closed and the system does not reg-
ister the presence of any individuals in
the vehicle
>Immediately if the remote control is
removed from the ignition lock.<
Ignition switched on
All vehicle systems are ready for operation.
Ignition off
The indicator lamps in the Info Display go
out. Only the automatic transmission's
range display remains visible for a brief
period.
Removing the remote control unit
from the ignition lock
Press the remote control unit in briefly; it is
ejected and now protrudes slightly from the
lock. This procedure will also switch off the
ignition if it is on.
Switch off the engine before removing
the remote control unit from the igni-
tion lock.
The transmission automatically shifts to
position P Ð Interlock.<
If the remote control is still in the ignition
lock when the driver's door is opened, a
gong will sound and a message will appear
in the Info Display.
Page 88 of 229
Everything under control
86
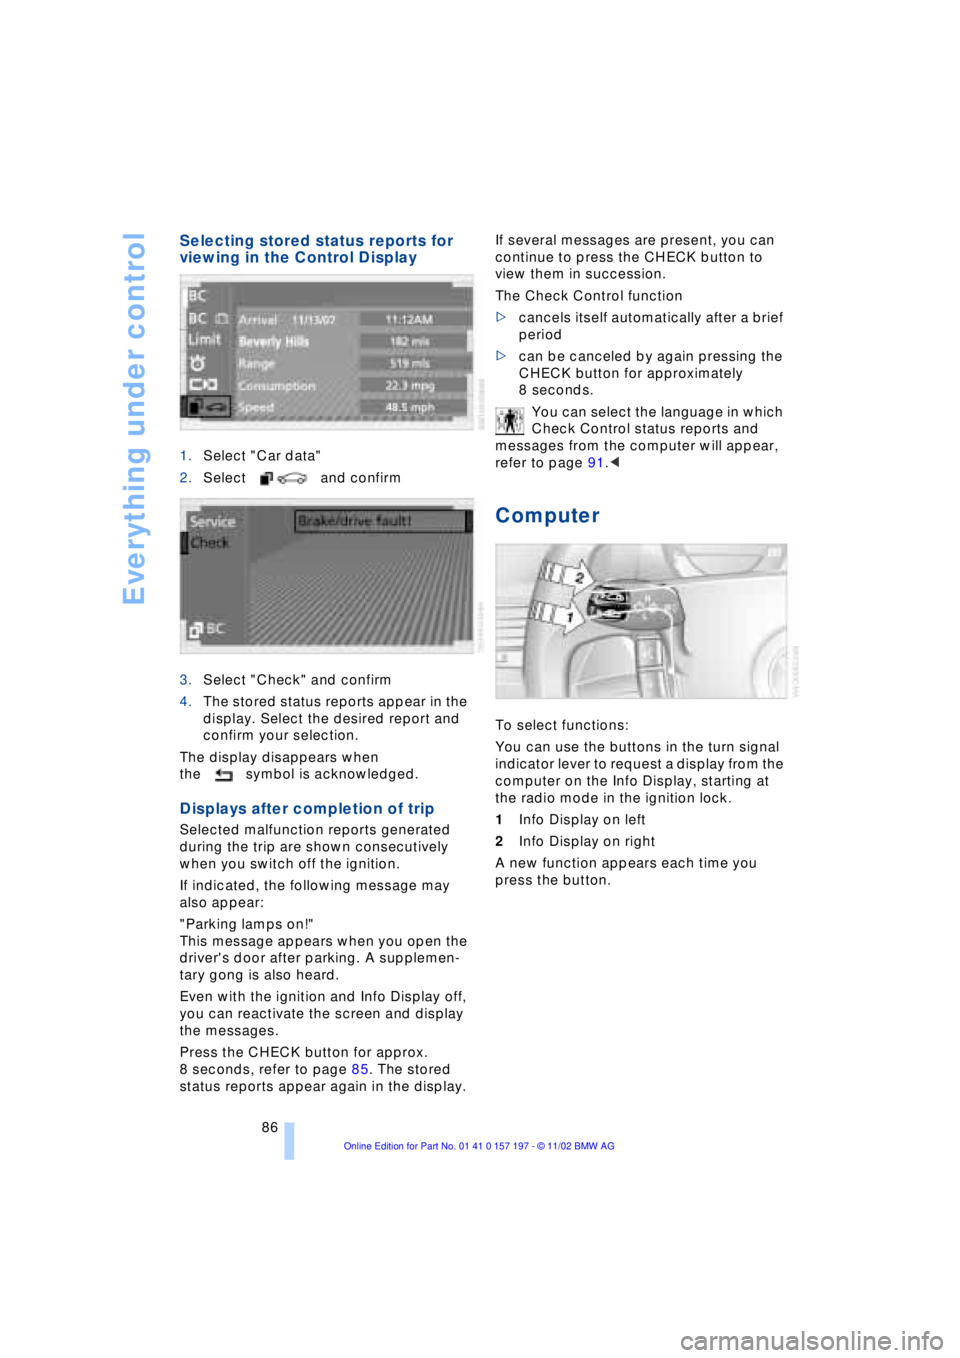
Selecting stored status reports for
viewing in the Control Display
1.Select "Car data"
2.Select and confirm
3.Select "Check" and confirm
4.The stored status reports appear in the
display. Select the desired report and
confirm your selection.
The display disappears when
the symbol is acknowledged.
Displays after completion of trip
Selected malfunction reports generated
during the trip are shown consecutively
when you switch off the ignition.
If indicated, the following message may
also appear:
"Parking lamps on!"
This message appears when you open the
driver's door after parking. A supplemen-
tary gong is also heard.
Even with the ignition and Info Display off,
you can reactivate the screen and display
the messages.
Press the CHECK button for approx.
8 seconds, refer to page 85. The stored
status reports appear again in the display. If several messages are present, you can
continue to press the CHECK button to
view them in succession.
The Check Control function
>cancels itself automatically after a brief
period
>can be canceled by again pressing the
CHECK button for approximately
8 seconds.
You can select the language in which
Check Control status reports and
messages from the computer will appear,
refer to page 91.<
Computer
To select functions:
You can use the buttons in the turn signal
indicator lever to request a display from the
computer on the Info Display, starting at
the radio mode in the ignition lock.
1Info Display on left
2Info Display on right
A new function appears each time you
press the button.