2003 BMW 760LI SEDAN lights
[x] Cancel search: lightsPage 44 of 229
Opening and closing
42 Lock, i.e. arm by pressing twice; press
button 2of the remote control
twice in succession, refer to page 36, or
lock twice with the key, refer to page 37.
The indicator lamp lights up briefly and
then flashes continuously. The tilt alarm
sensor and the interior motion sensor are
switched off as long as the system is
armed.
If you desire, the
>tilt alarm sensor
>interior motion sensor
can be switched off permanently. Please
contact your BMW center for assistance.<
Interior motion sensor
In order for the interior motion sensor to
function properly, the windows and sliding/
tilt sunroof must be completely closed.
Be sure to deactivate the interior motion
sensor, refer to section on Avoiding unin-
tentional alarms, when you wish to leave
the windows or sliding/tilt sunroof open.
Electric power windows
Opening and closing windows
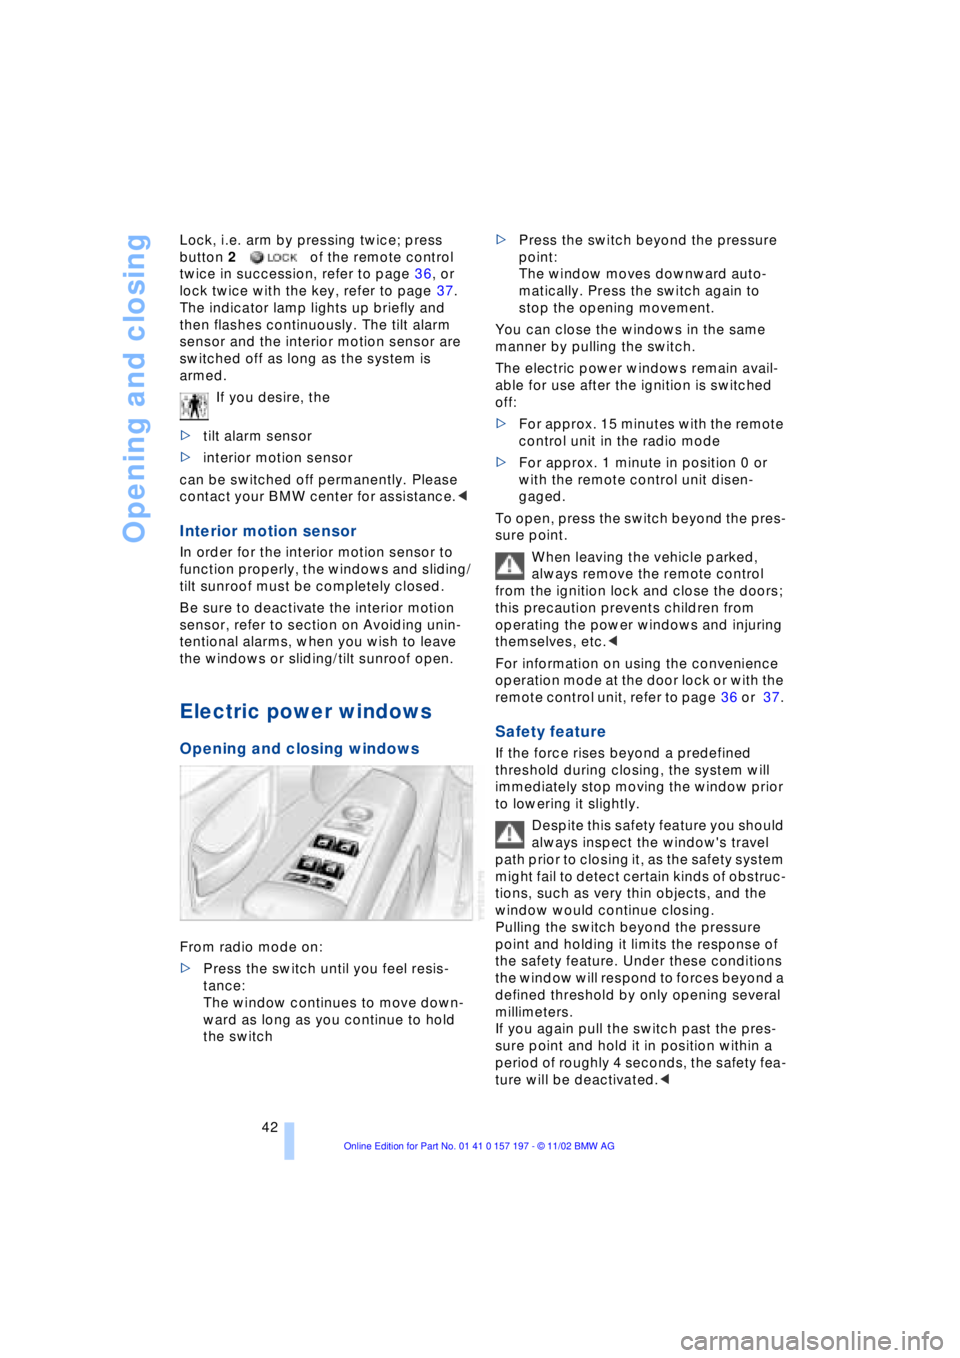
From radio mode on:
>Press the switch until you feel resis-
tance:
The window continues to move down-
ward as long as you continue to hold
the switch >Press the switch beyond the pressure
point:
The window moves downward auto-
matically. Press the switch again to
stop the opening movement.
You can close the windows in the same
manner by pulling the switch.
The electric power windows remain avail-
able for use after the ignition is switched
off:
>For approx. 15 minutes with the remote
control unit in the radio mode
>For approx. 1 minute in position 0 or
with the remote control unit disen-
gaged.
To open, press the switch beyond the pres-
sure point.
When leaving the vehicle parked,
always remove the remote control
from the ignition lock and close the doors;
this precaution prevents children from
operating the power windows and injuring
themselves, etc.<
For information on using the convenience
operation mode at the door lock or with the
remote control unit, refer to page 36 or 37.
Safety feature
If the force rises beyond a predefined
threshold during closing, the system will
immediately stop moving the window prior
to lowering it slightly.
Despite this safety feature you should
always inspect the window's travel
path prior to closing it, as the safety system
might fail to detect certain kinds of obstruc-
tions, such as very thin objects, and the
window would continue closing.
Pulling the switch beyond the pressure
point and holding it limits the response of
the safety feature. Under these conditions
the window will respond to forces beyond a
defined threshold by only opening several
millimeters.
If you again pull the switch past the pres-
sure point and hold it in position within a
period of roughly 4 seconds, the safety fea-
ture will be deactivated.<
Page 45 of 229
At a glance
Controls
Driving tips
Communications
Navigation
Entertainment
Mobility
Reference
43
When you close the windows they will
slow down as they approach the end
of their travel; this is to allow the safety fea-
ture to respond more precisely to any
obstructions encountered in this critical
range.<
Safety switch
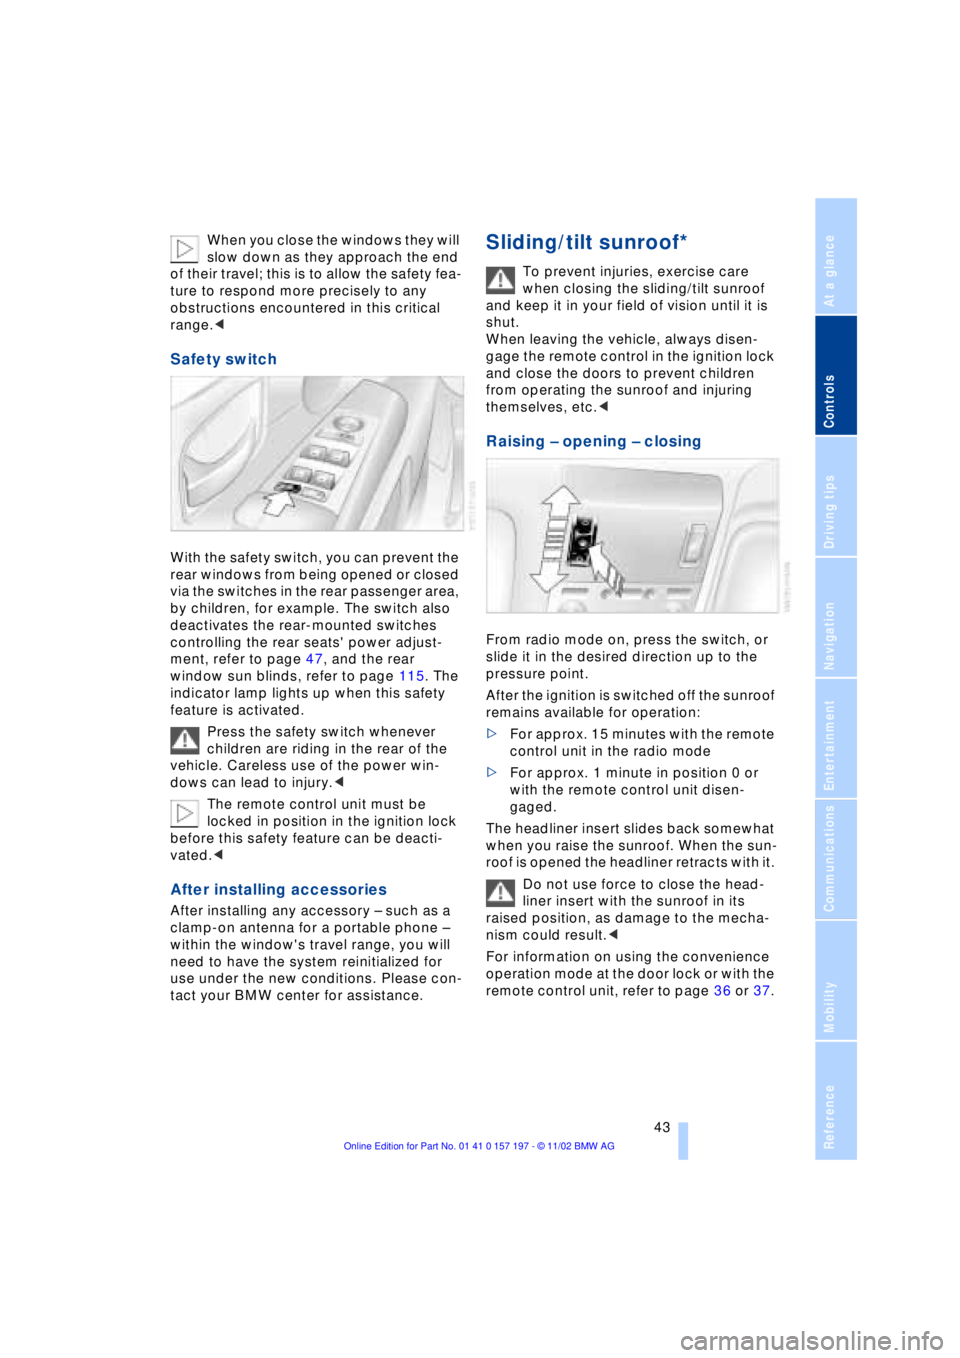
With the safety switch, you can prevent the
rear windows from being opened or closed
via the switches in the rear passenger area,
by children, for example. The switch also
deactivates the rear-mounted switches
controlling the rear seats' power adjust-
ment, refer to page 47, and the rear
window sun blinds, refer to page 115. The
indicator lamp lights up when this safety
feature is activated.
Press the safety switch whenever
children are riding in the rear of the
vehicle. Careless use of the power win-
dows can lead to injury.<
The remote control unit must be
locked in position in the ignition lock
before this safety feature can be deacti-
vated.<
After installing accessories
After installing any accessory Ð such as a
clamp-on antenna for a portable phone Ð
within the window's travel range, you will
need to have the system reinitialized for
use under the new conditions. Please con-
tact your BMW center for assistance.
Sliding/tilt sunroof*
To prevent injuries, exercise care
when closing the sliding/tilt sunroof
and keep it in your field of vision until it is
shut.
When leaving the vehicle, always disen-
gage the remote control in the ignition lock
and close the doors to prevent children
from operating the sunroof and injuring
themselves, etc.<
Raising Ð opening Ð closing
From radio mode on, press the switch, or
slide it in the desired direction up to the
pressure point.
After the ignition is switched off the sunroof
remains available for operation:
>For approx. 15 minutes with the remote
control unit in the radio mode
>For approx. 1 minute in position 0 or
with the remote control unit disen-
gaged.
The headliner insert slides back somewhat
when you raise the sunroof. When the sun-
roof is opened the headliner retracts with it.
Do not use force to close the head-
liner insert with the sunroof in its
raised position, as damage to the mecha-
nism could result.<
For information on using the convenience
operation mode at the door lock or with the
remote control unit, refer to page 36 or 37.
Page 48 of 229
Adjustments
46 Please observe the information on using
safety belts provided on page 50 and the
notice on the active head restraints on
page 48.
The concept
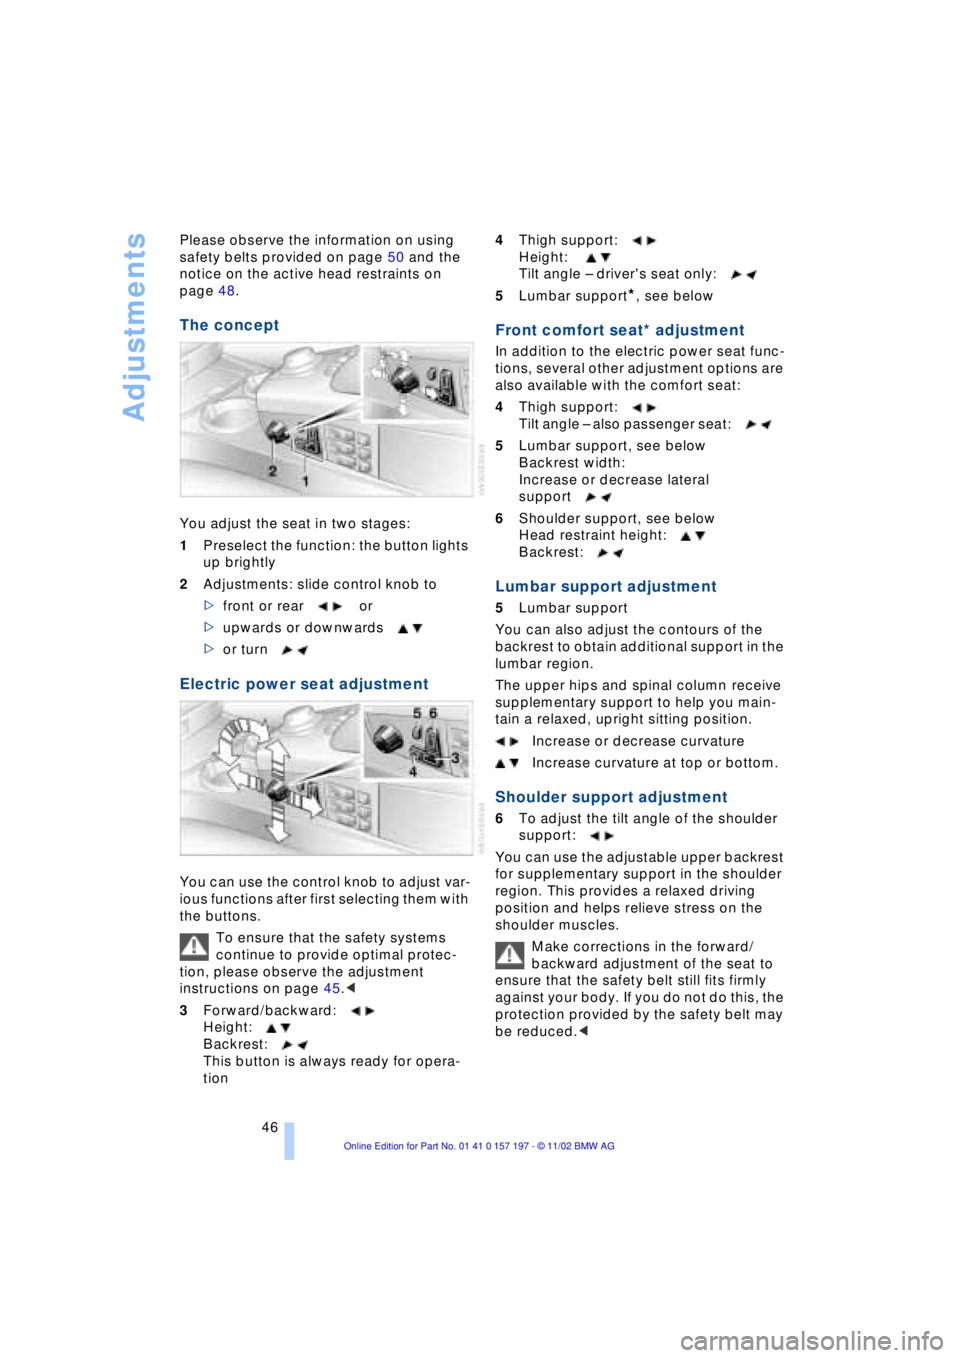
You adjust the seat in two stages:
1Preselect the function: the button lights
up brightly
2Adjustments: slide control knob to
>front or rear or
>upwards or downwards
>or turn
Electric power seat adjustment
You can use the control knob to adjust var-
ious functions after first selecting them with
the buttons.
To ensure that the safety systems
continue to provide optimal protec-
tion, please observe the adjustment
instructions on page 45.<
3Forward/backward:
Height:
Backrest:
This button is always ready for opera-
tion4Thigh support:
Height:
Tilt angle Ð driver's seat only:
5Lumbar support
*, see below
Front comfort seat* adjustment
In addition to the electric power seat func-
tions, several other adjustment options are
also available with the comfort seat:
4Thigh support:
Tilt angle Ð also passenger seat:
5Lumbar support, see below
Backrest width:
Increase or decrease lateral
support
6Shoulder support, see below
Head restraint height:
Backrest:
Lumbar support adjustment
5Lumbar support
You can also adjust the contours of the
backrest to obtain additional support in the
lumbar region.
The upper hips and spinal column receive
supplementary support to help you main-
tain a relaxed, upright sitting position.
Increase or decrease curvature
Increase curvature at top or bottom.
Shoulder support adjustment
6To adjust the tilt angle of the shoulder
support:
You can use the adjustable upper backrest
for supplementary support in the shoulder
region. This provides a relaxed driving
position and helps relieve stress on the
shoulder muscles.
Make corrections in the forward/
backward adjustment of the seat to
ensure that the safety belt still fits firmly
against your body. If you do not do this, the
protection provided by the safety belt may
be reduced.<
Page 55 of 229
At a glance
Controls
Driving tips
Communications
Navigation
Entertainment
Mobility
Reference
53
The mirrors automatically revert to their
clear, undimmed mode whenever you
place the selector lever into reverse.
For trouble-free operation, keep the
photocells clean and do not cover the
area between the interior rearview mirror
and the windshield. Do not attach any kind
of stickers on the windshield in front of the
mirror, either.<
Illuminated vanity mirror in the rear
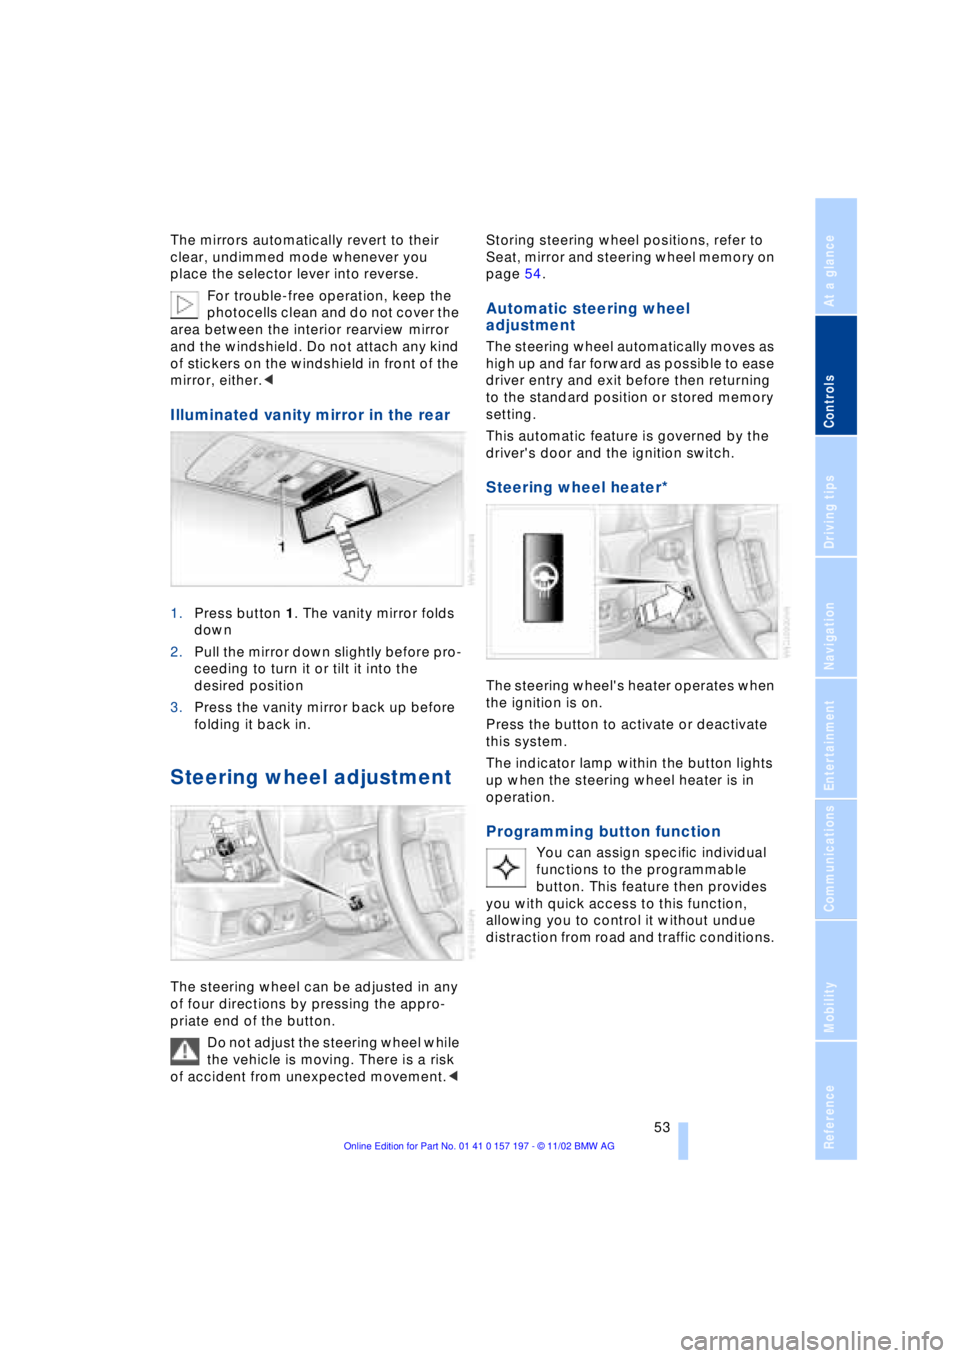
1.Press button 1. The vanity mirror folds
down
2.Pull the mirror down slightly before pro-
ceeding to turn it or tilt it into the
desired position
3.Press the vanity mirror back up before
folding it back in.
Steering wheel adjustment
The steering wheel can be adjusted in any
of four directions by pressing the appro-
priate end of the button.
Do not adjust the steering wheel while
the vehicle is moving. There is a risk
of accident from unexpected movement.< Storing steering wheel positions, refer to
Seat, mirror and steering wheel memory on
page 54.
Automatic steering wheel
adjustment
The steering wheel automatically moves as
high up and far forward as possible to ease
driver entry and exit before then returning
to the standard position or stored memory
setting.
This automatic feature is governed by the
driver's door and the ignition switch.
Steering wheel heater*
The steering wheel's heater operates when
the ignition is on.
Press the button to activate or deactivate
this system.
The indicator lamp within the button lights
up when the steering wheel heater is in
operation.
Programming button function
You can assign specific individual
functions to the programmable
button. This feature then provides
you with quick access to this function,
allowing you to control it without undue
distraction from road and traffic conditions.
Page 65 of 229
At a glance
Controls
Driving tips
Communications
Navigation
Entertainment
Mobility
Reference
63
You have two separate options for
engaging the parking brake:
>Manually, by briefly pressing the button
>Automatically, through activation of the
Automatic Hold mode, refer to page 64.
An electrohydraulic mechanism then
engages the parking brake to prevent the
rear wheels from turning whenever you
switch off the engine.
When the engine is running, parking brake
engagement is controlled by the brake
system's hydraulic circuits, which act on
the disc brakes at the front and rear
wheels.
Brake pedal feel
Because this function is activated using the
brake system's hydraulic circuits, the
response of the brake pedal may change
slightly. Engagement may also be accom-
panied by activation noise Ð this is normal.
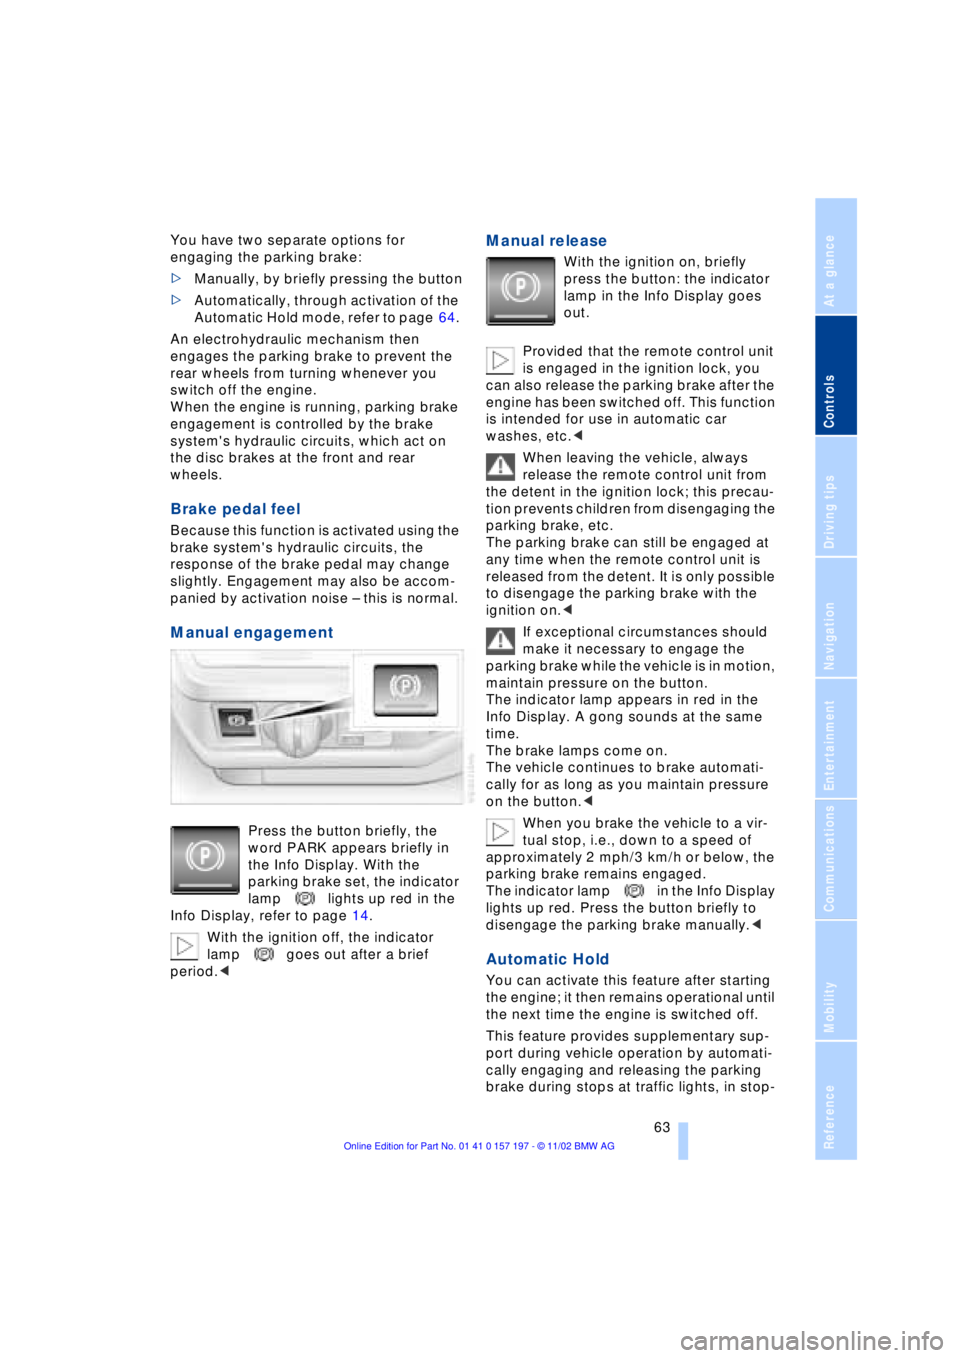
Manual engagement
Press the button briefly, the
word PARK appears briefly in
the Info Display. With the
parking brake set, the indicator
lamp lights up red in the
Info Display, refer to page 14.
With the ignition off, the indicator
lamp goes out after a brief
period.<
Manual release
With the ignition on, briefly
press the button: the indicator
lamp in the Info Display goes
out.
Provided that the remote control unit
is engaged in the ignition lock, you
can also release the parking brake after the
engine has been switched off. This function
is intended for use in automatic car
washes, etc.<
When leaving the vehicle, always
release the remote control unit from
the detent in the ignition lock; this precau-
tion prevents children from disengaging the
parking brake, etc.
The parking brake can still be engaged at
any time when the remote control unit is
released from the detent. It is only possible
to disengage the parking brake with the
ignition on.<
If exceptional circumstances should
make it necessary to engage the
parking brake while the vehicle is in motion,
maintain pressure on the button.
The indicator lamp appears in red in the
Info Display. A gong sounds at the same
time.
The brake lamps come on.
The vehicle continues to brake automati-
cally for as long as you maintain pressure
on the button.<
When you brake the vehicle to a vir-
tual stop, i.e., down to a speed of
approximately 2 mph/3 km/h or below, the
parking brake remains engaged.
The indicator lamp in the Info Display
lights up red. Press the button briefly to
disengage the parking brake manually.<
Automatic Hold
You can activate this feature after starting
the engine; it then remains operational until
the next time the engine is switched off.
This feature provides supplementary sup-
port during vehicle operation by automati-
cally engaging and releasing the parking
brake during stops at traffic lights, in stop-
Page 66 of 229
Driving
64 and-go traffic, etc. As the vehicle then no
longer tends to creep when the transmis-
sion is engaged, it is no longer necessary
to hold the vehicle by depressing the brake
pedal.
It prevents the vehicle from rolling back-
ward during uphill starts.
The parking brake also engages automati-
cally when you switch off the engine after
stopping the vehicle.
You can activate and deactivate the Auto-
matic Hold feature by selecting the "Set-
tings" menu in the Control Center.
A description of the Control Center is pro-
vided on page 19.
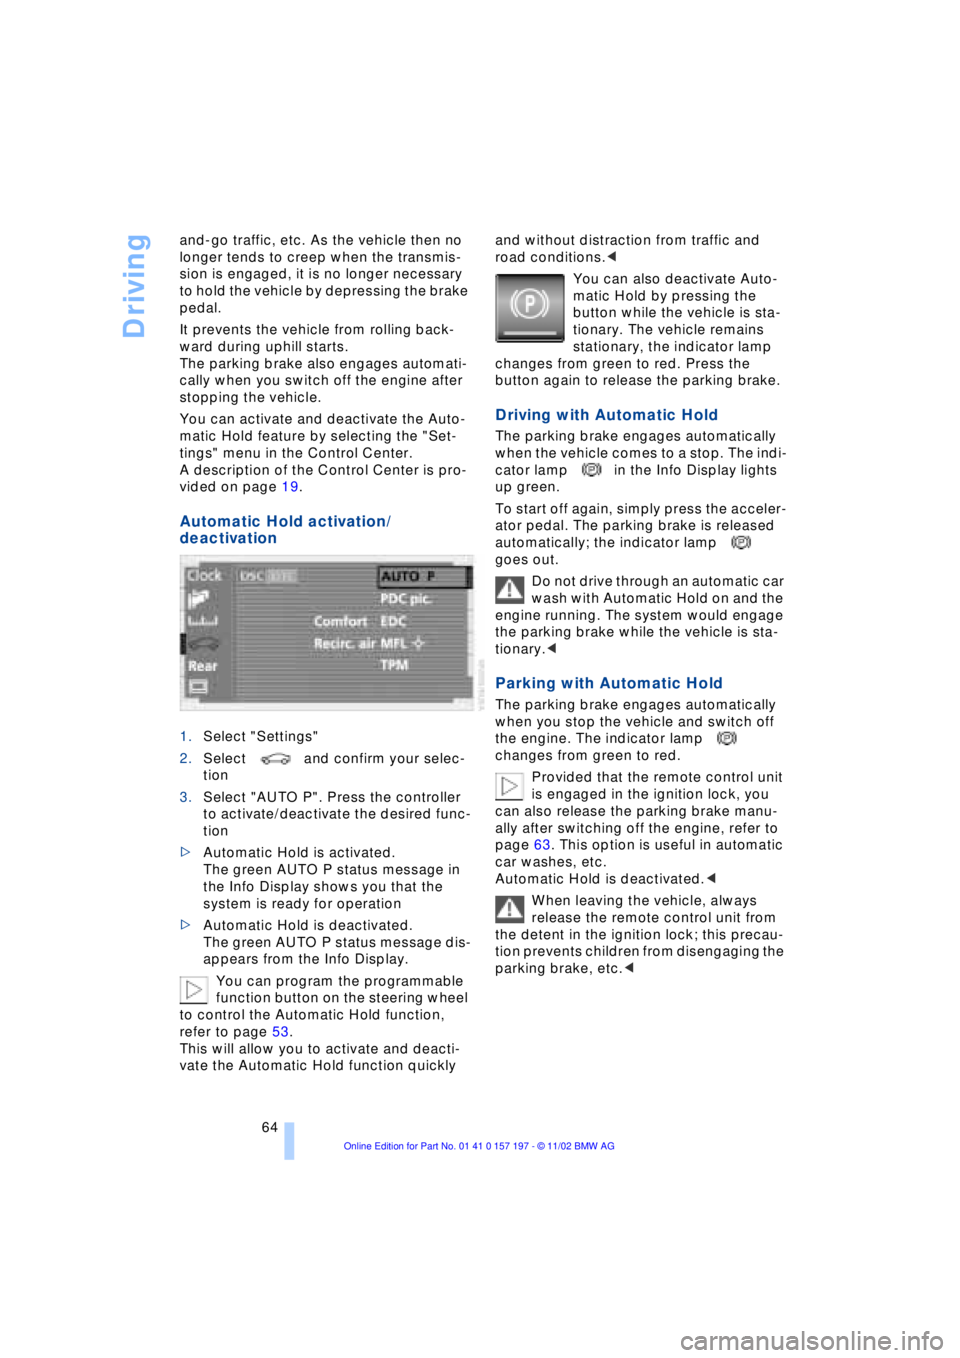
Automatic Hold activation/
deactivation
1.Select "Settings"
2.Select and confirm your selec-
tion
3.Select "AUTO P". Press the controller
to activate/deactivate the desired func-
tion
>Automatic Hold is activated.
The green AUTO P status message in
the Info Display shows you that the
system is ready for operation
>Automatic Hold is deactivated.
The green AUTO P status message dis-
appears from the Info Display.
You can program the programmable
function button on the steering wheel
to control the Automatic Hold function,
refer to page 53.
This will allow you to activate and deacti-
vate the Automatic Hold function quickly and without distraction from traffic and
road conditions.<
You can also deactivate Auto-
matic Hold by pressing the
button while the vehicle is sta-
tionary. The vehicle remains
stationary, the indicator lamp
changes from green to red. Press the
button again to release the parking brake.
Driving with Automatic Hold
The parking brake engages automatically
when the vehicle comes to a stop. The indi-
cator lamp in the Info Display lights
up green.
To start off again, simply press the acceler-
ator pedal. The parking brake is released
automatically; the indicator lamp
goes out.
Do not drive through an automatic car
wash with Automatic Hold on and the
engine running. The system would engage
the parking brake while the vehicle is sta-
tionary.<
Parking with Automatic Hold
The parking brake engages automatically
when you stop the vehicle and switch off
the engine. The indicator lamp
changes from green to red.
Provided that the remote control unit
is engaged in the ignition lock, you
can also release the parking brake manu-
ally after switching off the engine, refer to
page 63. This option is useful in automatic
car washes, etc.
Automatic Hold is deactivated.<
When leaving the vehicle, always
release the remote control unit from
the detent in the ignition lock; this precau-
tion prevents children from disengaging the
parking brake, etc.<
Page 67 of 229
At a glance
Controls
Driving tips
Communications
Navigation
Entertainment
Mobility
Reference
65
For your safety
Automatic Hold is automatically deacti-
vated when
>the engine is switched off
>the system detects that the driver's seat
is not occupied while the engine is run-
ning
>the hood is opened while the engine is
running
>the luggage compartment is opened
with the transmission in reverse while
the engine is running, and
>when the parking brake is used to bring
the vehicle to a stop.
The indicator lamp changes from
green to red, and the AUTO P letters in the
Info Display disappear.
Before starting off again, briefly press the
button to disengage the parking brake
manually, refer to page 63, or reactivate
Automatic Hold, refer to page 64.
Before leaving the vehicle with the
engine running, always move the
automatic transmission's selector lever to
position P and ensure that the parking
brake is engaged. The vehicle could start to
roll if you fail to observe these precautions.
Never leave an unattended vehicle with the
engine running, as such a vehicle repre-
sents a potential safety hazard.<
Automatic Hold is automatically
deactivated whenever the system
detects any tendency for the wheels to spin
in response to slippery road surfaces. Note
the status reports in the Check Control.
You can find more detailed information on
Check Control on page 85.<
Malfunctions
If a malfunction occurs, the indicator
lamp lights up yellow in the Info Dis-
play and a status report will appear in the
Check Control. Please note any supple-
mentary information that appears in the
Control Display.
Releasing the parking brake
manually
You can respond to any interruptions in the
supply of electrical power, for instance, if
the battery is discharged or disconnected,
by releasing the parking brake manually.
Before proceeding to release the
parking brake manually, and each
time you park the vehicle without engaging
the parking brake, always ensure that the
automatic transmission's selector lever is
in position P, refer to page 67. Note the
range indicated in the Info Display.
If it is not possible to avoid parking on an
extremely steep slope, use some supple-
mentary means, such as a wheel chock, to
make certain that the vehicle will not roll,
refer to page 198. Otherwise the danger
exists that the vehicle could roll when
parked on a very steep hill.<
Should it also be necessary to release the
automatic transmission's lockout manually,
for instance, if the battery is discharged,
always adhere to the following sequence:
1.If necessary, start by manually releasing
the parking brake
2.Then release the automatic transmis-
sion's lockout manually, refer to
page 70.
Jump-starting and towing, refer to
pages 202 and 203.
What you will need
1Screwdriver handle
2Emergency-release tool
310 mm open-end wrench
You will find the required tools in the
onboard tool kit mounted on the inside of
Page 68 of 229
Driving
66 the luggage compartment lid, refer to
page 195.
Insert the emergency-release tool in the
screwdriver handle as shown in the illustra-
tion.
Releasing
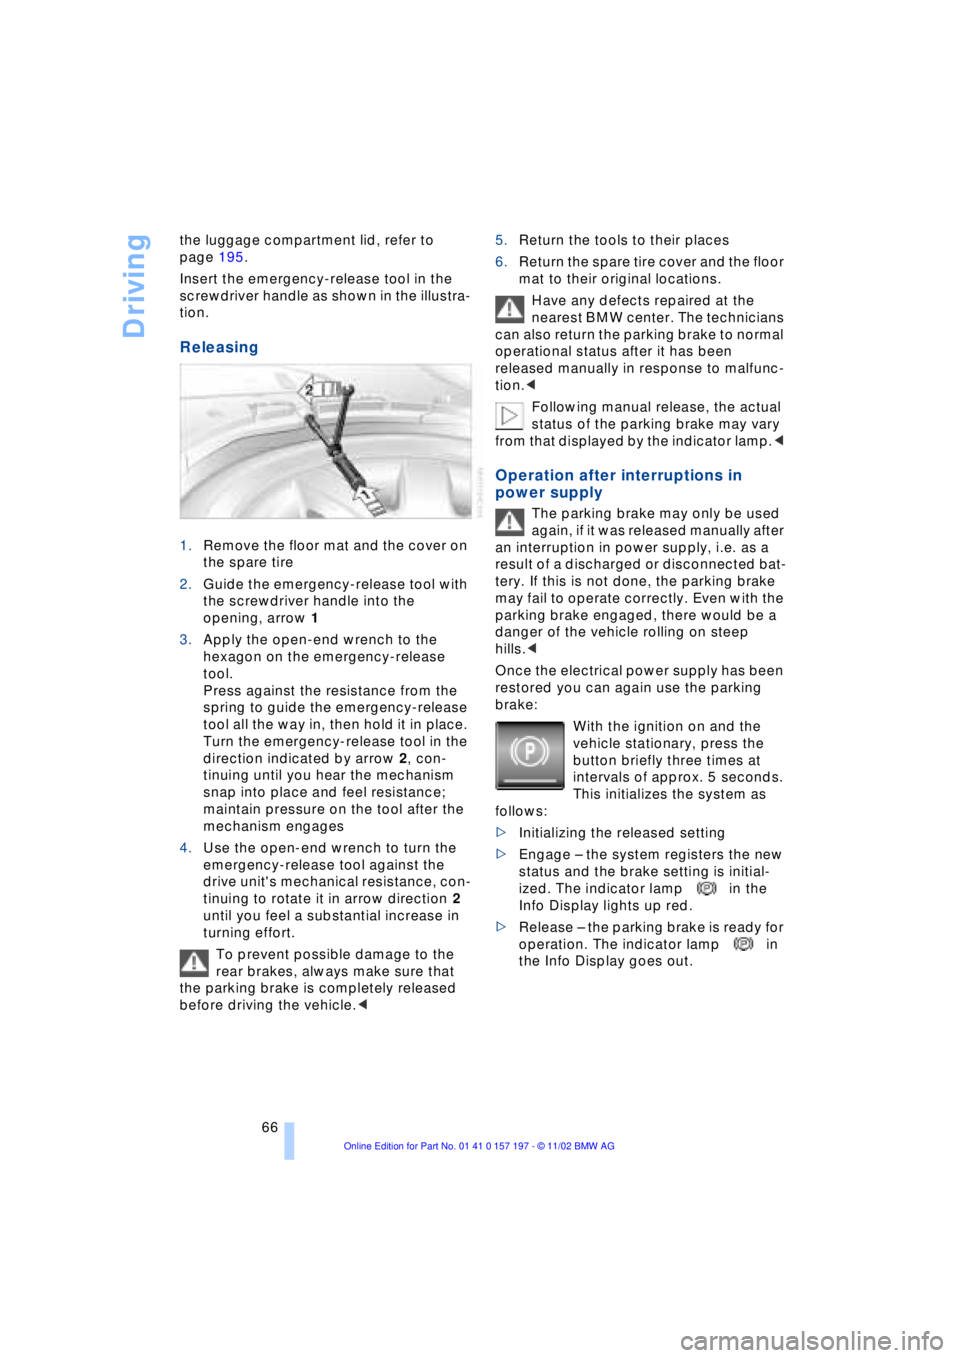
1.Remove the floor mat and the cover on
the spare tire
2.Guide the emergency-release tool with
the screwdriver handle into the
opening, arrow 1
3.Apply the open-end wrench to the
hexagon on the emergency-release
tool.
Press against the resistance from the
spring to guide the emergency-release
tool all the way in, then hold it in place.
Turn the emergency-release tool in the
direction indicated by arrow 2, con-
tinuing until you hear the mechanism
snap into place and feel resistance;
maintain pressure on the tool after the
mechanism engages
4.Use the open-end wrench to turn the
emergency-release tool against the
drive unit's mechanical resistance, con-
tinuing to rotate it in arrow direction 2
until you feel a substantial increase in
turning effort.
To prevent possible damage to the
rear brakes, always make sure that
the parking brake is completely released
before driving the vehicle.< 5.Return the tools to their places
6.Return the spare tire cover and the floor
mat to their original locations.
Have any defects repaired at the
nearest BMW center. The technicians
can also return the parking brake to normal
operational status after it has been
released manually in response to malfunc-
tion.<
Following manual release, the actual
status of the parking brake may vary
from that displayed by the indicator lamp.<
Operation after interruptions in
power supply
The parking brake may only be used
again, if it was released manually after
an interruption in power supply, i.e. as a
result of a discharged or disconnected bat-
tery. If this is not done, the parking brake
may fail to operate correctly. Even with the
parking brake engaged, there would be a
danger of the vehicle rolling on steep
hills.<
Once the electrical power supply has been
restored you can again use the parking
brake:
With the ignition on and the
vehicle stationary, press the
button briefly three times at
intervals of approx. 5 seconds.
This initializes the system as
follows:
>Initializing the released setting
>Engage Ð the system registers the new
status and the brake setting is initial-
ized. The indicator lamp in the
Info Display lights up red.
>Release Ð the parking brake is ready for
operation. The indicator lamp in
the Info Display goes out.