2003 BMW 760LI SEDAN ESP
[x] Cancel search: ESPPage 78 of 229
Driving
76 trips, the system can reduce fatigue and
tension, while increasing your enjoyment of
driving. Please use it safely and respon-
sibly.
In addition to holding a steady cruising
speed, if you do encounter slower vehicles
ahead, active cruise control will Ð within the
scope of given possibilities Ð adjust your
vehicle's speed automatically so that one
can flow with the traffic without frequent
intervention by the driver. If, for example,
while cruising at the selected speed, you
begin to approach a slower vehicle ahead
of you in the same lane, the system will
reduce your vehicle's speed to the same as
that of the vehicle ahead to maintain your
selected distance setting between your
vehicle and the vehicle ahead. There are
four settings for distance, which is addi-
tionally speed-dependent. Based on your
selected distance setting, the system auto-
matically decreases the throttle setting and
lightly applies the brakes if necessary. The
vehicle brake lamps will automatically illu-
minate to signal a following driver to take
action. In addition, it may be necessary for
the vehicle to downshift to maintain the dis-
tance setting selected. If the vehicle ahead
speeds up or when the lane ahead
becomes clear, your vehicle will accelerate
to the speed you have selected by
increasing the throttle setting and shifting
gears as needed.
Active cruise control is not and must
not be used as a collision avoidance/
warning system.<
Since this active cruise control
system is a new technology and oper-
ates differently from conventional cruise
control systems which you may be accus-
tomed, you are strongly urged to read all of
the pages relating to this system before
use. Pay special attention to the informa-
tion contained in the Things to know about
active cruise control section in this manual
beginning on page 79.<
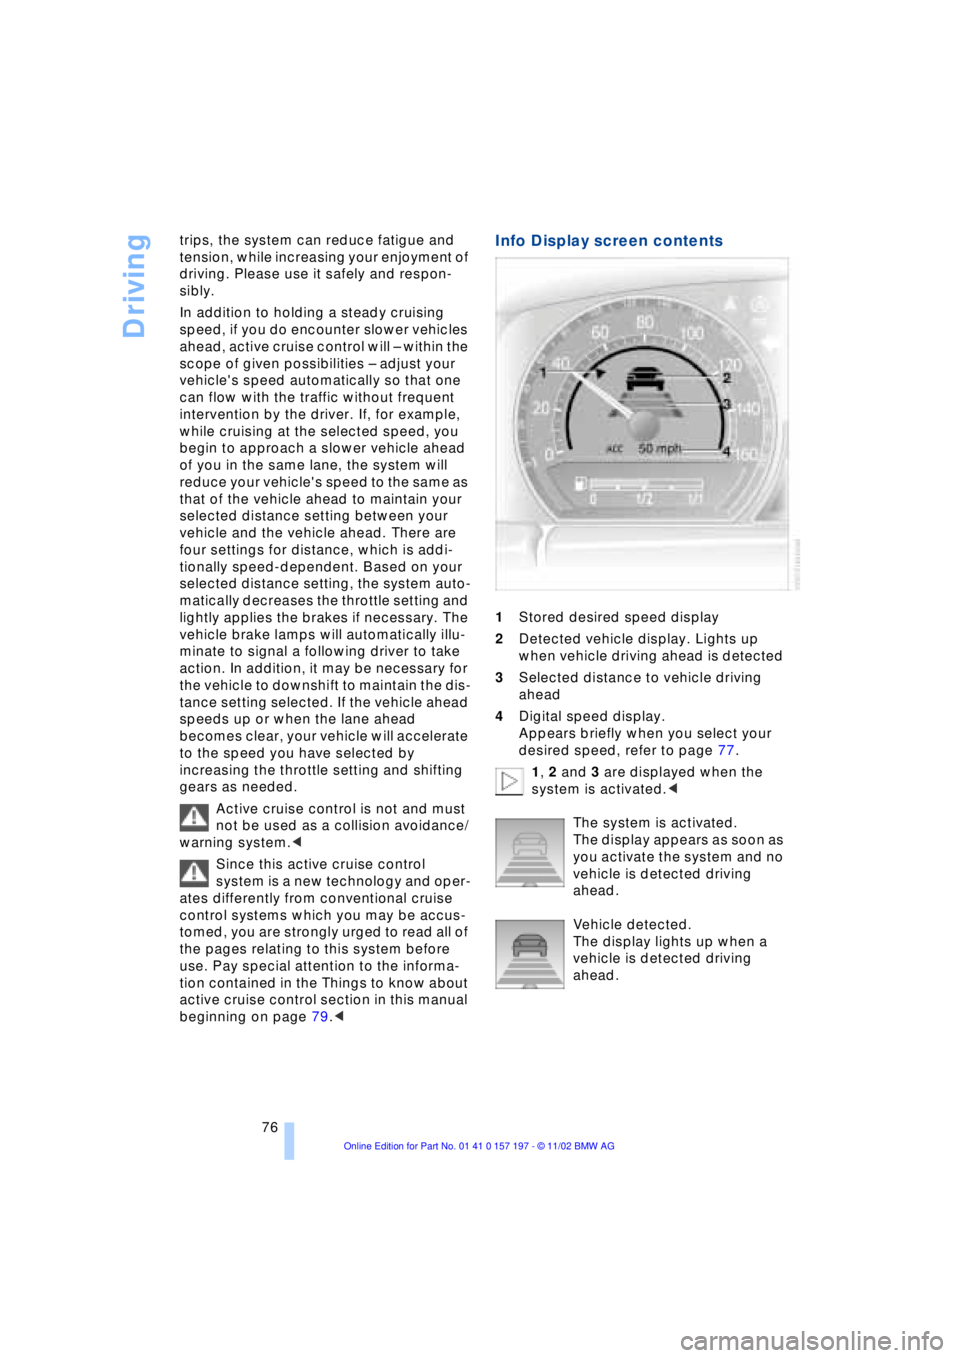
Info Display screen contents
1Stored desired speed display
2Detected vehicle display. Lights up
when vehicle driving ahead is detected
3Selected distance to vehicle driving
ahead
4Digital speed display.
Appears briefly when you select your
desired speed, refer to page 77.
1, 2 and 3 are displayed when the
system is activated.<
The system is activated.
The display appears as soon as
you activate the system and no
vehicle is detected driving
ahead.
Vehicle detected.
The display lights up when a
vehicle is detected driving
ahead.
Page 81 of 229
At a glance
Controls
Driving tips
Communications
Navigation
Entertainment
Mobility
Reference
79
Distance 3
Distance 4
This distance is always set
when the system is used for the
first time after starting the
engine. Use good judgment to select the
appropriate following distance given
road conditions, traffic, applicable laws
and driving recommendations for safe fol-
lowing distance.<
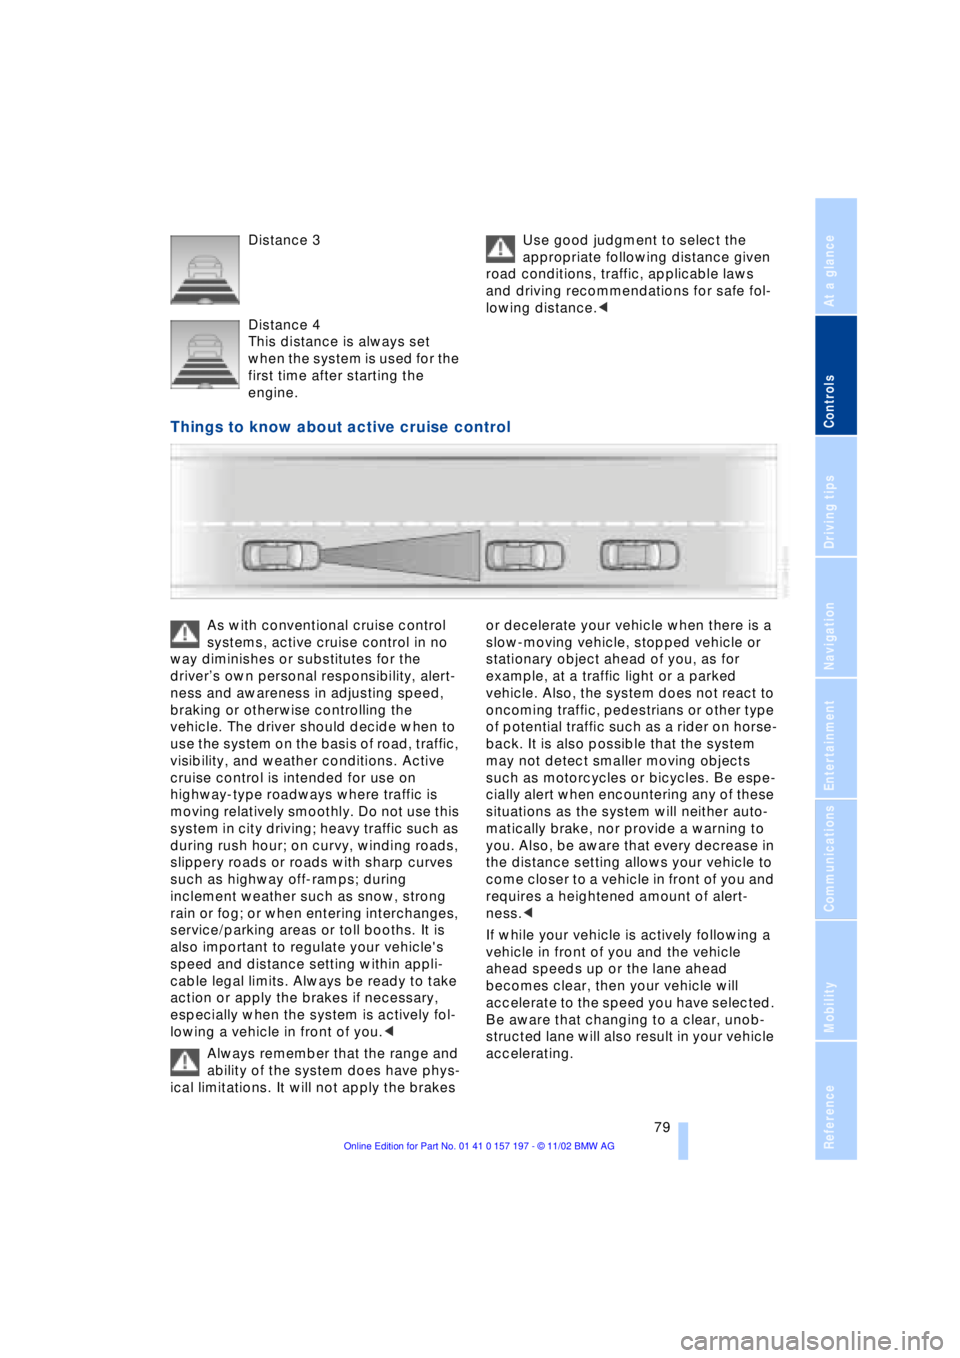
Things to know about active cruise control
As with conventional cruise control
systems, active cruise control in no
way diminishes or substitutes for the
driverÕs own personal responsibility, alert-
ness and awareness in adjusting speed,
braking or otherwise controlling the
vehicle. The driver should decide when to
use the system on the basis of road, traffic,
visibility, and weather conditions. Active
cruise control is intended for use on
highway-type roadways where traffic is
moving relatively smoothly. Do not use this
system in city driving; heavy traffic such as
during rush hour; on curvy, winding roads,
slippery roads or roads with sharp curves
such as highway off-ramps; during
inclement weather such as snow, strong
rain or fog; or when entering interchanges,
service/parking areas or toll booths. It is
also important to regulate your vehicle's
speed and distance setting within appli-
cable legal limits. Always be ready to take
action or apply the brakes if necessary,
especially when the system is actively fol-
lowing a vehicle in front of you.<
Always remember that the range and
ability of the system does have phys-
ical limitations. It will not apply the brakes or decelerate your vehicle when there is a
slow-moving vehicle, stopped vehicle or
stationary object ahead of you, as for
example, at a traffic light or a parked
vehicle. Also, the system does not react to
oncoming traffic, pedestrians or other type
of potential traffic such as a rider on horse-
back. It is also possible that the system
may not detect smaller moving objects
such as motorcycles or bicycles. Be espe-
cially alert when encountering any of these
situations as the system will neither auto-
matically brake, nor provide a warning to
you. Also, be aware that every decrease in
the distance setting allows your vehicle to
come closer to a vehicle in front of you and
requires a heightened amount of alert-
ness.<
If while your vehicle is actively following a
vehicle in front of you and the vehicle
ahead speeds up or the lane ahead
becomes clear, then your vehicle will
accelerate to the speed you have selected.
Be aware that changing to a clear, unob-
structed lane will also result in your vehicle
accelerating.
Page 87 of 229
At a glance
Controls
Driving tips
Communications
Navigation
Entertainment
Mobility
Reference
85
Check Control
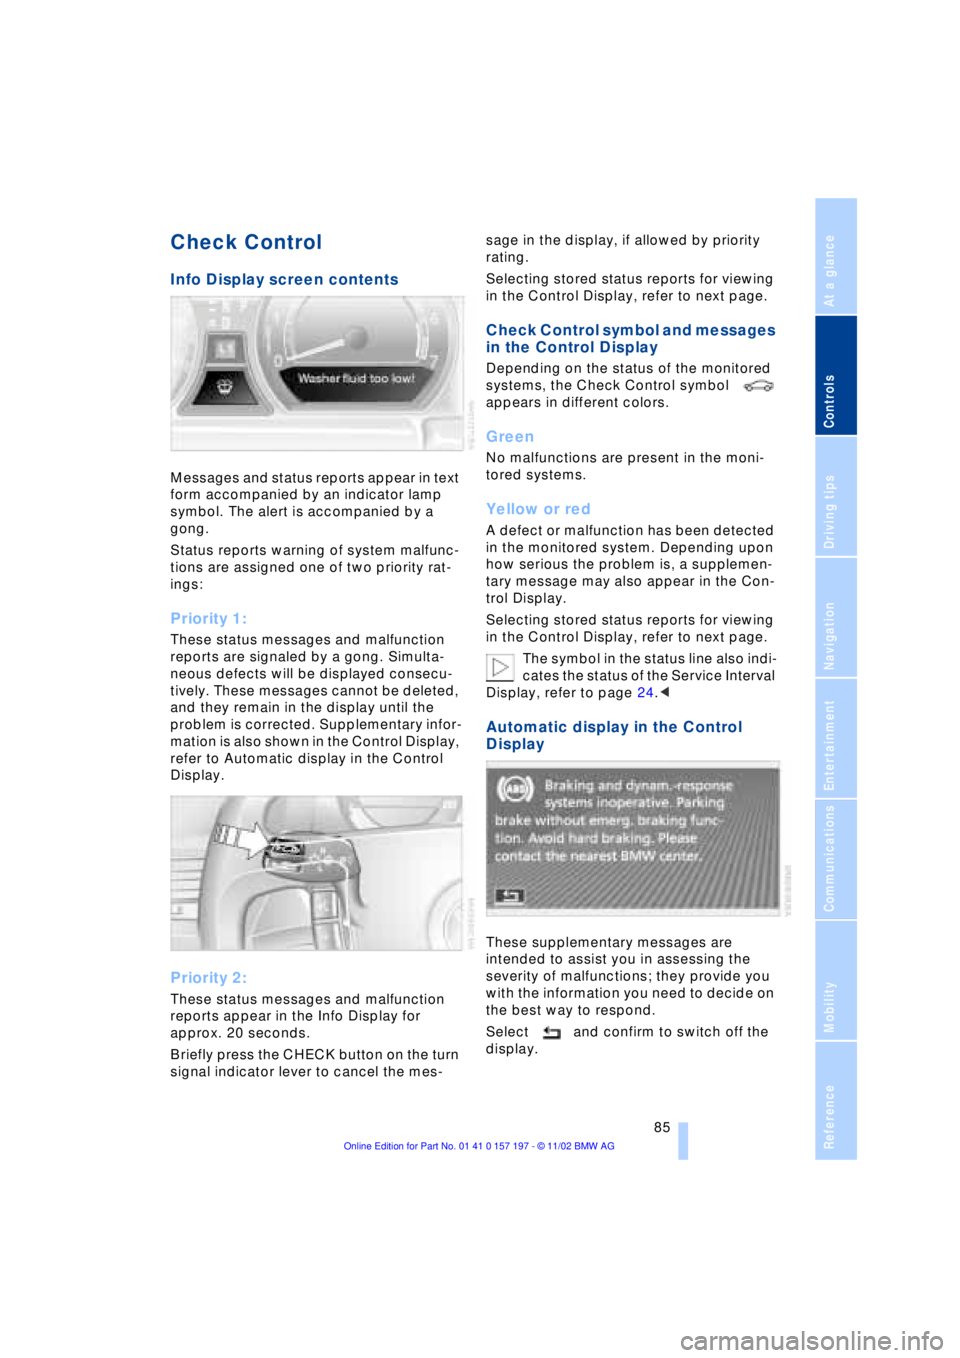
Info Display screen contents
Messages and status reports appear in text
form accompanied by an indicator lamp
symbol. The alert is accompanied by a
gong.
Status reports warning of system malfunc-
tions are assigned one of two priority rat-
ings:
Priority 1:
These status messages and malfunction
reports are signaled by a gong. Simulta-
neous defects will be displayed consecu-
tively. These messages cannot be deleted,
and they remain in the display until the
problem is corrected. Supplementary infor-
mation is also shown in the Control Display,
refer to Automatic display in the Control
Display.
Priority 2:
These status messages and malfunction
reports appear in the Info Display for
approx. 20 seconds.
Briefly press the CHECK button on the turn
signal indicator lever to cancel the mes-sage in the display, if allowed by priority
rating.
Selecting stored status reports for viewing
in the Control Display, refer to next page.
Check Control symbol and messages
in the Control Display
Depending on the status of the monitored
systems, the Check Control symbol
appears in different colors.
Green
No malfunctions are present in the moni-
tored systems.
Yellow or red
A defect or malfunction has been detected
in the monitored system. Depending upon
how serious the problem is, a supplemen-
tary message may also appear in the Con-
trol Display.
Selecting stored status reports for viewing
in the Control Display, refer to next page.
The symbol in the status line also indi-
cates the status of the Service Interval
Display, refer to page 24.<
Automatic display in the Control
Display
These supplementary messages are
intended to assist you in assessing the
severity of malfunctions; they provide you
with the information you need to decide on
the best way to respond.
Select and confirm to switch off the
display.
Page 96 of 229
Technology for comfort, convenience and safety
94
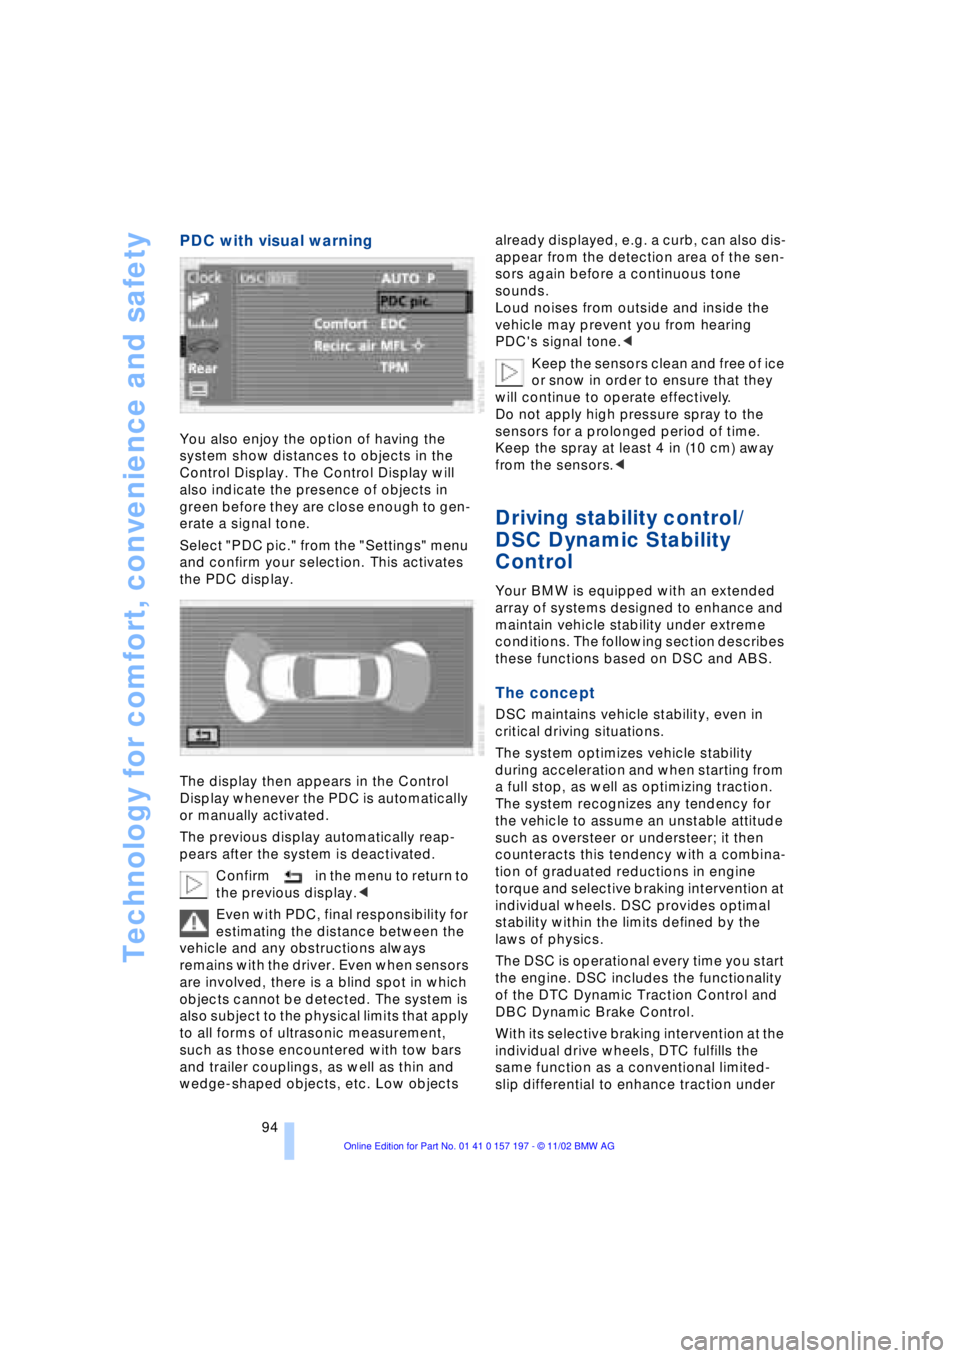
PDC with visual warning
You also enjoy the option of having the
system show distances to objects in the
Control Display. The Control Display will
also indicate the presence of objects in
green before they are close enough to gen-
erate a signal tone.
Select "PDC pic." from the "Settings" menu
and confirm your selection. This activates
the PDC display.
The display then appears in the Control
Display whenever the PDC is automatically
or manually activated.
The previous display automatically reap-
pears after the system is deactivated.
Confirm in the menu to return to
the previous display.<
Even with PDC, final responsibility for
estimating the distance between the
vehicle and any obstructions always
remains with the driver. Even when sensors
are involved, there is a blind spot in which
objects cannot be detected. The system is
also subject to the physical limits that apply
to all forms of ultrasonic measurement,
such as those encountered with tow bars
and trailer couplings, as well as thin and
wedge-shaped objects, etc. Low objects already displayed, e.g. a curb, can also dis-
appear from the detection area of the sen-
sors again before a continuous tone
sounds.
Loud noises from outside and inside the
vehicle may prevent you from hearing
PDC's signal tone.<
Keep the sensors clean and free of ice
or snow in order to ensure that they
will continue to operate effectively.
Do not apply high pressure spray to the
sensors for a prolonged period of time.
Keep the spray at least 4 in (10 cm) away
from the sensors.<
Driving stability control/
DSC Dynamic Stability
Control
Your BMW is equipped with an extended
array of systems designed to enhance and
maintain vehicle stability under extreme
conditions. The following section describes
these functions based on DSC and ABS.
The concept
DSC maintains vehicle stability, even in
critical driving situations.
The system optimizes vehicle stability
during acceleration and when starting from
a full stop, as well as optimizing traction.
The system recognizes any tendency for
the vehicle to assume an unstable attitude
such as oversteer or understeer; it then
counteracts this tendency with a combina-
tion of graduated reductions in engine
torque and selective braking intervention at
individual wheels. DSC provides optimal
stability within the limits defined by the
laws of physics.
The DSC is operational every time you start
the engine. DSC includes the functionality
of the DTC Dynamic Traction Control and
DBC Dynamic Brake Control.
With its selective braking intervention at the
individual drive wheels, DTC fulfills the
same function as a conventional limited-
slip differential to enhance traction under
Page 97 of 229
At a glance
Controls
Driving tips
Communications
Navigation
Entertainment
Mobility
Reference
95
difficult driving conditions, such as on
snow, etc.
Indicator lamps
The indicator lamp in the Info Dis-
play goes out soon after you start
the engine.
If the indicator lamp flashes:
DSC controls the drive and braking forces.
The indicator lamp stays lit:
DSC has been switched off via the Control
Display.
The indicator lamp and the brake
warning lamp remain on continu-
ously:
DSC, DTC and DBC have been
deactivated or a system malfunc-
tion is present.
When the system is off, the stability main-
tenance functions described above are no
longer available. The vehicle will remain
completely operational, however, without
DSC.
Please respond to any malfunctions by
referring the problem to your BMW center.
Indicator and warning lamps on
Canadian models.
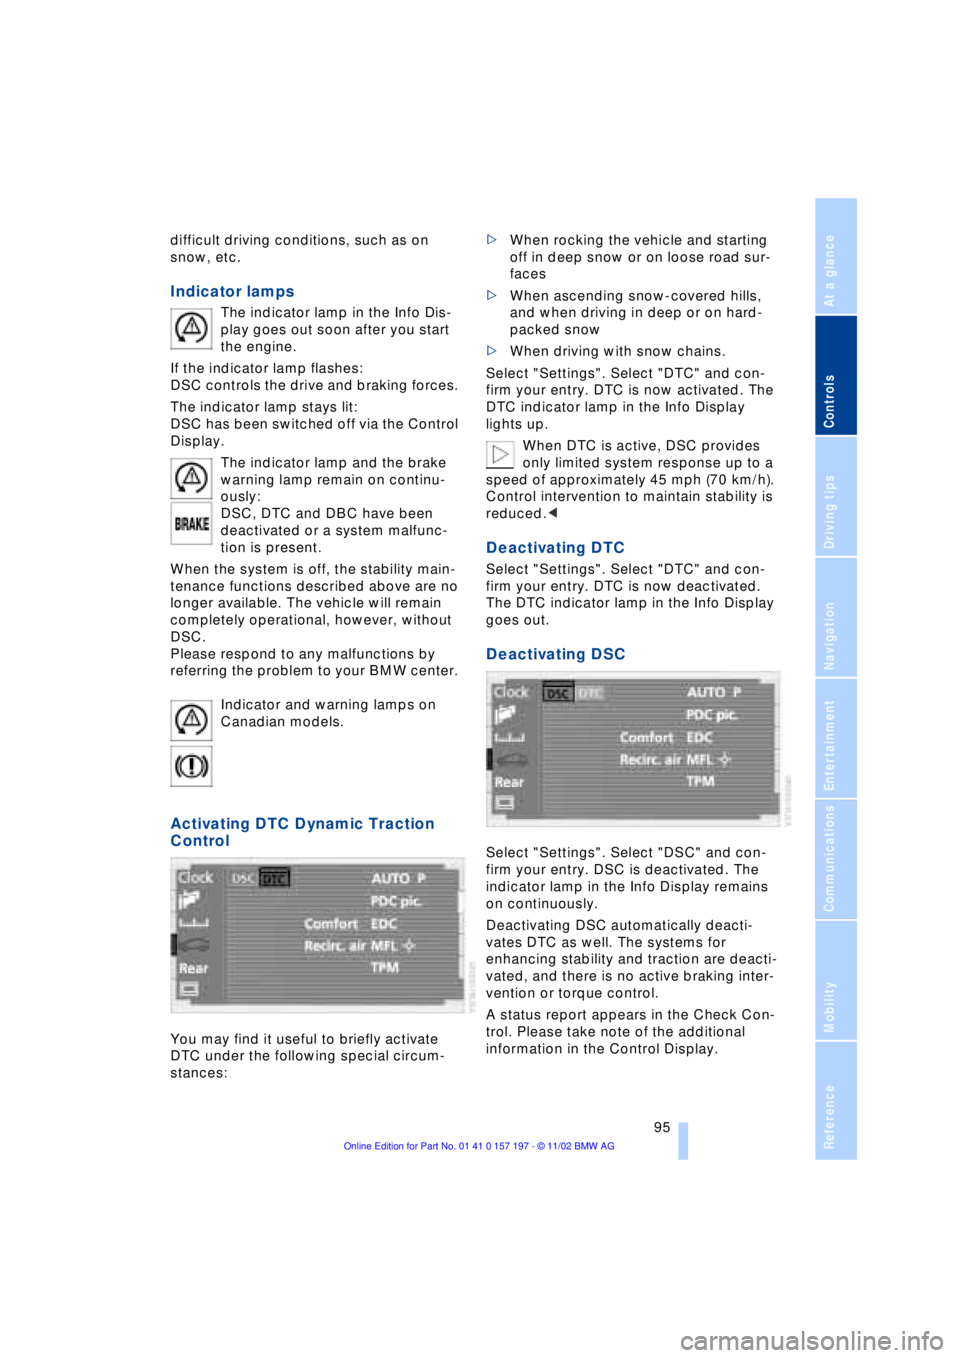
Activating DTC Dynamic Traction
Control
You may find it useful to briefly activate
DTC under the following special circum-
stances: >When rocking the vehicle and starting
off in deep snow or on loose road sur-
faces
>When ascending snow-covered hills,
and when driving in deep or on hard-
packed snow
>When driving with snow chains.
Select "Settings". Select "DTC" and con-
firm your entry. DTC is now activated. The
DTC indicator lamp in the Info Display
lights up.
When DTC is active, DSC provides
only limited system response up to a
speed of approximately 45 mph (70 km/h).
Control intervention to maintain stability is
reduced.<
Deactivating DTC
Select "Settings". Select "DTC" and con-
firm your entry. DTC is now deactivated.
The DTC indicator lamp in the Info Display
goes out.
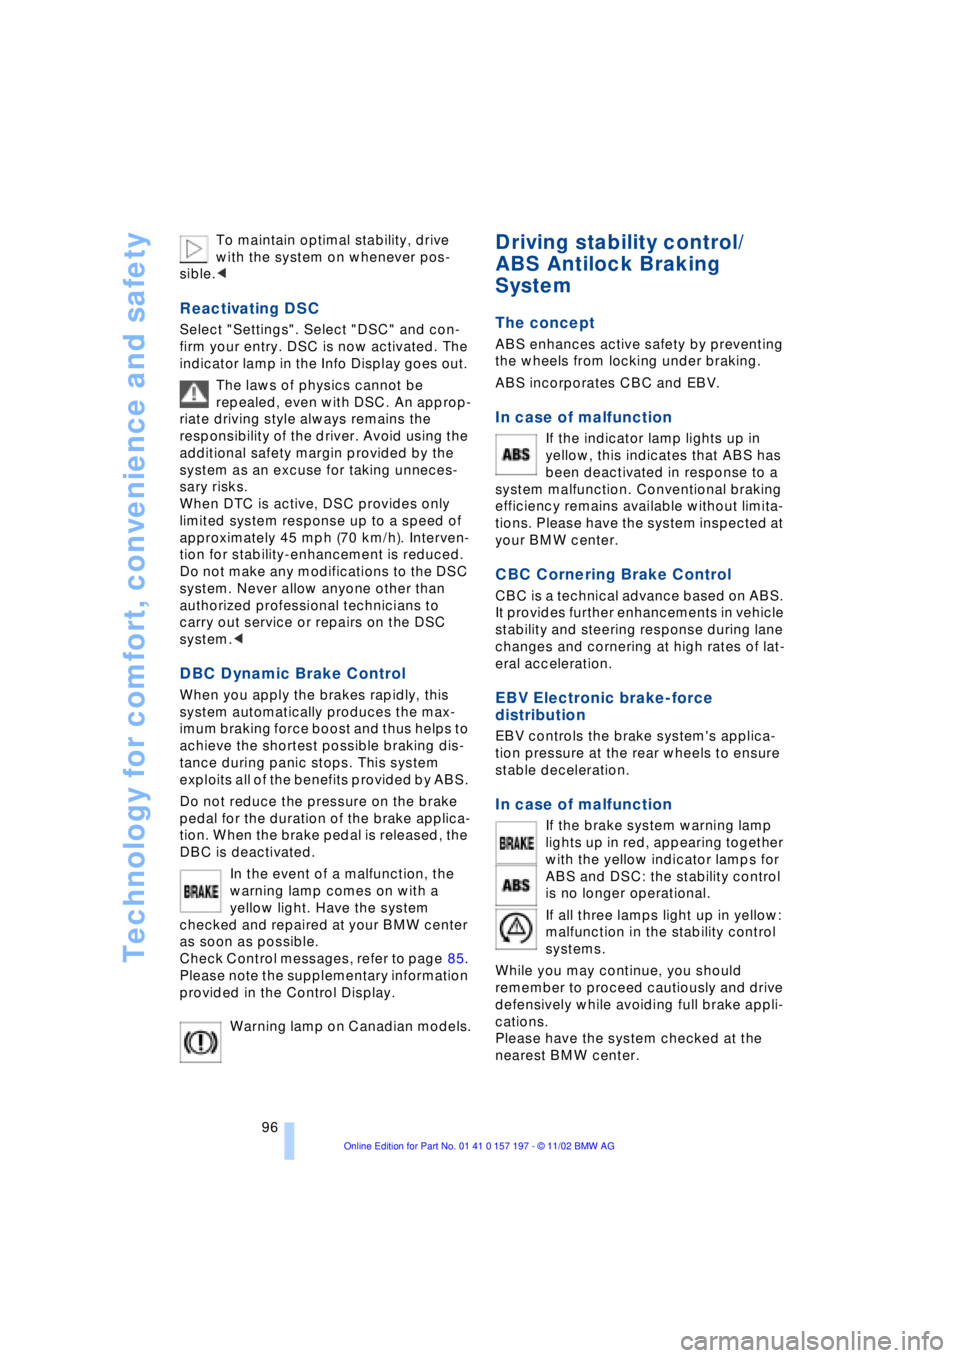
Deactivating DSC
Select "Settings". Select "DSC" and con-
firm your entry. DSC is deactivated. The
indicator lamp in the Info Display remains
on continuously.
Deactivating DSC automatically deacti-
vates DTC as well. The systems for
enhancing stability and traction are deacti-
vated, and there is no active braking inter-
vention or torque control.
A status report appears in the Check Con-
trol. Please take note of the additional
information in the Control Display.
Page 98 of 229
Technology for comfort, convenience and safety
96 To maintain optimal stability, drive
with the system on whenever pos-
sible.<
Reactivating DSC
Select "Settings". Select "DSC" and con-
firm your entry. DSC is now activated. The
indicator lamp in the Info Display goes out.
The laws of physics cannot be
repealed, even with DSC. An approp-
riate driving style always remains the
responsibility of the driver. Avoid using the
additional safety margin provided by the
system as an excuse for taking unneces-
sary risks.
When DTC is active, DSC provides only
limited system response up to a speed of
approximately 45 mph (70 km/h). Interven-
tion for stability-enhancement is reduced.
Do not make any modifications to the DSC
system. Never allow anyone other than
authorized professional technicians to
carry out service or repairs on the DSC
system.<
DBC Dynamic Brake Control
When you apply the brakes rapidly, this
system automatically produces the max-
imum braking force boost and thus helps to
achieve the shortest possible braking dis-
tance during panic stops. This system
exploits all of the benefits provided by ABS.
Do not reduce the pressure on the brake
pedal for the duration of the brake applica-
tion. When the brake pedal is released, the
DBC is deactivated.
In the event of a malfunction, the
warning lamp comes on with a
yellow light. Have the system
checked and repaired at your BMW center
as soon as possible.
Check Control messages, refer to page 85.
Please note the supplementary information
provided in the Control Display.
Warning lamp on Canadian models.
Driving stability control/
ABS Antilock Braking
System
The concept
ABS enhances active safety by preventing
the wheels from locking under braking.
ABS incorporates CBC and EBV.
In case of malfunction
If the indicator lamp lights up in
yellow, this indicates that ABS has
been deactivated in response to a
system malfunction. Conventional braking
efficiency remains available without limita-
tions. Please have the system inspected at
your BMW center.
CBC Cornering Brake Control
CBC is a technical advance based on ABS.
It provides further enhancements in vehicle
stability and steering response during lane
changes and cornering at high rates of lat-
eral acceleration.
EBV Electronic brake-force
distribution
EBV controls the brake system's applica-
tion pressure at the rear wheels to ensure
stable deceleration.
In case of malfunction
If the brake system warning lamp
lights up in red, appearing together
with the yellow indicator lamps for
ABS and DSC: the stability control
is no longer operational.
If all three lamps light up in yellow:
malfunction in the stability control
systems.
While you may continue, you should
remember to proceed cautiously and drive
defensively while avoiding full brake appli-
cations.
Please have the system checked at the
nearest BMW center.
Page 99 of 229
At a glance
Controls
Driving tips
Communications
Navigation
Entertainment
Mobility
Reference
97
Check Control messages, refer to page 85.
Please note the supplementary information
provided in the Control Display.
Indicator and warning lamps on
Canadian models.
Dynamic Drive
The concept
Dynamic Drive minimizes body roll and
optimizes vehicle stability during cornering
and evasive maneuvers.
Active stabilizers at the front and rear axles
form the basis for Dynamic Drive. Suspen-
sion compliance adapts to suit driving con-
ditions, varying from performance-oriented
during cornering to smooth and comfort-
oriented when the vehicle is proceeding in
a straight line.
The system assumes operational status
each time you start the engine.
Driving with Dynamic Drive
During vehicle operation, the system con-
tinuously runs through closed-loop control
cycles lasting only fractions of a second.
In case of malfunction
The symbol will light up, accompa-
nied by a status message in the
Check Control. Please take note of
the additional information in the Control
Display.
You can find more detailed information on
the Check Control starting on page 85.
If the Dynamic Drive system switches
off in response to malfunction, please
remember to adapt your speed accord-
ingly, especially in curves.
The suspension will be noticeably softer
and the vehicle will display a greater ten-dency to tilt during cornering and in cross-
winds.
If a Check Control message stating that
you should stop appears in addition to the
red symbol, stop immediately and switch
off the engine. In this case the oil level in
the reservoir may have dropped below the
minimum, possibly owing to a leak in the
hydraulic system.
Please observe the additional instructions
provided in the Control Display.<
EDC Electronic Damping
Control*
The suspension responds to changes in
factors such as road surface, or operating
conditions such as steering and braking, by
adapting to the new conditions within frac-
tions of a second.
Comfort program
The system automatically assumes opera-
tion in its Comfort mode each time you start
the engine; this mode is suitable for use
throughout the vehicle's entire speed range
and regardless of load.
Sport program
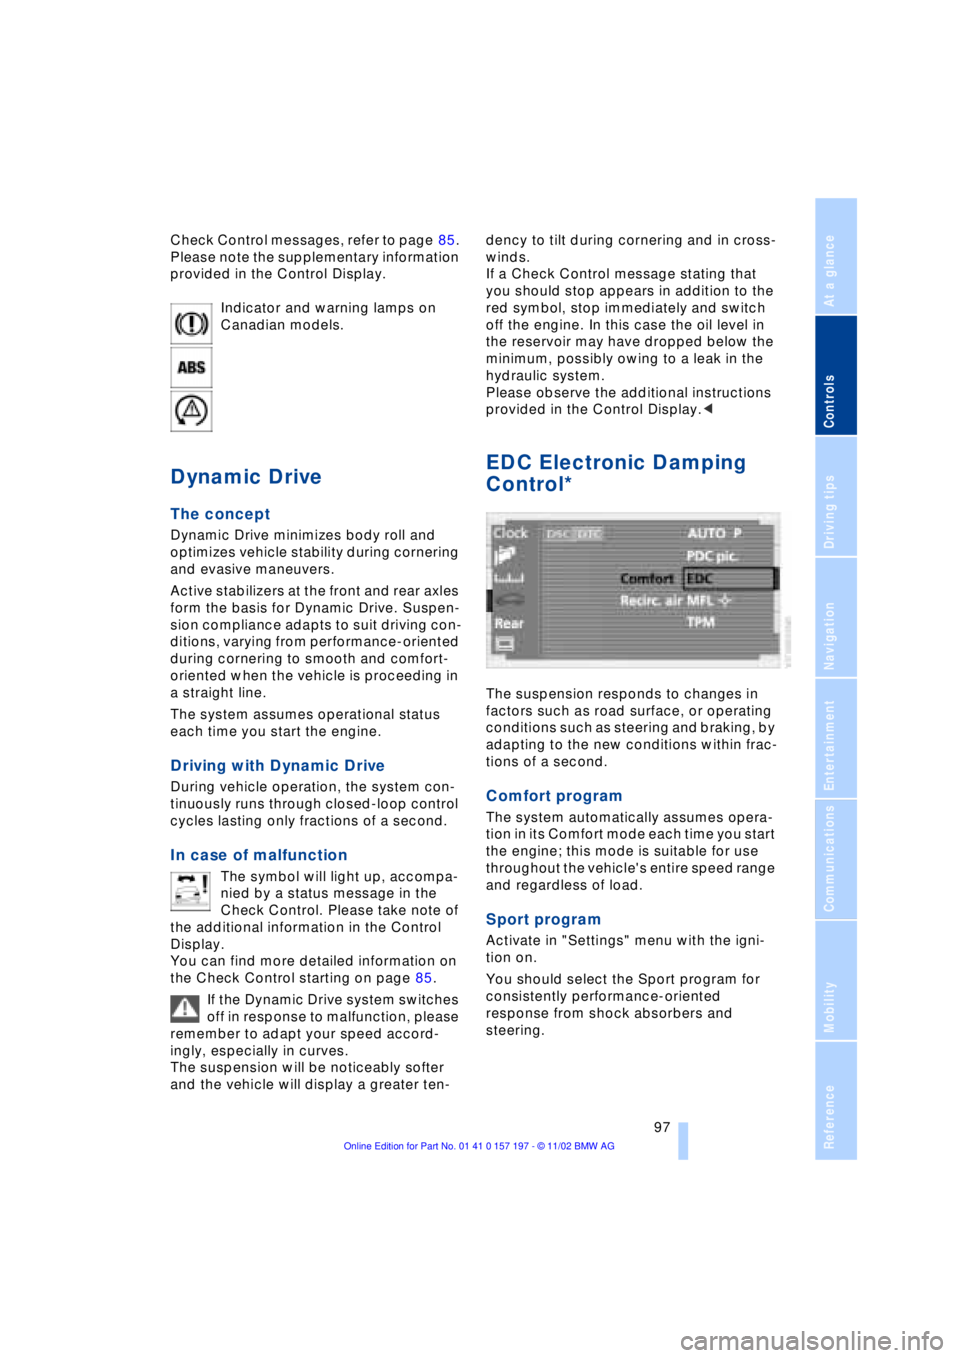
Activate in "Settings" menu with the igni-
tion on.
You should select the Sport program for
consistently performance-oriented
response from shock absorbers and
steering.
Page 101 of 229
At a glance
Controls
Driving tips
Communications
Navigation
Entertainment
Mobility
Reference
99
Check the tire inflation pressure regu-
larly and correct it if necessary, refer
to page 185.
Do not initialize the system when snow
chains are fitted. False alarms and unde-
tected loss of pressure may occur in such
situations.
When driving on snow-covered or slippery
surfaces, it may take some time for a loss of
tire pressure to be indicated.
A sports driving style Ð spinning of the
driven wheels, high lateral accelerations Ð
can likewise result in a delayed response
from the Flat Tire Monitor.<
System malfunctions
The symbol will appear in yellow in the
Check Control and a message will appear.
Please refer to the additional information
supplied in the Control Display, and have
the system inspected at your BMW center.
TPM Tire Pressure Monitor*
The concept
TPM monitors inflation pressures in all four
tires while you drive. The system provides
an alert whenever the inflation pressure
drops significantly below the specified
pressure in one or more tires.
To initialize TPM, start by checking the
inflation pressures in all four tires and com-
paring them with those specified in the
table on page 185, correcting them as nec-
essary.Then proceed to initialize the
system.
This symbol will appear in the
Check Control to inform you when
the inflation pressure varies from
that stored in the system. A text message
appears at the same time.
Please take note of the additional informa-
tion in the Control Display.
You can find more information on the
Check Control starting on page 85.
The TPM cannot alert you to severe
and sudden tire damage caused by
external factors.<
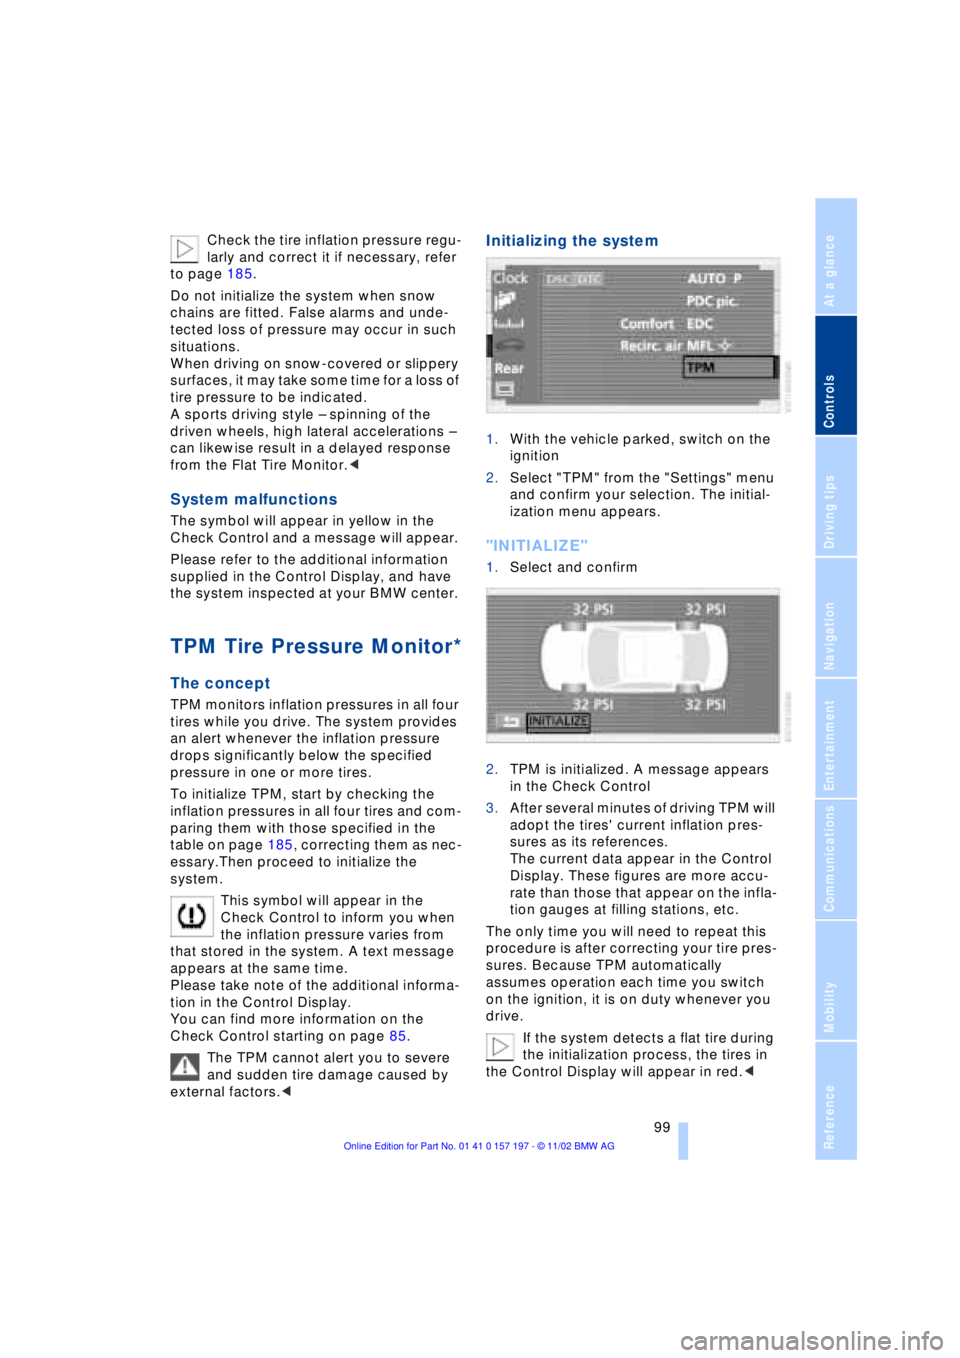
Initializing the system
1.With the vehicle parked, switch on the
ignition
2.Select "TPM" from the "Settings" menu
and confirm your selection. The initial-
ization menu appears.
"INITIALIZE"
1.Select and confirm
2.TPM is initialized. A message appears
in the Check Control
3.After several minutes of driving TPM will
adopt the tires' current inflation pres-
sures as its references.
The current data appear in the Control
Display. These figures are more accu-
rate than those that appear on the infla-
tion gauges at filling stations, etc.
The only time you will need to repeat this
procedure is after correcting your tire pres-
sures. Because TPM automatically
assumes operation each time you switch
on the ignition, it is on duty whenever you
drive.
If the system detects a flat tire during
the initialization process, the tires in
the Control Display will appear in red.<