2003 BMW 760LI SEDAN ESP
[x] Cancel search: ESPPage 128 of 229
Things to remember when driving
126 Warning lamp for Canadian models.
The brake pads have reached their
minimum pad thickness. Have them
replaced at your BMW center as soon as
possible.
For your own safety: use only brake
pads that BMW has released for your
particular vehicle model. Because BMW
cannot assess the suitability of other brake
pads for use on your vehicle, we are unable
to assume continued responsibility for the
vehicle's operating safety if non-approved
pads are installed.<
Cargo loading
Stowing cargo
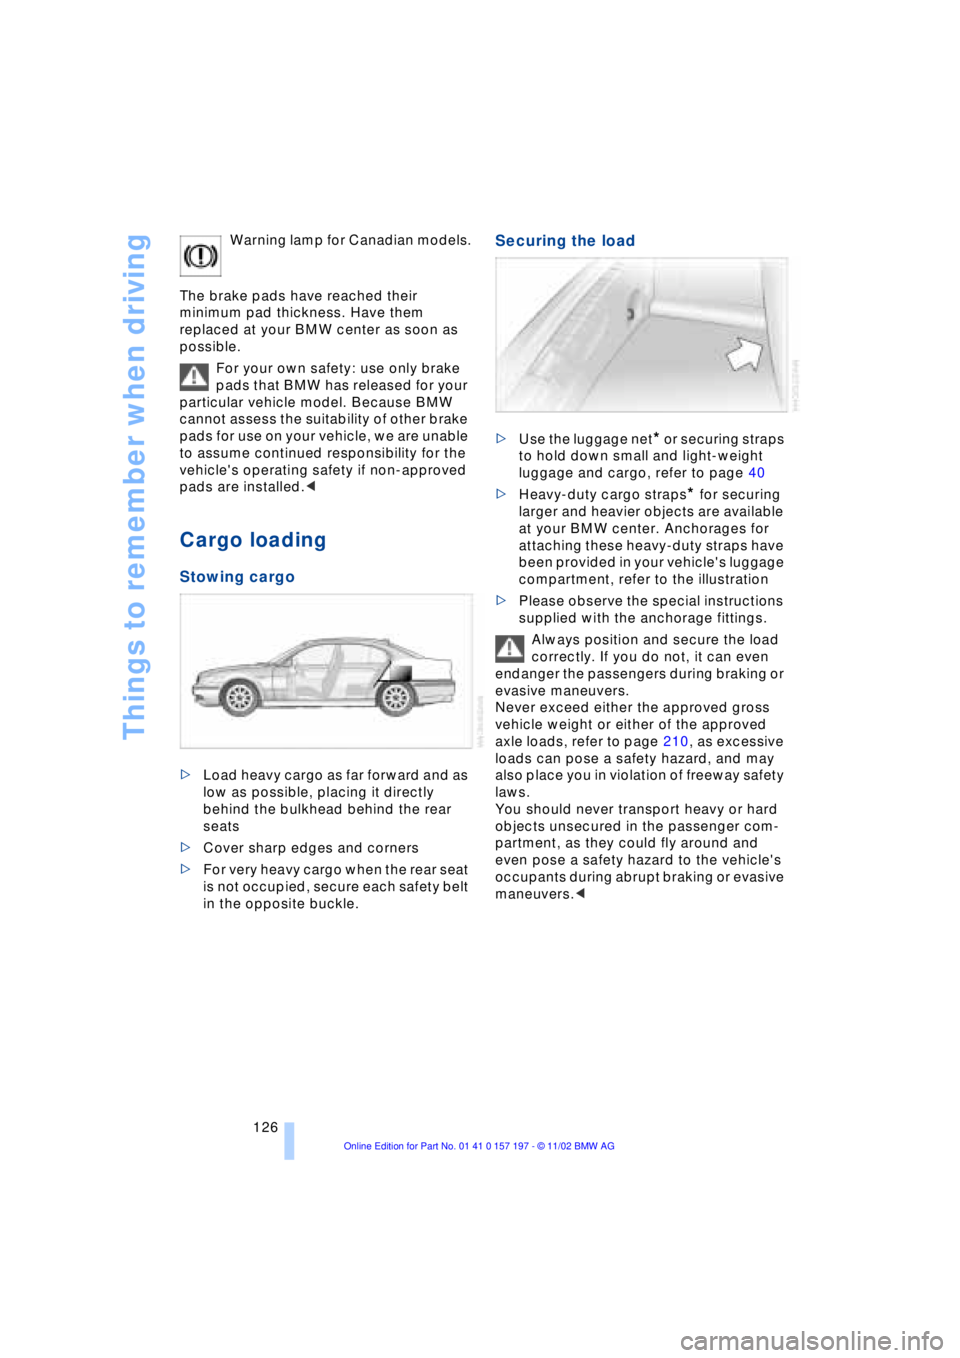
>Load heavy cargo as far forward and as
low as possible, placing it directly
behind the bulkhead behind the rear
seats
>Cover sharp edges and corners
>For very heavy cargo when the rear seat
is not occupied, secure each safety belt
in the opposite buckle.
Securing the load
>Use the luggage net* or securing straps
to hold down small and light-weight
luggage and cargo, refer to page 40
>Heavy-duty cargo straps
* for securing
larger and heavier objects are available
at your BMW center. Anchorages for
attaching these heavy-duty straps have
been provided in your vehicle's luggage
compartment, refer to the illustration
>Please observe the special instructions
supplied with the anchorage fittings.
Always position and secure the load
correctly. If you do not, it can even
endanger the passengers during braking or
evasive maneuvers.
Never exceed either the approved gross
vehicle weight or either of the approved
axle loads, refer to page 210, as excessive
loads can pose a safety hazard, and may
also place you in violation of freeway safety
laws.
You should never transport heavy or hard
objects unsecured in the passenger com-
partment, as they could fly around and
even pose a safety hazard to the vehicle's
occupants during abrupt braking or evasive
maneuvers.<
Page 129 of 229
At a glance
Controls
Driving tips
Communications
Navigation
Entertainment
Mobility
Reference
127
Roof-mounted luggage
rack*
Anchorage points
The anchorage points are located within
the door openings.
A special rack system is available as an
option for your BMW. Please comply with
the precautions included with the installa-
tion instructions.
Because roof racks raise the vehicle's
center of gravity when loaded, they have a
major effect on its handling and steering
response.
You should therefore always remember not
to exceed the approved roof weight, the
approved gross vehicle weight or the axle
loads when loading the rack.
You can find the specified weights in the
Technical data section on page 210.
Make sure that the load is not too heavy,
and that it does not extend outward to
beyond the limits of the loading surface.
Always load the heaviest pieces first Ð on
the bottom. Be sure that adequate clea-
rance is maintained for raising the sliding/
tilt sunroof, and that objects do not project
into the opening path of the luggage com-
partment lid.
Secure roof-mounted cargo correctly and
securely to prevent it from shifting or being
lost during the trip.
Drive smoothly. Avoid sudden acceleration
and braking maneuvers. Take corners
gently.
Entry/pass tags
Infrared windshield technology has been
used on your vehicle to minimize solar
heating of the vehicle interior. This tech-
nology also reduces the ability of electronic
devices to transmit and receive through the
windshield, which will impair their perfor-
mance and operating range.
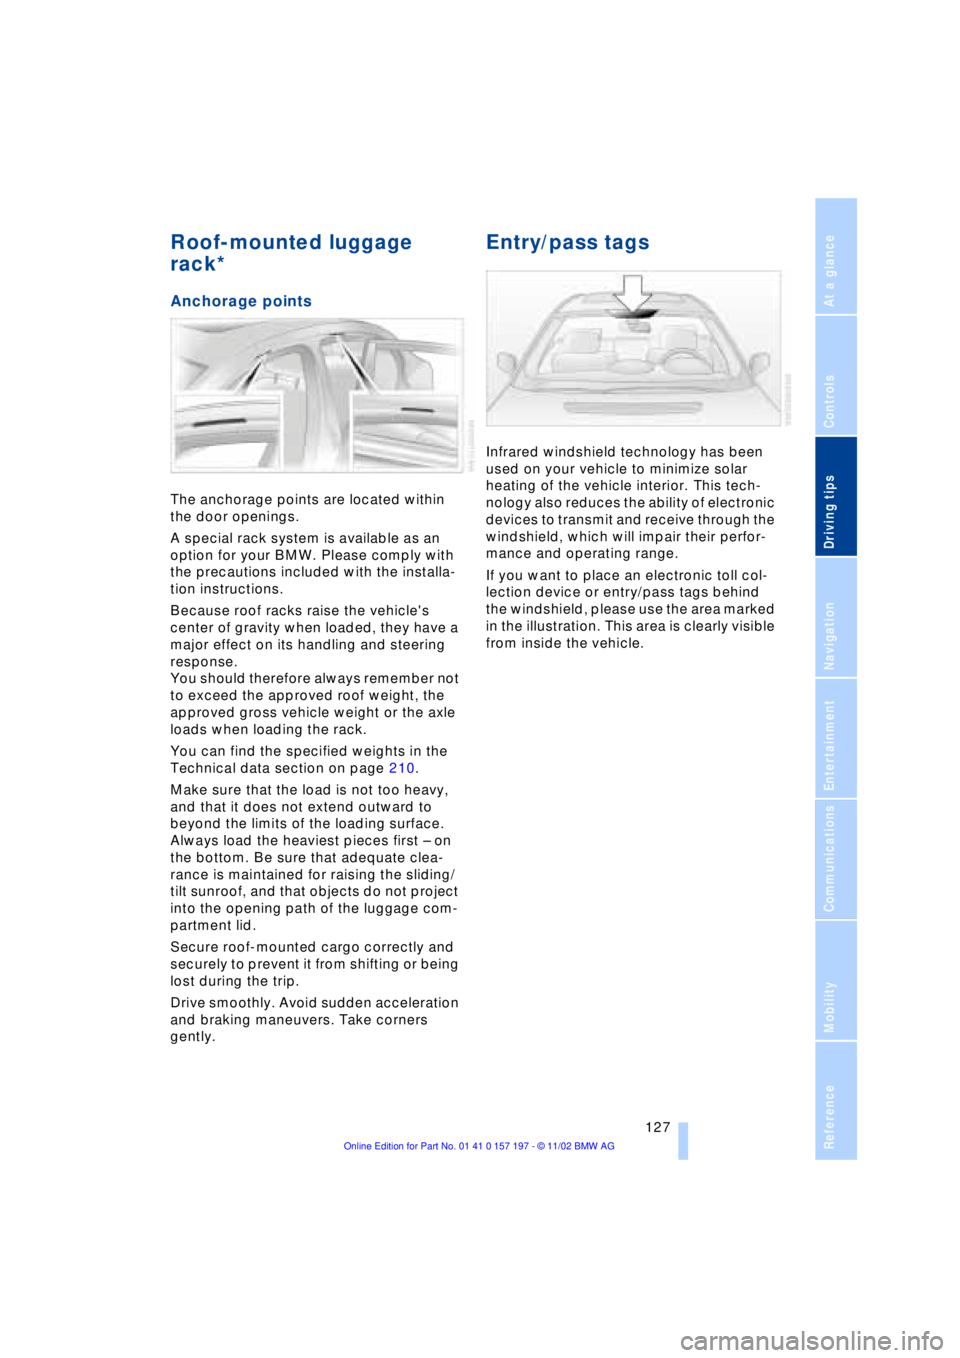
If you want to place an electronic toll col-
lection device or entry/pass tags behind
the windshield, please use the area marked
in the illustration. This area is clearly visible
from inside the vehicle.
Page 132 of 229
Navigation
130
Navigation
GPS
Enter data only when the vehicle is
stationary, and always obey the traffic
regulations and road signs in the event of
any contradiction between traffic and road
conditions and the instructions issued by
the navigation system. If you do not
observe this precaution, you may be in vio-
lation of the law, and can endanger vehicle
occupants and other road users.<
GPS stands for Global Positioning System.
This integral component within your
vehicle's navigation system relies on refer-
ence satellites to determine the precise
location of your vehicle.
By allowing you to find your destination
without having to consult conventional
road maps as you drive, the navigation
system makes an important contribution to
traffic safety.
The result: the navigation system provides
you with dependable guidance to your des-
tination.
Map CD
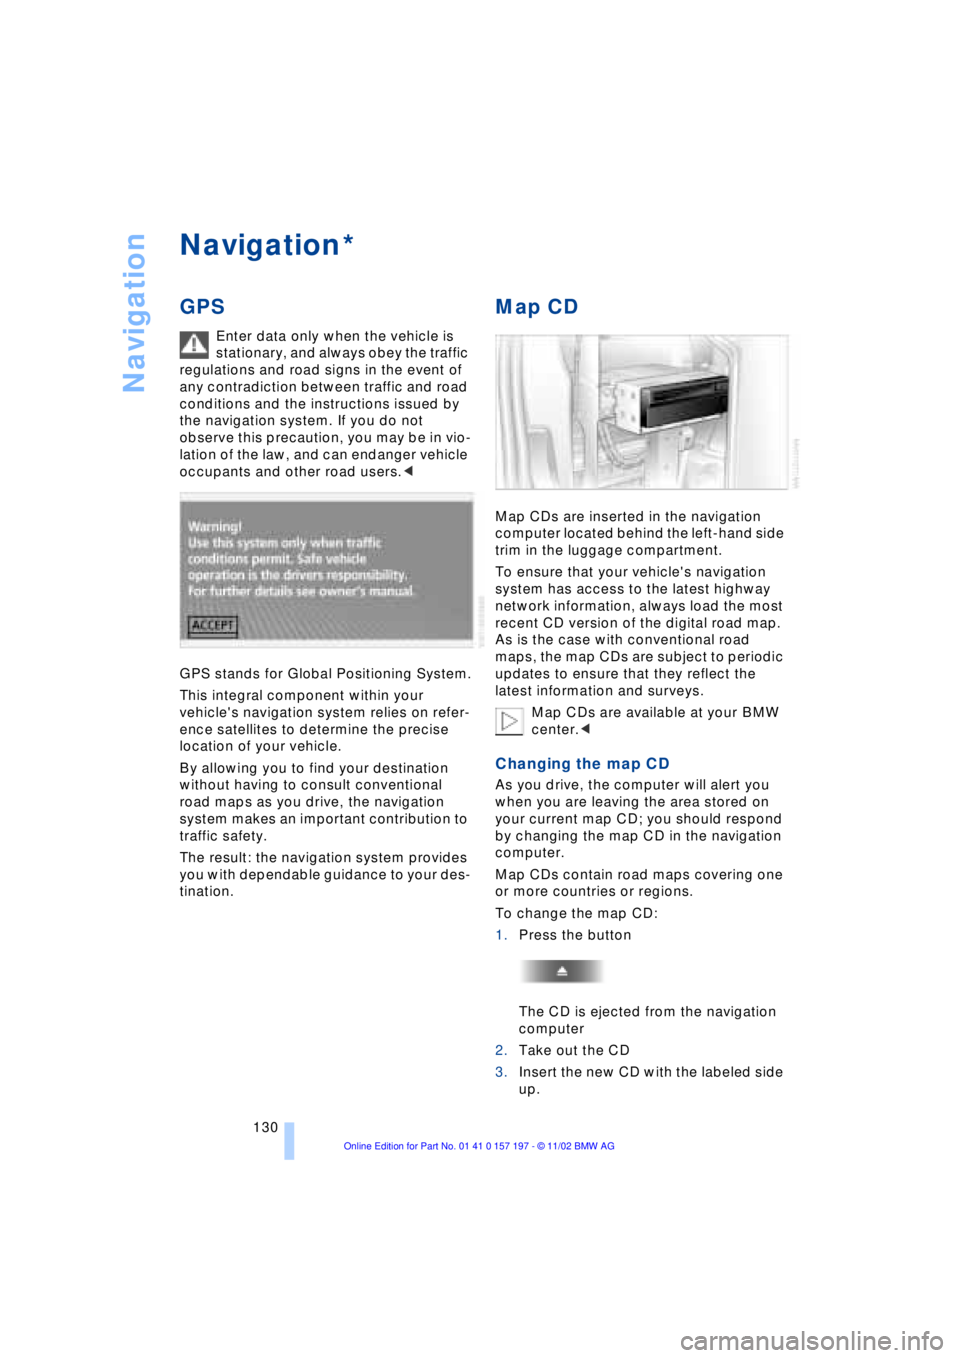
Map CDs are inserted in the navigation
computer located behind the left-hand side
trim in the luggage compartment.
To ensure that your vehicle's navigation
system has access to the latest highway
network information, always load the most
recent CD version of the digital road map.
As is the case with conventional road
maps, the map CDs are subject to periodic
updates to ensure that they reflect the
latest information and surveys.
Map CDs are available at your BMW
center.<
Changing the map CD
As you drive, the computer will alert you
when you are leaving the area stored on
your current map CD; you should respond
by changing the map CD in the navigation
computer.
Map CDs contain road maps covering one
or more countries or regions.
To change the map CD:
1.Press the button
The CD is ejected from the navigation
computer
2.Take out the CD
3.Insert the new CD with the labeled side
up.
*
Page 144 of 229
Navigation
142
Location
Display of current location
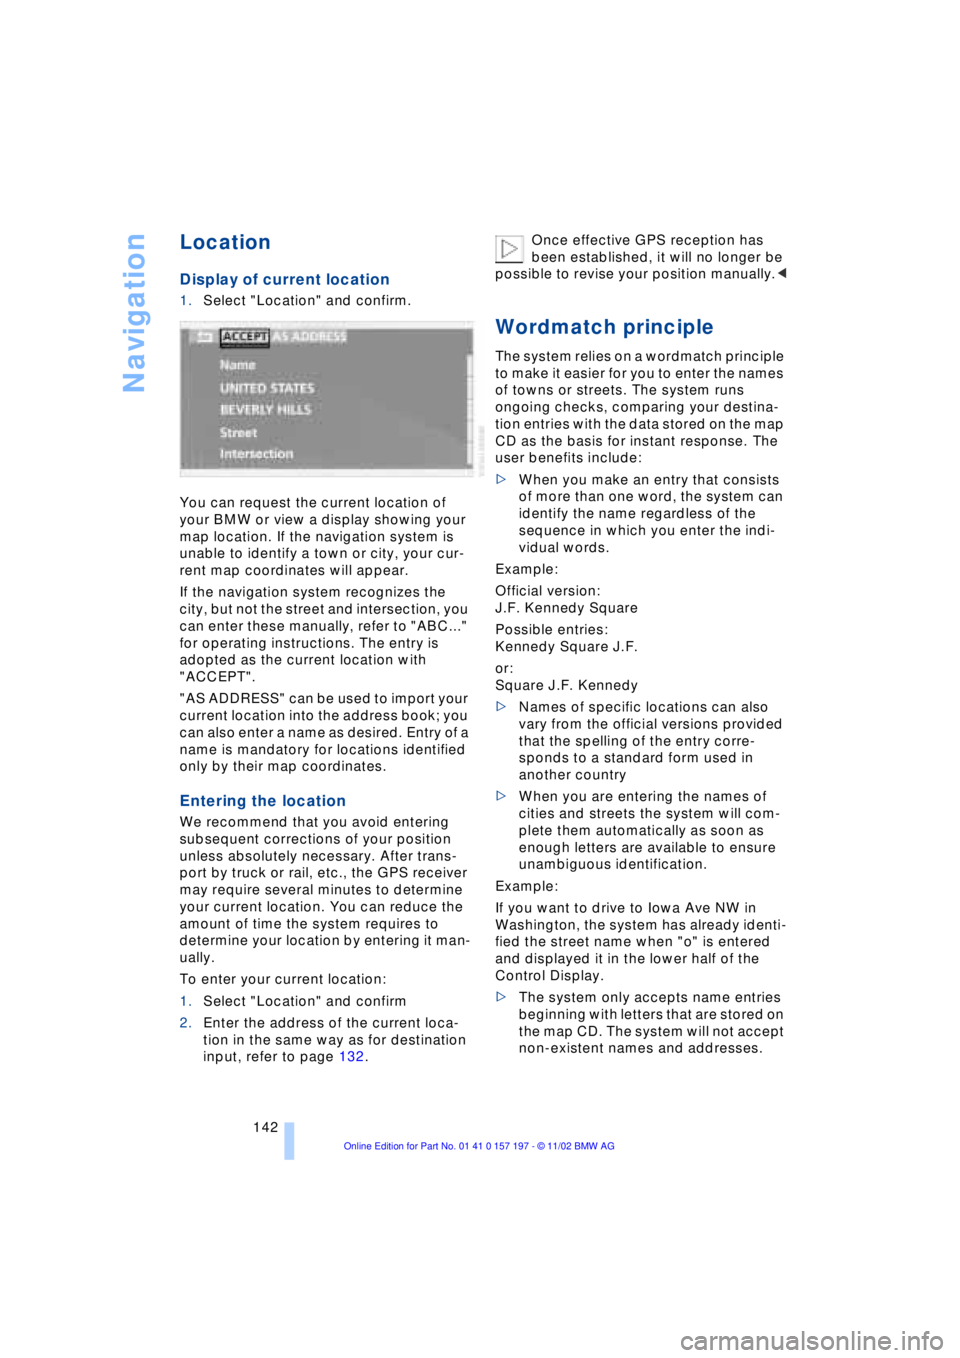
1.Select "Location" and confirm.
You can request the current location of
your BMW or view a display showing your
map location. If the navigation system is
unable to identify a town or city, your cur-
rent map coordinates will appear.
If the navigation system recognizes the
city, but not the street and intersection, you
can enter these manually, refer to "ABC..."
for operating instructions. The entry is
adopted as the current location with
"ACCEPT".
"AS ADDRESS" can be used to import your
current location into the address book; you
can also enter a name as desired. Entry of a
name is mandatory for locations identified
only by their map coordinates.
Entering the location
We recommend that you avoid entering
subsequent corrections of your position
unless absolutely necessary. After trans-
port by truck or rail, etc., the GPS receiver
may require several minutes to determine
your current location. You can reduce the
amount of time the system requires to
determine your location by entering it man-
ually.
To enter your current location:
1.Select "Location" and confirm
2.Enter the address of the current loca-
tion in the same way as for destination
input, refer to page 132.Once effective GPS reception has
been established, it will no longer be
possible to revise your position manually.<
Wordmatch principle
The system relies on a wordmatch principle
to make it easier for you to enter the names
of towns or streets. The system runs
ongoing checks, comparing your destina-
tion entries with the data stored on the map
CD as the basis for instant response. The
user benefits include:
>When you make an entry that consists
of more than one word, the system can
identify the name regardless of the
sequence in which you enter the indi-
vidual words.
Example:
Official version:
J.F. Kennedy Square
Possible entries:
Kennedy Square J.F.
or:
Square J.F. Kennedy
>Names of specific locations can also
vary from the official versions provided
that the spelling of the entry corre-
sponds to a standard form used in
another country
>When you are entering the names of
cities and streets the system will com-
plete them automatically as soon as
enough letters are available to ensure
unambiguous identification.
Example:
If you want to drive to Iowa Ave NW in
Washington, the system has already identi-
fied the street name when "o" is entered
and displayed it in the lower half of the
Control Display.
>The system only accepts name entries
beginning with letters that are stored on
the map CD. The system will not accept
non-existent names and addresses.
Page 157 of 229
At a glance
Controls
Driving tips
Communications
Navigation
Entertainment
Mobility
Reference
155
CD changer
Precautions when using laser
equipment
The BMW CD changer is a Class 1 laser
product.
Never remove the cover from the
housing. Do not operate the unit if the
cover is damaged. Operation without the
cover can lead to serious eye injury from
invisible laser beams.
Always refer all repair and maintenance
operations to qualified technicians.<
Copy protection
To prevent CDs from being copied
illegally, they are often provided with
copy protection by the manufacturer.
Please observe the information on your CD.
These CDs differ from the CD Audio Stan-
dard Red Book, on the basis of which all
CD players and changers are designed.
Under certain circumstances, this can pre-
vent or restrict the playing of CDs on your
CD changer. In this case, please contact
the CD dealer or manufacturer.<
Location
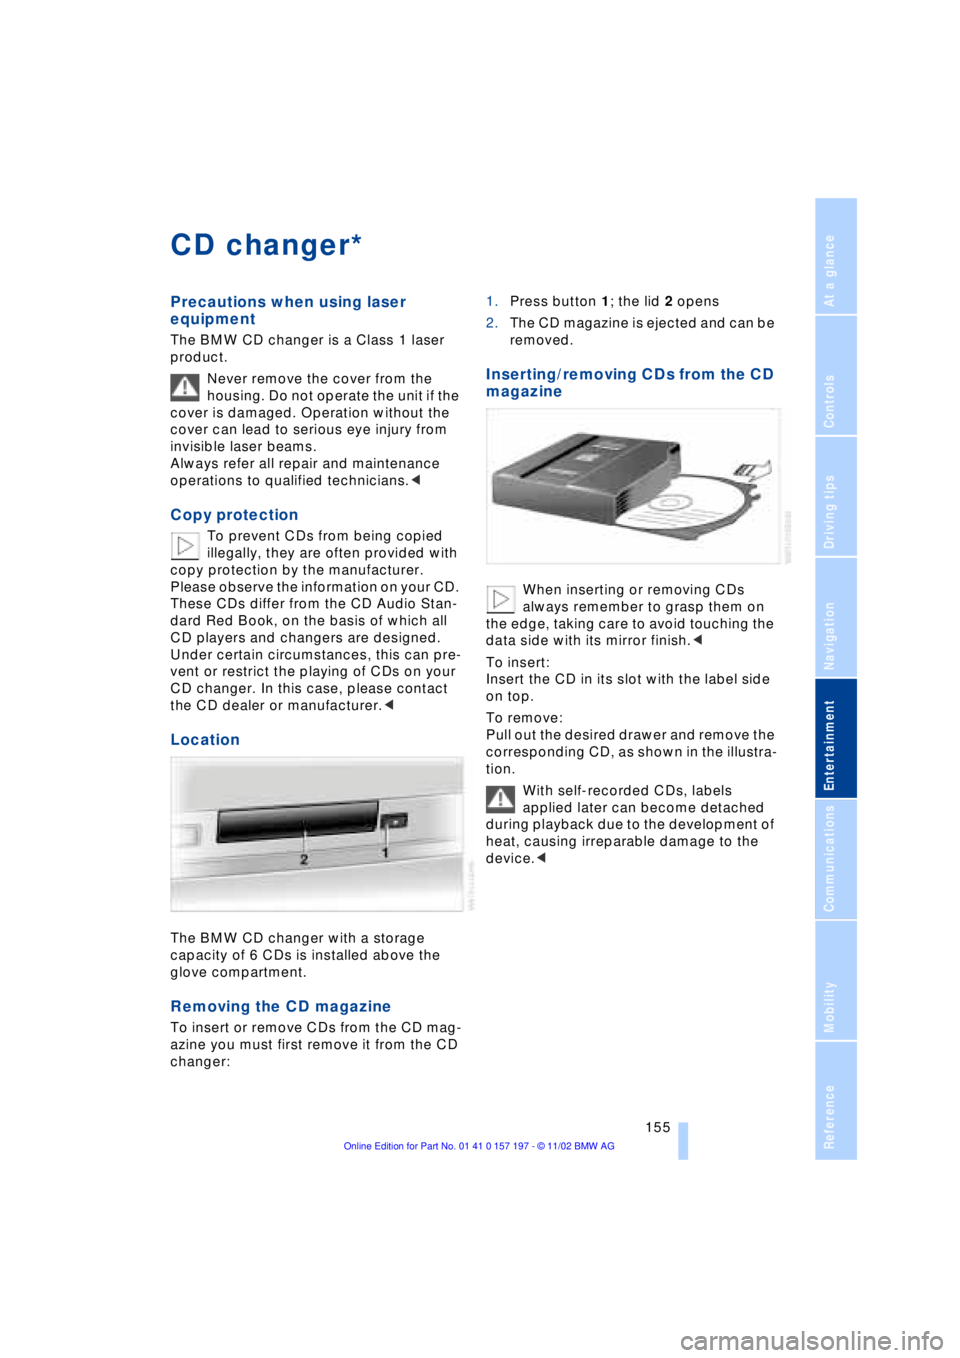
The BMW CD changer with a storage
capacity of 6 CDs is installed above the
glove compartment.
Removing the CD magazine
To insert or remove CDs from the CD mag-
azine you must first remove it from the CD
changer:1.Press button 1; the lid 2 opens
2.The CD magazine is ejected and can be
removed.
Inserting/removing CDs from the CD
magazine
When inserting or removing CDs
always remember to grasp them on
the edge, taking care to avoid touching the
data side with its mirror finish.<
To insert:
Insert the CD in its slot with the label side
on top.
To remove:
Pull out the desired drawer and remove the
corresponding CD, as shown in the illustra-
tion.
With self-recorded CDs, labels
applied later can become detached
during playback due to the development of
heat, causing irreparable damage to the
device.<
*
Page 161 of 229
At a glance
Controls
Driving tips
Communications
Navigation
Entertainment
Mobility
Reference
159
Switching Dolby on/off
Activate only when playing cassettes
that were recorded with Dolby B or
Dolby C, as the quality of sound reproduc-
tion will otherwise suffer from a loss of
high-frequency response.<
1.Select "Tape" and confirm
2.Select "Dolby..." and continue pressing
until you obtain the best sound quality.
The system switches between Dolby B
and Dolby C or switches off the Dolby
function.
The selected noise-suppression mode is
indicated as "Dolby B" or "Dolby C".
Searching for music tracks
Fast forward/reverse
Select the direction
Press twice briefly or once for a longer
period.
When it reaches the end of the tape, the
player automatically switches to the other
side.
To interrupt the fast forward function
Music search
For the music search feature to
operate, there must be pauses of at
least 4 seconds between the individual
music selections.<
Switch on the music search feature
The tape is wound forward or back to the
next music selection, and switches to the
other side when it reaches the end of the
current side.
To interrupt the fast forward function
1.{Tape}
2.{Next} or {Back}.
Page 162 of 229
TV
160
TV
For your own safety, the TV picture is only
shown on the rear screen.
Due to the quality of mobile reception,
reduced picture quality can result
depending on the location and network
coverage in spite of the highly advanced
reception technology used. A change in
vehicle locations can result in improved
reception quality in many cases.<
Starting
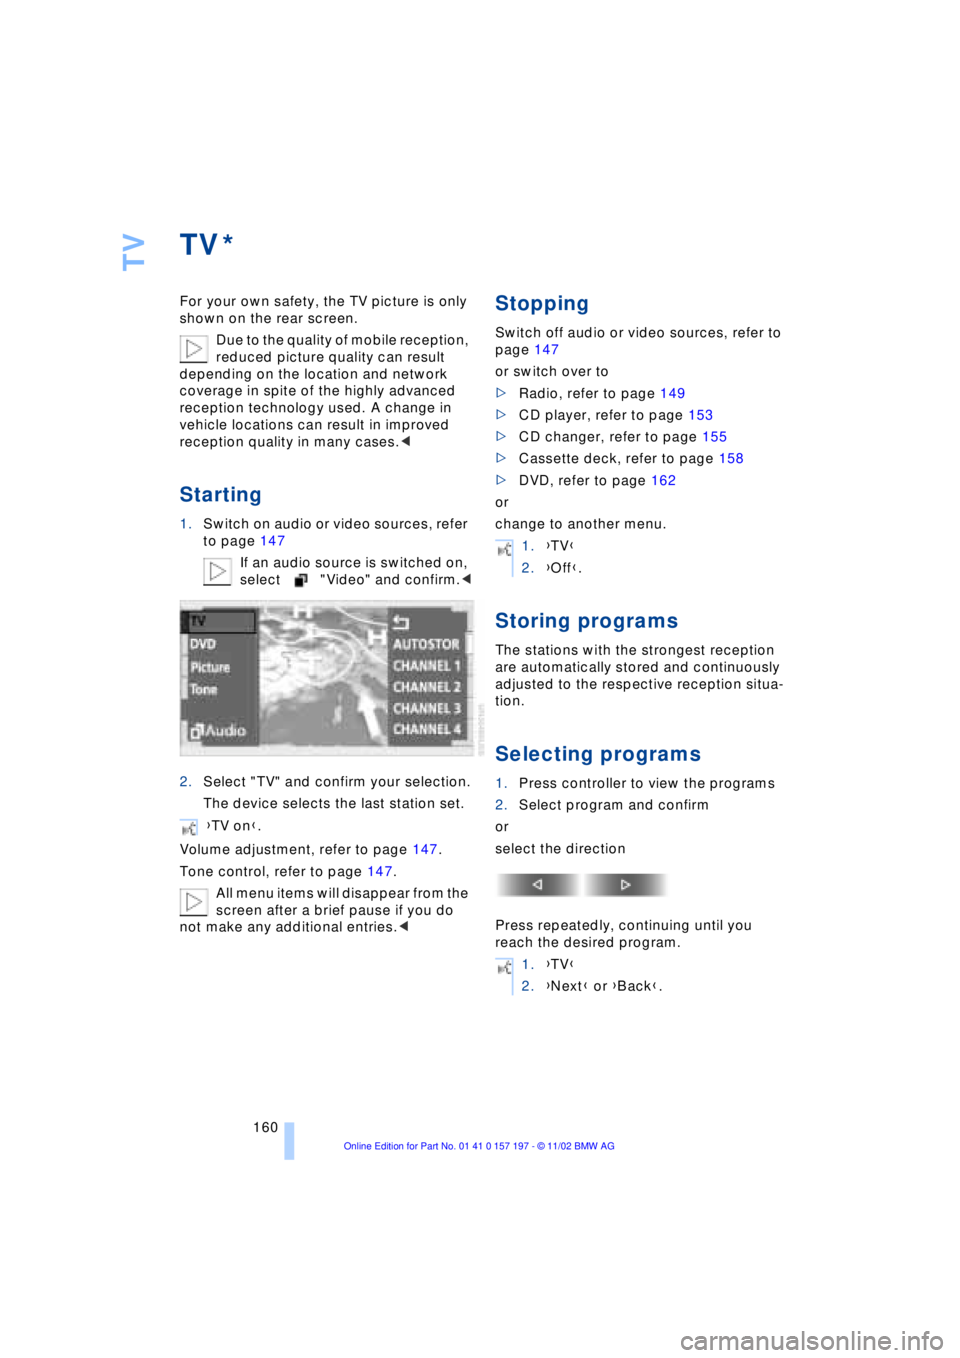
1.Switch on audio or video sources, refer
to page 147
If an audio source is switched on,
select "Video" and confirm.<
2.Select "TV" and confirm your selection.
The device selects the last station set.
Volume adjustment, refer to page 147.
Tone control, refer to page 147.
All menu items will disappear from the
screen after a brief pause if you do
not make any additional entries.<
Stopping
Switch off audio or video sources, refer to
page 147
or switch over to
>Radio, refer to page 149
>CD player, refer to page 153
>CD changer, refer to page 155
>Cassette deck, refer to page 158
>DVD, refer to page 162
or
change to another menu.
Storing programs
The stations with the strongest reception
are automatically stored and continuously
adjusted to the respective reception situa-
tion.
Selecting programs
1.Press controller to view the programs
2.Select program and confirm
or
select the direction
Press repeatedly, continuing until you
reach the desired program.
*
{TV on}.
1.{TV}
2.{Off}.
1.{TV}
2.{Next} or {Back}.
Page 165 of 229
At a glance
Controls
Driving tips
Communications
Navigation
Entertainment
Mobility
Reference
163
Removing the DVD magazine
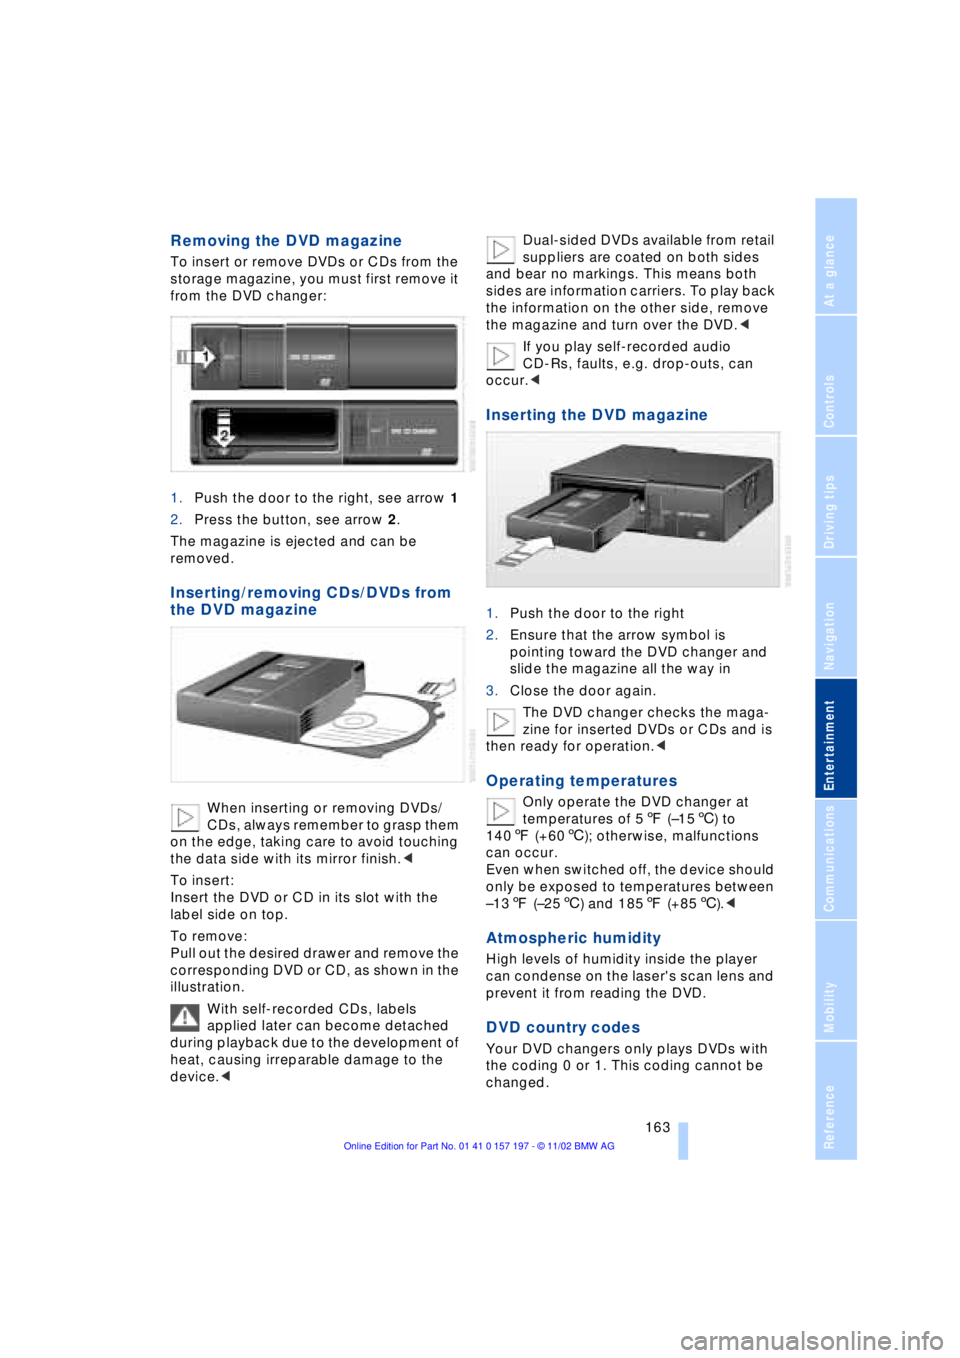
To insert or remove DVDs or CDs from the
storage magazine, you must first remove it
from the DVD changer:
1.Push the door to the right, see arrow 1
2.Press the button, see arrow 2.
The magazine is ejected and can be
removed.
Inserting/removing CDs/DVDs from
the DVD magazine
When inserting or removing DVDs/
CDs, always remember to grasp them
on the edge, taking care to avoid touching
the data side with its mirror finish.<
To insert:
Insert the DVD or CD in its slot with the
label side on top.
To remove:
Pull out the desired drawer and remove the
corresponding DVD or CD, as shown in the
illustration.
With self-recorded CDs, labels
applied later can become detached
during playback due to the development of
heat, causing irreparable damage to the
device.
and bear no markings. This means both
sides are information carriers. To play back
the information on the other side, remove
the magazine and turn over the DVD.<
If you play self-recorded audio
CD-Rs, faults, e.g. drop-outs, can
occur.<
Inserting the DVD magazine
1.Push the door to the right
2.Ensure that the arrow symbol is
pointing toward the DVD changer and
slide the magazine all the way in
3.Close the door again.
The DVD changer checks the maga-
zine for inserted DVDs or CDs and is
then ready for operation.<
Operating temperatures
Only operate the DVD changer at
temperatures of 57 (Ð156) to
1407 (+606); otherwise, malfunctions
can occur.
Even when switched off, the device should
only be exposed to temperatures between
Ð137 (Ð256) and 1857 (+856).<
Atmospheric humidity
High levels of humidity inside the player
can condense on the laser's scan lens and
prevent it from reading the DVD.
DVD country codes
Your DVD changers only plays DVDs with
the coding 0 or 1. This coding cannot be
changed.