2003 BMW 760LI SEDAN battery
[x] Cancel search: batteryPage 86 of 229
Everything under control
84 Confirm to exit the display.
The Service Interval Display does not
continue counting down to the next
service during periods when the vehicle is
stored with the battery disconnected or the
battery switch OFF.
Please remember that brake fluid should
be changed every two years at the latest,
even if the display does not yet indicate
that service is required, refer to page 192.
This same precaution applies to all of the
other service and maintenance operations
scheduled according to periodic intervals,
as opposed to mileage.<
Displaying and entering dates for
legally prescribed emission and
vehicle inspections
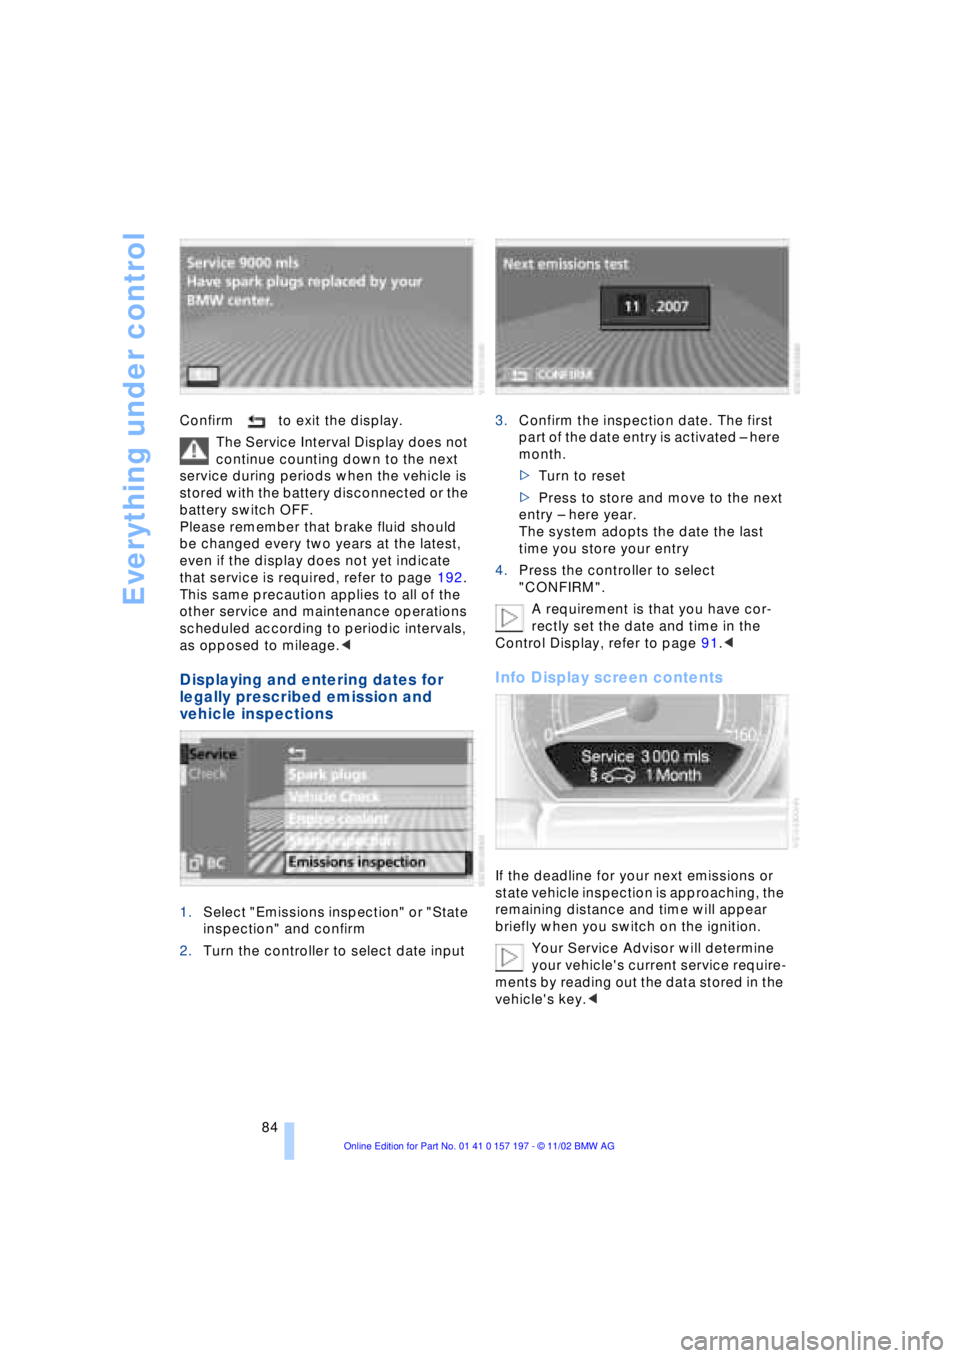
1.Select "Emissions inspection" or "State
inspection" and confirm
2.Turn the controller to select date input3.Confirm the inspection date. The first
part of the date entry is activated Ð here
month.
>Turn to reset
>Press to store and move to the next
entry Ð here year.
The system adopts the date the last
time you store your entry
4.Press the controller to select
"CONFIRM".
A requirement is that you have cor-
rectly set the date and time in the
Control Display, refer to page 91.<
Info Display screen contents
If the deadline for your next emissions or
state vehicle inspection is approaching, the
remaining distance and time will appear
briefly when you switch on the ignition.
Your Service Advisor will determine
your vehicle's current service require-
ments by reading out the data stored in the
vehicle's key.<
Page 106 of 229
Lamps
104 The button for the interior lamps in the rear
passenger area only switches these lamps
on and off.
The interior lamps come on briefly
whenever you use the parked-car
ventilation system. This feature confirms
that the system has been activated.<
Control of the footwell lamps, courtesy
lamps and ground lamps is also automatic.
Reading lamps
Reading lamps are provided in the front
and rear
* adjacent to the interior lamps.
You can switch them on and off with the
button 2 adjacent to each lamp.
To avoid discharging the battery, all of
the vehicle's interior lamps are auto-
matically extinguished approx. 15 minutes
after the ignition is switched off.<
Light-emitting diodes, LEDs
Light-emitting diodes installed behind
translucent lenses serve as the light source
for many of the controls and displays in
your vehicle. These light-emitting diodes,
which operate using a concept similar to
that applied in conventional lasers, are offi-
cially designated as Class 1 light-emitting
diodes.
Do not remove the covers, and never
stare into the unfiltered light several
hours, as irritation of the iris could result. <
Page 110 of 229
A congenial climate
108 should switch it off while also increasing air
supply as required.<
Residual heat mode
The system uses the warmth
stored in the engine to heat the
interior when the ignition is off,
for instance, while the vehicle
is stopped at a school to pick
up a child.
You can adjust the automatic climate con-
trol's settings when the ignition lock is in
the radio mode. The system blows heated
air into the interior in accordance with the
selected distribution pattern while the igni-
tion is off.
Provided that the engine has warmed
to its normal operating temperature
and the battery is charged, you can use this
function for up to 15 minutes after
switching off the ignition. The LED within
the button lights up to confirm compliance
with both of these conditions.<
Front ventilation
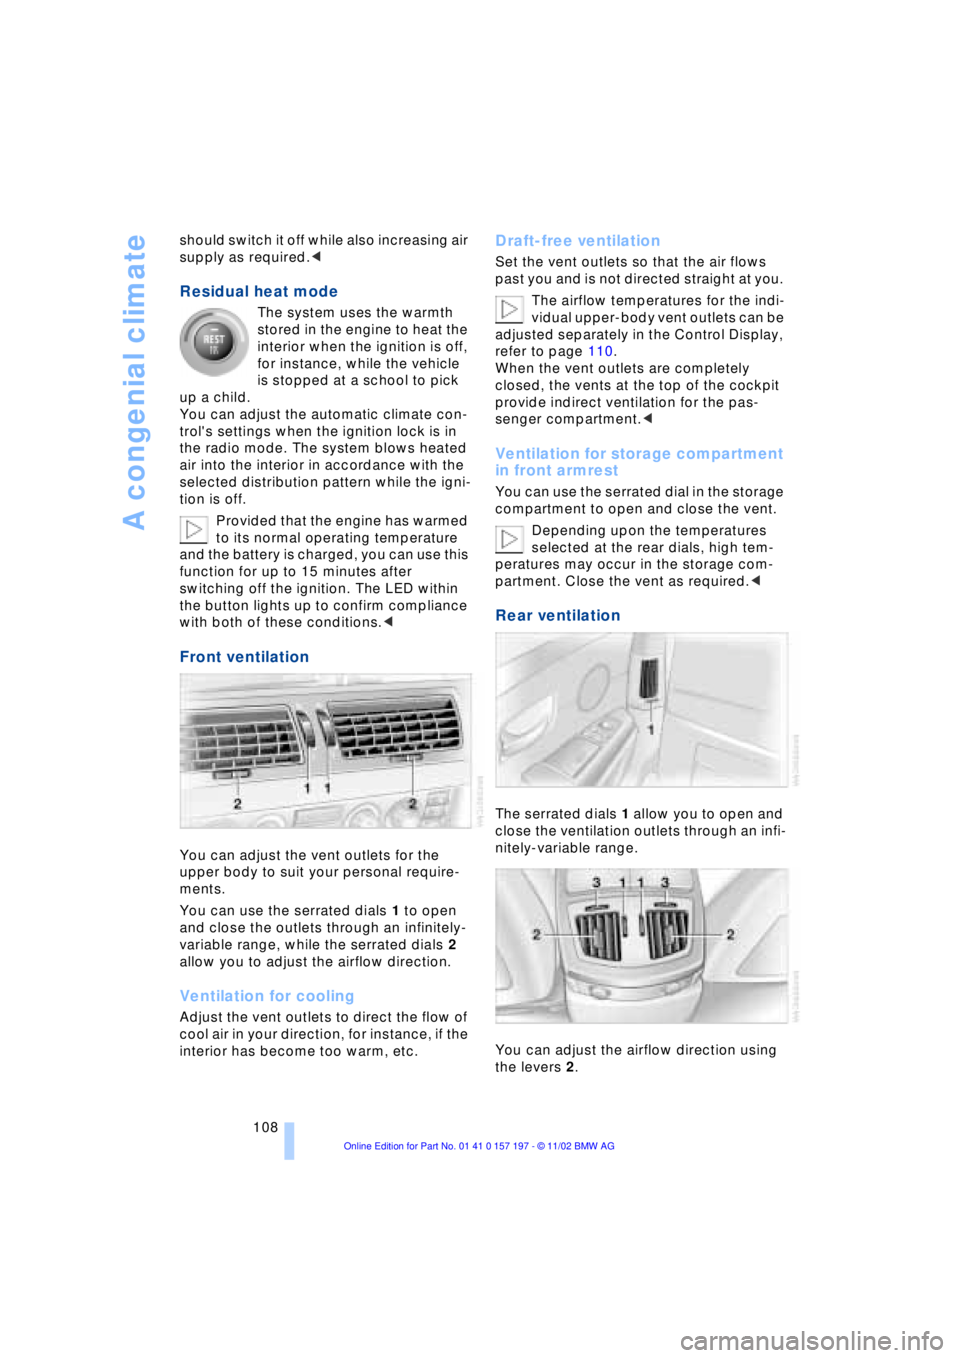
You can adjust the vent outlets for the
upper body to suit your personal require-
ments.
You can use the serrated dials 1 to open
and close the outlets through an infinitely-
variable range, while the serrated dials 2
allow you to adjust the airflow direction.
Ventilation for cooling
Adjust the vent outlets to direct the flow of
cool air in your direction, for instance, if the
interior has become too warm, etc.
Draft-free ventilation
Set the vent outlets so that the air flows
past you and is not directed straight at you.
The airflow temperatures for the indi-
vidual upper-body vent outlets can be
adjusted separately in the Control Display,
refer to page 110.
When the vent outlets are completely
closed, the vents at the top of the cockpit
provide indirect ventilation for the pas-
senger compartment.<
Ventilation for storage compartment
in front armrest
You can use the serrated dial in the storage
compartment to open and close the vent.
Depending upon the temperatures
selected at the rear dials, high tem-
peratures may occur in the storage com-
partment. Close the vent as required.<
Rear ventilation
The serrated dials 1 allow you to open and
close the ventilation outlets through an infi-
nitely-variable range.
You can adjust the airflow direction using
the levers 2.
Page 114 of 229
A congenial climate
112
Switching on/off in the Control
Display
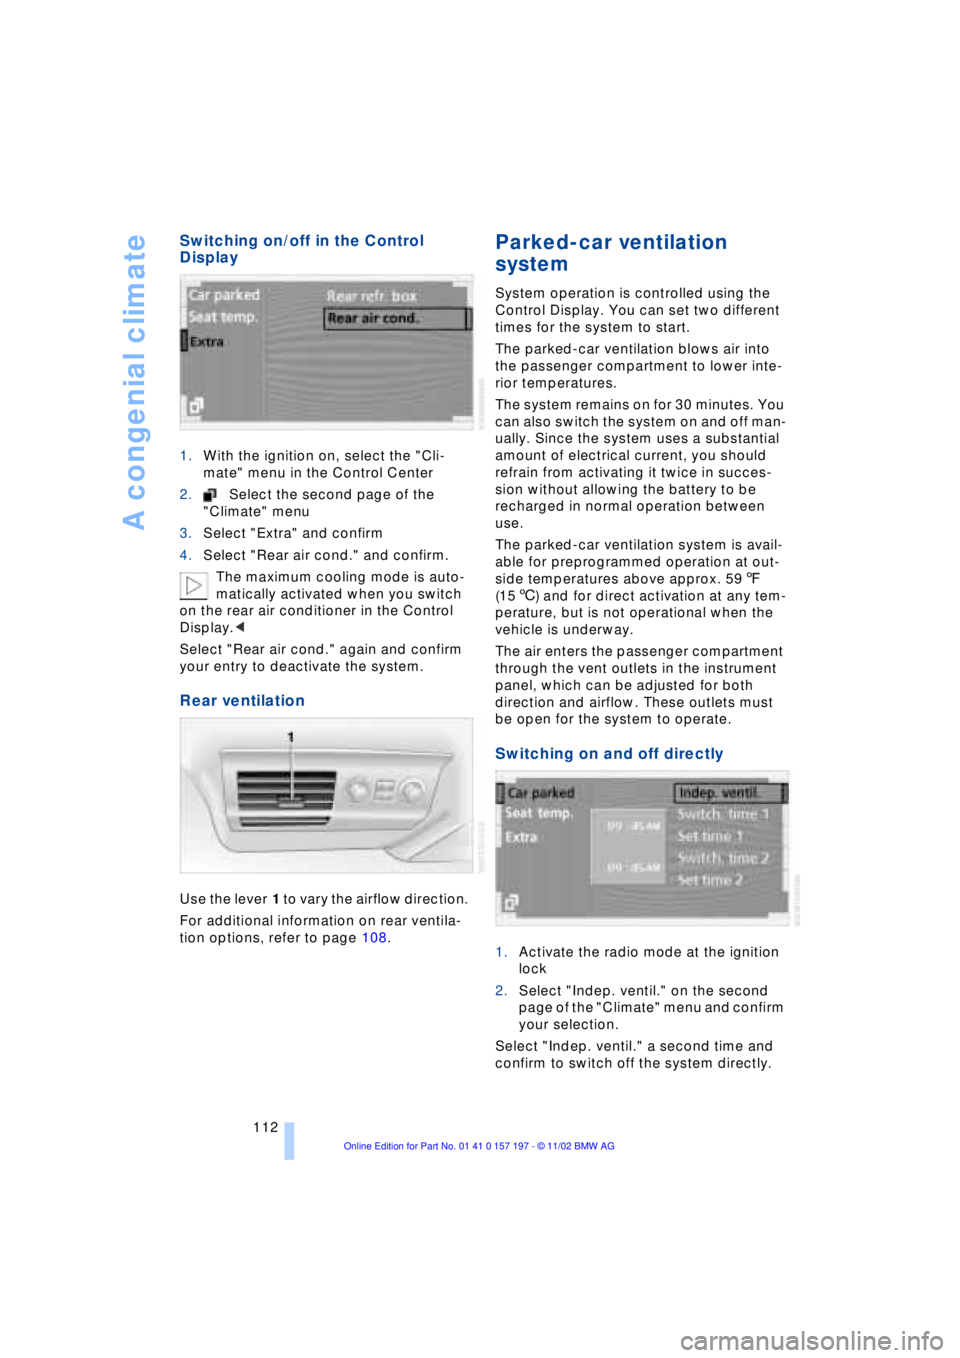
1.With the ignition on, select the "Cli-
mate" menu in the Control Center
2.Select the second page of the
"Climate" menu
3.Select "Extra" and confirm
4.Select "Rear air cond." and confirm.
The maximum cooling mode is auto-
matically activated when you switch
on the rear air conditioner in the Control
Display.<
Select "Rear air cond." again and confirm
your entry to deactivate the system.
Rear ventilation
Use the lever 1 to vary the airflow direction.
For additional information on rear ventila-
tion options, refer to page 108.
Parked-car ventilation
system
System operation is controlled using the
Control Display. You can set two different
times for the system to start.
The parked-car ventilation blows air into
the passenger compartment to lower inte-
rior temperatures.
The system remains on for 30 minutes. You
can also switch the system on and off man-
ually. Since the system uses a substantial
amount of electrical current, you should
refrain from activating it twice in succes-
sion without allowing the battery to be
recharged in normal operation between
use.
The parked-car ventilation system is avail-
able for preprogrammed operation at out-
side temperatures above approx. 597
(156) and for direct activation at any tem-
perature, but is not operational when the
vehicle is underway.
The air enters the passenger compartment
through the vent outlets in the instrument
panel, which can be adjusted for both
direction and airflow. These outlets must
be open for the system to operate.
Switching on and off directly
1.Activate the radio mode at the ignition
lock
2.Select "Indep. ventil." on the second
page of the "Climate" menu and confirm
your selection.
Select "Indep. ventil." a second time and
confirm to switch off the system directly.
Page 118 of 229
Practical interior accessories
116 3Rear window blind
4Switching to the other side
The side window blind can not be
extended unless the side window is
closed. If the window is open, the blind will
rise slightly prior to immediately retracting
to its original position.<
Briefly press the safety switch in the
driver's door, refer to page 43. The
indicator lamp must light up. This precau-
tion prevents children from operating the
sun blinds using the rear switches, etc.
Before using always ensure that the sun
blind's travel path is clear and unob-
structed.
When leaving the vehicle, always remove
the remote control unit from the ignition
lock and close the doors; this precaution
prevents children from using the sun blinds
and injuring themselves, etc.<
Automatically extending and
retracting the sun blinds
You can extend and retract the sun blinds
together by pressing and holding button 3
or the button in the driver's door.
Rear cooler*
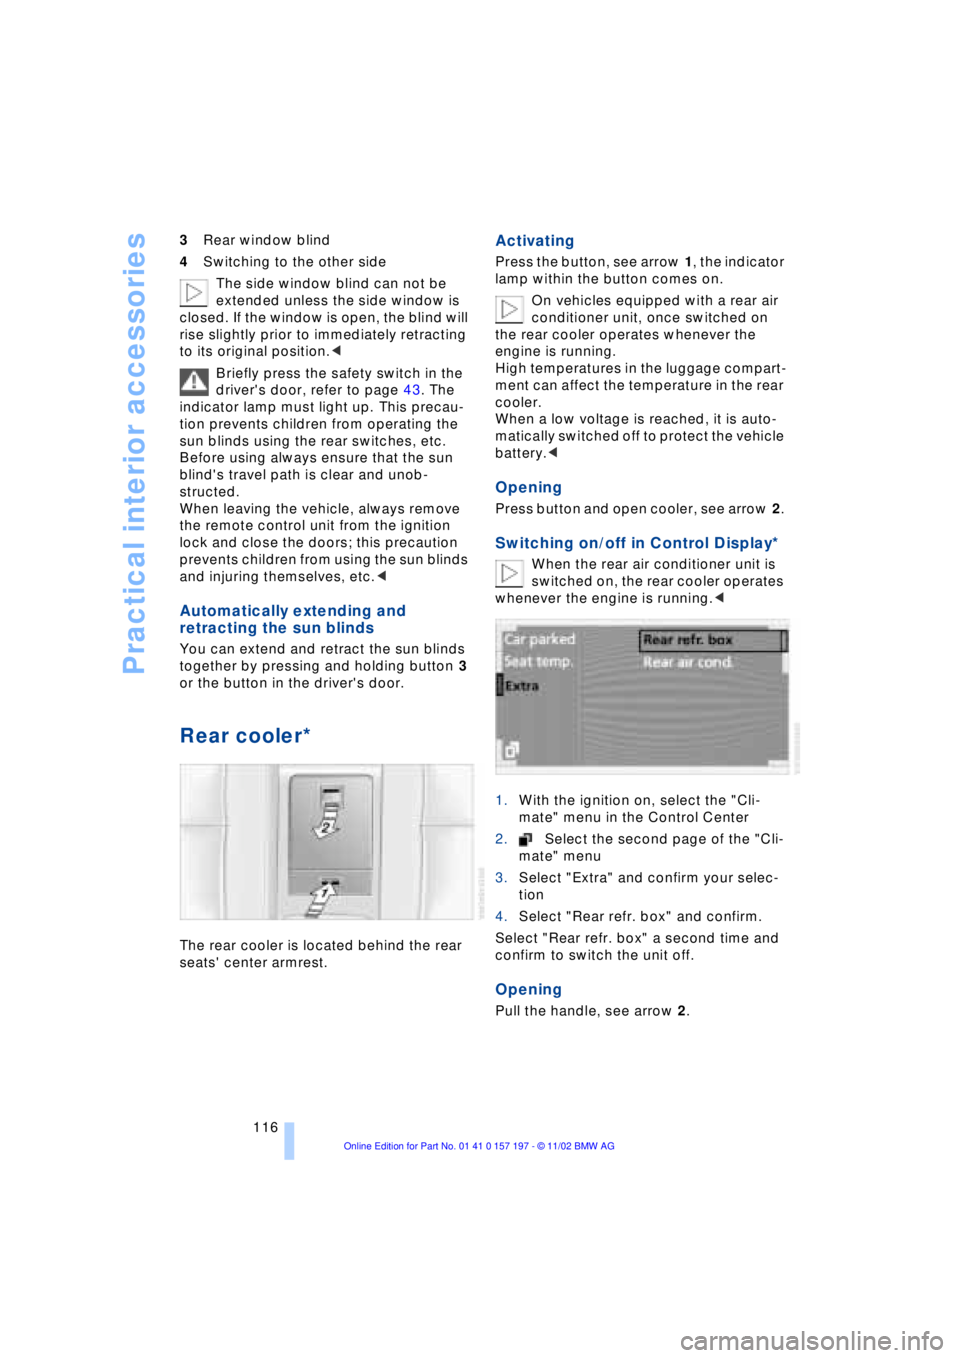
The rear cooler is located behind the rear
seats' center armrest.
Activating
Press the button, see arrow 1, the indicator
lamp within the button comes on.
On vehicles equipped with a rear air
conditioner unit, once switched on
the rear cooler operates whenever the
engine is running.
High temperatures in the luggage compart-
ment can affect the temperature in the rear
cooler.
When a low voltage is reached, it is auto-
matically switched off to protect the vehicle
battery.<
Opening
Press button and open cooler, see arrow 2.
Switching on/off in Control Display*
When the rear air conditioner unit is
switched on, the rear cooler operates
whenever the engine is running.<
1.With the ignition on, select the "Cli-
mate" menu in the Control Center
2.Select the second page of the "Cli-
mate" menu
3.Select "Extra" and confirm your selec-
tion
4.Select "Rear refr. box" and confirm.
Select "Rear refr. box" a second time and
confirm to switch the unit off.
Opening
Pull the handle, see arrow 2.
Page 145 of 229
At a glance
Controls
Driving tips
Communications
Navigation
Entertainment
Mobility
Reference
143
What to do if É
What to do if É
>you request the current location of your
vehicle, but do not receive a precise
display?
The system is unable to receive enough
GPS signals at your current location
owing to obstructions, your location is
not yet available on your CD, or the
system is in the process of calculating
your location. Please wait and then try
again later on
>the GPS logo disappears from the Con-
trol Display screen?
Reception is interrupted; a building or
similar obstruction may be the cause
>the guidance system refuses to import
an address from the destination direc-
tory as its destination?
The address is in the list, but not on the
map CD currently in use. Choose an
address as close as possible to the
original one, using the destination entry
map as required
>the guidance system does not adopt an
address without the street?
No specified center is defined for the
selected locality on your CD. Enter any
street, or a destination such as the
railway station, etc., then start the guid-
ance system
>you want to enter an address for the
guidance system, but it is not possible
to select the letters for your desired
entry?
The address is in the list, but not on the
map CD currently in use. In this case,
the system will not offer you any letters
to choose from. Choose an address as
close as possible to the original one,
using the destination entry map as
required
>the system stops furnishing directions
on which way to turn as you approach
intersections?
You are driving in an area that has not
yet been completely recorded on the
map CD. Instead of an arrow indicating a turn, you will see an arrow which indi-
cates the general direction of your
planned route;
or
you have left the recommended route
and the system requires a few seconds
to calculate a new recommended route
>while the destination route map has
automatically been adopted for dis-
play?
You are driving in an area that has not
yet been recorded on the map CD. The
guidance system cannot operate under
these conditions. However, you will see
the current position of your BMW in the
map display to help you orient yourself
>the battery has been disconnected?
It will take approx. 15 minutes for the
system to resume operation.
Page 149 of 229
At a glance
Controls
Driving tips
Communications
Navigation
Entertainment
Mobility
Reference
147
Switching on/off
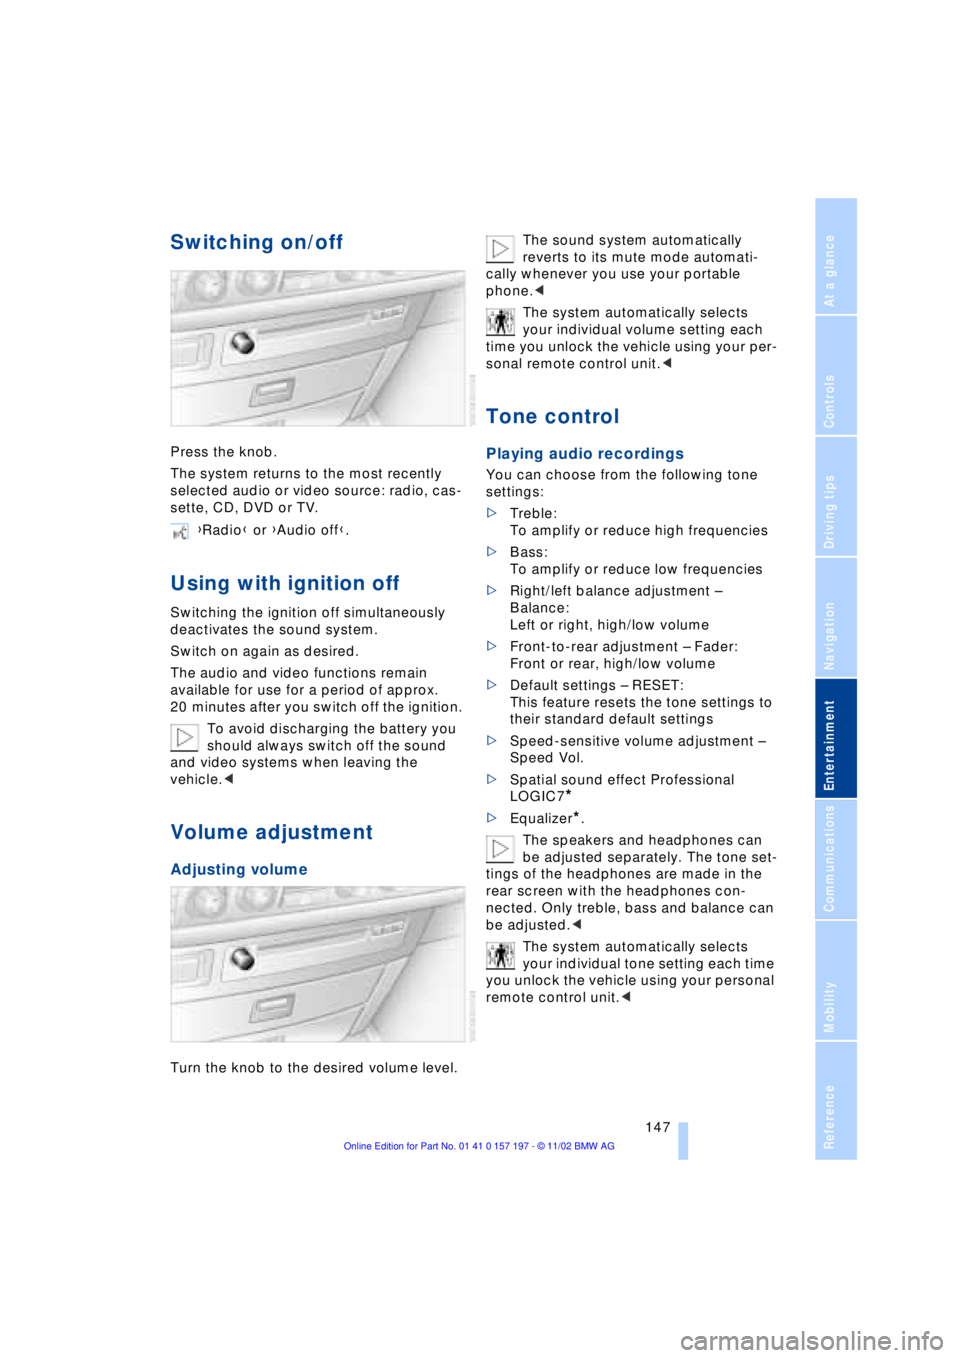
Press the knob.
The system returns to the most recently
selected audio or video source: radio, cas-
sette, CD, DVD or TV.
Using with ignition off
Switching the ignition off simultaneously
deactivates the sound system.
Switch on again as desired.
The audio and video functions remain
available for use for a period of approx.
20 minutes after you switch off the ignition.
To avoid discharging the battery you
should always switch off the sound
and video systems when leaving the
vehicle.<
Volume adjustment
Adjusting volume
Turn the knob to the desired volume level.The sound system automatically
reverts to its mute mode automati-
cally whenever you use your portable
phone.<
The system automatically selects
your individual volume setting each
time you unlock the vehicle using your per-
sonal remote control unit.<
Tone control
Playing audio recordings
You can choose from the following tone
settings:
>Treble:
To amplify or reduce high frequencies
>Bass:
To amplify or reduce low frequencies
>Right/left balance adjustment Ð
Balance:
Left or right, high/low volume
>Front-to-rear adjustment Ð Fader:
Front or rear, high/low volume
>Default settings Ð RESET:
This feature resets the tone settings to
their standard default settings
>Speed-sensitive volume adjustment Ð
Speed Vol.
>Spatial sound effect Professional
LOGIC7
*
>Equalizer*.
The speakers and headphones can
be adjusted separately. The tone set-
tings of the headphones are made in the
rear screen with the headphones con-
nected. Only treble, bass and balance can
be adjusted.<
The system automatically selects
your individual tone setting each time
you unlock the vehicle using your personal
remote control unit.< {Radio} or {Audio off}.
Page 173 of 229
At a glance
Controls
Driving tips Communications
Navigation
Entertainment
Mobility
Reference
171
Batteries
Never attempt to open your BMW
portable phone or its battery. Use
only approved battery types Ð the wrong
battery can destroy your portable phone.
To avoid possible short circuits, after
removing a battery you should never allow
it to come into contact with metallic sur-
faces of any kind.<
Disposing of used batteries
Return used batteries to a recycling
collection point or to your BMW
center.<
Care instructions
You can find useful information on caring
for your portable phone in the separate
Portable phone manual and in the separate
Care manual.
Controls
You have the option of making phone calls
with the car phone or the BMW portable
phone.
If there is no BMW portable phone in the
cradle, Personal calling can be made with
the car phone.
Your car phone must be activated to
support his feature. Please see your
BMW center for further instructions to acti-
vate your car phone with the wireless car-
rier.<
The upper status line will indicate which
phone is currently active and connected to
the network.
For information on operating your
portable phone, please consult the
separate manual.<
The portable phone can be operated by
means of
>controls on the steering wheel, refer to
page 18
>Control Display
>the folding telephone keypad >and the voice command system, not for
incoming calls.
Control Display
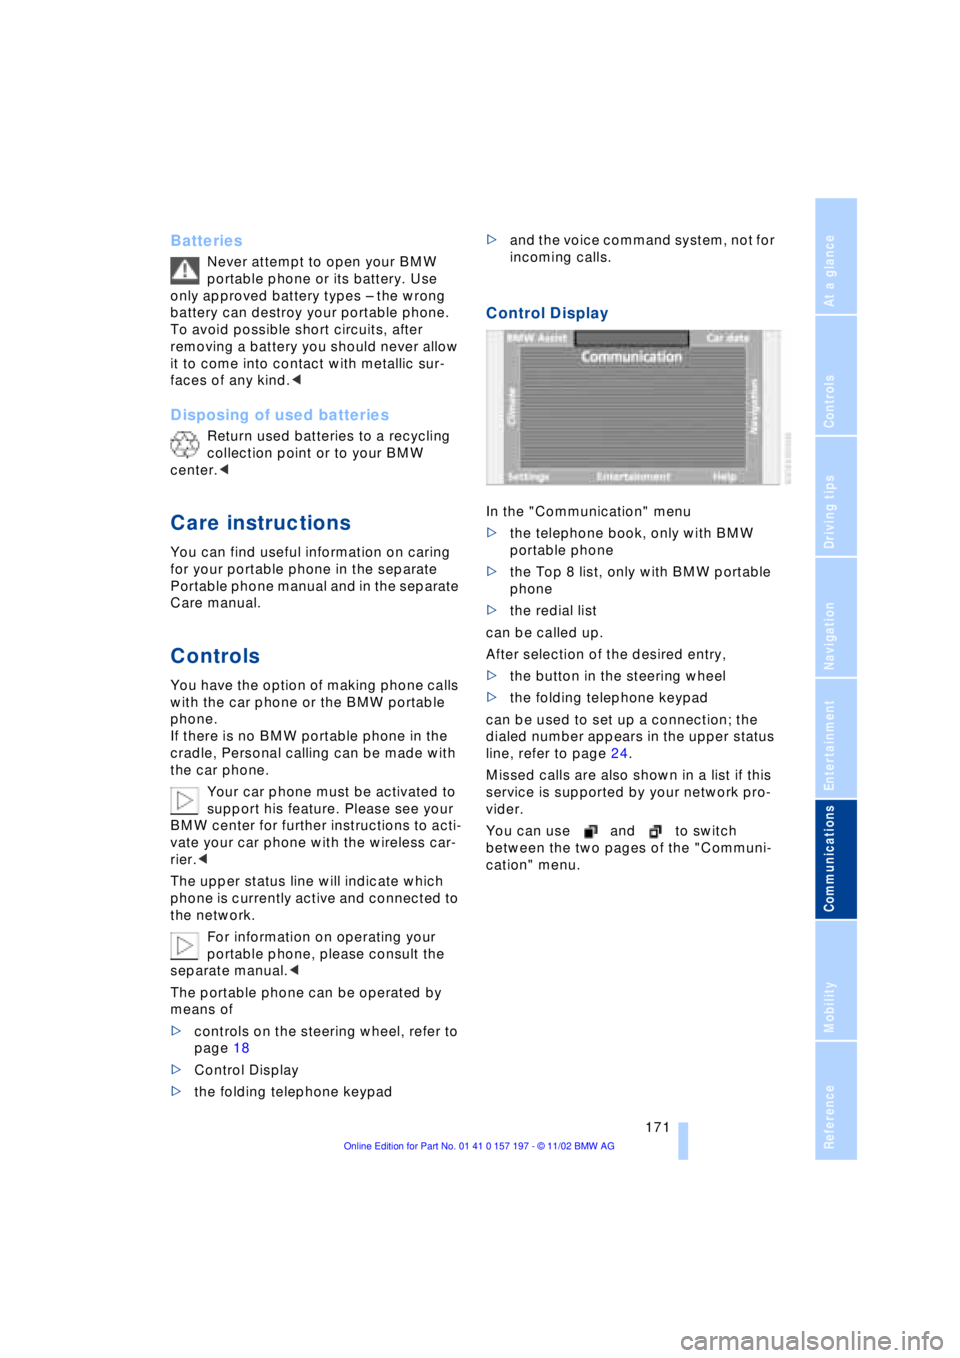
In the "Communication" menu
>the telephone book, only with BMW
portable phone
>the Top 8 list, only with BMW portable
phone
>the redial list
can be called up.
After selection of the desired entry,
>the button in the steering wheel
>the folding telephone keypad
can be used to set up a connection; the
dialed number appears in the upper status
line, refer to page 24.
Missed calls are also shown in a list if this
service is supported by your network pro-
vider.
You can use and to switch
between the two pages of the "Communi-
cation" menu.