Page 10 of 184
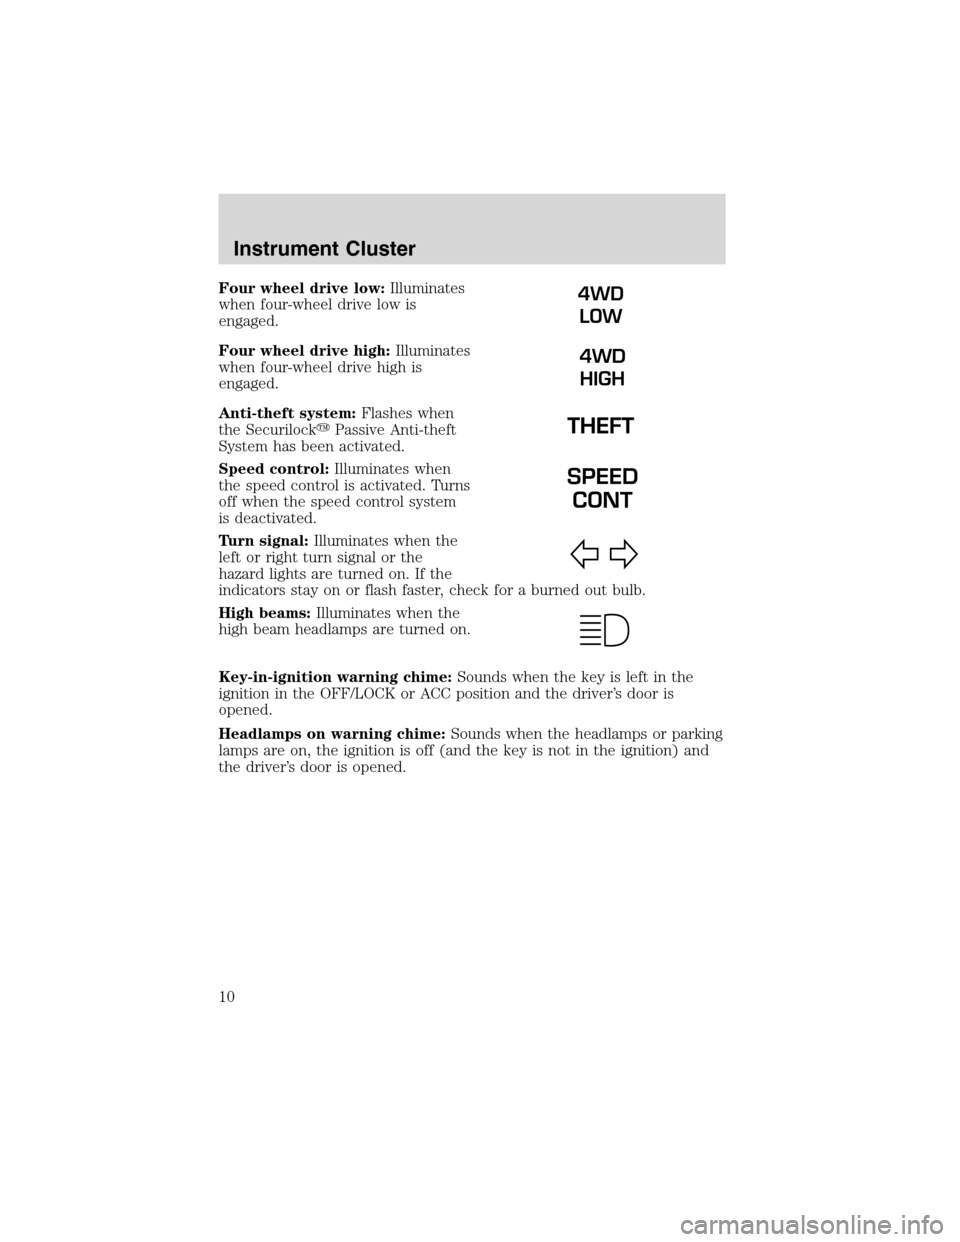
Four wheel drive low:Illuminates
when four-wheel drive low is
engaged.
Four wheel drive high:Illuminates
when four-wheel drive high is
engaged.
Anti-theft system:Flashes when
the Securilock�Passive Anti-theft
System has been activated.
Speed control:Illuminates when
the speed control is activated. Turns
off when the speed control system
is deactivated.
Turn signal:Illuminates when the
left or right turn signal or the
hazard lights are turned on. If the
indicators stay on or flash faster, check for a burned out bulb.
High beams:Illuminates when the
high beam headlamps are turned on.
Key-in-ignition warning chime:Sounds when the key is left in the
ignition in the OFF/LOCK or ACC position and the driver’s door is
opened.
Headlamps on warning chime:Sounds when the headlamps or parking
lamps are on, the ignition is off (and the key is not in the ignition) and
the driver’s door is opened.4WD
LOW
4WD
HIGH
SPEED
CONT
Instrument Cluster
10
Page 20 of 184
Fade:Press FADE; then press
SEL
/to shift sound to the
rear/front speakers.
14.Select:Use with Bass, Treble, Balance and Fade controls to adjust
levels.
15.Bass:Press BASS; then press
SEL
/to decrease/increase
the bass output.
Treble:Press TREB; then press
SEL
/to decrease/increase
the treble output.
16.Menu:Press MENU and SEL to
access clock mode, RDS on/off,
Traffic announcement mode and
Program type mode.
17.Mute:Press to MUTE playing
media; press again return to playing
media
18.DSP (Digital Signal
Processing):Press to enter DSP
mode–allows you to
engage/disengage DSP status, and
choose signal modes of JAZZ CLUB, HALL, CHURCH, STADIUM. You
may also change the occupancy mode to optimize sound for ALL SEATS,
DRIVER SEAT or REAR SEAT.
Entertainment Systems
20
Page 27 of 184
5. Locate the vertical adjuster for
each headlamp. Adjust the aim by
turning the adjuster control either
clockwise (to adjust down) or
counterclockwise (to adjust up).
NOTE:Usea4mmsocket or box
wrench to turn the vertical adjuster
control.
6. Once you have adjusted the
headlamps close the hood and turn
off the lights.
TURN SIGNAL CONTROL
•Push down to activate the left
turn signal.
•Push up to activate the right turn
signal.
INTERIOR LAMPS
Courtesy/reading lamps
The courtesy lamp will turn on
when:
•any door is opened.
•the instrument panel dimmer
switch is rotated all the way up
(past detent).
•Pressing the
on the remote
entry key fob and the ignition is
in the OFF position.
NOTE:If your vehicle is equipped with the Remote Keyless Entry
feature, the courtesy lamp will remain on for 25 seconds after the door is
shut or until the ignition is turned to the ON position.
Lights
27
Page 29 of 184
6. Carefully pull old bulb out of the
lamp assembly
Handle a halogen headlamp bulb carefully and keep out of
children’s reach. Grasp the bulb only by its plastic base and do
not touch the glass. The oil from your hand could cause the bulb to
break the next time the headlamps are operated.
Install the new bulb in reverse order.
Replacing front parking lamp/turn signal bulbs
1. Remove screw from the lamp
assembly.
2. Disengage lamp assembly.
3. Remove the bulb socket.
4. Carefully pull bulb straight out of
the socket.
Install the new bulb(s) in reverse order.
Lights
29
Page 112 of 184

If you need to arrange roadside assistance for yourself, Ford Motor
Company will reimburse a reasonable amount. To obtain reimbursement
information, U.S. Ford or Mercury vehicles customers call
1-800-241-3673; Lincoln vehicle customers call 1–800–521–4140.
Canadian customers who need to obtain reimbursement information, call
1–800–665–2006.
Roadside coverage beyond basic warranty
In the United States, you may purchase additional roadside assistance
coverage beyond this period through the Ford Auto Club by contacting
your Ford or Lincoln Mercury dealer.
Similarly in Canada, for uninterrupted Roadside Assistance coverage, you
may purchase extended coverage prior to your Basic Warranty’s Roadside
Assistance expiring. For more information and enrollment, contact
1–877–294–2582 or visit our website at www.ford.ca.
HAZARD FLASHER
The hazard flasher is located on the
steering column, just behind the
steering wheel. The hazard flashers
will operate when the ignition is off.
Push in the flasher control and all
front and rear direction signals will
flash. Press the flasher control again
to turn them off. Use it when your
vehicle is disabled and is creating a
safety hazard for other motorists.
Note:With extended use, the flasher may run down your battery.
FUEL PUMP SHUT-OFF SWITCH
FUEL
RESET
This device stops the electric fuel pump from sending fuel to the engine
when your vehicle has had a substantial jolt.
After an accident, if the engine cranks but does not start, this switch
may have been activated.
Roadside Emergencies
112
Page 116 of 184
Fuse/Relay
LocationFuse Amp
RatingPassenger Compartment Fuse
Panel Description
9 7.5A Speed control, Anti-lock Brake
System (ABS), 4x4, Powertrain
Control Module (PCM), Park
interlock, Keyless entry
10 15A Ignition, IPATS
11 15A Subwoofer
12 15A Air bags, Climate control, Rear
climate control
13 15A Stop lamps, Speed control,
Auxiliary Center High-Mounted
Stop Lamp (CHMSL)
14—Not used
15 15A 4x4 module
16 7.5A Turn signals, Park interlock,
Overhead console, Climate
control, 4x4, Speed control
17 20A Cigar lighter, On-Board
Diagnostics (OBD) II
18 20A Power locks, Keyless entry
19 15A Trailer tow park lamps
20 15A Daytime Running Lamps (DRL),
Reverse lamps, PCM
21 15A Flashers
22 20A I/P power point
23 10A Front/Rear washers
24 30A Front wiper
25 7.5A Cluster, GEM
26 10A Interior illumination, Battery saver
27 7.5A Audio, Windows, GEM, Moonroof,
Rear window
28 15A Rear wiper (on glass)
29 20A Audio, Rear audio
Roadside Emergencies
116
Page 181 of 184
 ..............................60–64
Safety defects, reporting ..........136
Safety restraints ....................60–64
belt minder .........................")
S
Safety belts (see Safety
restraints) ..............................60–64
Safety defects, reporting ..........136
Safety restraints ....................60–64
belt minder ...............................66
cleaning the safety belts ..........69
extension assembly ..................69
for adults .............................61–64
for children ...............................77
warning light and chime ..........65
Safety seats for children ............80
Seat belts (see Safety
restraints) ....................................60
Seats ............................................55
child safety seats ......................80
Spark plugs,
specifications .....................167, 172
Specification chart,
lubricants ...........................170, 172
Speed control ..............................39
Starting your vehicle ......86–87, 89
Steering wheel
tilting .........................................33
T
Tires ...................................162–163
tire grades ...............................163treadwear ................................163
Towing .......................................105
recreational towing .................110
trailer towing ..........................105
Traction-lok rear axle .................92
Transmission ...............................93
fluid, checking and adding
(manual) .................................161
fluid, refill capacities ..............167
lubricant specifications...170, 172
manual operation ......................96
Turn signal ..................................27
V
Vehicle dimensions ...................172
Vehicle Identification Number
(VIN) ..........................................174
Vehicle loading ..........................103
Ventilating your vehicle .............90
W
Warning lights (see Lights) .........8
Water, Driving through .............103
Windows
power .........................................37
Windshield washer fluid and
wipers ..........................................32
replacing wiper blades .............33
Index
181

 or
counterclockwise (to adjust up).
NOTE:Usea4mmsocket or box
wrench")

, 4x4, Powertrain
Control Module (PCM), Park
interlock, Keyless entry
1")