Page 10 of 184
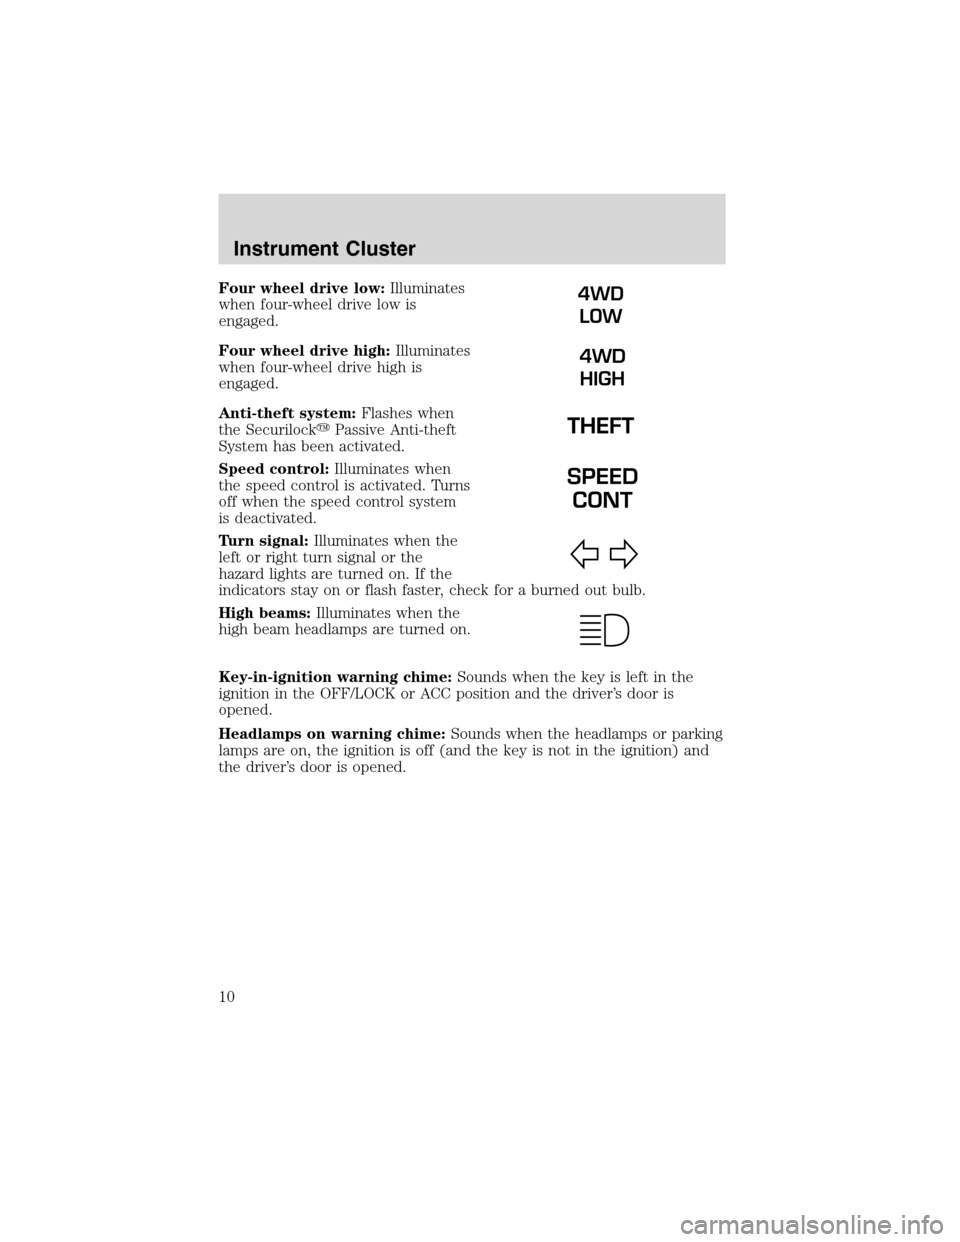
Four wheel drive low:Illuminates
when four-wheel drive low is
engaged.
Four wheel drive high:Illuminates
when four-wheel drive high is
engaged.
Anti-theft system:Flashes when
the Securilock�Passive Anti-theft
System has been activated.
Speed control:Illuminates when
the speed control is activated. Turns
off when the speed control system
is deactivated.
Turn signal:Illuminates when the
left or right turn signal or the
hazard lights are turned on. If the
indicators stay on or flash faster, check for a burned out bulb.
High beams:Illuminates when the
high beam headlamps are turned on.
Key-in-ignition warning chime:Sounds when the key is left in the
ignition in the OFF/LOCK or ACC position and the driver’s door is
opened.
Headlamps on warning chime:Sounds when the headlamps or parking
lamps are on, the ignition is off (and the key is not in the ignition) and
the driver’s door is opened.4WD
LOW
4WD
HIGH
SPEED
CONT
Instrument Cluster
10
Page 24 of 184
HEADLAMP CONTROL
Turns the lamps off.
Turns on the parking
lamps, instrument panel lamps,
license plate lamps and tail lamps.
Turns the headlamps on.
AUTOLAMP DELAY SYSTEM (IF EQUIPPED)
The autolamp sets the headlamps to turn on and off automatically. The
autolamp control, located in the interior mirror, may be set to:
•turn on the lamps automatically at night
•turn off the lamps automatically during daylight
•keep the lamps on for up to three minutes after the key is turned to
OFF
Refer toSetting autolampin theDriver Controlschapter.
Foglamp control (if equipped)
The foglamps can be turned on
when the headlamp control is in
either of the following positions:
•Parking lamps
•Low beams
Press the foglamp control to activate the foglamps. The foglamp indicator
light will illuminate. When the highbeams are activated, the foglamps will
not operate.
Press the foglamp control again to deactivate the foglamps.
OFF
Lights
24
Page 25 of 184
High beams
Push the lever toward the
instrument panel to activate. Pull
the lever towards you to deactivate.
Flash to pass
Pull the lever toward you to
activate. Release the lever to
deactivate.
PANEL DIMMER CONTROL
Move the control up and down to
adjust the intensity of the panel
lighting. Operates only when the
exterior lights are switched on.
Move the control to the full upright
position (past detent) to turn on the
interior lamps.
Move the control to the full down
position (past detent) to prevent interior lamps from illuminating when
the doors are opened.
AIMING THE HEADLAMPS
The headlamps on your vehicle are properly aimed before leaving the
assembly plant. If your vehicle is involved in an accident or if you have
problems fixing the alignment of your headlamps, have them checked by
a qualified service technician.
DIM
Lights
25
Page 26 of 184
Headlamp aim adjustment
The headlamps on your vehicle can only be vertically adjusted. Your
vehicle does not require horizontal aim adjustments.
To adjust the headlamps:
1. Park your vehicle on a level
surface about 7.6 meters (25 feet)
away from a vertical plain surface
(3). Check your headlamp alignment
at night or in a dark area so that
you can see the headlamp beam
pattern.
•(1) Eight feet
•(2) Center height of lamp to
ground
•(3) Twenty-five feet
•(4) Horizontal reference line
2. The center of the headlamp has a 3.0 mm circle on the lens. Measure
the height from the center of your headlamp to the ground (2) and mark
a 2.4 meter (8 foot) long horizontal line on the plain surface (1) at this
height (masking tape work well).
3. Turn on the low beam headlamps.
The brightness part of the light
should be below the horizontal line
(4). If its above the line the
headlamp will need to be adjusted.
4. Open the hood.
Lights
26
Page 27 of 184
5. Locate the vertical adjuster for
each headlamp. Adjust the aim by
turning the adjuster control either
clockwise (to adjust down) or
counterclockwise (to adjust up).
NOTE:Usea4mmsocket or box
wrench to turn the vertical adjuster
control.
6. Once you have adjusted the
headlamps close the hood and turn
off the lights.
TURN SIGNAL CONTROL
•Push down to activate the left
turn signal.
•Push up to activate the right turn
signal.
INTERIOR LAMPS
Courtesy/reading lamps
The courtesy lamp will turn on
when:
•any door is opened.
•the instrument panel dimmer
switch is rotated all the way up
(past detent).
•Pressing the
on the remote
entry key fob and the ignition is
in the OFF position.
NOTE:If your vehicle is equipped with the Remote Keyless Entry
feature, the courtesy lamp will remain on for 25 seconds after the door is
shut or until the ignition is turned to the ON position.
Lights
27
Page 28 of 184
To use the reading lamps:
•Press the rocker control located near each reading lamp to turn it on.
•Press the rocker control again to turn it off.
BULBS
Replacing exterior bulbs
Check the operation of all the bulbs frequently.
Replacing headlamp bulbs
Do not touch the glass of a halogen bulb.
1. Turn off the headlamps and open the hood.
2. Lift the headlamp cover.
3. Remove two retainer pins, then
pull headlamp forward.
4. Disconnect the electrical
connector.
5. Remove the bulb retaining ring.
Lights
28
Page 29 of 184
6. Carefully pull old bulb out of the
lamp assembly
Handle a halogen headlamp bulb carefully and keep out of
children’s reach. Grasp the bulb only by its plastic base and do
not touch the glass. The oil from your hand could cause the bulb to
break the next time the headlamps are operated.
Install the new bulb in reverse order.
Replacing front parking lamp/turn signal bulbs
1. Remove screw from the lamp
assembly.
2. Disengage lamp assembly.
3. Remove the bulb socket.
4. Carefully pull bulb straight out of
the socket.
Install the new bulb(s) in reverse order.
Lights
29
Page 31 of 184
 in re")
Replacing license plate lamp bulbs
1. Remove two screws and the
license plate lamp assembly.
2. Remove the bulb socket from the
lamp assembly by turning
counterclockwise.
Install the new bulb(s) in reverse order.
Replacing high-mount brakelamp bulb
1. Remove the two screws and lamp assembly from vehicle.
2. Remove the bulb socket from the lamp assembly by turning
counterclockwise and pull the bulb straight out.
Install new bulbs in reverse order.
Replacement bulbs
Function Number of bulbs Trade number
Headlamps 2 9007
Park/turn/side marker lamps 2 3157 AK (Amber)
Rear stop/tail/turn lamps 2 3157K
Backup lamps 2 3156K
Foglamps 2 9145
Rear license plate lamps 2 168
Overhead map lamps 2 PC579
(XU5B-13466–AA)
Cargo lamp 1 211–2
Map lamps 2 168 (T10)
Dome lamp 1 906
Front door courtesy lamp (if equipped) 1 168
Ashtray lamp 1 161
All replacement bulbs are clear in color except where noted.
To replace all instrument panel lights–see your dealer.
Replacing the interior bulbs
Check the operation of the bulbs frequently. To replace any of the
interior bulbs, see a dealer or qualified technician.
Lights
31

The autolamp s")


 or
counterclockwise (to adjust up).
NOTE:Usea4mmsocket or box
wrench")

