Page 49 of 184
2. Pressand release again within three seconds to confirm that all the
doors are closed and locked.Note:the doors will lock again, the horn
will chirp once and the headlamps will flash.
If any of the doors are not properly closed the horn will make two quick
chirps.
Sounding a panic alarm
Press
to activate the alarm. The horn will sound for a maximum of
30 seconds and the parklamps will flash for a maximum of 3 minutes.
Press again or turn the ignition to ON to deactivate, or wait for the alarm
to timeout in 3 minutes.
Note:The panic alarm will only operate when the ignition is in the OFF
or ACC position.
Replacing the battery
The remote entry transmitter uses one coin type three-volt lithium
battery CR2032 or equivalent. The typical operating range for your
remote entry transmitter is approximately 10 meters (33 feet). A
decrease in the operating range could be caused by:
•weather conditions,
•nearby radio towers,
•structures around the vehicle and
•other vehicles parked next to the vehicle.
To replace the battery:
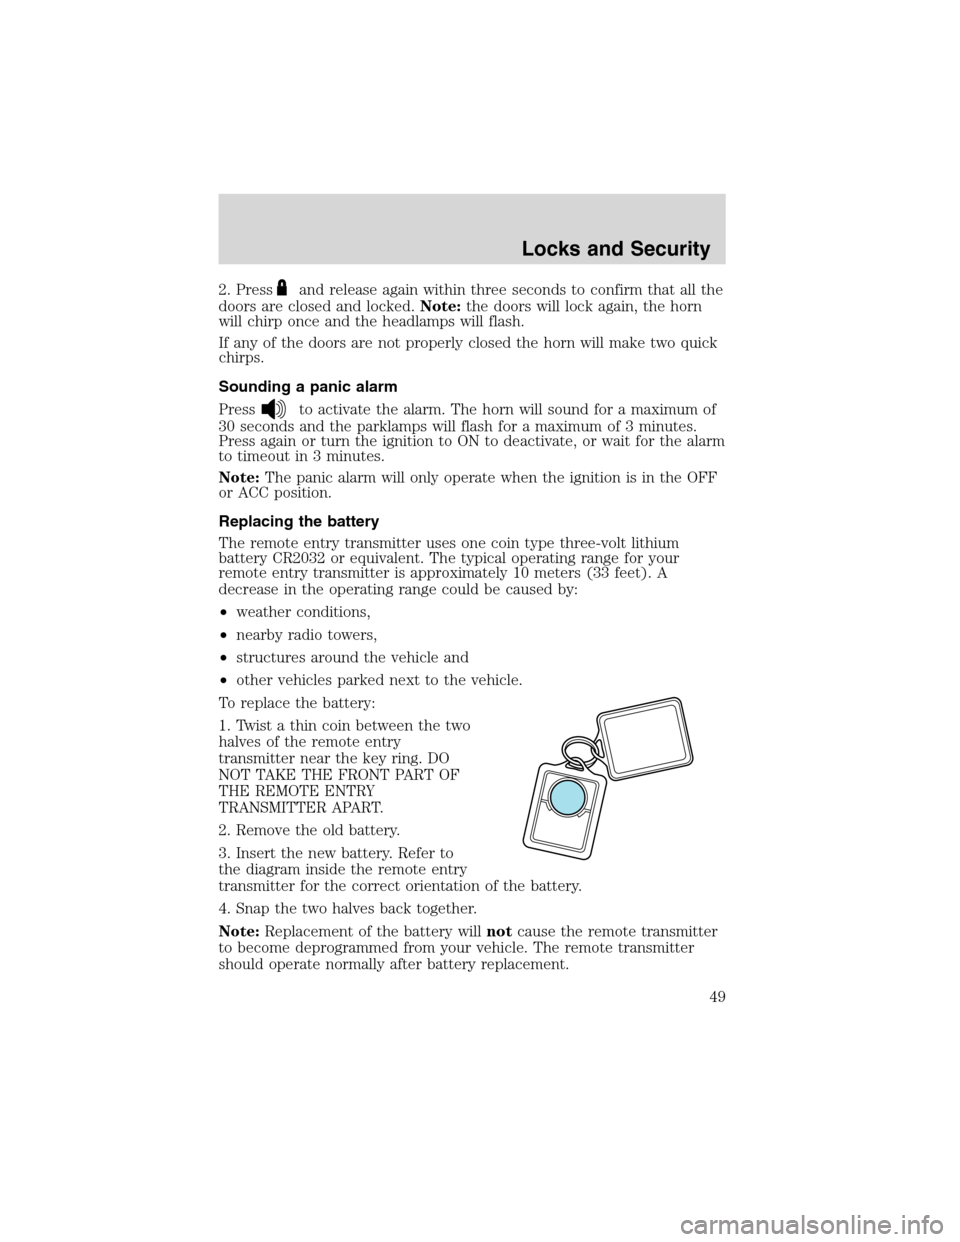
1. Twist a thin coin between the two
halves of the remote entry
transmitter near the key ring. DO
NOT TAKE THE FRONT PART OF
THE REMOTE ENTRY
TRANSMITTER APART.
2. Remove the old battery.
3. Insert the new battery. Refer to
the diagram inside the remote entry
transmitter for the correct orientation of the battery.
4. Snap the two halves back together.
Note:Replacement of the battery willnotcause the remote transmitter
to become deprogrammed from your vehicle. The remote transmitter
should operate normally after battery replacement.
Locks and Security
49
Page 53 of 184
The horn will chirp twice (one short and one long chirp) when the
system has been successfully reactivated.
SECURILOCK�PASSIVE ANTI-THEFT SYSTEM
SecuriLock�passive anti-theft system is an engine immobilization
system. This system is designed to prevent the engine from being started
unless acoded key programmed to your vehicleis used. The use of
the wrong type of coded key may lead to a“no-start”condition.
The SecuriLock�passive anti-theft system is not compatible with
non-Ford aftermarket remote start systems. Use of these systems may
result in vehicle starting problems and a loss of security protection.
Your vehicle comes with two coded keys; additional coded keys may be
purchased from your dealer. The dealer can program your spare keys to
your vehicle or you can program the keys yourself. Refer to
Programming spare keysfor instructions on how to program the coded
key.
Note:Coded keys are not compatible with non-Ford aftermarket remote
starting systems. Use of these systems may result in vehicle starting
problems and loss of security protection.
Note:Large metallic objects, electronic devices that are used to
purchase gasoline or similar items, or a second coded key on the same
key chain may cause vehicle starting issues. You need to prevent these
objects from touching the coded key while starting the engine. These
objects will not cause damage to the coded key, but may cause a
momentary issue if they are too close to the key when starting the
engine. If a problem occurs, turn the ignition off, remove all objects on
the key chain away from the coded key and restart the engine.
Replacement keys
If your keys are lost or stolen and you don’t have an extra coded key,
you will need to have your vehicle towed to a dealership. The key codes
need to be erased from your vehicle and new coded keys and key codes
will need to be programmed.
Replacing coded keys can be very costly. Store an extra programmed key
away from the vehicle in a safe place to help prevent any
inconveniences. Please visit an authorized dealer to purchase additional
spare or replacement keys.
Programming spare keys
You can program your own coded keys to your vehicle. Please read and
understand the entire procedure before you begin.
Locks and Security
53
Page 57 of 184
Reclining the seats
Pull the lever located on the outside
of the seat to recline the seatback.
Release the lever to lock the
seatback in place.
Reclining the seatback can cause an occupant to slide under the
seat’s safety belt, resulting in severe personal injuries in the
event of a collision.
Never adjust the driver’s seat or seatback when the vehicle is
moving.
Using the manual lumbar support (if equipped)
For more lumbar support, turn the
lumbar support control toward the
front of vehicle.
For less lumbar support, turn the
lumbar support control toward the
rear of vehicle.
Seating and Safety Restraints
57
Page 72 of 184
Do not attempt to service, repair, or modify the air bag
supplemental restraint systems or its fuses. See your Ford or
Lincoln Mercury dealer.
Modifying or adding equipment to the front end of the vehicle
(including frame, bumper, front end body structure and tow
hooks) may affect the performance of the air bag system, increasing
the risk of injury. Do not modify the front end of the vehicle.
Children and air bags
Children must always be properly
restrained; accident statistics
suggest that children are safer when
properly restrained in the rear
seating positions than in the front
seating position. Failure to follow
these instructions may increase the
risk of injury in a collision.
Air bags can kill or injure a child in a child seat.NEVERplace a
rear-facing child seat in front of an active air bag. If you must
use a forward-facing child seat in the front seat, move the seat all the
way back.
Seating and Safety Restraints
72
Page 80 of 184
The importance of shoulder belts
Using a booster without a shoulder belt increases the risk of a child’s
head hitting a hard surface in a collision. For this reason, you should
never use a booster seat with a lap belt only. It is best to use a booster
seat with lap/shoulder belts in the back seat- the safest place for children
to ride.
Follow all instructions provided by the manufacturer of the
booster seat.
Never put the shoulder belt under a child’s arm or behind the
back because it eliminates the protection for the upper part of
the body and may increase the risk of injury or death in a collision.
Never use pillows, books, or towels to boost a child. They can
slide around and increase the likelihood of injury or death in a
collision.
SAFETY SEATS FOR CHILDREN
Child and infant or child safety seats
Use a safety seat that is recommended for the size and weight of the
child. Carefully follow all of the manufacturer’s instructions with the
safety seat you put in your vehicle. If you do not install and use the
safety seat properly, the child may be injured in a sudden stop or
collision.
Seating and Safety Restraints
80
Page 83 of 184
4. Insert the belt tongue into the
proper buckle (the buckle closest to
the direction the tongue is coming
from) for that seating position until
you hear a snap and feel the latch
engage. Make sure the tongue is
latched securely by pulling on it.
5. To put the retractor in the
automatic locking mode, grasp the
shoulder portion of the belt and pull
downward until all of the belt is
extracted and a click is heard.
6. Allow the belt to retract. The belt will click as it retracts to indicate it
is in the automatic locking mode.
7. Pull the lap belt portion across
the child seat toward the buckle and
pull up on the shoulder belt while
pushing down with your knee on the
child seat.
Seating and Safety Restraints
83
Page 95 of 184
N (Neutral)
With the gearshift lever in N (Neutral), the vehicle can be started and is
free to roll. Hold the brake pedal down while in this position.
(Overdrive)
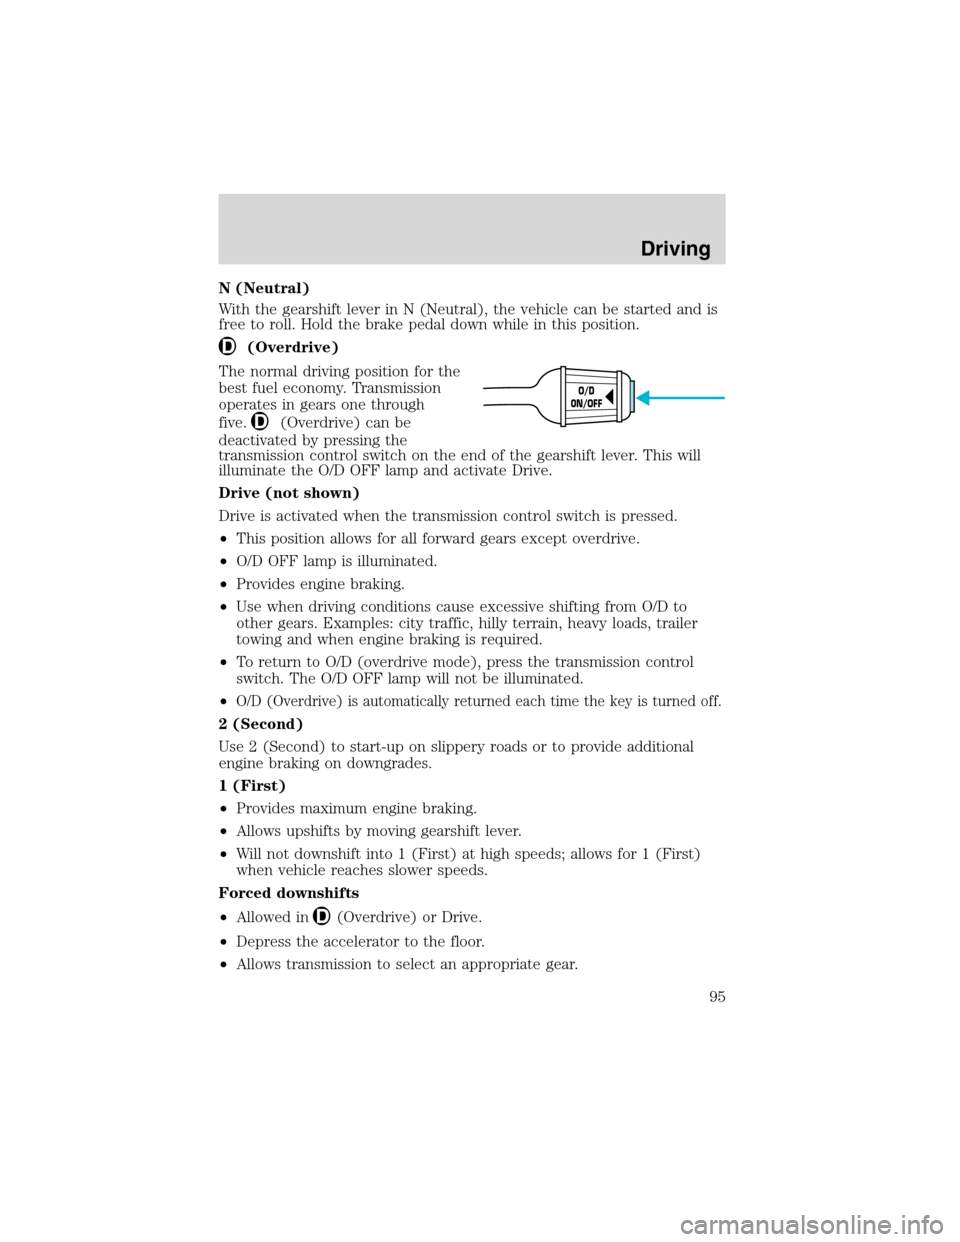
The normal driving position for the
best fuel economy. Transmission
operates in gears one through
five.
(Overdrive) can be
deactivated by pressing the
transmission control switch on the end of the gearshift lever. This will
illuminate the O/D OFF lamp and activate Drive.
Drive (not shown)
Drive is activated when the transmission control switch is pressed.
•This position allows for all forward gears except overdrive.
•O/D OFF lamp is illuminated.
•Provides engine braking.
•Use when driving conditions cause excessive shifting from O/D to
other gears. Examples: city traffic, hilly terrain, heavy loads, trailer
towing and when engine braking is required.
•To return to O/D (overdrive mode), press the transmission control
switch. The O/D OFF lamp will not be illuminated.
•
O/D (Overdrive) is automatically returned each time the key is turned off.
2 (Second)
Use 2 (Second) to start-up on slippery roads or to provide additional
engine braking on downgrades.
1 (First)
•Provides maximum engine braking.
•Allows upshifts by moving gearshift lever.
•Will not downshift into 1 (First) at high speeds; allows for 1 (First)
when vehicle reaches slower speeds.
Forced downshifts
•Allowed in
(Overdrive) or Drive.
•Depress the accelerator to the floor.
•Allows transmission to select an appropriate gear.
O/D
ON/OFF
Driving
95
Page 104 of 184
•GVWR (Gross Vehicle Weight Rating):Maximum allowable total
weight of the base vehicle, occupants, optional equipment and cargo.
The GVWR is specific to each vehicle and is listed on the Safety
Certification Label on the driver’s door pillar.
•GAWR (Gross Axle Weight Rating):Carrying capacity for each axle
system. The GAWR is specific to each vehicle and is listed on the
Safety Certification Label on the driver’s door pillar.
•GCW (Gross Combined Weight):The combined weight of the
towing vehicle (including occupants and cargo) and the loaded trailer.
•GCWR (Gross Combined Weight Rating):Maximum allowable
combined weight of towing vehicle (including occupants and cargo)
and the loaded trailer
•Maximum Trailer Weight Rating:Maximum weight of a trailer the
vehicle is permitted to tow. The maximum trailer weight rating is
determined by subtracting the vehicle curb weight for each
engine/transmission combination, any required option weight for trailer
towing and the weight of the driver from the GCWR for the towing
vehicle.
•Maximum Trailer Weight:Maximum weight of a trailer the loaded
vehicle, including occupants and cargo, is permitted to tow. It is
determined by subtracting the weight of the loaded trailer towing
vehicle from the GCWR for the towing vehicle.
•Trailer Weight Range:Specified range of trailer weight from zero to
the maximum trailer weight rating.
Remember to figure in the tongue load of your loaded trailer when
figuring the total weight.
The Safety Certification Label, located on the driver’s door pillar, lists
vehicle weight rating limitations. Before adding any additional equipment,
refer to these limitations.
Always ensure that the weight of occupants, cargo and equipment is
within the weight limitations, including both gross vehicle weight and
front and rear gross axle weight rating limits.
Note:Do not exceed the GVWR or the GAWR specified on the
certification label.
Exceeding any vehicle weight rating limitation could result in
serious damage to the vehicle loss of vehicle control, vehicle
rollover, and/or personal injury.
Driving
104