Page 7 of 184
Vehicle Symbol Glossary
Power Window Lockout
Child Safety Door
Lock/Unlock
Interior Luggage
Compartment Release
Symbol
Panic Alarm
Engine OilEngine Coolant
Engine Coolant
TemperatureDo Not Open When Hot
BatteryAvoid Smoking, Flames,
or Sparks
Battery AcidExplosive Gas
Fan WarningPower Steering Fluid
Maintain Correct Fluid
LevelMAX
MIN
Emission System
Engine Air FilterPassenger Compartment
Air Filter
JackCheck fuel cap
Low tire warning
Introduction
7
Page 9 of 184

Anti-lock brake system:If the
ABS light stays illuminated or
continues to flash, a malfunction has
been detected, have the system
serviced immediately. Normal
braking is still functional unless the brake warning light also is
illuminated.
Air bag readiness:If this light fails
to illuminate when ignition is turned
to ON, continues to flash or remains
on, have the system serviced
immediately. A chime will also
sound when a malfunction in the supplemental restraint system has been
detected.
Safety belt:Reminds you to fasten
your safety belt. A chime will also
sound to remind you to fasten your
safety belt.
Charging system:Illuminates when
the battery is not charging properly.
Check gage:Illuminates when any
of the following conditions has
occurred:
•The engine coolant temperature
is high.
•The engine oil pressure is low.
•The fuel gauge is at or near empty.
Door ajar:Illuminates when the
ignition is in the ON position and
any door is open.
Overdrive off:Illuminates when
the overdrive function of the
transmission has been turned off,
refer to theDrivingchapter. If the
light flashes steadily, have the system serviced immediately.
ABS
CHECK
GAGE
DOOR
AJAR
O/D
OFF
Instrument Cluster
9
Page 10 of 184
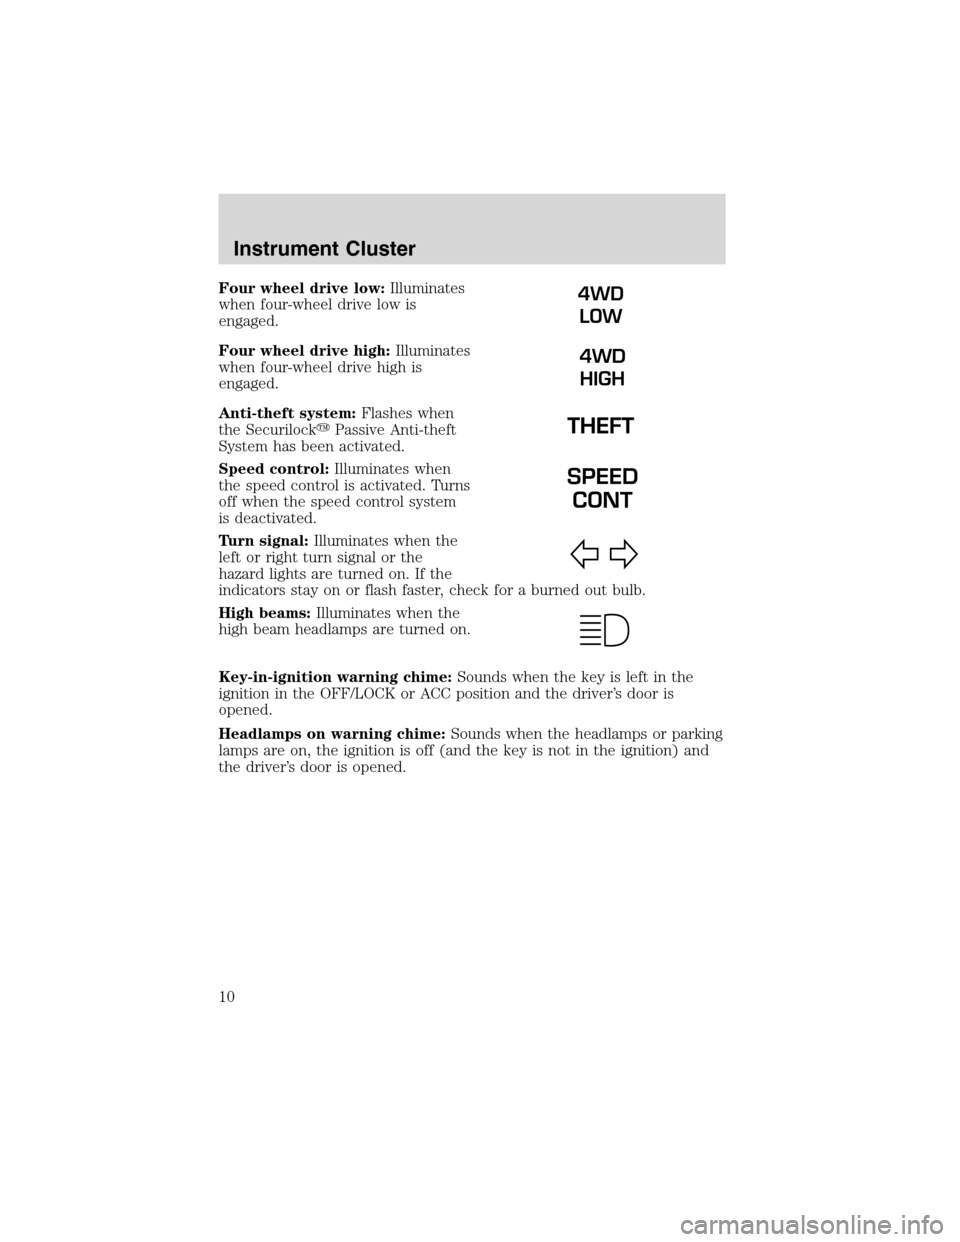
Four wheel drive low:Illuminates
when four-wheel drive low is
engaged.
Four wheel drive high:Illuminates
when four-wheel drive high is
engaged.
Anti-theft system:Flashes when
the Securilock�Passive Anti-theft
System has been activated.
Speed control:Illuminates when
the speed control is activated. Turns
off when the speed control system
is deactivated.
Turn signal:Illuminates when the
left or right turn signal or the
hazard lights are turned on. If the
indicators stay on or flash faster, check for a burned out bulb.
High beams:Illuminates when the
high beam headlamps are turned on.
Key-in-ignition warning chime:Sounds when the key is left in the
ignition in the OFF/LOCK or ACC position and the driver’s door is
opened.
Headlamps on warning chime:Sounds when the headlamps or parking
lamps are on, the ignition is off (and the key is not in the ignition) and
the driver’s door is opened.4WD
LOW
4WD
HIGH
SPEED
CONT
Instrument Cluster
10
Page 14 of 184
PREMIUM AM/FM STEREO/CASSETTE/SINGLE CD
1.Power/volume:Press to turn
ON/OFF; turn
clockwise/counterclockwise to
increase/decrease volume.
2.Scan:Press SCAN to move up
the radio frequency band. SCAN
automatically finds a station, plays it
for five seconds, then moves to the next station. Press again to stop.
Tape/CD:Press SCAN to sample tape/CD selections for eight seconds.
Press again to stop.
3.CD Door:Insert the disc with
the playing side down and printed
side up.
SCAN
Entertainment Systems
14
Page 15 of 184
4.Cassette door:Insert the
cassette with the opening to the
right.
5.Eject:Press to eject the
cassette/CD. The radio will resume
playing.
6.Tape:Press to start tape play.
Press to stop tape during
rewind/fast forward.
CD:Press to start CD play. With the
dual media audio, press CD to
toggle between single CD and CD
changer play (if equipped).
7.Mute:Press to MUTE playing
media; press again return to playing
media.
8.Auto:Press to set first six
strongest stations (if available) into
AM, FM1 or FM2 memory buttons;
press again to return to normal
stations.
9.Clock:Press and hold to set the
clock. Press the
SEEK to
decrease hours or SEEK
to
increase hours. Press the
TUNE
to decrease minutes or TUNE
to
increase minutes. If your vehicle has a stand alone clock this control will
not function.
Entertainment Systems
15
Page 27 of 184
5. Locate the vertical adjuster for
each headlamp. Adjust the aim by
turning the adjuster control either
clockwise (to adjust down) or
counterclockwise (to adjust up).
NOTE:Usea4mmsocket or box
wrench to turn the vertical adjuster
control.
6. Once you have adjusted the
headlamps close the hood and turn
off the lights.
TURN SIGNAL CONTROL
•Push down to activate the left
turn signal.
•Push up to activate the right turn
signal.
INTERIOR LAMPS
Courtesy/reading lamps
The courtesy lamp will turn on
when:
•any door is opened.
•the instrument panel dimmer
switch is rotated all the way up
(past detent).
•Pressing the
on the remote
entry key fob and the ignition is
in the OFF position.
NOTE:If your vehicle is equipped with the Remote Keyless Entry
feature, the courtesy lamp will remain on for 25 seconds after the door is
shut or until the ignition is turned to the ON position.
Lights
27
Page 31 of 184
 in re")
Replacing license plate lamp bulbs
1. Remove two screws and the
license plate lamp assembly.
2. Remove the bulb socket from the
lamp assembly by turning
counterclockwise.
Install the new bulb(s) in reverse order.
Replacing high-mount brakelamp bulb
1. Remove the two screws and lamp assembly from vehicle.
2. Remove the bulb socket from the lamp assembly by turning
counterclockwise and pull the bulb straight out.
Install new bulbs in reverse order.
Replacement bulbs
Function Number of bulbs Trade number
Headlamps 2 9007
Park/turn/side marker lamps 2 3157 AK (Amber)
Rear stop/tail/turn lamps 2 3157K
Backup lamps 2 3156K
Foglamps 2 9145
Rear license plate lamps 2 168
Overhead map lamps 2 PC579
(XU5B-13466–AA)
Cargo lamp 1 211–2
Map lamps 2 168 (T10)
Dome lamp 1 906
Front door courtesy lamp (if equipped) 1 168
Ashtray lamp 1 161
All replacement bulbs are clear in color except where noted.
To replace all instrument panel lights–see your dealer.
Replacing the interior bulbs
Check the operation of the bulbs frequently. To replace any of the
interior bulbs, see a dealer or qualified technician.
Lights
31
Page 46 of 184
OPERATING THE LIFTGATE
Note: The liftgate can only be opened and closed from the outside
of the vehicle.
To open the liftgate window:
1. Unlock the liftgate using either
the key, power door lock control or
the Remote entry key fob.
2. Push the key lock cylinder in.
3. Push the window upward.
To close the liftgate window:
Repeat the above procedure in
reverse order.
To open the liftgate:
1. Unlock the liftgate using either
the key, power door lock control or
the Remote entry key fob.
2. Pull up on the handle located
under the license plate lamp shield.
3. Push the liftgate upward.
To close the liftgate:Repeat the
above procedure in reverse order.
The liftgate door and window should be closed before driving your
vehicle. If not closed properly, possible damage may occur to the liftgate
door lift cylinders and attaching hardware.
Driver Controls
46


 or
counterclockwise (to adjust up).
NOTE:Usea4mmsocket or box
wrench")
