Page 121 of 246

CONNECT Nav
120
“Telephone” function
VOICE COMMANDS - KEYWORDS
1
stLEVEL
KEYWORDS
Call (*)
Dial (**)
Redial
PIN code (***)
Address book
Once a command has been pronounced and executed, second level “keywords” and all first level keywords will remain available for further commands.
(*) After this command the system will ask: “The name, please”. (**) After this command the system will ask: “The number, please”.
(***) After this command the system will ask: “The PIN code, please”.
2ndLEVEL
KEYWORDS
(0 …. 9)
Plus
Cancel
Delete
Abort
Repeat
Send
(0 …. 9)
Cancel
Delete
Abort
Repeat
Send
Read
Delete
3rd LEVEL
KEYWORDS
Name (*)
All
4thLEVEL
KEYWORDSREQUIRED FUNCTION
Call an address book number
(only with“voice identification” mode)
Call a number
Redial
Enter PIN code
Play all the voice samples associated to
the phone book with
“voice identification” mode
Delete an entry from the phone book
(only with “voice identification” mode)
Delete all the voice samples associated
to the phone book
Page 124 of 246
CONNECT Nav
123
Dialling a telephone number
Pronouncing 1
stlevel keyword “Dial”
opens a dialogue enabling the follow-
ing keywords:
– [0..9]
– Plus (+)
– Cancel
– Delete
– Abort
– Repeat
– Send.First example:
User: Dial
CONNECT: The number, please
User: 0-1-1
CONNECT: 0-1-1
User: 1-2-3
CONNECT: 1-2-3
User: 4-5-6
CONNECT: 4-5-6
User: 7-8
CONNECT: 7-8
User: Send
CONNECT: The number
is being dialled.
Second example:
User: Dial
CONNECT: The number, please
User: 0-1-1-1-2-3
CONNECT: 0-1-1-1-2-3
User: 4-5-6-7-8
CONNECT: 4-5-6-7-8
User: Repeat
CONNECT: 0-1-1-1-2-3-4-5-6-7-8
User: Send
CONNECT: The number
is being dialled.Third example:
User: Dial
CONNECT: The number, please
User: 0-1-1-1-2-3
CONNECT: 0-1-1-1-2-3
User: 4-5-6-7-8
CONNECT: 4-5-6-7-7
User: Repeat
CONNECT: 0-1-1-1-2-3-4-5-6-7-7
User: Delete
CONNECT: 0-1-1-1-2-3
User: 4-5-6-7-8
CONNECT: 4-5-6-7-8
User: Send
CONNECT: The number
is being dialled.
Page 126 of 246

CONNECT Nav
125
Storing an entry in the address
book with voice identification
The user can insert into the tele-
phone book a voice sample associat-
ed to a number (only with “voice
identification” mode).
Recording stage cannot be per-
formed through voice commands (for
further details see section “Cellular
telephone with voice commands” at
paragraph “Directory function – Voice
recognition”).
User can stop the operation only by
pressing the front panel key
ô14-fig. 1or the steering wheel key ô3-fig. 2:
First example:
CONNECT: The name, please
User: Barbara
CONNECT: Please, repeat
the name
User: Barbara
CONNECT: The name has
been stored.Second example:
CONNECT: The name, please
User: Francesca
CONNECT: Please, repeat
the name
User: Maria
CONNECT: The name has
not been stored.
The name, please
User: Francesca
CONNECT: Please,
repeat the name
User: Francesca
CONNECT: The name
has been stored.Calling an entry from the
address book
with voice recognition
Pronouncing 1
stlevel keyword “Call”,
opens a dialogue enabling the follow-
ing keywords:
– Cancel
– Delete
– Abort
– Repeat
– Send.
First example:
User: Call
CONNECT: The name, please
User: Paola
CONNECT: Paola
User: Send
CONNECT: The number
is being dialled.
Second example:
User: Call
CONNECT: The address
book is empty.
Page 132 of 246

CONNECT Nav
131
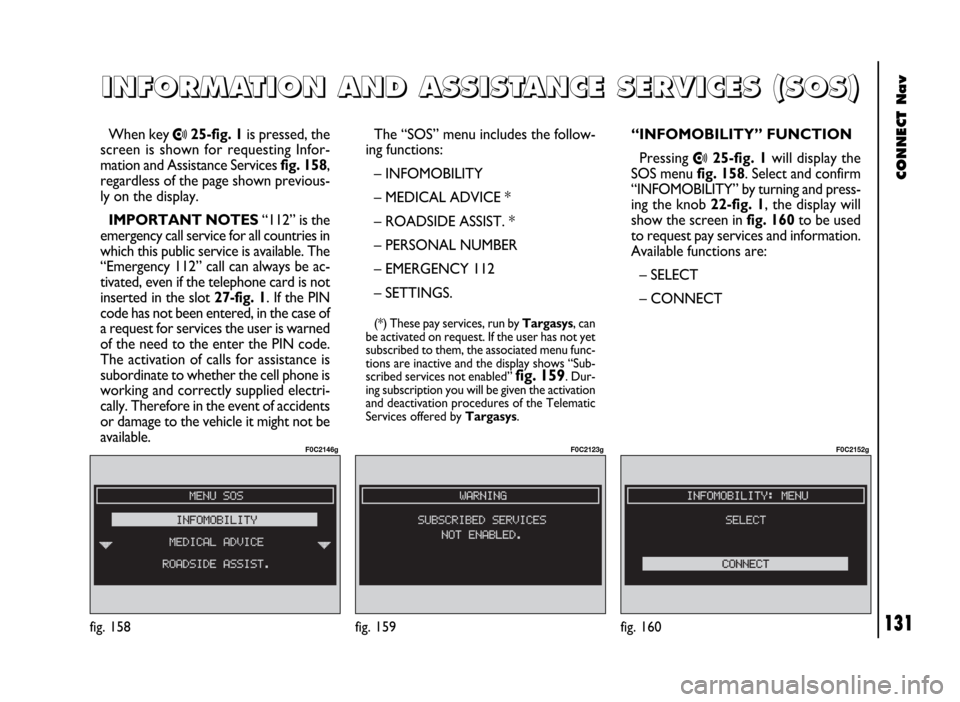
When key •25-fig. 1is pressed, the
screen is shown for requesting Infor-
mation and Assistance Services fig. 158,
regardless of the page shown previous-
ly on the display.
IMPORTANT NOTES“112” is the
emergency call service for all countries in
which this public service is available. The
“Emergency 112” call can always be ac-
tivated, even if the telephone card is not
inserted in the slot 27-fig. 1. If the PIN
code has not been entered, in the case of
a request for services the user is warned
of the need to the enter the PIN code.
The activation of calls for assistance is
subordinate to whether the cell phone is
working and correctly supplied electri-
cally. Therefore in the event of accidents
or damage to the vehicle it might not be
available.The “SOS” menu includes the follow-
ing functions:
– INFOMOBILITY
– MEDICAL ADVICE *
– ROADSIDE ASSIST. *
– PERSONAL NUMBER
– EMERGENCY 112
– SETTINGS.
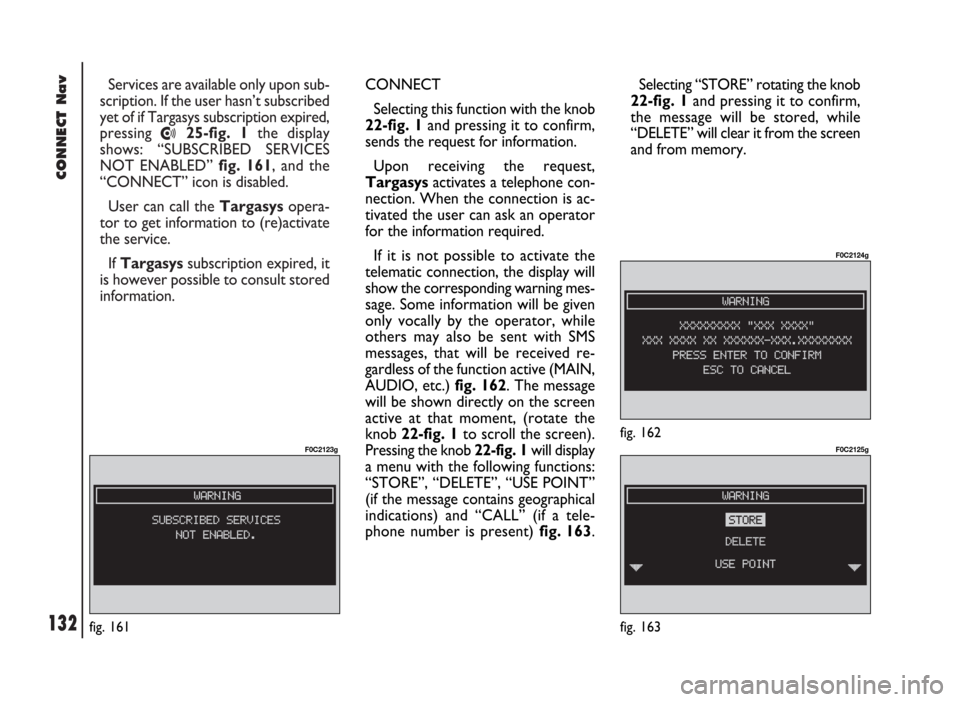
(*) These pay services, run by Targasys, can
be activated on request. If the user has not yet
subscribed to them, the associated menu func-
tions are inactive and the display shows “Sub-
scribed services not enabled”
fig. 159. Dur-
ing subscription you will be given the activation
and deactivation procedures of the Telematic
Services offered by Targasys.
I I
N N
F F
O O
R R
M M
A A
T T
I I
O O
N N
A A
N N
D D
A A
S S
S S
I I
S S
T T
A A
N N
C C
E E
S S
E E
R R
V V
I I
C C
E E
S S
( (
S S
O O
S S
) )
fig. 158
F0C2146g
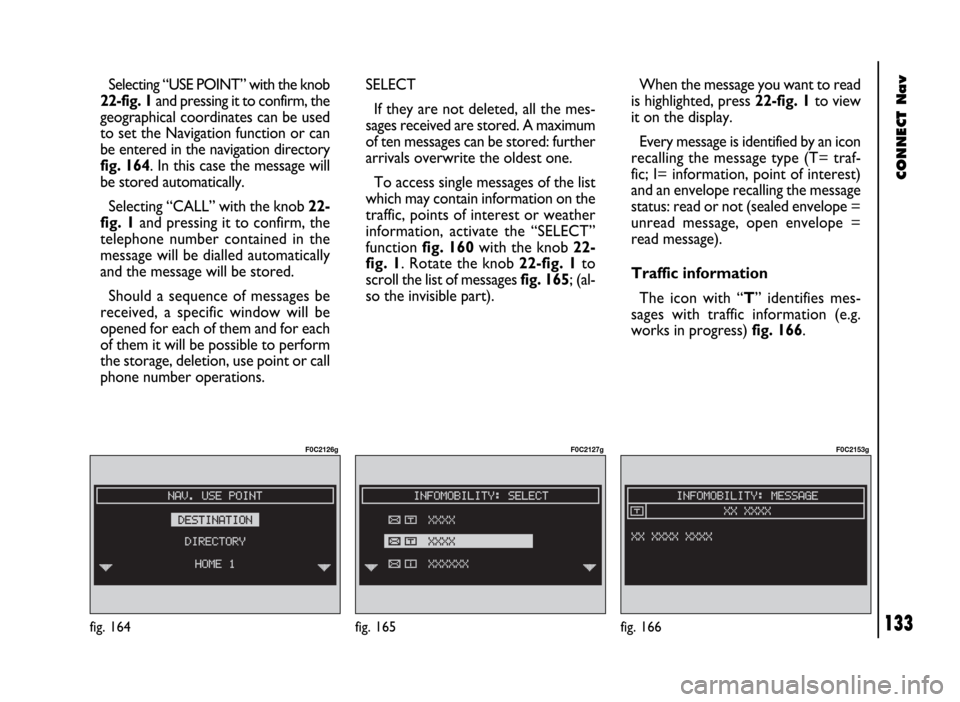
“INFOMOBILITY” FUNCTION
Pressing
•25-fig. 1will display the
SOS menu fig. 158. Select and confirm
“INFOMOBILITY” by turning and press-
ing the knob 22-fig. 1, the display will
show the screen in fig. 160to be used
to request pay services and information.
Available functions are:
– SELECT
– CONNECT
fig. 160
F0C2152g
fig. 159
F0C2123g
Page 133 of 246

CONNECT Nav
132
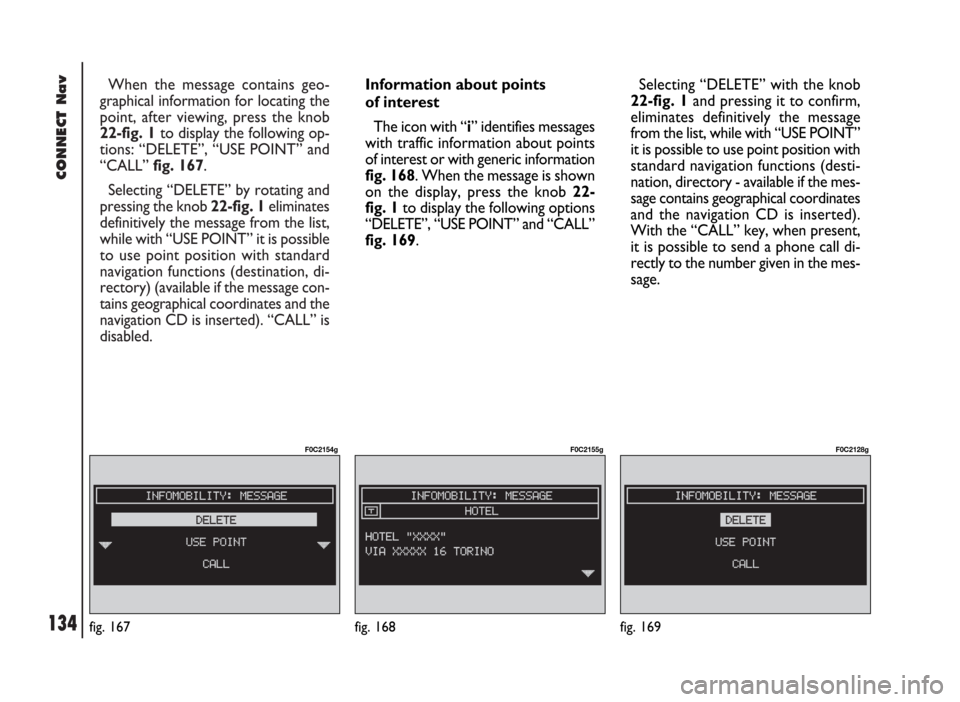
Services are available only upon sub-
scription. If the user hasn’t subscribed
yet of if Targasys subscription expired,
pressing
•25-fig. 1the display
shows: “SUBSCRIBED SERVICES
NOT ENABLED” fig. 161, and the
“CONNECT” icon is disabled.
User can call the Targasysopera-
tor to get information to (re)activate
the service.
If Targasyssubscription expired, it
is however possible to consult stored
information.
fig. 161
F0C2123g
CONNECT
Selecting this function with the knob
22-fig. 1and pressing it to confirm,
sends the request for information.
Upon receiving the request,
Targasysactivates a telephone con-
nection. When the connection is ac-
tivated the user can ask an operator
for the information required.
If it is not possible to activate the
telematic connection, the display will
show the corresponding warning mes-
sage. Some information will be given
only vocally by the operator, while
others may also be sent with SMS
messages, that will be received re-
gardless of the function active (MAIN,
AUDIO, etc.) fig. 162. The message
will be shown directly on the screen
active at that moment, (rotate the
knob 22-fig. 1to scroll the screen).
Pressing the knob 22-fig. 1 will display
a menu with the following functions:
“STORE”, “DELETE”, “USE POINT”
(if the message contains geographical
indications) and “CALL” (if a tele-
phone number is present) fig. 163. Selecting “STORE” rotating the knob
22-fig. 1and pressing it to confirm,
the message will be stored, while
“DELETE” will clear it from the screen
and from memory.
fig. 162
F0C2124g
fig. 163
F0C2125g
Page 134 of 246

CONNECT Nav
133
Selecting “USE POINT” with the knob
22-fig. 1and pressing it to confirm, the
geographical coordinates can be used
to set the Navigation function or can
be entered in the navigation directory
fig. 164. In this case the message will
be stored automatically.
Selecting “CALL” with the knob 22-
fig. 1and pressing it to confirm, the
telephone number contained in the
message will be dialled automatically
and the message will be stored.
Should a sequence of messages be
received, a specific window will be
opened for each of them and for each
of them it will be possible to perform
the storage, deletion, use point or call
phone number operations.
fig. 164
F0C2126g
SELECT
If they are not deleted, all the mes-
sages received are stored. A maximum
of ten messages can be stored: further
arrivals overwrite the oldest one.
To access single messages of the list
which may contain information on the
traffic, points of interest or weather
information, activate the “SELECT”
function fig. 160with the knob 22-
fig. 1. Rotate the knob 22-fig. 1to
scroll the list of messages fig. 165; (al-
so the invisible part).When the message you want to read
is highlighted, press 22-fig. 1to view
it on the display.
Every message is identified by an icon
recalling the message type (T= traf-
fic; I= information, point of interest)
and an envelope recalling the message
status: read or not (sealed envelope =
unread message, open envelope =
read message).
Traffic information
The icon with “T” identifies mes-
sages with traffic information (e.g.
works in progress) fig. 166.
fig. 165
F0C2127g
fig. 166
F0C2153g
Page 135 of 246

CONNECT Nav
134
When the message contains geo-
graphical information for locating the
point, after viewing, press the knob
22-fig. 1to display the following op-
tions: “DELETE”, “USE POINT” and
“CALL” fig. 167.
Selecting “DELETE” by rotating and
pressing the knob 22-fig. 1eliminates
definitively the message from the list,
while with “USE POINT” it is possible
to use point position with standard
navigation functions (destination, di-
rectory) (available if the message con-
tains geographical coordinates and the
navigation CD is inserted). “CALL” is
disabled.
fig. 167
F0C2154g
Information about points
of interest
The icon with “i” identifies messages
with traffic information about points
of interest or with generic information
fig. 168. When the message is shown
on the display, press the knob 22-
fig. 1to display the following options
“DELETE”, “USE POINT” and “CALL”
fig. 169.Selecting “DELETE” with the knob
22-fig. 1and pressing it to confirm,
eliminates definitively the message
from the list, while with “USE POINT”
it is possible to use point position with
standard navigation functions (desti-
nation, directory - available if the mes-
sage contains geographical coordinates
and the navigation CD is inserted).
With the “CALL” key, when present,
it is possible to send a phone call di-
rectly to the number given in the mes-
sage.
fig. 168
F0C2155g
fig. 169
F0C2128g
Page 137 of 246

CONNECT Nav
136fig. 172
F0C2148g
IMPORTANTThe roadside assis-
tance centre number cannot be set by
the user.
For both Roadside Assistance
and Medical Advice calls, if trans-
mission of the telematic call is not
successful, the screen shown in
fig. 171 will be displayed.“PERSONAL NUMBER”
FUNCTION
Selecting the “PERSONAL NUM-
BER” function on the “SOS” menu
main page using the knob 22-fig. 1and
pressing it to confirm, automatically
sends a phone call to a number set
previously by the user.
The procedure for setting this num-
ber is described in the “SETTINGS”
paragraph that follows.
“EMERGENCY 112”
FUNCTION
Selecting this function on the “SOS”
menu main page using the knob 22-fig.
1and pressing it to confirm, directly
sends a call to the police force.IMPORTANT“112” is the emer-
gency call service for all the countries
in which the public service is available.
The “Emergency 112” call can always
be activated, even if the telephone
card is not inserted in the slot 27-
fig. 1.
“SETTINGS” FUNCTION
Selecting this function on the “SOS”
menu main page using the knob 22-
fig. 1and pressing it to confirm, opens
a new screen with the “MEDICAL
ADVICE”, “PERSONAL NUMBER”
and “CONNECT CODE” functions,
fig. 172.
fig. 171
F0C2147g