Page 162 of 486
2-54
2. Move the shift lever into PARK (P) like this:
�Pull the lever toward you.
�Move the lever up as far as it will go.
3. Turn the ignition key to LOCK.
4. Remove the key and take it with you. If you can
leave your vehicle with the ignition key in your
hand, your vehicle is in PARK (P).
Page 163 of 486
2-55
Leaving Your Vehicle With the
Engine Running
CAUTION:
It can be dangerous to leave your vehicle with the
engine running. Your vehicle could move
suddenly if the shift lever is not fully in PARK (P)
with the parking brake firmly set. And, if you
leave the vehicle with the engine running, it could
overheat and even catch fire. You or others could
be injured. Don't leave your vehicle with the
engine running unless you have to.
If you have to leave your vehicle with the engine
running, be sure your vehicle is in PARK (P) and your
parking brake is firmly set before you leave it. After
you've moved the shift lever into PARK (P), hold the
regular brake pedal down. Then, see if you can move the
shift lever away from PARK (P) without first pulling it
toward you. If you can, it means that the shift lever
wasn't fully locked into PARK (P).
Torque Lock
If you are parking on a hill and you don't shift your
transaxle into PARK (P) properly, the weight of the
vehicle may put too much force on the parking pawl in
the transaxle. You may find it difficult to pull the shift
lever out of PARK (P). This is called ªtorque lock.º To
prevent torque lock, set the parking brake and then shift
into PARK (P) properly before you leave the driver's
seat. To find out how, see ªShifting Into PARK (P)º in
the Index.
When you are ready to drive, move the shift lever out of
PARK (P) before you release the parking brake.
If torque lock does occur, you may need to have another
vehicle push yours a little uphill to take some of the
pressure from the parking pawl in the transaxle, so you
can pull the shift lever out of PARK (P).
Page 166 of 486
2-58
Running Your Engine While
You're Parked
It's better not to park with the engine running. But if you
ever have to, here are some things to know.
CAUTION:
Idling the engine with the climate control
system off could allow dangerous exhaust into
your vehicle. See the earlier Caution under
ªEngine Exhaust.º
Also, idling in a closed-in place can let deadly
carbon monoxide (CO) into your vehicle even if
the fan is at the highest setting. One place this
can happen is a garage. Exhaust
-- with
CO
-- can come in easily. NEVER park in a
garage with the engine running.
Another closed-in place can be a blizzard.
See ªBlizzardº in the Index.
CAUTION:
It can be dangerous to get out of your vehicle if
the shift lever is not fully in PARK (P) with the
parking brake firmly set. Your vehicle can roll.
Don't leave your vehicle when the engine is
running unless you have to. If you've left the
engine running, the vehicle can move suddenly.
You or others could be injured. To be sure your
vehicle won't move, even when you're on fairly
level ground, always set your parking brake and
move the shift lever to PARK (P).
Follow the proper steps to be sure your vehicle won't
move. See ªShifting Into PARK (P)º in the Index.
If you're pulling a trailer, see ªTowing a Trailerº in
the Index.
Horn
You can sound the horn by pressing the horn symbols on
your steering wheel.
Page 168 of 486
2-60 Turn and Lane-Change Signals
The turn signal has two upward (for right) and two
downward (for left) positions. These positions allow you
to signal a turn or a lane change.
To signal a turn, move the lever all the way up or down.
When the turn is finished, the lever will return automatically.
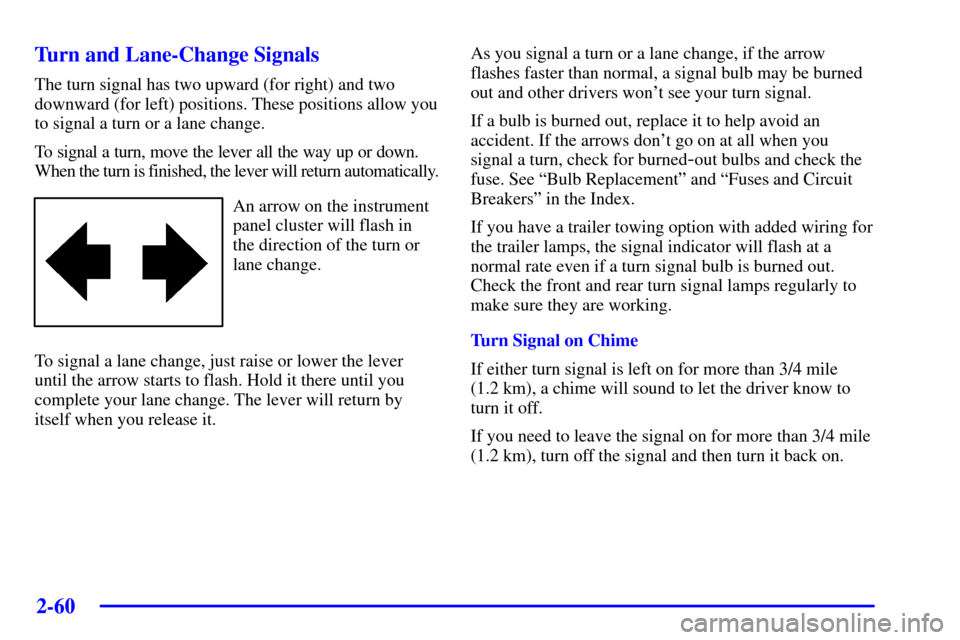
An arrow on the instrument
panel cluster will flash in
the direction of the turn or
lane change.
To signal a lane change, just raise or lower the lever
until the arrow starts to flash. Hold it there until you
complete your lane change. The lever will return by
itself when you release it.As you signal a turn or a lane change, if the arrow
flashes faster than normal, a signal bulb may be burned
out and other drivers won't see your turn signal.
If a bulb is burned out, replace it to help avoid an
accident. If the arrows don't go on at all when you
signal a turn, check for burned
-out bulbs and check the
fuse. See ªBulb Replacementº and ªFuses and Circuit
Breakersº in the Index.
If you have a trailer towing option with added wiring for
the trailer lamps, the signal indicator will flash at a
normal rate even if a turn signal bulb is burned out.
Check the front and rear turn signal lamps regularly to
make sure they are working.
Turn Signal on Chime
If either turn signal is left on for more than 3/4 mile
(1.2 km), a chime will sound to let the driver know to
turn it off.
If you need to leave the signal on for more than 3/4 mile
(1.2 km), turn off the signal and then turn it back on.
Page 169 of 486
2-61
Headlamp High/Low-Beam Changer
To change the headlamps from high to low beam, or low
to high, simply pull the turn signal lever all the way
toward you. Then release it.
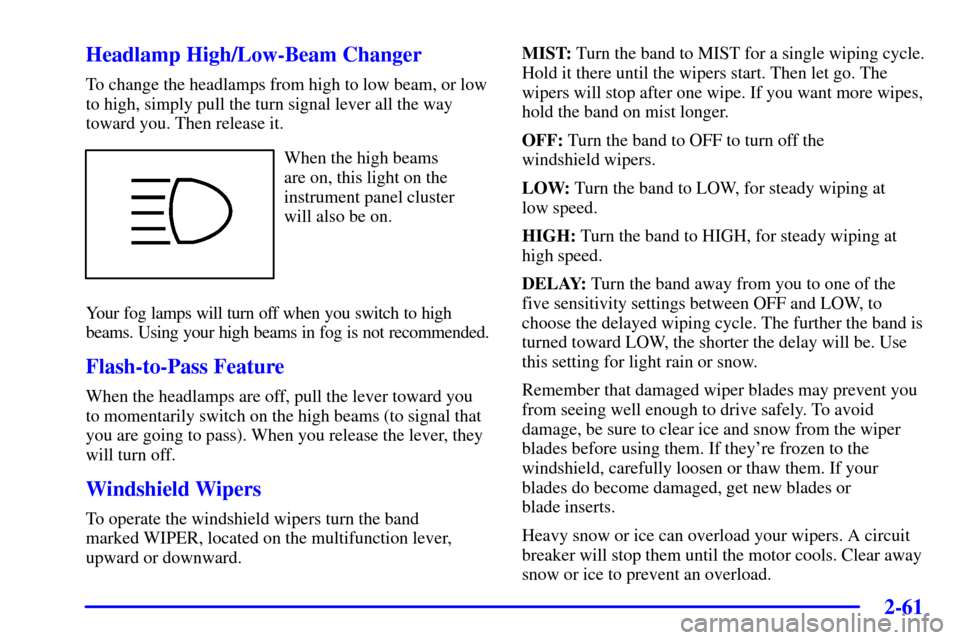
When the high beams
are on, this light on the
instrument panel cluster
will also be on.
Your fog lamps will turn off when you switch to high
beams. Using your high beams in fog is not recommended.
Flash-to-Pass Feature
When the headlamps are off, pull the lever toward you
to momentarily switch on the high beams (to signal that
you are going to pass). When you release the lever, they
will turn off.
Windshield Wipers
To operate the windshield wipers turn the band
marked WIPER, located on the multifunction lever,
upward or downward.MIST: Turn the band to MIST for a single wiping cycle.
Hold it there until the wipers start. Then let go. The
wipers will stop after one wipe. If you want more wipes,
hold the band on mist longer.
OFF: Turn the band to OFF to turn off the
windshield wipers.
LOW: Turn the band to LOW, for steady wiping at
low speed.
HIGH: Turn the band to HIGH, for steady wiping at
high speed.
DELAY: Turn the band away from you to one of the
five sensitivity settings between OFF and LOW, to
choose the delayed wiping cycle. The further the band is
turned toward LOW, the shorter the delay will be. Use
this setting for light rain or snow.
Remember that damaged wiper blades may prevent you
from seeing well enough to drive safely. To avoid
damage, be sure to clear ice and snow from the wiper
blades before using them. If they're frozen to the
windshield, carefully loosen or thaw them. If your
blades do become damaged, get new blades or
blade inserts.
Heavy snow or ice can overload your wipers. A circuit
breaker will stop them until the motor cools. Clear away
snow or ice to prevent an overload.
Page 181 of 486
2-73
Mirrors
Inside Day/Night Rearview Mirror
To reduce glare from lights behind you, pull the lever
toward you (to the night position). To return the mirror
to the day position, press the lever away from you.
Power Remote Control Rearview Mirrors
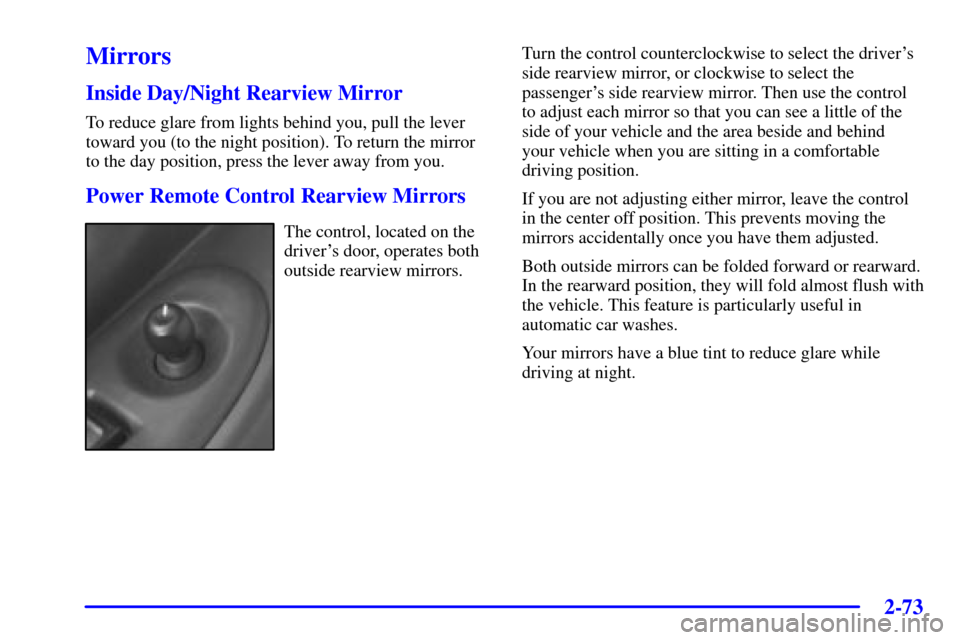
The control, located on the
driver's door, operates both
outside rearview mirrors.Turn the control counterclockwise to select the driver's
side rearview mirror, or clockwise to select the
passenger's side rearview mirror. Then use the control
to adjust each mirror so that you can see a little of the
side of your vehicle and the area beside and behind
your vehicle when you are sitting in a comfortable
driving position.
If you are not adjusting either mirror, leave the control
in the center off position. This prevents moving the
mirrors accidentally once you have them adjusted.
Both outside mirrors can be folded forward or rearward.
In the rearward position, they will fold almost flush with
the vehicle. This feature is particularly useful in
automatic car washes.
Your mirrors have a blue tint to reduce glare while
driving at night.
Page 185 of 486

2-77
3. Line up the button of the garage door opener with
one of the four buttons on the compartment door.
Make sure the garage door opener button is facing
down and press the opener firmly into place.
4. Once the opener is installed, use the black pegs inside
the compartment door to make sure the lined area on
the compartment door will contact the control button
on your garage door opener when pressed.
5. Add one peg at a time until your garage door opener
operates with the compartment door closed when
you press the button.
Storage Bin
At the base of the center instrument panel console, there
is a storage bin. To open the bin, lift the latch release
and the door will fold down.
Inside the bin, you will find a tray that slides out. Slide
the tray all the way toward the rear of the vehicle until
the tray locks onto the plastic tabs at the end of the guide
rails. The tray can hold CDs or cassettes in the center
area. You can also store cassettes in the left and right
side area. The tray can be removed for cleaning or when
you want to replace the selection of CDs or cassettes.
Slide the tray back into the storage bin before closing
the bin door. The tray can also be placed in the glove
box for locked storage if desired.
Page 187 of 486
2-79
Front Seat Storage Bin
The storage bin is located under the manual front
passenger's seat. To open the bin, lift the handle and
slide the drawer out.
Cupholders
There are cupholders located below the instrument panel
switchbank. The cupholders have removeable liners for
larger size cups and for cleaning the cupholders.
To use the cupholders, simply pull out the tray. Keep the
tray stowed in when not in use.
Rear Storage Compartments
and Cupholders
Your vehicle has a storage compartment and may have a
cupholder on the driver's side of the vehicle, next to the
third row seat(s).
Your vehicle also has cupholders on the bottom inboard
side of the second row captain's chairs (if equipped).
The seatbacks have cupholders that can be used when
the seatbacks are folded forward.
Convenience Net (Option)
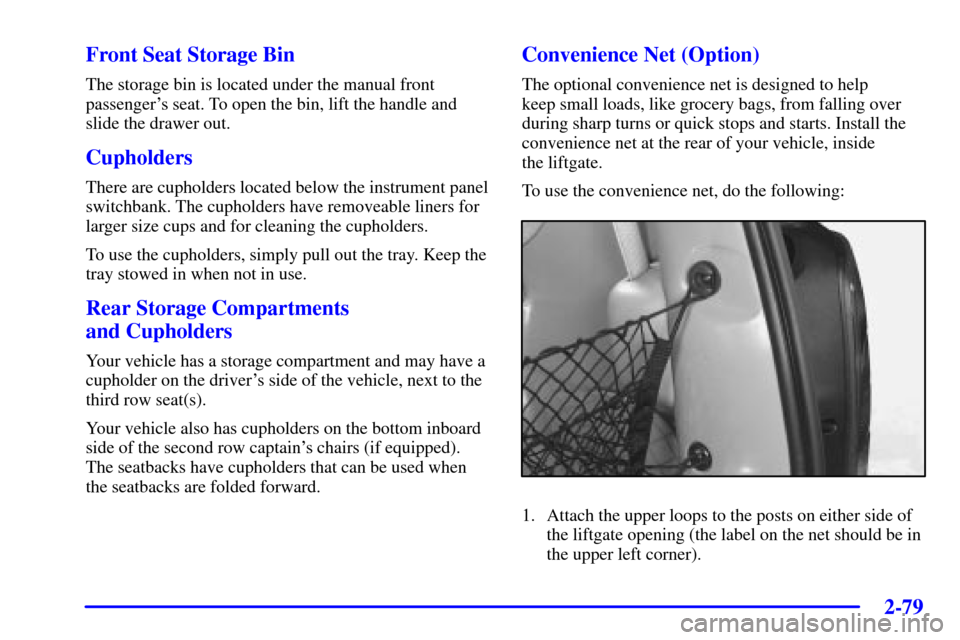
The optional convenience net is designed to help
keep small loads, like grocery bags, from falling over
during sharp turns or quick stops and starts. Install the
convenience net at the rear of your vehicle, inside
the liftgate.
To use the convenience net, do the following:
1. Attach the upper loops to the posts on either side of
the liftgate opening (the label on the net should be in
the upper left corner).