Page 34 of 486
1-28
4. From behind the bench seat, push up the release
handles at the base of the seat to release the latches
from the floor pins.
5. While holding onto the crossbar at the bottom of the
seat, remove the seat by rocking it slightly toward
the rear of the vehicle and then pulling it out. This
should be done in one motion.
NOTICE:
Do not use the release handles to pull the seat out.
The handles could break during removal. This
will not be covered by your warranty. Use the
crossbar at the bottom of the seat when pulling
the seat out.
Replacing the Stowable Seat
CAUTION:
If the seatback isn't locked, it could move
forward in a sudden stop or crash. That could
cause injury to the person sitting there. Always
press rearward on the seatback to be sure it
is locked.
CAUTION:
A seat that isn't locked into place properly can
move around in a collision or sudden stop. People
in the vehicle could be injured. Be sure to lock
the seat into place properly when installing it.
Page 35 of 486

1-29
CAUTION:
A safety belt that is improperly routed, not
properly attached, or twisted won't provide the
protection needed in a crash. The person wearing
the belt could be seriously injured. After
installing the seat, always check to be sure that
the safety belts are properly routed and attached,
and are not twisted.
Do not put the stowable seat in so it faces rearward
because it will not latch that way. The stowable seat has
to go in before the convenience center. See ªConvenience
Centerº in the Index for more information.
The stowable seat has seat position labels, located on the
back of the seat, showing where the seat must go.
Follow the floor pin diagram. Use the front floor pins of
the floor cups and the rear floor cups in the third row.The seat must be placed in the proper location for the
legs to attach correctly.
Make sure the seat is in its upright position before
beginning this procedure.
1. Place the front hooks of the seat onto the front floor
pins in the third row. To do this, the seat will need to
be angled so the front hooks clear the floor pins.
If the front legs are not attached correctly, the rear
legs will not attach to the rear set of floor pins.
2. Firmly push the rear hooks into the rear floor pins by
pushing down on the rear of the seat.
3. Try to raise the seat to make sure that it is
locked down.
4. Push and pull on the seatback to make sure that it is
locked into place.
Page 57 of 486

1-51
What makes an air bag inflate?
In an impact of sufficient severity, the air bag sensing
system detects that the vehicle is in a crash. For both
frontal and side impact air bags, the sensing system
triggers a release of gas from the inflator, which inflates
the air bag. The inflator, air bag and related hardware
are all part of the air bag modules inside the steering
wheel, instrument panel and the side of the front
seatbacks closest to the door.How does an air bag restrain?
In moderate to severe frontal or near frontal collisions,
even belted occupants can contact the steering wheel or
the instrument panel. In moderate to severe side
collisions, even belted occupants can contact the inside
of the vehicle. The air bag supplements the protection
provided by safety belts. Air bags distribute the force of
the impact more evenly over the occupant's upper body,
stopping the occupant more gradually. But the frontal air
bags would not help you in many types of collisions,
including rollovers, rear impacts, and many side
impacts, primarily because an occupant's motion is not
toward the air bag. Side impact air bags would not help
you in many types of collisions, including frontal or
near frontal collisions, rollovers, and rear impacts,
primarily because an occupant's motion is not toward
those air bags. Air bags should never be regarded as
anything more than a supplement to safety belts, and
then only in moderate to severe frontal or near
-frontal
collisions for the driver's and right front passenger's
frontal air bags, and only in moderate to severe side
collisions for the driver's and right front passenger's
side impact air bags.
Page 85 of 486
1-79
Restraint Systems for Children
An infant car bed (A), a special bed made for use in a
motor vehicle, is an infant restraint system designed to
restrain or position a child on a continuous flat surface.
Make sure that the infant's head rests toward the center
of the vehicle.
A rear-facing infant seat (B) provides restraint with the
seating surface against the back of the infant. The
harness system holds the infant in place and, in a crash,
acts to keep the infant positioned in the restraint.
Page 91 of 486
1-85
Third Row (Stowable Seat)
The anchor bar for the stowable bench seat is located on
the passenger's side of the crossbar. Use the center
seating position to use the anchor properly. If the
convenience center is in the vehicle, you must lift the
tray sill to use the anchor. See ªConvenience Centerº in
the Index for more information.
Lower Anchorages and Top Tethers for
Children (LATCH System)
Your vehicle has the LATCH system. You'll find
anchors (A) in the second row outboard bucket seats, the
40 side of the 60/40 split bench seat and both second
row captain's chairs.
To assist you in locating the lower anchors for this child
restraint system, each seating position with the LATCH
system will have a grey dot on the seatback or you will
see the latches between the seatback and cushion.
Page 105 of 486
1-99
CAUTION:
Never do this.
Here two children are wearing the same belt. The
belt can't properly spread the impact forces. In a
crash, the two children can be crushed together
and seriously injured. A belt must be used by
only one person at a time.
Q:What if a child is wearing a lap-shoulder belt,
but the child is so small that the shoulder belt is
very close to the child's face or neck?
A:Move the child toward the center of the vehicle, but
be sure that the shoulder belt still is on the child's
shoulder, so that in a crash the child's upper body
would have the restraint that belts provide. If the
child is sitting in a rear seat outside position, see
ªRear Safety Belt Comfort Guidesº in the Index.
If the child is so small that the shoulder belt is still
very close to the child's face or neck, you might
want to place the child in a seat that has a lap belt,
if your vehicle has one.
Page 115 of 486

2-7
Door Locks
CAUTION:
Unlocked doors can be dangerous.
�Passengers -- especially children -- can
easily open the doors and fall out of a
moving vehicle. When a door is locked, the
handle won't open it. You increase the
chance of being thrown out of the vehicle in
a crash if the doors aren't locked. So, wear
safety belts properly and lock the doors
whenever you drive.
�Young children who get into unlocked
vehicles may be unable to get out. A child
can be overcome by extreme heat and can
suffer permanent injuries or even death
from heat stroke. Always lock your vehicle
whenever you leave it.
�Outsiders can easily enter through an
unlocked door when you slow down or stop
your vehicle. Locking your doors can help
prevent this from happening.
There are several ways to lock and unlock your vehicle.
From the outside, use your key or the optional remote
keyless entry transmitter.
To unlock either front door from the outside with the key,
insert the key and turn it toward the front of the vehicle.
To lock either front door from the outside with your key
insert the key and turn it toward the rear of the vehicle.
From the inside, use the manual or power door locks.
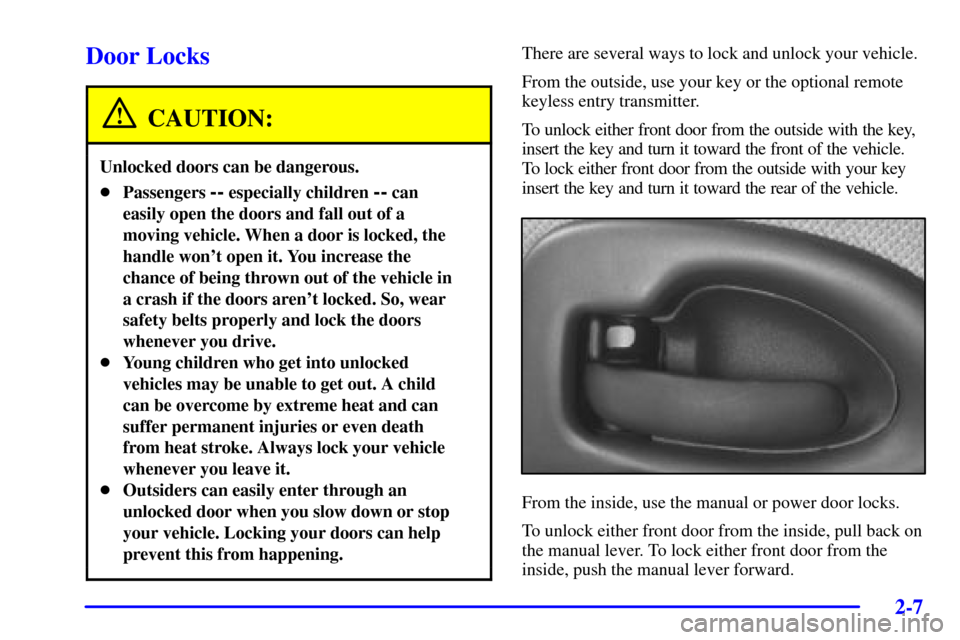
To unlock either front door from the inside, pull back on
the manual lever. To lock either front door from the
inside, push the manual lever forward.
Page 116 of 486

2-8 Power Door Locks
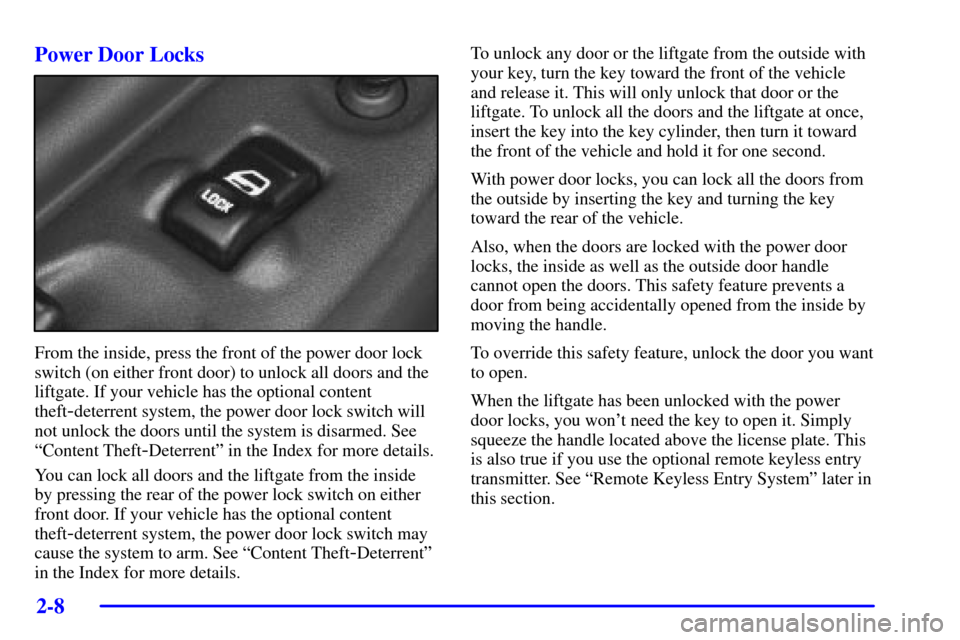
From the inside, press the front of the power door lock
switch (on either front door) to unlock all doors and the
liftgate. If your vehicle has the optional content
theft
-deterrent system, the power door lock switch will
not unlock the doors until the system is disarmed. See
ªContent Theft
-Deterrentº in the Index for more details.
You can lock all doors and the liftgate from the inside
by pressing the rear of the power lock switch on either
front door. If your vehicle has the optional content
theft
-deterrent system, the power door lock switch may
cause the system to arm. See ªContent Theft
-Deterrentº
in the Index for more details.To unlock any door or the liftgate from the outside with
your key, turn the key toward the front of the vehicle
and release it. This will only unlock that door or the
liftgate. To unlock all the doors and the liftgate at once,
insert the key into the key cylinder, then turn it toward
the front of the vehicle and hold it for one second.
With power door locks, you can lock all the doors from
the outside by inserting the key and turning the key
toward the rear of the vehicle.
Also, when the doors are locked with the power door
locks, the inside as well as the outside door handle
cannot open the doors. This safety feature prevents a
door from being accidentally opened from the inside by
moving the handle.
To override this safety feature, unlock the door you want
to open.
When the liftgate has been unlocked with the power
door locks, you won't need the key to open it. Simply
squeeze the handle located above the license plate. This
is also true if you use the optional remote keyless entry
transmitter. See ªRemote Keyless Entry Systemº later in
this section.