2002 BMW 745LI SEDAN seats
[x] Cancel search: seatsPage 3 of 208
Inhaltsverzeichnis
Contents
Notes
6Using this Owner's Manual
6Symbols used
7The individual vehicle
7Editorial notice
8For you own safety
9REPORTING SAFETY DEFECTS
Cockpit
12Driver's side Ð Controls and displays
16Comfort and convenience Ð Controls
and displays
18Buttons in steering wheel
Control Center
19The concept
19Controller
19Control Display
20Symbols and lists
22Menus in Control Display
23Assistance window*
Voice command
25Voice command system*
25Voice commands
27Notices
27The notebook
29Brief commands
Opening and closing
34Keys
35Central locking system
35Opening and closing Ð from outside
37Opening and closing Ð from inside
38Doors
38Luggage compartment lid 40Luggage compartment
40Alarm system
42Electric power windows
43Sliding/tilt sunroof*
Adjustments
45Correct sitting position
45Seats
48Head restraints
50Safety belts
50Heated seats*
51Active seat ventilation*
52Active seat*
52Mirror
53Steering wheel adjustment
54Seat, mirror and steering wheel
memory
55Airbags
57Transporting children safely
58LATCH child-restraint system
59Child-safety locks
59Car Memory, Key Memory
Driving
61Ignition lock
62Starting the engine
62Switching off engine
62Parking brake
66Automatic transmission with L mode
69Automatic transmission with
Steptronic
71Turn signal indicators/headlamp
flasher
71Wiper system
73Washer fluid
© 2001 Bayerische Motoren Werke
Aktiengesellschaft
Munich, Germany
Reprints, in whole or part, approved
exclusively with written permission of
BMW AG, Munich.
Order No. 01 40 0 156 097
US X/2001
Printed in Germany
Printed on environmentally friendly paper
(bleached without chlorine, suitable for
recycling).
Page 41 of 208
Opening and closing
40 >press the button on the outside of the
luggage compartment lid, refer to page 38
>press the button 3on the remote
control unit, refer to page 36.
During opening the luggage compart-
ment lid pivots upward and to the
rear. Ensure that adequate clearance is
available before opening.<
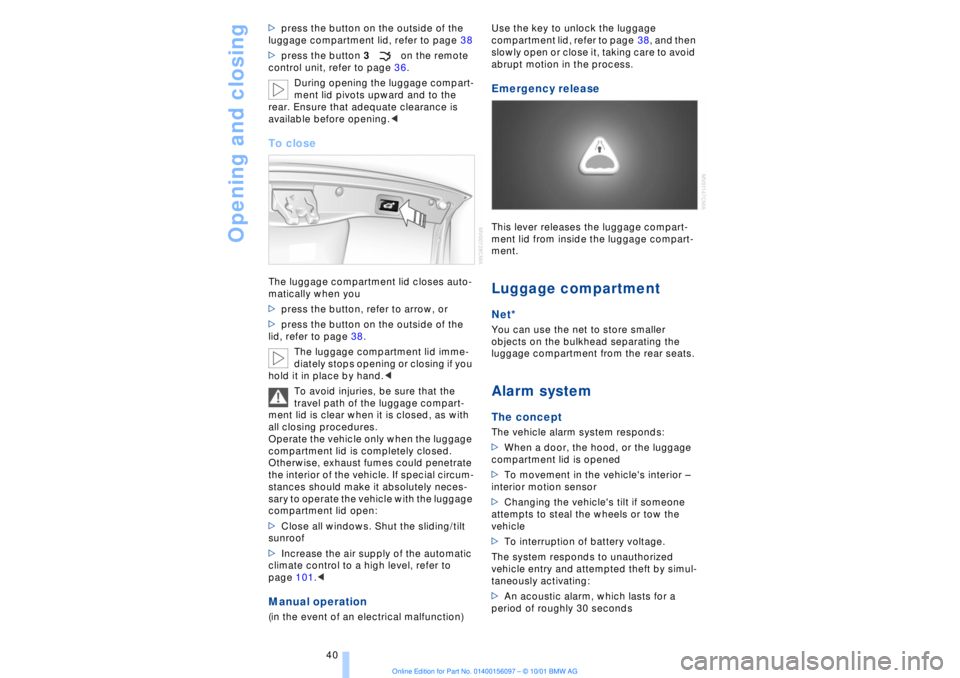
To closeThe luggage compartment lid closes auto-
matically when you
>press the button, refer to arrow, or
>press the button on the outside of the
lid, refer to page 38.
The luggage compartment lid imme-
diately stops opening or closing if you
hold it in place by hand.<
To avoid injuries, be sure that the
travel path of the luggage compart-
ment lid is clear when it is closed, as with
all closing procedures.
Operate the vehicle only when the luggage
compartment lid is completely closed.
Otherwise, exhaust fumes could penetrate
the interior of the vehicle. If special circum-
stances should make it absolutely neces-
sary to operate the vehicle with the luggage
compartment lid open:
>Close all windows. Shut the sliding/tilt
sunroof
>Increase the air supply of the automatic
climate control to a high level, refer to
page 101.< Manual operation(in the event of an electrical malfunction) Use the key to unlock the luggage
compartment lid, refer to page 38, and then
slowly open or close it, taking care to avoid
abrupt motion in the process.
Emergency release This lever releases the luggage compart-
ment lid from inside the luggage compart-
ment. Luggage compartmentNet*You can use the net to store smaller
objects on the bulkhead separating the
luggage compartment from the rear seats. Alarm system The conceptThe vehicle alarm system responds:
>When a door, the hood, or the luggage
compartment lid is opened
>To movement in the vehicle's interior Ð
interior motion sensor
>Changing the vehicle's tilt if someone
attempts to steal the wheels or tow the
vehicle
>To interruption of battery voltage.
The system responds to unauthorized
vehicle entry and attempted theft by simul-
taneously activating:
>An acoustic alarm, which lasts for a
period of roughly 30 seconds
Page 43 of 208
Opening and closing
42
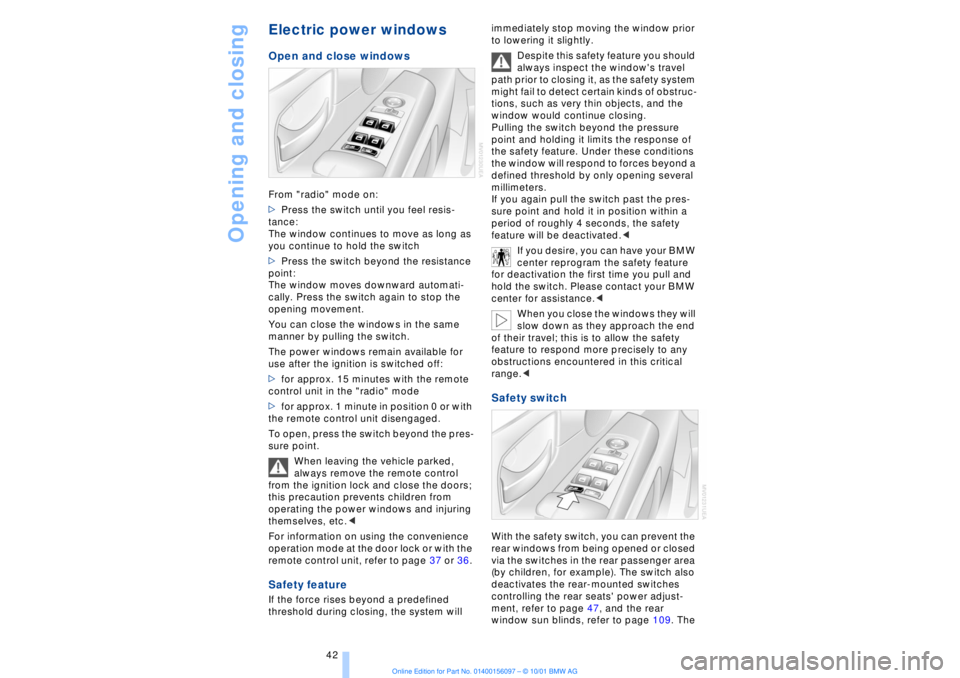
Electric power windows Open and close windowsFrom "radio" mode on:
>Press the switch until you feel resis-
tance:
The window continues to move as long as
you continue to hold the switch
>Press the switch beyond the resistance
point:
The window moves downward automati-
cally. Press the switch again to stop the
opening movement.
You can close the windows in the same
manner by pulling the switch.
The power windows remain available for
use after the ignition is switched off:
>for approx. 15 minutes with the remote
control unit in the "radio" mode
>for approx. 1 minute in position 0 or with
the remote control unit disengaged.
To open, press the switch beyond the pres-
sure point.
When leaving the vehicle parked,
always remove the remote control
from the ignition lock and close the doors;
this precaution prevents children from
operating the power windows and injuring
themselves, etc.<
For information on using the convenience
operation mode at the door lock or with the
remote control unit, refer to page 37 or 36. Safety featureIf the force rises beyond a predefined
threshold during closing, the system will immediately stop moving the window prior
to lowering it slightly.
Despite this safety feature you should
always inspect the window's travel
path prior to closing it, as the safety system
might fail to detect certain kinds of obstruc-
tions, such as very thin objects, and the
window would continue closing.
Pulling the switch beyond the pressure
point and holding it limits the response of
the safety feature. Under these conditions
the window will respond to forces beyond a
defined threshold by only opening several
millimeters.
If you again pull the switch past the pres-
sure point and hold it in position within a
period of roughly 4 seconds, the safety
feature will be deactivated.<
If you desire, you can have your BMW
center reprogram the safety feature
for deactivation the first time you pull and
hold the switch. Please contact your BMW
center for assistance.<
When you close the windows they will
slow down as they approach the end
of their travel; this is to allow the safety
feature to respond more precisely to any
obstructions encountered in this critical
range.<
Safety switch With the safety switch, you can prevent the
rear windows from being opened or closed
via the switches in the rear passenger area
(by children, for example). The switch also
deactivates the rear-mounted switches
controlling the rear seats' power adjust-
ment, refer to page 47, and the rear
window sun blinds, refer to page 109. The
Page 46 of 208
At a glanceControlsDriving tipsCommunicationsNavigationEntertainmentMobilityReference
45
Adjustments Correct sitting position
The ideal sitting position can make a vital
contribution to relaxed, fatigue-free driving.
The correct sitting position also works
together with the safety belts and airbags
to provide occupants with maximum levels
of passive safety in an accident. To ensure
that the safety systems operate with
optimal efficiency, we strongly urge you to
observe the instructions contained in the
following section.
For additional information on transporting
children safely, refer to page 57. Correct sitting position with airbags
Always maintain an adequate
distance between yourself and the
airbags. Always hold the steering wheel by
its rim with hands at the 9 o'clock and
3 o'clock positions, to minimize the risk of
injuries to your hands and arms in the event
of airbag deployment. No one and nothing
is to come between the airbags and the
seat occupant.
To prevent possible leg injuries should the
knee airbag deploy in an accident, ensure
that the front passenger assumes a correct
sitting position. Do not use the cover of the
front airbag on the front passenger side as
a storage area for objects, or as a rest for
feet or legs.<
For airbag locations and additional infor-
mation on airbags, refer to page 55.
Correct sitting position with safety
belts For the safety of all vehicle occupants,
please comply with the following instruc-
tions for wearing safety belts.
Never allow more than one person to
wear a single safety belt. Never allow
infants or small children to ride in a
passenger's lap. Avoid twisting the belt
while routing it firmly across the hips and
shoulder. Wear it as snugly against your body as possible. Do not allow the belt to
rest against hard or fragile objects.
Do not route the belt across your neck, or
run it across sharp edges. Be sure that the
belt does not become caught or jammed.
Avoid wearing loose or bulky clothing that
would prevent the belt from resting
securely against your body; pull on the
shoulder strap periodically to keep it
tensioned. In the event of a frontal impact,
a loose lap belt could slide over your hips,
leading to abdominal injury. In addition, the
safety belt's restraint effectiveness is
reduced if the belt is worn loosely.
Expectant mothers should always wear
their safety belts, taking care to position
the lap belt against the lower hips, where it
will not exert pressure against the abdom-
inal area.<
For putting on safety belts, refer to
page 50.
Seats For your personal safety when adjusting
the seat position, please follow the instruc-
tions below carefully.
Never attempt to adjust your seat
while operating the vehicle. The seat
could respond with unexpected move-
ment, and the ensuing loss of vehicle
control could lead to an accident.
Never recline the backrest to an extremely
horizontal position while the vehicle is
underway Ð this precaution is especially
important for front passengers and the
occupants of electric power rear seats to
remember. Failure to observe these
precautions can prevent the belts from
providing effective protection against
injury, as passengers could slide under the
belts in an accident.<
Please observe the information on using
safety belts provided on page 50 and the
Page 48 of 208
At a glanceControlsDriving tipsCommunicationsNavigationEntertainmentMobilityReference
47
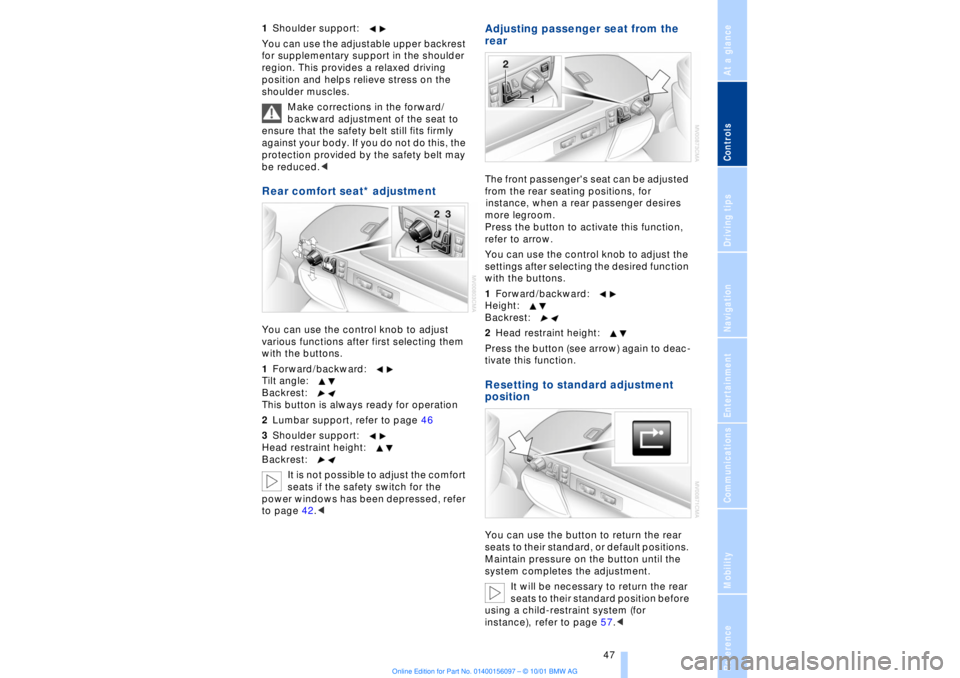
1Shoulder support:
You can use the adjustable upper backrest
for supplementary support in the shoulder
region. This provides a relaxed driving
position and helps relieve stress on the
shoulder muscles.
Make corrections in the forward/
backward adjustment of the seat to
ensure that the safety belt still fits firmly
against your body. If you do not do this, the
protection provided by the safety belt may
be reduced.
You can use the control knob to adjust
various functions after first selecting them
with the buttons.
1Forward/backward:
Tilt angle:
Backrest:
This button is always ready for operation
2Lumbar support, refer to page 46
3Shoulder support:
Head restraint height:
Backrest:
It is not possible to adjust the comfort
seats if the safety switch for the
power windows has been depressed, refer
to page 42.<
Adjusting passenger seat from the
rear The front passenger's seat can be adjusted
from the rear seating positions, for
instance, when a rear passenger desires
more legroom.
Press the button to activate this function,
refer to arrow.
You can use the control knob to adjust the
settings after selecting the desired function
with the buttons.
1Forward/backward:
Height:
Backrest:
2Head restraint height:
Press the button (see arrow) again to deac-
tivate this function.Resetting to standard adjustment
positionYou can use the button to return the rear
seats to their standard, or default positions.
Maintain pressure on the button until the
system completes the adjustment.
It will be necessary to return the rear
seats to their standard position before
using a child-restraint system (for
instance), refer to page 57.<
Page 49 of 208
Adjustments
48
Head restraints Adjustment information
Head restraints can reduce the risk of
spinal injury in the event of an acci-
dent.
Adjust the head restraints so that they are
centered roughly at the level of your ears.<
Electric power seat, comfort seat
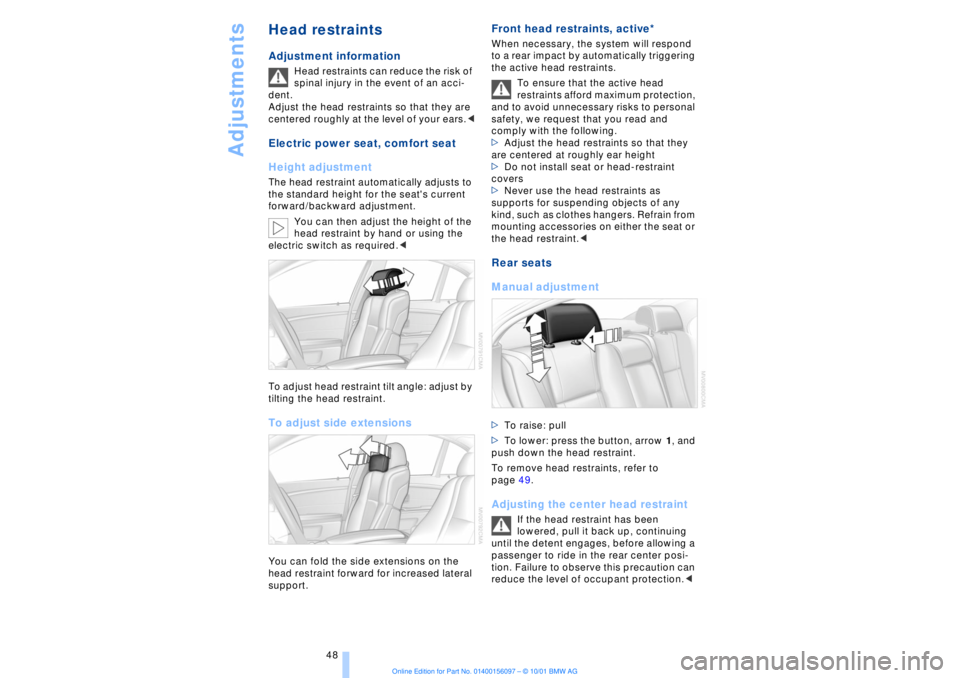
Height adjustment The head restraint automatically adjusts to
the standard height for the seat's current
forward/backward adjustment.
You can then adjust the height of the
head restraint by hand or using the
electric switch as required.<
To adjust head restraint tilt angle: adjust by
tilting the head restraint. To adjust side extensionsYou can fold the side extensions on the
head restraint forward for increased lateral
support.
Front head restraints, active*
When necessary, the system will respond
to a rear impact by automatically triggering
the active head restraints.
To ensure that the active head
restraints afford maximum protection,
and to avoid unnecessary risks to personal
safety, we request that you read and
comply with the following.
>Adjust the head restraints so that they
are centered at roughly ear height
>Do not install seat or head-restraint
covers
>Never use the head restraints as
supports for suspending objects of any
kind, such as clothes hangers. Refrain from
mounting accessories on either the seat or
the head restraint.
>To lower: press the button, arrow 1, and
push down the head restraint.
To remove head restraints, refer to
page 49. Adjusting the center head restraint
If the head restraint has been
lowered, pull it back up, continuing
until the detent engages, before allowing a
passenger to ride in the rear center posi-
tion. Failure to observe this precaution can
reduce the level of occupant protection.<
Page 51 of 208
Adjustments
50
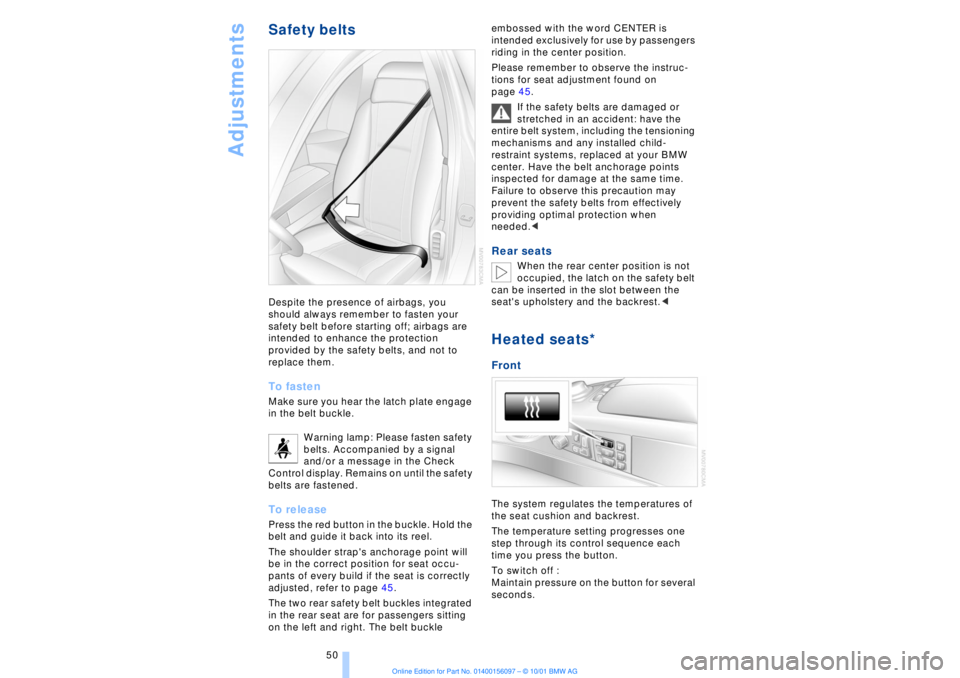
Safety beltsDespite the presence of airbags, you
should always remember to fasten your
safety belt before starting off; airbags are
intended to enhance the protection
provided by the safety belts, and not to
replace them. To fastenMake sure you hear the latch plate engage
in the belt buckle.
Warning lamp: Please fasten safety
belts. Accompanied by a signal
and/or a message in the Check
Control display. Remains on until the safety
belts are fastened. To releasePress the red button in the buckle. Hold the
belt and guide it back into its reel.
The shoulder strap's anchorage point will
be in the correct position for seat occu-
pants of every build if the seat is correctly
adjusted, refer to page 45.
The two rear safety belt buckles integrated
in the rear seat are for passengers sitting
on the left and right. The belt buckle embossed with the word CENTER is
intended exclusively for use by passengers
riding in the center position.
Please remember to observe the instruc-
tions for seat adjustment found on
page 45.
If the safety belts are damaged or
stretched in an accident: have the
entire belt system, including the tensioning
mechanisms and any installed child-
restraint systems, replaced at your BMW
center. Have the belt anchorage points
inspected for damage at the same time.
Failure to observe this precaution may
prevent the safety belts from effectively
providing optimal protection when
needed.<
Rear seats
When the rear center position is not
occupied, the latch on the safety belt
can be inserted in the slot between the
seat's upholstery and the backrest.<
Heated seats*Front The system regulates the temperatures of
the seat cushion and backrest.
The temperature setting progresses one
step through its control sequence each
time you press the button.
To switch off :
Maintain pressure on the button for several
seconds.
Page 59 of 208
Adjustments
58 safety belt after they have outgrown a
booster seat that is appropriate for their
age, height, and weight. Younger children
should be secured in an appropriate
forward-facing child-restraint system that
has first been properly secured with a
safety belt. Never install a rearward-facing
child-restraint system in the front
passenger seat.
We strongly urge you to carefully read and
comply with the instructions for installation
and use provided by the child-restraint's
manufacturer whenever you use such a
device.
Be sure that all occupants Ð of all ages Ð
remain properly and securely restrained at
all times. If your vehicle is equipped with
electric power seats at the rear, these will
need to be returned to their standard
adjustment setting position before a child-
restraint system is used, refer to page 47.
Always press the safety switch for the
power windows before transporting chil-
dren in the rear seats, refer to page 42. This
switch also disables the power rear seat
adjustment. Incorrect or unsupervised
adjustment of the electric power seats
could lead to injuries or damage to the
child-restraint system(s) installed in the
rear.<
All rear seating positions in your vehicle
meet the recommendations of SAE J1819,
an industry recommended practice for
securing child-restraint systems in motor
vehicles.
Child seat security All of the rear belt retractors and the front
passenger's safety belt can be locked for mounting and securing child-restraint
systems.
Information regarding this is located near
the buckle latch of each safety belt.
To lock the belt Pull the entire length of the belt from the
belt retractor. Allow the reel to retract the
belt somewhat and engage the buckle,
then tighten the belt against the child-
restraint system. The retraction mechanism
is now locked. To release the belt Release the buckle, remove the child-
restraint device and allow the belt retractor
to reel the belt completely in. LATCH child-restraint
system
If the vehicle is equipped with electric
power seats, these must be returned
to their standard adjustment setting before
the LATCH child-restraint system can be
used, refer to page 47.<
LATCH: Lower Anchors and Tethers for
Children.
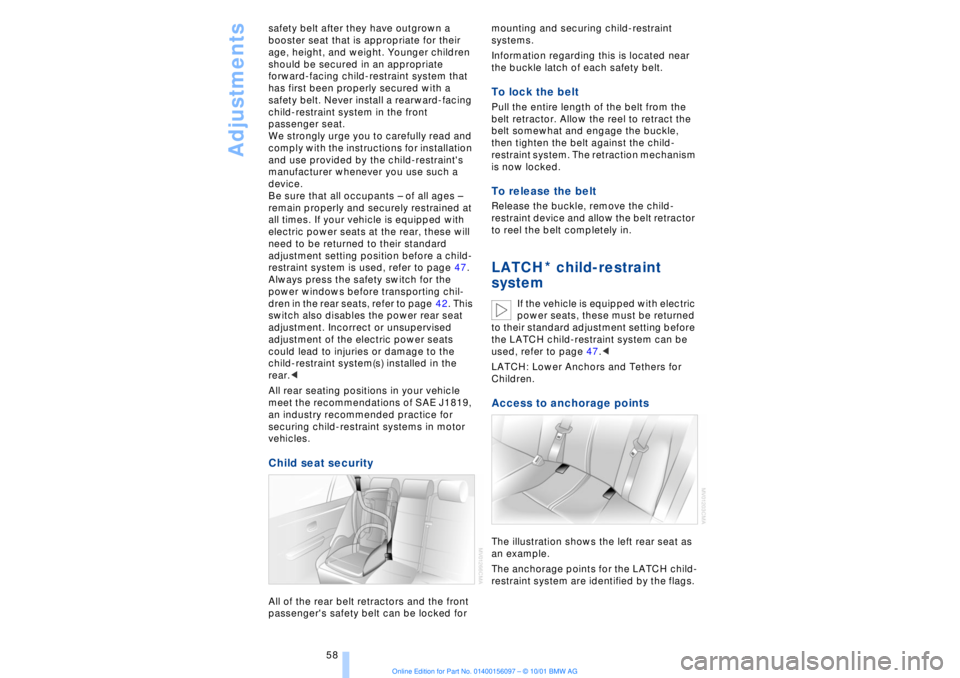
Access to anchorage points The illustration shows the left rear seat as
an example.
The anchorage points for the LATCH child-
restraint system are identified by the flags.
*