Page 2771 of 3833
REAR DISC BRAKE
BR-31
C
D
E
G
H
I
J
K
L
MA
B
BR
4. Fix piston boot with retaining ring.
CAUTION:
●Be sure boot is securely engaged in groove on cylinder
body.
●Do not reuse retaining ring.
5. Connect sliding pins and sliding pin boots to torque member.
6. Connect torque member to axle assembly and tighten mounting
bolts to specified torque.
CAUTION:
Wipe oil and grease on axle assembly washer seats and torque
member mounting surface. Install torque member to axle
assembly.
7. Connect pads, pad retainers, shims, and shim covers to torque member and assemble cylinder body.
8. Tighten sliding pin bolts to the specified torque.
9. Connect brake hose to caliper assembly and tighten union bolts to the specified torque.
CAUTION:
Do not reuse union bolt copper washer.
10. After installing caliper assembly, refill with new brake fluid and bleed air. Refer to BR-10, "
Bleeding Brake
System"
SFIA0158E
Page 3217 of 3833
SUNROOF
RF-9
C
D
E
F
G
H
J
K
L
MA
B
RF
SUNROOF UNIT
Removal
CAUTION:
●Removal and installation of sunroof unit require 2 workers.
●When taking sunroof unit out, use shop cloths to protect seats and trim from damage.
●After installing sunroof unit and glass lid, be sure to carry out the leak test to confirm there is no
more leakage.
1. Remove headlining. Refer to EI-29, "
HEADLINING"
2. Disconnect drain hoses.
3. Disconnect interior lamp harness.
4. Remove both unit-side and body-side front bracket mounting
bolts.
5. Remove both unit-side and body-side center and rear bracket
mounting bolts.
6. Remove motor bracket mounting bolt.
7. Remove mounting bolts on the front end and side rails, and
remove sunroof unit from the roof panel.
8. Remove the sunroof unit out of the passenger compartment
while being careful not to damage the seats and trim.
SIIA0130E
SIIA0184E
SIIA0121E
SIIA0183E
Page 3404 of 3833
ATC-128
DUCTS AND GRILLES
FOOT DUCT
1. Remove the heater & cooling unit. Refer to ATC-122, "Removal
and Installation" .
2. Remove the foot duct.
FLOOR DUCT
1. Remove the front seats. Refer to SE-7, "FRONT SEAT" .
2. Remove the instrument lower center panel. Refer to IP-5,
"Removal and Installation" .
3. Remove the front floor duct.
4. Peel back the floor trim to a point where the floor duct is visible.
5. Remove the mounting screw and clip from the rear floor duct.
6. Remove the rear floor duct.
RJIA0069E
RJIA0070E
RJIA0071E
Page 3456 of 3833
MTC-30
DUCTS AND GRILLES
FOOT DUCT
1. Remove the heater unit. Refer to MTC-24, "HEATER UNIT" .
2. Remove the foot duct.
FLOOR DUCT
1. Remove the front seats. Refer to SE-7, "FRONT SEAT" .
2. Remove the instrument lower center panel. Refer to IP-5,
"Removal and Installation" .
3. Remove the front floor duct.
4. Peel back the floor trim to a point where the floor duct is visible.
5. Remove the mounting screw and clip from the rear floor duct.
6. Remove the rear floor duct.
RJIA0069E
RJIA0070E
RJIA0071E
Page 3784 of 3833

MA-4
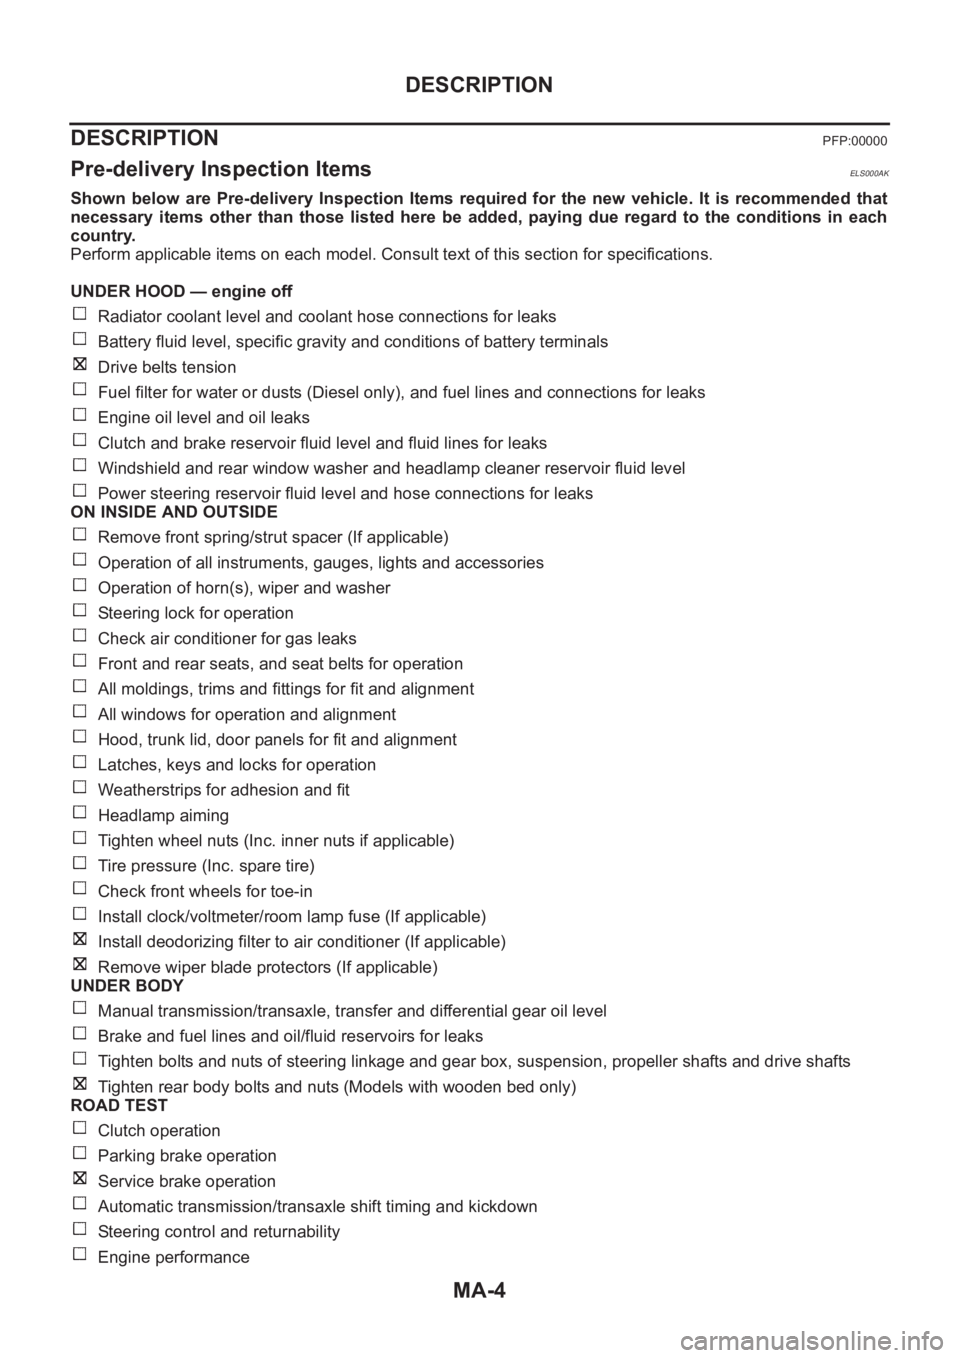
DESCRIPTION
DESCRIPTION
PFP:00000
Pre-delivery Inspection ItemsELS000AK
Shown below are Pre-delivery Inspection Items required for the new vehicle. It is recommended that
necessary items other than those listed here be added, paying due regard to the conditions in each
country.
Perform applicable items on each model. Consult text of this section for specifications.
UNDER HOOD — engine off
Radiator coolant level and coolant hose connections for leaks
Battery fluid level, specific gravity and conditions of battery terminals
Drive belts tension
Fuel filter for water or dusts (Diesel only), and fuel lines and connections for leaks
Engine oil level and oil leaks
Clutch and brake reservoir fluid level and fluid lines for leaks
Windshield and rear window washer and headlamp cleaner reservoir fluid level
Power steering reservoir fluid level and hose connections for leaks
ON INSIDE AND OUTSIDE
Remove front spring/strut spacer (If applicable)
Operation of all instruments, gauges, lights and accessories
Operation of horn(s), wiper and washer
Steering lock for operation
Check air conditioner for gas leaks
Front and rear seats, and seat belts for operation
All moldings, trims and fittings for fit and alignment
All windows for operation and alignment
Hood, trunk lid, door panels for fit and alignment
Latches, keys and locks for operation
Weatherstrips for adhesion and fit
Headlamp aiming
Tighten wheel nuts (Inc. inner nuts if applicable)
Tire pressure (Inc. spare tire)
Check front wheels for toe-in
Install clock/voltmeter/room lamp fuse (If applicable)
Install deodorizing filter to air conditioner (If applicable)
Remove wiper blade protectors (If applicable)
UNDER BODY
Manual transmission/transaxle, transfer and differential gear oil level
Brake and fuel lines and oil/fluid reservoirs for leaks
Tighten bolts and nuts of steering linkage and gear box, suspension, propeller shafts and drive shafts
Tighten rear body bolts and nuts (Models with wooden bed only)
ROAD TEST
Clutch operation
Parking brake operation
Service brake operation
Automatic transmission/transaxle shift timing and kickdown
Steering control and returnability
Engine performance
Page:
< prev 1-8 9-16 17-24