2001 CHRYSLER VOYAGER display
[x] Cancel search: displayPage 229 of 4284
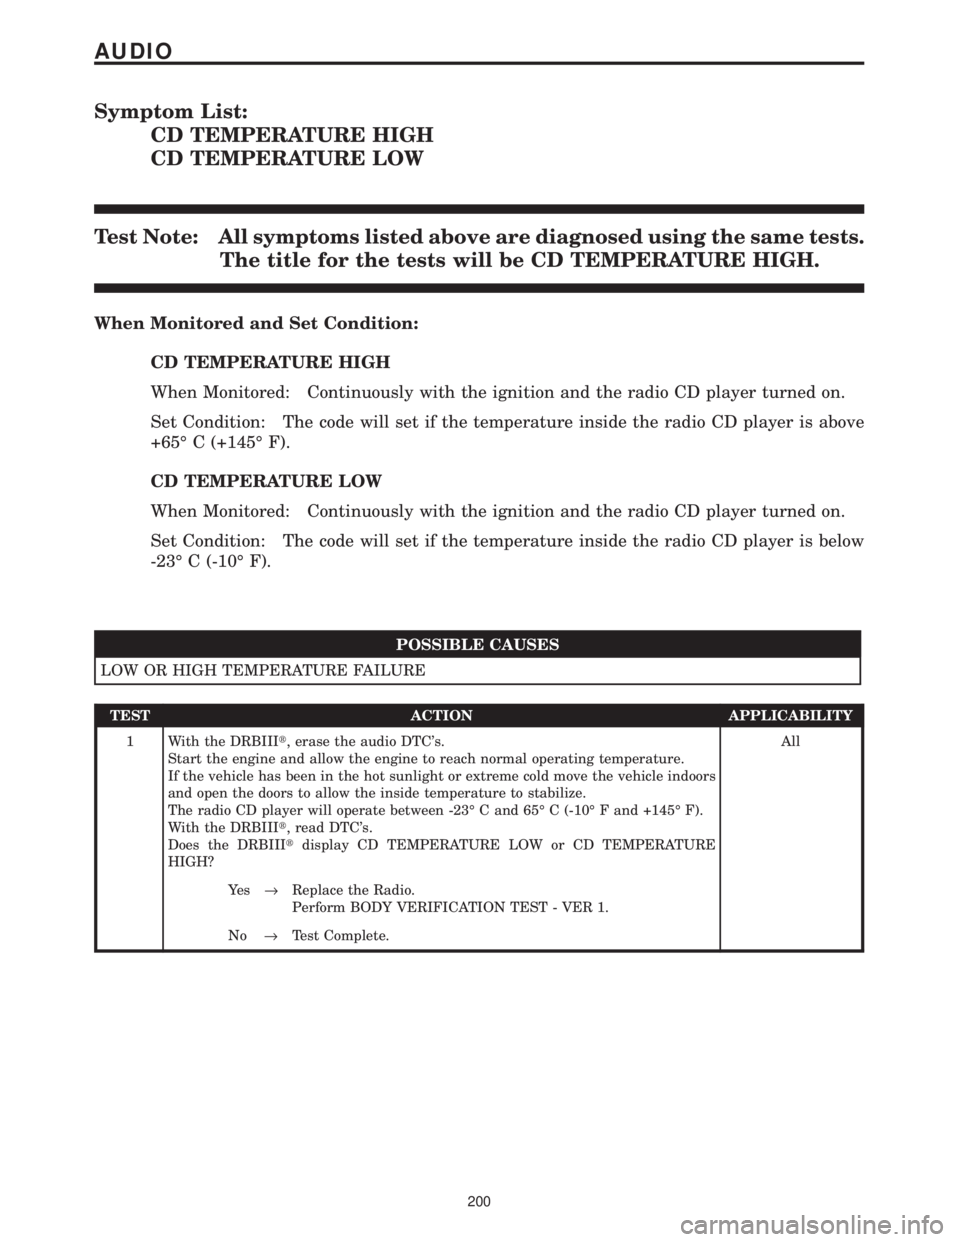
Symptom List:
CD TEMPERATURE HIGH
CD TEMPERATURE LOW
Test Note: All symptoms listed above are diagnosed using the same tests.
The title for the tests will be CD TEMPERATURE HIGH.
When Monitored and Set Condition:
CD TEMPERATURE HIGH
When Monitored: Continuously with the ignition and the radio CD player turned on.
Set Condition: The code will set if the temperature inside the radio CD player is above
+65É C (+145É F).
CD TEMPERATURE LOW
When Monitored: Continuously with the ignition and the radio CD player turned on.
Set Condition: The code will set if the temperature inside the radio CD player is below
-23É C (-10É F).
POSSIBLE CAUSES
LOW OR HIGH TEMPERATURE FAILURE
TEST ACTION APPLICABILITY
1 With the DRBIIIt, erase the audio DTC's.
Start the engine and allow the engine to reach normal operating temperature.
If the vehicle has been in the hot sunlight or extreme cold move the vehicle indoors
and open the doors to allow the inside temperature to stabilize.
The radio CD player will operate between -23É C and 65É C (-10É F and +145É F).
With the DRBIIIt, read DTC's.
Does the DRBIIItdisplay CD TEMPERATURE LOW or CD TEMPERATURE
HIGH?All
Ye s®Replace the Radio.
Perform BODY VERIFICATION TEST - VER 1.
No®Test Complete.
200
AUDIO
Page 230 of 4284
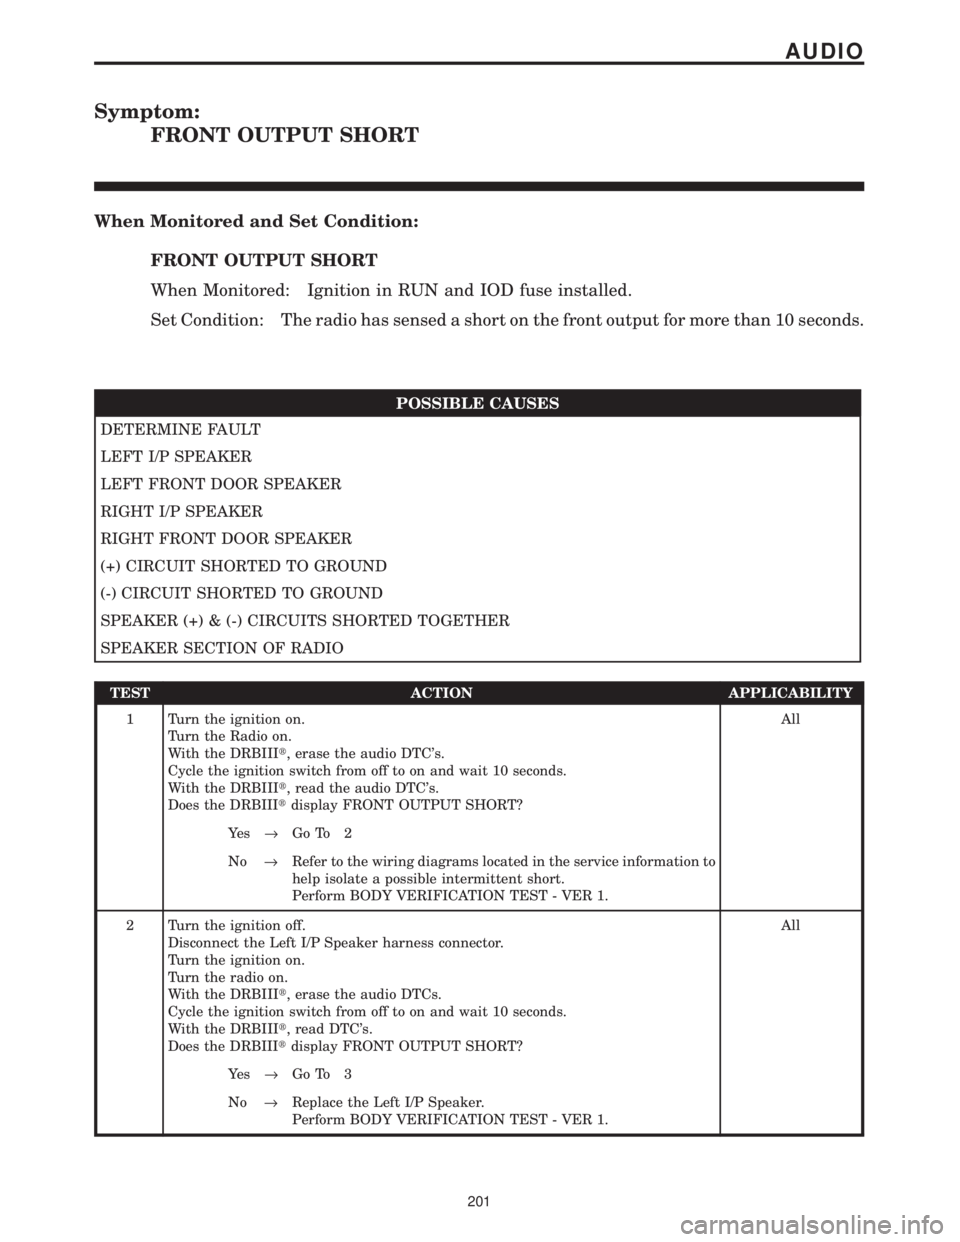
Symptom:
FRONT OUTPUT SHORT
When Monitored and Set Condition:
FRONT OUTPUT SHORT
When Monitored: Ignition in RUN and IOD fuse installed.
Set Condition: The radio has sensed a short on the front output for more than 10 seconds.
POSSIBLE CAUSES
DETERMINE FAULT
LEFT I/P SPEAKER
LEFT FRONT DOOR SPEAKER
RIGHT I/P SPEAKER
RIGHT FRONT DOOR SPEAKER
(+) CIRCUIT SHORTED TO GROUND
(-) CIRCUIT SHORTED TO GROUND
SPEAKER (+) & (-) CIRCUITS SHORTED TOGETHER
SPEAKER SECTION OF RADIO
TEST ACTION APPLICABILITY
1 Turn the ignition on.
Turn the Radio on.
With the DRBIIIt, erase the audio DTC's.
Cycle the ignition switch from off to on and wait 10 seconds.
With the DRBIIIt, read the audio DTC's.
Does the DRBIIItdisplay FRONT OUTPUT SHORT?All
Ye s®Go To 2
No®Refer to the wiring diagrams located in the service information to
help isolate a possible intermittent short.
Perform BODY VERIFICATION TEST - VER 1.
2 Turn the ignition off.
Disconnect the Left I/P Speaker harness connector.
Turn the ignition on.
Turn the radio on.
With the DRBIIIt, erase the audio DTCs.
Cycle the ignition switch from off to on and wait 10 seconds.
With the DRBIIIt, read DTC's.
Does the DRBIIItdisplay FRONT OUTPUT SHORT?All
Ye s®Go To 3
No®Replace the Left I/P Speaker.
Perform BODY VERIFICATION TEST - VER 1.
201
AUDIO
Page 231 of 4284
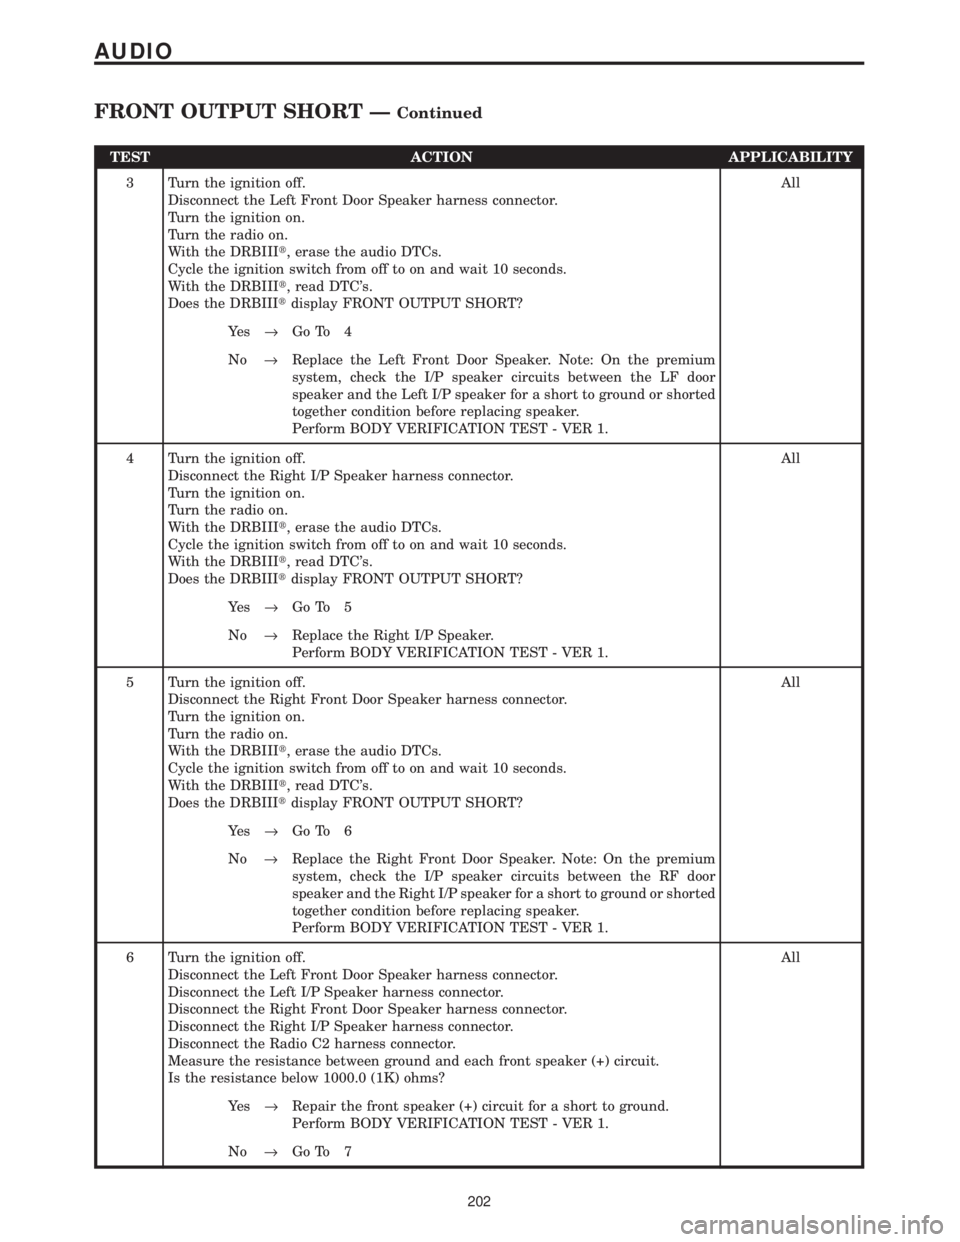
TEST ACTION APPLICABILITY
3 Turn the ignition off.
Disconnect the Left Front Door Speaker harness connector.
Turn the ignition on.
Turn the radio on.
With the DRBIIIt, erase the audio DTCs.
Cycle the ignition switch from off to on and wait 10 seconds.
With the DRBIIIt, read DTC's.
Does the DRBIIItdisplay FRONT OUTPUT SHORT?All
Ye s®Go To 4
No®Replace the Left Front Door Speaker. Note: On the premium
system, check the I/P speaker circuits between the LF door
speaker and the Left I/P speaker for a short to ground or shorted
together condition before replacing speaker.
Perform BODY VERIFICATION TEST - VER 1.
4 Turn the ignition off.
Disconnect the Right I/P Speaker harness connector.
Turn the ignition on.
Turn the radio on.
With the DRBIIIt, erase the audio DTCs.
Cycle the ignition switch from off to on and wait 10 seconds.
With the DRBIIIt, read DTC's.
Does the DRBIIItdisplay FRONT OUTPUT SHORT?All
Ye s®Go To 5
No®Replace the Right I/P Speaker.
Perform BODY VERIFICATION TEST - VER 1.
5 Turn the ignition off.
Disconnect the Right Front Door Speaker harness connector.
Turn the ignition on.
Turn the radio on.
With the DRBIIIt, erase the audio DTCs.
Cycle the ignition switch from off to on and wait 10 seconds.
With the DRBIIIt, read DTC's.
Does the DRBIIItdisplay FRONT OUTPUT SHORT?All
Ye s®Go To 6
No®Replace the Right Front Door Speaker. Note: On the premium
system, check the I/P speaker circuits between the RF door
speaker and the Right I/P speaker for a short to ground or shorted
together condition before replacing speaker.
Perform BODY VERIFICATION TEST - VER 1.
6 Turn the ignition off.
Disconnect the Left Front Door Speaker harness connector.
Disconnect the Left I/P Speaker harness connector.
Disconnect the Right Front Door Speaker harness connector.
Disconnect the Right I/P Speaker harness connector.
Disconnect the Radio C2 harness connector.
Measure the resistance between ground and each front speaker (+) circuit.
Is the resistance below 1000.0 (1K) ohms?All
Ye s®Repair the front speaker (+) circuit for a short to ground.
Perform BODY VERIFICATION TEST - VER 1.
No®Go To 7
202
AUDIO
FRONT OUTPUT SHORT ÐContinued
Page 233 of 4284

Symptom:
LEFT OUTPUT SHORT
When Monitored and Set Condition:
LEFT OUTPUT SHORT
When Monitored: Ignition in RUN and IOD fuse installed.
Set Condition: The radio has sensed a short on the left output for more than 10 seconds.
POSSIBLE CAUSES
DETERMINE FAULT
LEFT I/P SPEAKER
LEFT FRONT DOOR SPEAKER
LEFT REAR PILLAR SPEAKER
LEFT REAR SPEAKER
(+) CIRCUIT SHORTED TO GROUND
(-) CIRCUIT SHORTED TO GROUND
SPEAKER (+) & (-) CIRCUITS SHORTED TOGETHER
SPEAKER SECTION OF RADIO
TEST ACTION APPLICABILITY
1 Turn the ignition on.
Turn the Radio on.
With the DRBIIIt, erase the audio DTC's.
Cycle the ignition switch from off to on and wait 10 seconds.
With the DRBIIIt, read the audio DTC's.
Does the DRBIIItdisplay LEFT OUTPUT SHORT?All
Ye s®Go To 2
No®Refer to the wiring diagrams located in the service information to
help isolate a possible intermittent short.
Perform BODY VERIFICATION TEST - VER 1.
2 Turn the ignition off.
Disconnect the Left I/P Speaker harness connector.
Turn the ignition on.
Turn the radio on.
With the DRBIIIt, erase the audio DTCs.
Cycle the ignition switch from off to on and wait 10 seconds.
With the DRBIIIt, read DTC's.
Does the DRBIIItdisplay LEFT OUTPUT SHORT?All
Ye s®Go To 3
No®Replace the Left I/P Speaker.
Perform BODY VERIFICATION TEST - VER 1.
204
AUDIO
Page 234 of 4284

TEST ACTION APPLICABILITY
3 Turn the ignition off.
Disconnect the Left Front Door Speaker harness connector.
Turn the ignition on.
Turn the radio on.
With the DRBIIIt, erase the audio DTCs.
Cycle the ignition switch from off to on and wait 10 seconds.
With the DRBIIIt, read DTC's.
Does the DRBIIItdisplay LEFT OUTPUT SHORT?All
Ye s®Go To 4
No®Replace the Left Front Door Speaker. Note: On the premium
system, check the I/P speaker circuits between the LF door
speaker and the Left I/P speaker for a short to ground or shorted
together condition before replacing speaker.
Perform BODY VERIFICATION TEST - VER 1.
4NOTE: If vehicle is not equipped with this speaker, answer Yes to the
question.
Turn the ignition off.
Disconnect the Left Rear Pillar Speaker harness connector.
Turn the ignition on.
Turn the radio on.
With the DRBIIIt, erase the audio DTCs.
Cycle the ignition switch from off to on and wait 10 seconds.
With the DRBIIIt, read DTC's.
Does the DRBIIItdisplay LEFT OUTPUT SHORT?All
Ye s®Go To 5
No®Replace the Left Rear Pillar Speaker.
Perform BODY VERIFICATION TEST - VER 1.
5 Turn the ignition off.
Disconnect the Left Rear Speaker harness connector.
Turn the ignition on.
Turn the radio on.
With the DRBIIIt, erase the audio DTCs.
Cycle the ignition switch from off to on and wait 10 seconds.
With the DRBIIIt, read DTC's.
Does the DRBIIItdisplay LEFT OUTPUT SHORT?All
Ye s®Go To 6
No®Replace the Left Rear Speaker. Note: On the premium system,
check the pillar speaker circuits between the LR speaker and the
left rear pillar speaker for a short to ground or shorted together
condition before replacing speaker.
Perform BODY VERIFICATION TEST - VER 1.
205
AUDIO
LEFT OUTPUT SHORT ÐContinued
Page 243 of 4284
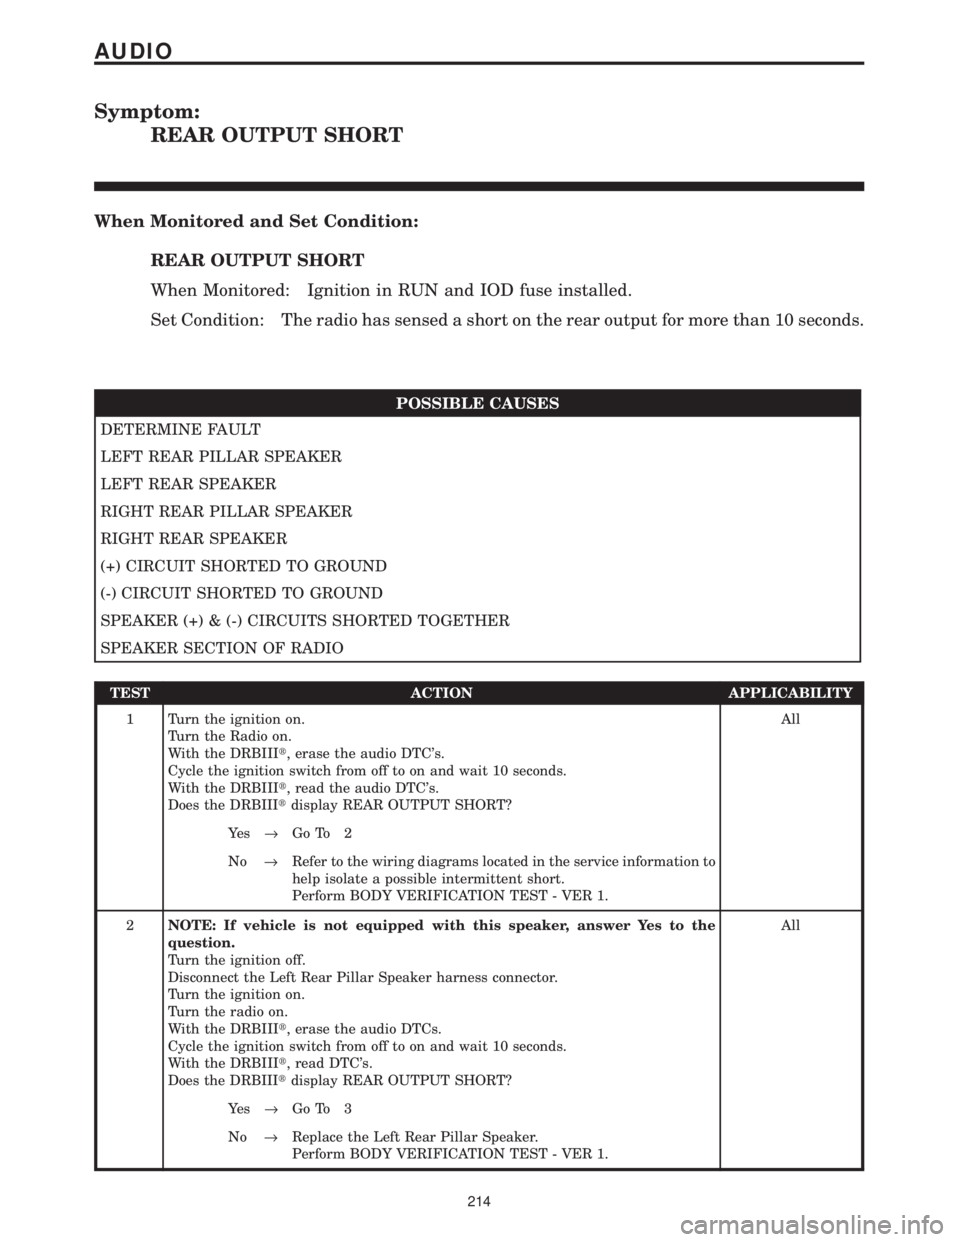
Symptom:
REAR OUTPUT SHORT
When Monitored and Set Condition:
REAR OUTPUT SHORT
When Monitored: Ignition in RUN and IOD fuse installed.
Set Condition: The radio has sensed a short on the rear output for more than 10 seconds.
POSSIBLE CAUSES
DETERMINE FAULT
LEFT REAR PILLAR SPEAKER
LEFT REAR SPEAKER
RIGHT REAR PILLAR SPEAKER
RIGHT REAR SPEAKER
(+) CIRCUIT SHORTED TO GROUND
(-) CIRCUIT SHORTED TO GROUND
SPEAKER (+) & (-) CIRCUITS SHORTED TOGETHER
SPEAKER SECTION OF RADIO
TEST ACTION APPLICABILITY
1 Turn the ignition on.
Turn the Radio on.
With the DRBIIIt, erase the audio DTC's.
Cycle the ignition switch from off to on and wait 10 seconds.
With the DRBIIIt, read the audio DTC's.
Does the DRBIIItdisplay REAR OUTPUT SHORT?All
Ye s®Go To 2
No®Refer to the wiring diagrams located in the service information to
help isolate a possible intermittent short.
Perform BODY VERIFICATION TEST - VER 1.
2NOTE: If vehicle is not equipped with this speaker, answer Yes to the
question.
Turn the ignition off.
Disconnect the Left Rear Pillar Speaker harness connector.
Turn the ignition on.
Turn the radio on.
With the DRBIIIt, erase the audio DTCs.
Cycle the ignition switch from off to on and wait 10 seconds.
With the DRBIIIt, read DTC's.
Does the DRBIIItdisplay REAR OUTPUT SHORT?All
Ye s®Go To 3
No®Replace the Left Rear Pillar Speaker.
Perform BODY VERIFICATION TEST - VER 1.
214
AUDIO
Page 244 of 4284
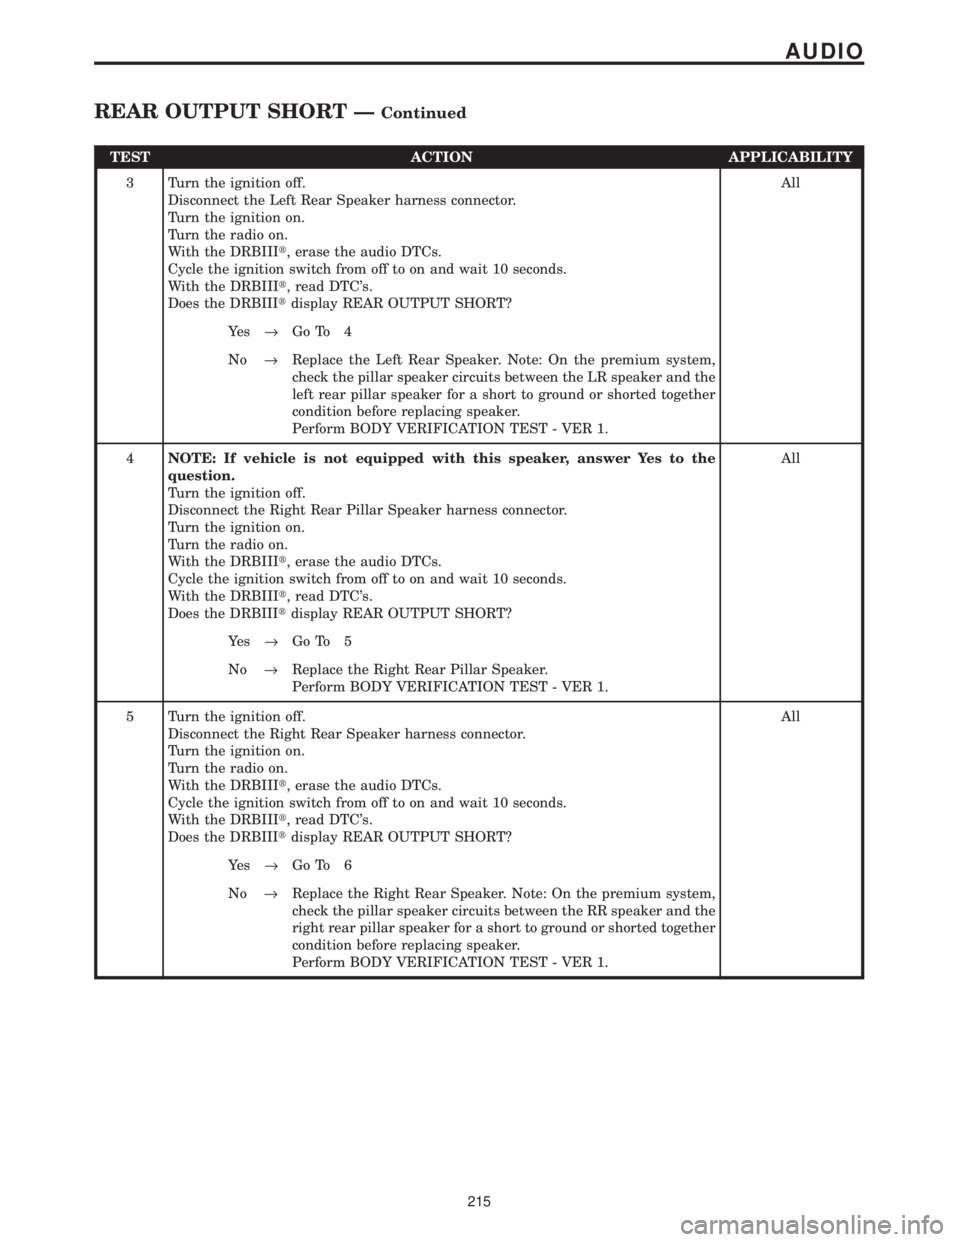
TEST ACTION APPLICABILITY
3 Turn the ignition off.
Disconnect the Left Rear Speaker harness connector.
Turn the ignition on.
Turn the radio on.
With the DRBIIIt, erase the audio DTCs.
Cycle the ignition switch from off to on and wait 10 seconds.
With the DRBIIIt, read DTC's.
Does the DRBIIItdisplay REAR OUTPUT SHORT?All
Ye s®Go To 4
No®Replace the Left Rear Speaker. Note: On the premium system,
check the pillar speaker circuits between the LR speaker and the
left rear pillar speaker for a short to ground or shorted together
condition before replacing speaker.
Perform BODY VERIFICATION TEST - VER 1.
4NOTE: If vehicle is not equipped with this speaker, answer Yes to the
question.
Turn the ignition off.
Disconnect the Right Rear Pillar Speaker harness connector.
Turn the ignition on.
Turn the radio on.
With the DRBIIIt, erase the audio DTCs.
Cycle the ignition switch from off to on and wait 10 seconds.
With the DRBIIIt, read DTC's.
Does the DRBIIItdisplay REAR OUTPUT SHORT?All
Ye s®Go To 5
No®Replace the Right Rear Pillar Speaker.
Perform BODY VERIFICATION TEST - VER 1.
5 Turn the ignition off.
Disconnect the Right Rear Speaker harness connector.
Turn the ignition on.
Turn the radio on.
With the DRBIIIt, erase the audio DTCs.
Cycle the ignition switch from off to on and wait 10 seconds.
With the DRBIIIt, read DTC's.
Does the DRBIIItdisplay REAR OUTPUT SHORT?All
Ye s®Go To 6
No®Replace the Right Rear Speaker. Note: On the premium system,
check the pillar speaker circuits between the RR speaker and the
right rear pillar speaker for a short to ground or shorted together
condition before replacing speaker.
Perform BODY VERIFICATION TEST - VER 1.
215
AUDIO
REAR OUTPUT SHORT ÐContinued
Page 251 of 4284
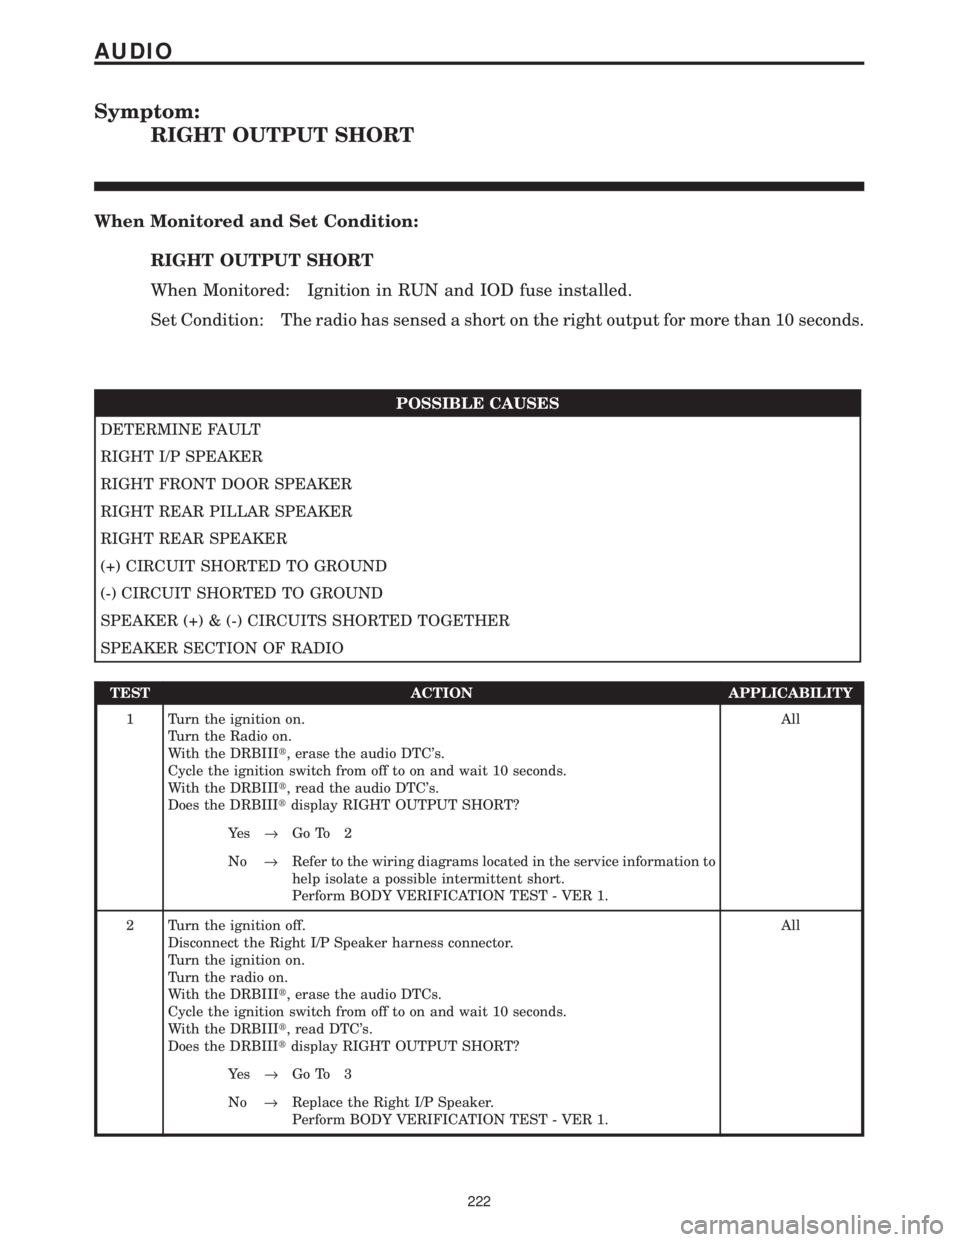
Symptom:
RIGHT OUTPUT SHORT
When Monitored and Set Condition:
RIGHT OUTPUT SHORT
When Monitored: Ignition in RUN and IOD fuse installed.
Set Condition: The radio has sensed a short on the right output for more than 10 seconds.
POSSIBLE CAUSES
DETERMINE FAULT
RIGHT I/P SPEAKER
RIGHT FRONT DOOR SPEAKER
RIGHT REAR PILLAR SPEAKER
RIGHT REAR SPEAKER
(+) CIRCUIT SHORTED TO GROUND
(-) CIRCUIT SHORTED TO GROUND
SPEAKER (+) & (-) CIRCUITS SHORTED TOGETHER
SPEAKER SECTION OF RADIO
TEST ACTION APPLICABILITY
1 Turn the ignition on.
Turn the Radio on.
With the DRBIIIt, erase the audio DTC's.
Cycle the ignition switch from off to on and wait 10 seconds.
With the DRBIIIt, read the audio DTC's.
Does the DRBIIItdisplay RIGHT OUTPUT SHORT?All
Ye s®Go To 2
No®Refer to the wiring diagrams located in the service information to
help isolate a possible intermittent short.
Perform BODY VERIFICATION TEST - VER 1.
2 Turn the ignition off.
Disconnect the Right I/P Speaker harness connector.
Turn the ignition on.
Turn the radio on.
With the DRBIIIt, erase the audio DTCs.
Cycle the ignition switch from off to on and wait 10 seconds.
With the DRBIIIt, read DTC's.
Does the DRBIIItdisplay RIGHT OUTPUT SHORT?All
Ye s®Go To 3
No®Replace the Right I/P Speaker.
Perform BODY VERIFICATION TEST - VER 1.
222
AUDIO