2001 CHRYSLER VOYAGER engine
[x] Cancel search: enginePage 3961 of 4284
TEST ACTION APPLICABILITY
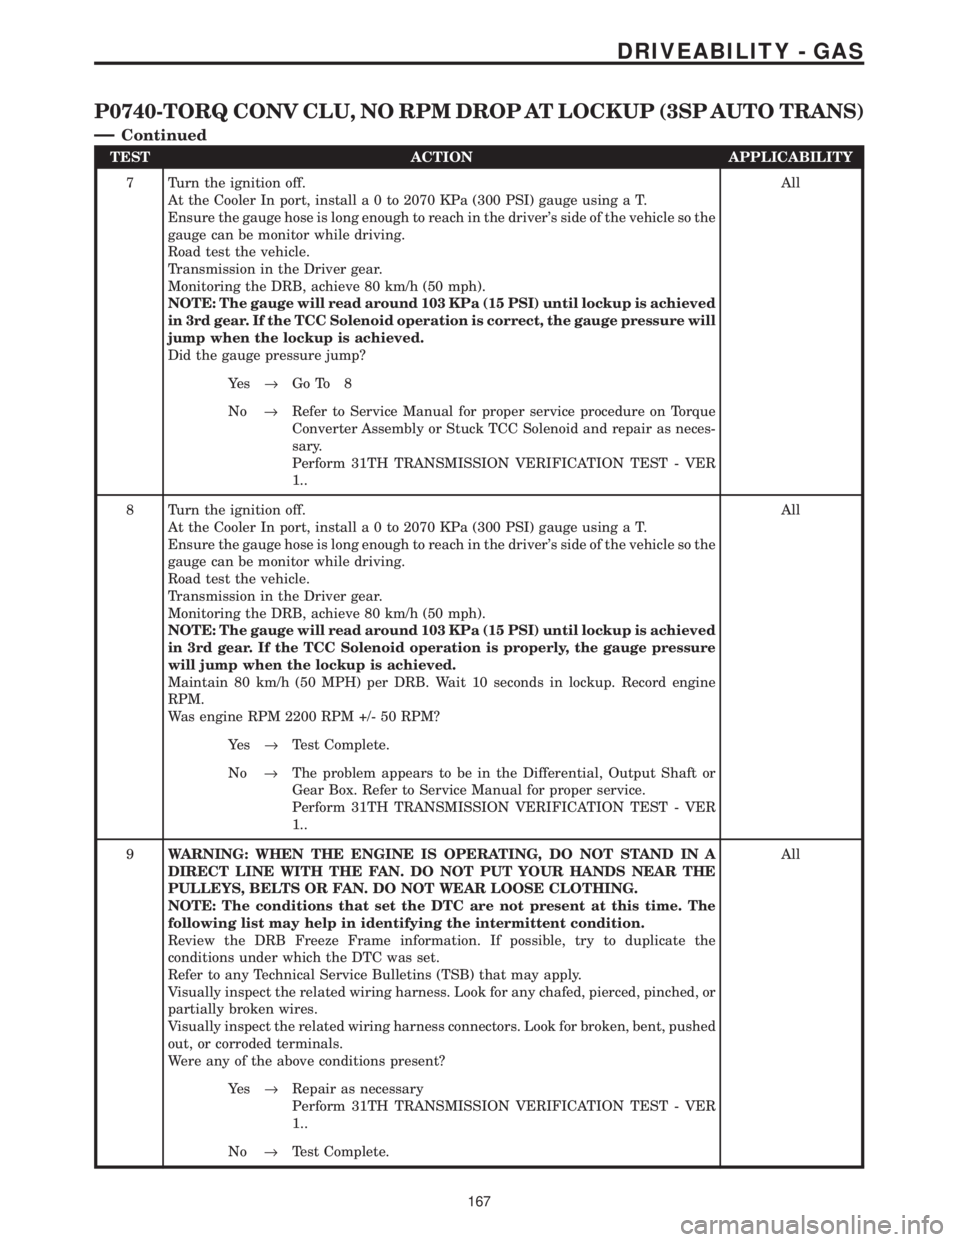
7 Turn the ignition off.
At the Cooler In port, installa0to2070 KPa (300 PSI) gauge using a T.
Ensure the gauge hose is long enough to reach in the driver's side of the vehicle so the
gauge can be monitor while driving.
Road test the vehicle.
Transmission in the Driver gear.
Monitoring the DRB, achieve 80 km/h (50 mph).
NOTE: The gauge will read around 103 KPa (15 PSI) until lockup is achieved
in 3rd gear. If the TCC Solenoid operation is correct, the gauge pressure will
jump when the lockup is achieved.
Did the gauge pressure jump?All
Ye s®Go To 8
No®Refer to Service Manual for proper service procedure on Torque
Converter Assembly or Stuck TCC Solenoid and repair as neces-
sary.
Perform 31TH TRANSMISSION VERIFICATION TEST - VER
1..
8 Turn the ignition off.
At the Cooler In port, installa0to2070 KPa (300 PSI) gauge using a T.
Ensure the gauge hose is long enough to reach in the driver's side of the vehicle so the
gauge can be monitor while driving.
Road test the vehicle.
Transmission in the Driver gear.
Monitoring the DRB, achieve 80 km/h (50 mph).
NOTE: The gauge will read around 103 KPa (15 PSI) until lockup is achieved
in 3rd gear. If the TCC Solenoid operation is properly, the gauge pressure
will jump when the lockup is achieved.
Maintain 80 km/h (50 MPH) per DRB. Wait 10 seconds in lockup. Record engine
RPM.
Was engine RPM 2200 RPM +/- 50 RPM?All
Ye s®Test Complete.
No®The problem appears to be in the Differential, Output Shaft or
Gear Box. Refer to Service Manual for proper service.
Perform 31TH TRANSMISSION VERIFICATION TEST - VER
1..
9WARNING: WHEN THE ENGINE IS OPERATING, DO NOT STAND IN A
DIRECT LINE WITH THE FAN. DO NOT PUT YOUR HANDS NEAR THE
PULLEYS, BELTS OR FAN. DO NOT WEAR LOOSE CLOTHING.
NOTE: The conditions that set the DTC are not present at this time. The
following list may help in identifying the intermittent condition.
Review the DRB Freeze Frame information. If possible, try to duplicate the
conditions under which the DTC was set.
Refer to any Technical Service Bulletins (TSB) that may apply.
Visually inspect the related wiring harness. Look for any chafed, pierced, pinched, or
partially broken wires.
Visually inspect the related wiring harness connectors. Look for broken, bent, pushed
out, or corroded terminals.
Were any of the above conditions present?All
Ye s®Repair as necessary
Perform 31TH TRANSMISSION VERIFICATION TEST - VER
1..
No®Test Complete.
167
DRIVEABILITY - GAS
P0740-TORQ CONV CLU, NO RPM DROP AT LOCKUP (3SP AUTO TRANS)
Ð
Continued
Page 3964 of 4284
TEST ACTION APPLICABILITY
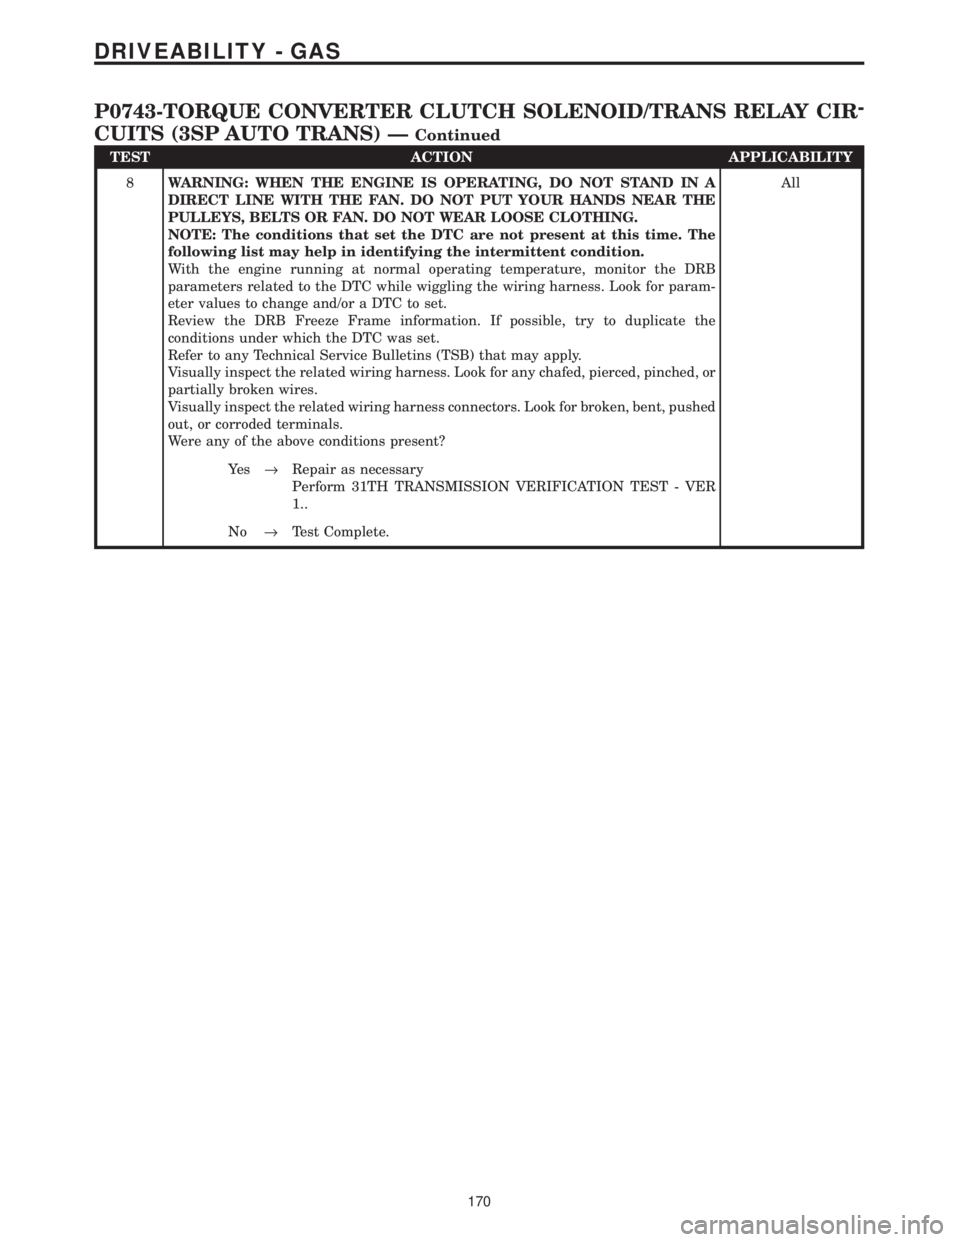
8WARNING: WHEN THE ENGINE IS OPERATING, DO NOT STAND IN A
DIRECT LINE WITH THE FAN. DO NOT PUT YOUR HANDS NEAR THE
PULLEYS, BELTS OR FAN. DO NOT WEAR LOOSE CLOTHING.
NOTE: The conditions that set the DTC are not present at this time. The
following list may help in identifying the intermittent condition.
With the engine running at normal operating temperature, monitor the DRB
parameters related to the DTC while wiggling the wiring harness. Look for param-
eter values to change and/or a DTC to set.
Review the DRB Freeze Frame information. If possible, try to duplicate the
conditions under which the DTC was set.
Refer to any Technical Service Bulletins (TSB) that may apply.
Visually inspect the related wiring harness. Look for any chafed, pierced, pinched, or
partially broken wires.
Visually inspect the related wiring harness connectors. Look for broken, bent, pushed
out, or corroded terminals.
Were any of the above conditions present?All
Ye s®Repair as necessary
Perform 31TH TRANSMISSION VERIFICATION TEST - VER
1..
No®Test Complete.
170
DRIVEABILITY - GAS
P0743-TORQUE CONVERTER CLUTCH SOLENOID/TRANS RELAY CIR-
CUITS (3SP AUTO TRANS) Ð
Continued
Page 3965 of 4284
Symptom:
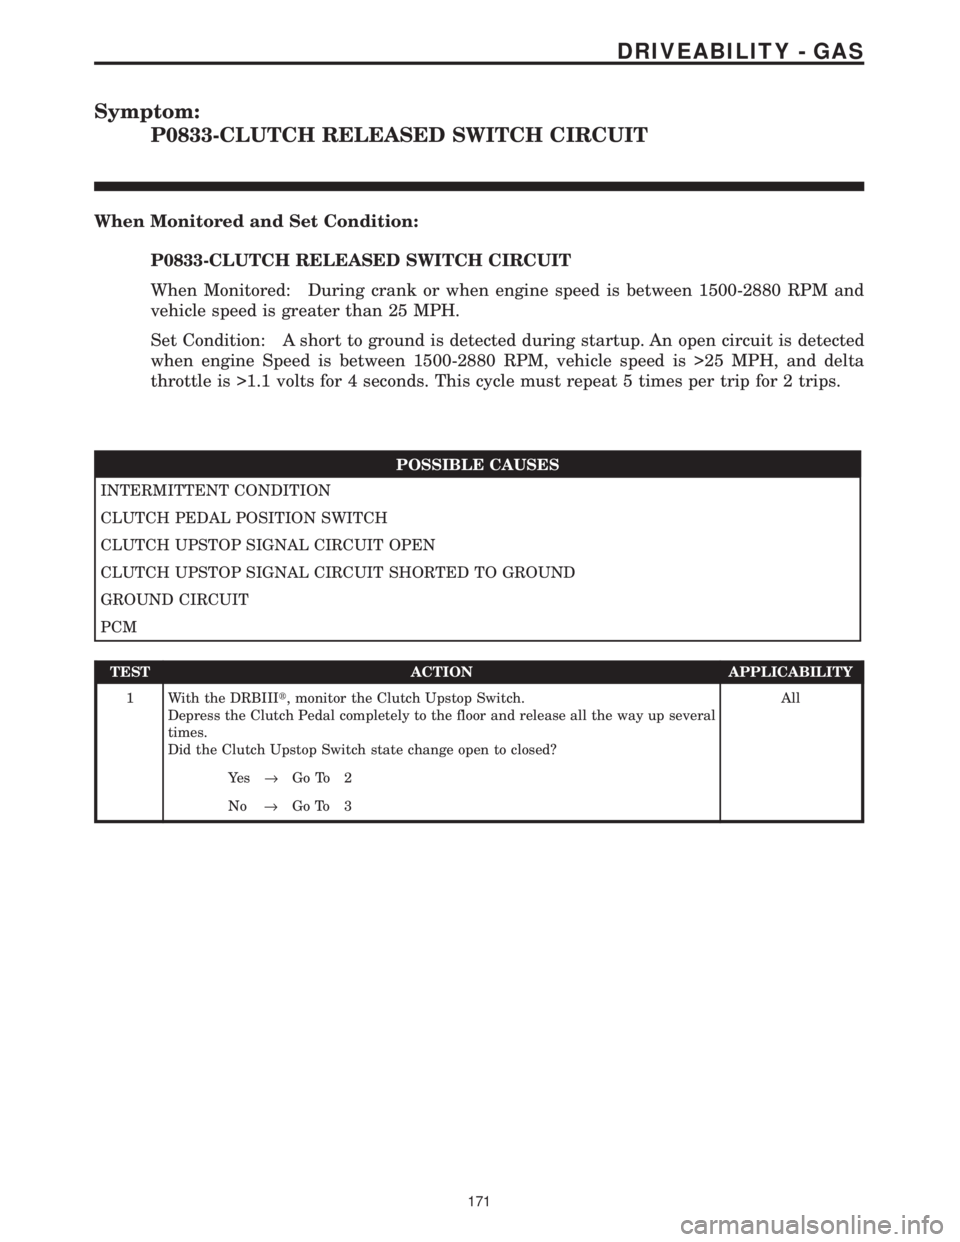
P0833-CLUTCH RELEASED SWITCH CIRCUIT
When Monitored and Set Condition:
P0833-CLUTCH RELEASED SWITCH CIRCUIT
When Monitored: During crank or when engine speed is between 1500-2880 RPM and
vehicle speed is greater than 25 MPH.
Set Condition: A short to ground is detected during startup. An open circuit is detected
when engine Speed is between 1500-2880 RPM, vehicle speed is >25 MPH, and delta
throttle is >1.1 volts for 4 seconds. This cycle must repeat 5 times per trip for 2 trips.
POSSIBLE CAUSES
INTERMITTENT CONDITION
CLUTCH PEDAL POSITION SWITCH
CLUTCH UPSTOP SIGNAL CIRCUIT OPEN
CLUTCH UPSTOP SIGNAL CIRCUIT SHORTED TO GROUND
GROUND CIRCUIT
PCM
TEST ACTION APPLICABILITY
1 With the DRBIIIt, monitor the Clutch Upstop Switch.
Depress the Clutch Pedal completely to the floor and release all the way up several
times.
Did the Clutch Upstop Switch state change open to closed?All
Ye s®Go To 2
No®Go To 3
171
DRIVEABILITY - GAS
Page 3966 of 4284
TEST ACTION APPLICABILITY
2WARNING: WHEN THE ENGINE IS OPERATING, DO NOT STAND IN A
DIRECT LINE WITH THE FAN. DO NOT PUT YOUR HANDS NEAR THE
PULLEYS, BELTS OR FAN. DO NOT WEAR LOOSE CLOTHING.
NOTE: The conditions that set the DTC are not present at this time. The
following list may help in identifying the intermittent condition.
With the engine running at normal operating temperature, monitor the DRB
parameters related to the DTC while wiggling the wiring harness. Look for param-
eter values to change and/or a DTC to set.
Review the DRB Freeze Frame information. If possible, try to duplicate the
conditions under which the DTC was set.
Refer to any Technical Service Bulletins (TSB) that may apply.
Visually inspect the related wiring harness. Look for any chafed, pierced, pinched, or
partially broken wires.
Visually inspect the related wiring harness connectors. Look for broken, bent, pushed
out, or corroded terminals.
Were any of the above conditions present?All
Ye s®Repair as necessary
Perform POWERTRAIN VERIFICATION TEST VER - 5.
No®Test Complete.
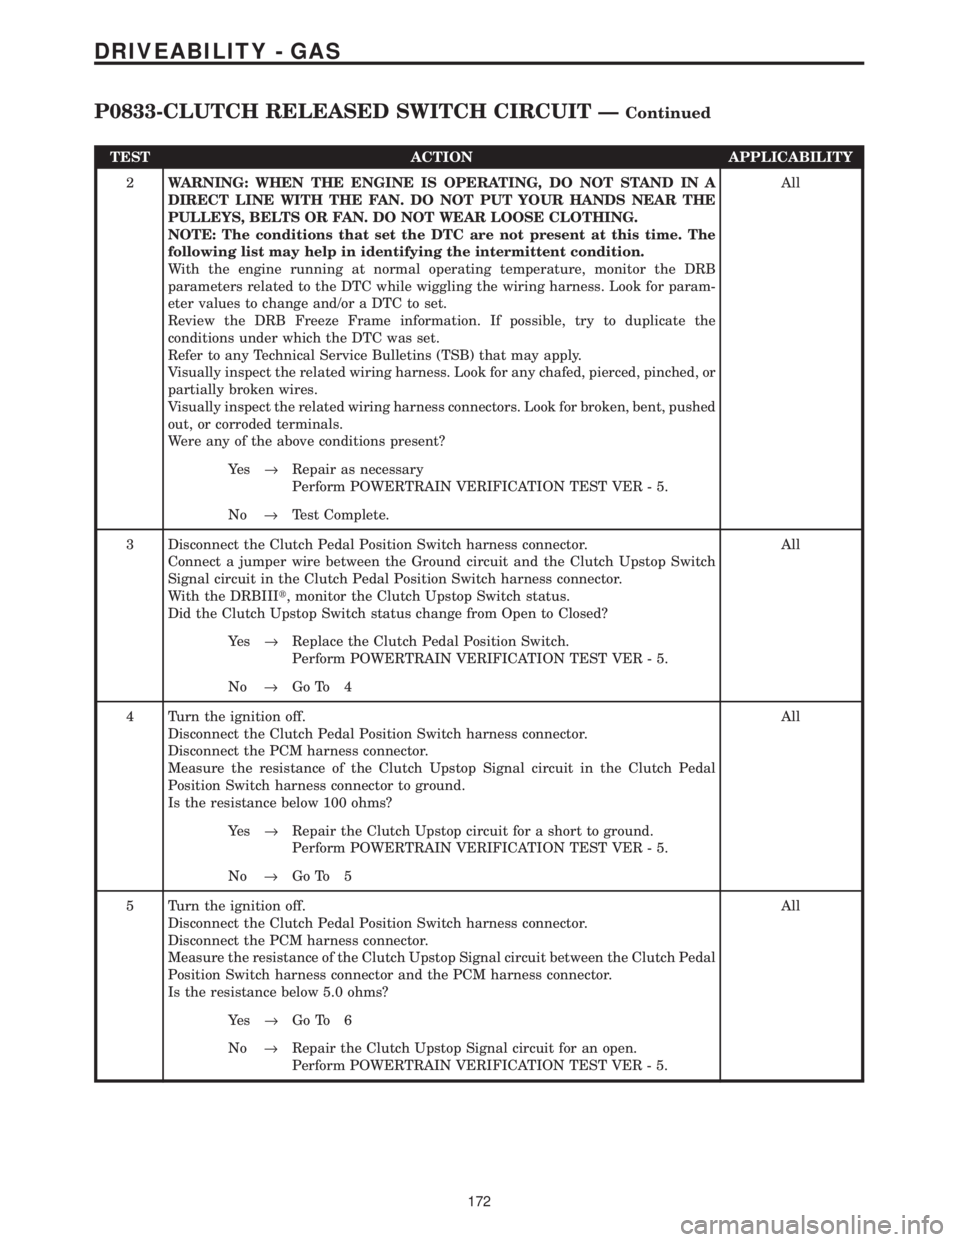
3 Disconnect the Clutch Pedal Position Switch harness connector.
Connect a jumper wire between the Ground circuit and the Clutch Upstop Switch
Signal circuit in the Clutch Pedal Position Switch harness connector.
With the DRBIIIt, monitor the Clutch Upstop Switch status.
Did the Clutch Upstop Switch status change from Open to Closed?All
Ye s®Replace the Clutch Pedal Position Switch.
Perform POWERTRAIN VERIFICATION TEST VER - 5.
No®Go To 4
4 Turn the ignition off.
Disconnect the Clutch Pedal Position Switch harness connector.
Disconnect the PCM harness connector.
Measure the resistance of the Clutch Upstop Signal circuit in the Clutch Pedal
Position Switch harness connector to ground.
Is the resistance below 100 ohms?All
Ye s®Repair the Clutch Upstop circuit for a short to ground.
Perform POWERTRAIN VERIFICATION TEST VER - 5.
No®Go To 5
5 Turn the ignition off.
Disconnect the Clutch Pedal Position Switch harness connector.
Disconnect the PCM harness connector.
Measure the resistance of the Clutch Upstop Signal circuit between the Clutch Pedal
Position Switch harness connector and the PCM harness connector.
Is the resistance below 5.0 ohms?All
Ye s®Go To 6
No®Repair the Clutch Upstop Signal circuit for an open.
Perform POWERTRAIN VERIFICATION TEST VER - 5.
172
DRIVEABILITY - GAS
P0833-CLUTCH RELEASED SWITCH CIRCUIT ÐContinued
Page 3969 of 4284
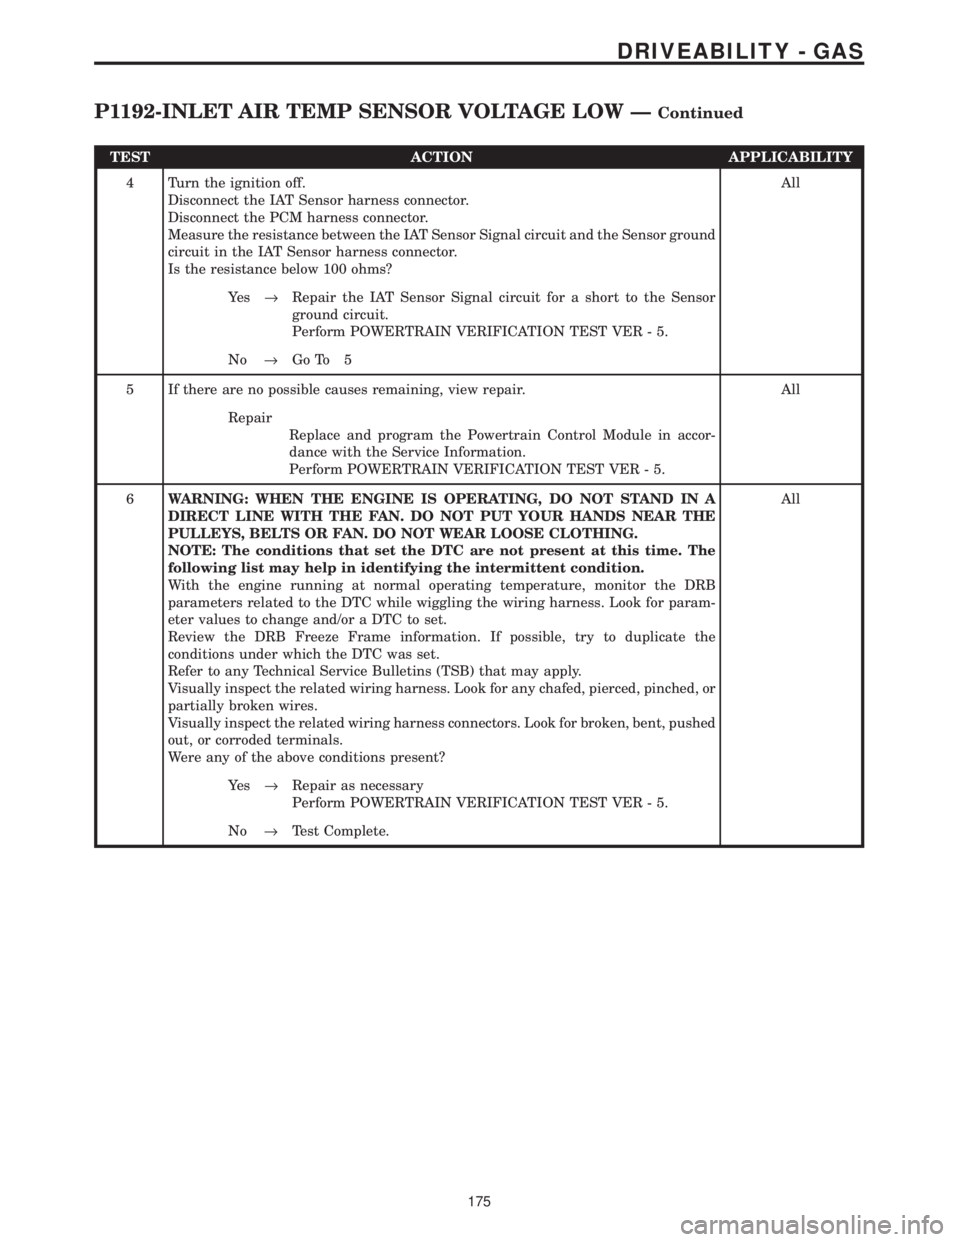
TEST ACTION APPLICABILITY
4 Turn the ignition off.
Disconnect the IAT Sensor harness connector.
Disconnect the PCM harness connector.
Measure the resistance between the IAT Sensor Signal circuit and the Sensor ground
circuit in the IAT Sensor harness connector.
Is the resistance below 100 ohms?All
Ye s®Repair the IAT Sensor Signal circuit for a short to the Sensor
ground circuit.
Perform POWERTRAIN VERIFICATION TEST VER - 5.
No®Go To 5
5 If there are no possible causes remaining, view repair. All
Repair
Replace and program the Powertrain Control Module in accor-
dance with the Service Information.
Perform POWERTRAIN VERIFICATION TEST VER - 5.
6WARNING: WHEN THE ENGINE IS OPERATING, DO NOT STAND IN A
DIRECT LINE WITH THE FAN. DO NOT PUT YOUR HANDS NEAR THE
PULLEYS, BELTS OR FAN. DO NOT WEAR LOOSE CLOTHING.
NOTE: The conditions that set the DTC are not present at this time. The
following list may help in identifying the intermittent condition.
With the engine running at normal operating temperature, monitor the DRB
parameters related to the DTC while wiggling the wiring harness. Look for param-
eter values to change and/or a DTC to set.
Review the DRB Freeze Frame information. If possible, try to duplicate the
conditions under which the DTC was set.
Refer to any Technical Service Bulletins (TSB) that may apply.
Visually inspect the related wiring harness. Look for any chafed, pierced, pinched, or
partially broken wires.
Visually inspect the related wiring harness connectors. Look for broken, bent, pushed
out, or corroded terminals.
Were any of the above conditions present?All
Ye s®Repair as necessary
Perform POWERTRAIN VERIFICATION TEST VER - 5.
No®Test Complete.
175
DRIVEABILITY - GAS
P1192-INLET AIR TEMP SENSOR VOLTAGE LOW ÐContinued
Page 3971 of 4284
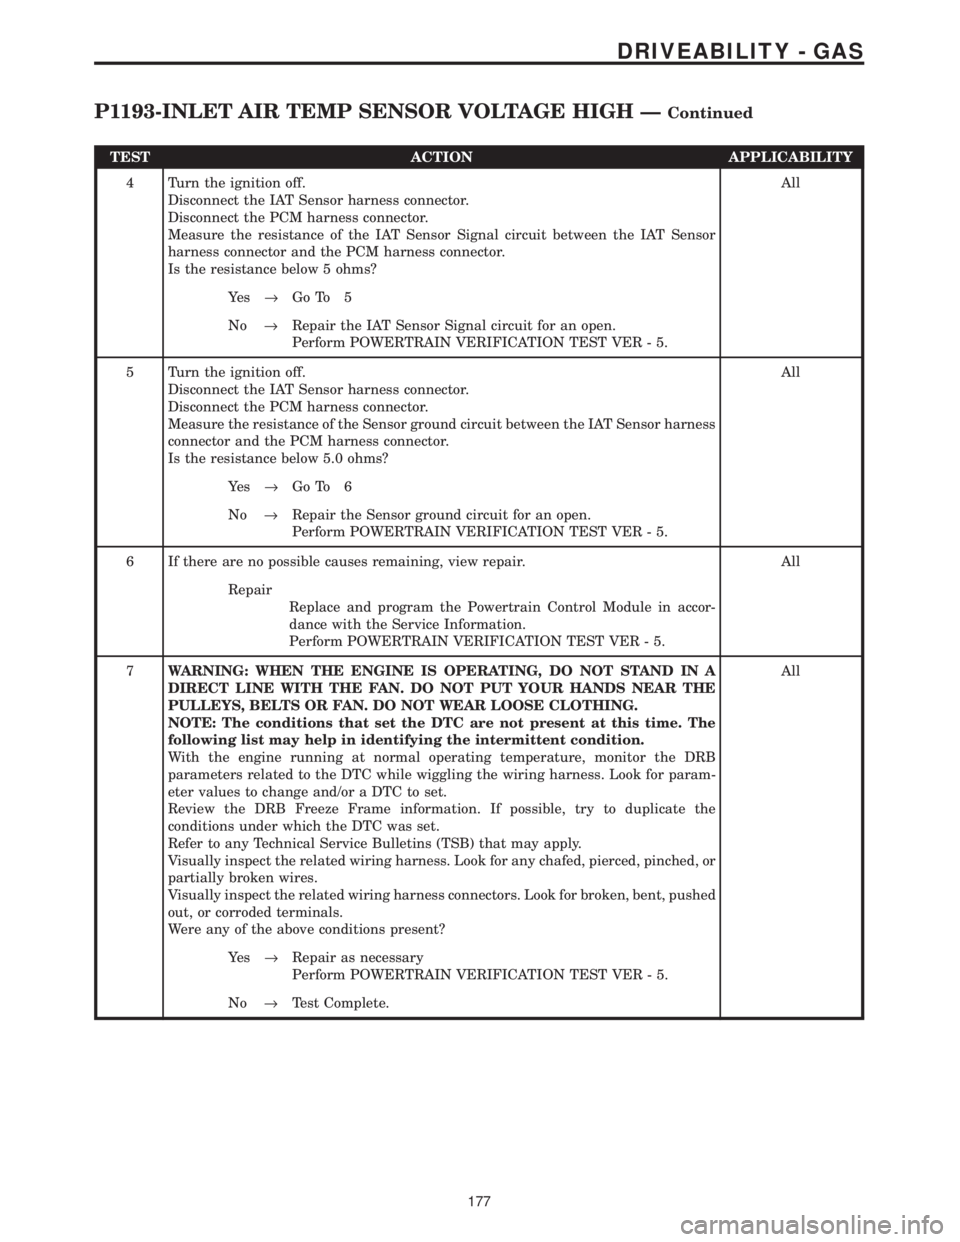
TEST ACTION APPLICABILITY
4 Turn the ignition off.
Disconnect the IAT Sensor harness connector.
Disconnect the PCM harness connector.
Measure the resistance of the IAT Sensor Signal circuit between the IAT Sensor
harness connector and the PCM harness connector.
Is the resistance below 5 ohms?All
Ye s®Go To 5
No®Repair the IAT Sensor Signal circuit for an open.
Perform POWERTRAIN VERIFICATION TEST VER - 5.
5 Turn the ignition off.
Disconnect the IAT Sensor harness connector.
Disconnect the PCM harness connector.
Measure the resistance of the Sensor ground circuit between the IAT Sensor harness
connector and the PCM harness connector.
Is the resistance below 5.0 ohms?All
Ye s®Go To 6
No®Repair the Sensor ground circuit for an open.
Perform POWERTRAIN VERIFICATION TEST VER - 5.
6 If there are no possible causes remaining, view repair. All
Repair
Replace and program the Powertrain Control Module in accor-
dance with the Service Information.
Perform POWERTRAIN VERIFICATION TEST VER - 5.
7WARNING: WHEN THE ENGINE IS OPERATING, DO NOT STAND IN A
DIRECT LINE WITH THE FAN. DO NOT PUT YOUR HANDS NEAR THE
PULLEYS, BELTS OR FAN. DO NOT WEAR LOOSE CLOTHING.
NOTE: The conditions that set the DTC are not present at this time. The
following list may help in identifying the intermittent condition.
With the engine running at normal operating temperature, monitor the DRB
parameters related to the DTC while wiggling the wiring harness. Look for param-
eter values to change and/or a DTC to set.
Review the DRB Freeze Frame information. If possible, try to duplicate the
conditions under which the DTC was set.
Refer to any Technical Service Bulletins (TSB) that may apply.
Visually inspect the related wiring harness. Look for any chafed, pierced, pinched, or
partially broken wires.
Visually inspect the related wiring harness connectors. Look for broken, bent, pushed
out, or corroded terminals.
Were any of the above conditions present?All
Ye s®Repair as necessary
Perform POWERTRAIN VERIFICATION TEST VER - 5.
No®Test Complete.
177
DRIVEABILITY - GAS
P1193-INLET AIR TEMP SENSOR VOLTAGE HIGH ÐContinued
Page 3972 of 4284
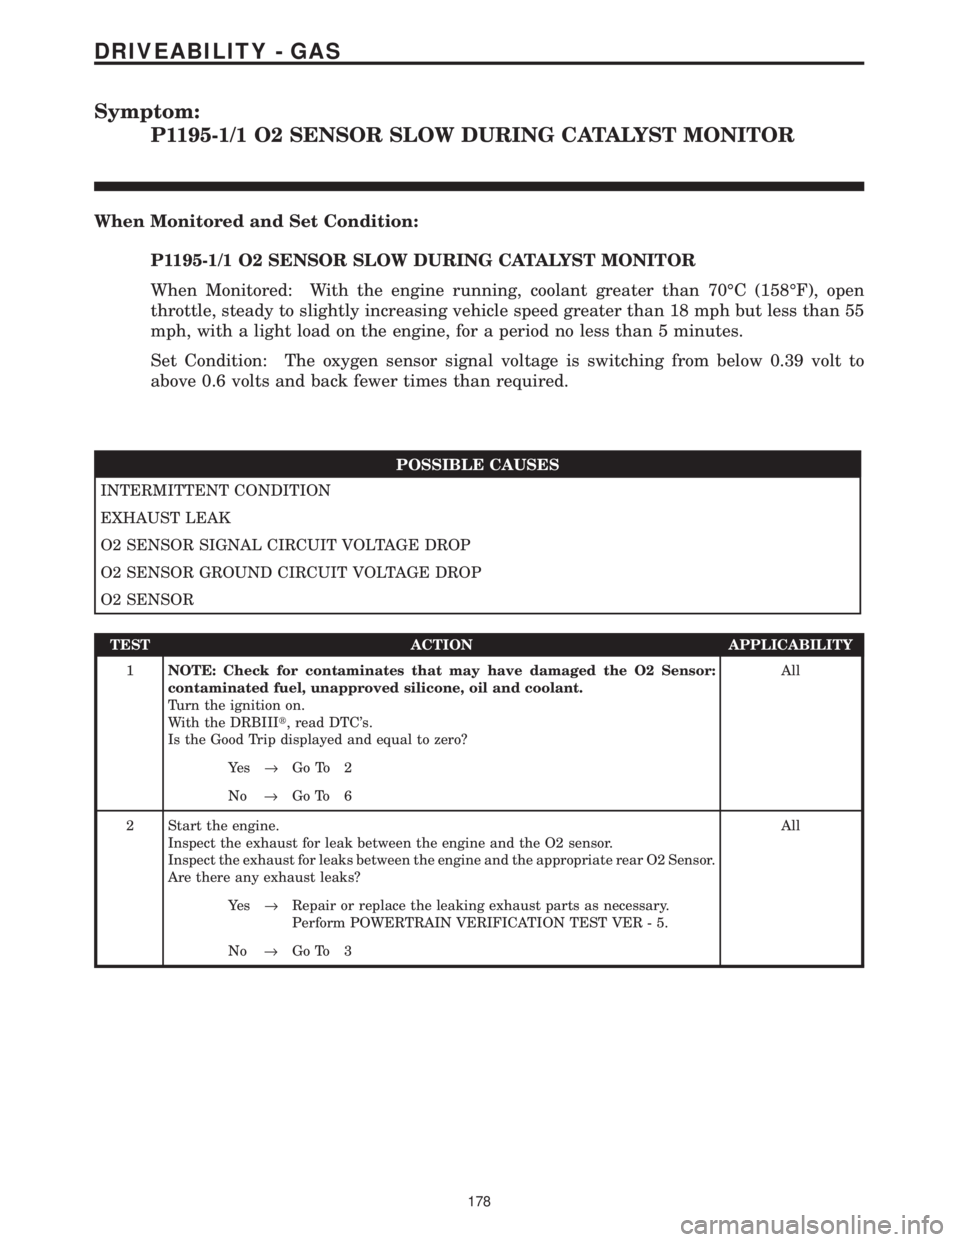
Symptom:
P1195-1/1 O2 SENSOR SLOW DURING CATALYST MONITOR
When Monitored and Set Condition:
P1195-1/1 O2 SENSOR SLOW DURING CATALYST MONITOR
When Monitored: With the engine running, coolant greater than 70ÉC (158ÉF), open
throttle, steady to slightly increasing vehicle speed greater than 18 mph but less than 55
mph, with a light load on the engine, for a period no less than 5 minutes.
Set Condition: The oxygen sensor signal voltage is switching from below 0.39 volt to
above 0.6 volts and back fewer times than required.
POSSIBLE CAUSES
INTERMITTENT CONDITION
EXHAUST LEAK
O2 SENSOR SIGNAL CIRCUIT VOLTAGE DROP
O2 SENSOR GROUND CIRCUIT VOLTAGE DROP
O2 SENSOR
TEST ACTION APPLICABILITY
1NOTE: Check for contaminates that may have damaged the O2 Sensor:
contaminated fuel, unapproved silicone, oil and coolant.
Turn the ignition on.
With the DRBIIIt, read DTC's.
Is the Good Trip displayed and equal to zero?All
Ye s®Go To 2
No®Go To 6
2 Start the engine.
Inspect the exhaust for leak between the engine and the O2 sensor.
Inspect the exhaust for leaks between the engine and the appropriate rear O2 Sensor.
Are there any exhaust leaks?All
Ye s®Repair or replace the leaking exhaust parts as necessary.
Perform POWERTRAIN VERIFICATION TEST VER - 5.
No®Go To 3
178
DRIVEABILITY - GAS
Page 3973 of 4284
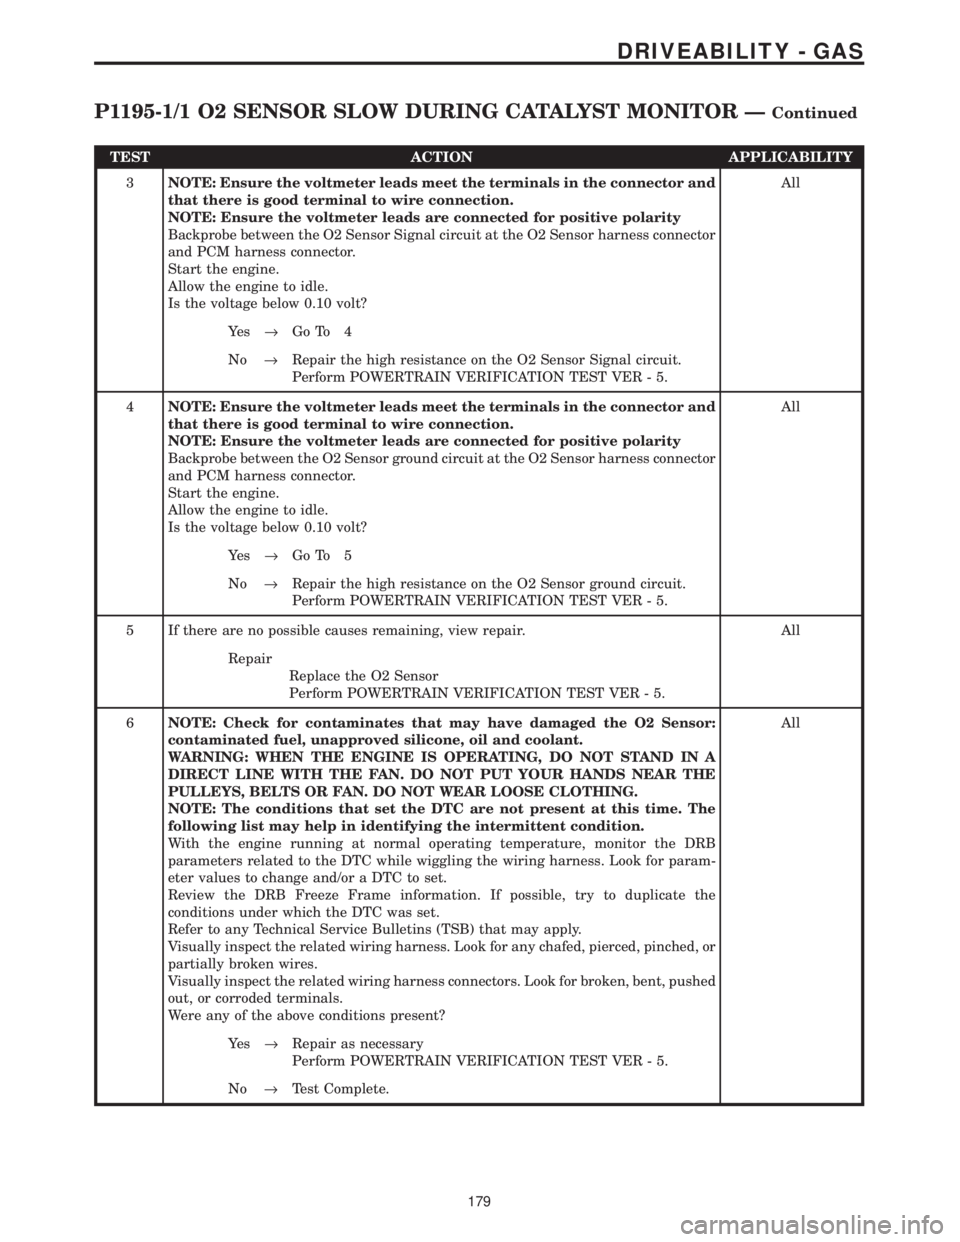
TEST ACTION APPLICABILITY
3NOTE: Ensure the voltmeter leads meet the terminals in the connector and
that there is good terminal to wire connection.
NOTE: Ensure the voltmeter leads are connected for positive polarity
Backprobe between the O2 Sensor Signal circuit at the O2 Sensor harness connector
and PCM harness connector.
Start the engine.
Allow the engine to idle.
Is the voltage below 0.10 volt?All
Ye s®Go To 4
No®Repair the high resistance on the O2 Sensor Signal circuit.
Perform POWERTRAIN VERIFICATION TEST VER - 5.
4NOTE: Ensure the voltmeter leads meet the terminals in the connector and
that there is good terminal to wire connection.
NOTE: Ensure the voltmeter leads are connected for positive polarity
Backprobe between the O2 Sensor ground circuit at the O2 Sensor harness connector
and PCM harness connector.
Start the engine.
Allow the engine to idle.
Is the voltage below 0.10 volt?All
Ye s®Go To 5
No®Repair the high resistance on the O2 Sensor ground circuit.
Perform POWERTRAIN VERIFICATION TEST VER - 5.
5 If there are no possible causes remaining, view repair. All
Repair
Replace the O2 Sensor
Perform POWERTRAIN VERIFICATION TEST VER - 5.
6NOTE: Check for contaminates that may have damaged the O2 Sensor:
contaminated fuel, unapproved silicone, oil and coolant.
WARNING: WHEN THE ENGINE IS OPERATING, DO NOT STAND IN A
DIRECT LINE WITH THE FAN. DO NOT PUT YOUR HANDS NEAR THE
PULLEYS, BELTS OR FAN. DO NOT WEAR LOOSE CLOTHING.
NOTE: The conditions that set the DTC are not present at this time. The
following list may help in identifying the intermittent condition.
With the engine running at normal operating temperature, monitor the DRB
parameters related to the DTC while wiggling the wiring harness. Look for param-
eter values to change and/or a DTC to set.
Review the DRB Freeze Frame information. If possible, try to duplicate the
conditions under which the DTC was set.
Refer to any Technical Service Bulletins (TSB) that may apply.
Visually inspect the related wiring harness. Look for any chafed, pierced, pinched, or
partially broken wires.
Visually inspect the related wiring harness connectors. Look for broken, bent, pushed
out, or corroded terminals.
Were any of the above conditions present?All
Ye s®Repair as necessary
Perform POWERTRAIN VERIFICATION TEST VER - 5.
No®Test Complete.
179
DRIVEABILITY - GAS
P1195-1/1 O2 SENSOR SLOW DURING CATALYST MONITOR ÐContinued