Page 144 of 1033
b. Apply compressed air to oil hole until band servo piston
comes out of transmission case.
+Hold piston with a rag and gradually direct air to oil hole.
c. Remove return springs.
d. Remove springs from accumulator pistons
VB,VCandVD.
e.Apply compressed air to each oil hole until piston comes out.
+Hold piston with a rag and gradually direct air to oil hole.
Identification of accumulator pistonsVAVBVCVD
Identification of oil holesVaVbVcVd
f. Remove O-ring from each piston.
22. Remove manual shaft components, if necessary.
a. Hold width across flats of manual shaft (outside the transmis-
sion case) and remove lock nut from shaft.
b. Remove retaining pin from transmission case.
SAT039B
SAT040BA
SAT523GA
SAT041B
SAT042B
DISASSEMBLY
AT-1142
Page 222 of 1033
General Specifications
BodyEurope
Hardtop Wagon
Front brake
TypeCL36VE disc brake
Cylinder bore diameter mm (in) 48.1 (1.894) x 2
Pad dimension mm (in)
Length x width x thickness147 x 56.5 x 12 (5.79 x 2.224 x 0.47)
Rotor outer diameter x thickness
mm (in)306 x 32 (12.05 x 1.26)
Rear brake
TypeCL18VF disc brake
Cylinder bore diameter mm (in) 48.1 (1.894)
Lining or pad dimension mm (in)
Length x width x thickness111 x 41.8 x 10
(4.37 x 1.646 x 0.39)
Drum inner diameter mm (in) Ð
Rotor outer diameter x thickness
mm (in)316 x 18 (12.44 x 0.71)
Brake booster
Model235T
Diaphragm diameter
mm (in)Primary: 252 (9.92)
Secondary: 230 (9.06)
Master cylinder bore diameter
mm (in)25.4 (1.00)
Control valve
TypeLSV
Split point x reducing ratio
kPa (bar, kg/cm
2, psi)(Variable) x 0.3 (Variable) x 0.1
Recommended brake fluid DOT 3 or DOT 4
SERVICE DATA AND SPECIFICATIONS (SDS)
BR-1010
Page 816 of 1033

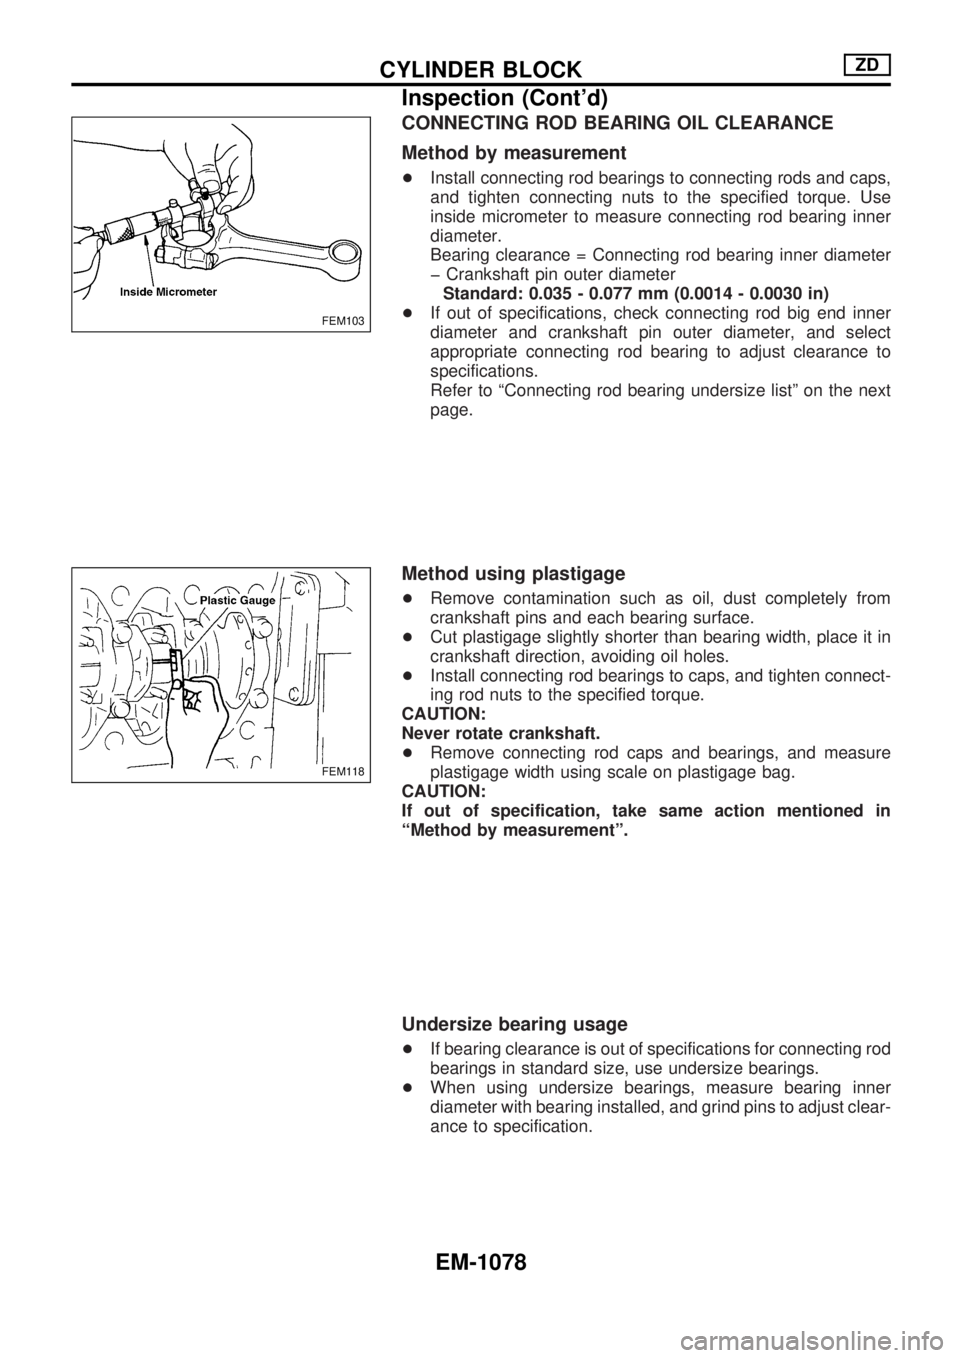
CONNECTING ROD BEARING OIL CLEARANCE
Method by measurement
+Install connecting rod bearings to connecting rods and caps,
and tighten connecting nuts to the specified torque. Use
inside micrometer to measure connecting rod bearing inner
diameter.
Bearing clearance = Connecting rod bearing inner diameter
þ Crankshaft pin outer diameter
Standard: 0.035 - 0.077 mm (0.0014 - 0.0030 in)
+If out of specifications, check connecting rod big end inner
diameter and crankshaft pin outer diameter, and select
appropriate connecting rod bearing to adjust clearance to
specifications.
Refer to ªConnecting rod bearing undersize listº on the next
page.
Method using plastigage
+Remove contamination such as oil, dust completely from
crankshaft pins and each bearing surface.
+Cut plastigage slightly shorter than bearing width, place it in
crankshaft direction, avoiding oil holes.
+Install connecting rod bearings to caps, and tighten connect-
ing rod nuts to the specified torque.
CAUTION:
Never rotate crankshaft.
+Remove connecting rod caps and bearings, and measure
plastigage width using scale on plastigage bag.
CAUTION:
If out of specification, take same action mentioned in
ªMethod by measurementº.
Undersize bearing usage
+If bearing clearance is out of specifications for connecting rod
bearings in standard size, use undersize bearings.
+When using undersize bearings, measure bearing inner
diameter with bearing installed, and grind pins to adjust clear-
ance to specification.
FEM103
FEM118
CYLINDER BLOCKZD
Inspection (Cont'd)
EM-1078
Page 817 of 1033

Connecting rod bearing undersize list
Unit: mm (in)
Size Thickness
US 025 1.630 - 1.638 (0.0642 - 0.0645)
US 050 1.755 - 1.763 (0.0691 - 0.0694)
US 075 1.880 - 1.888 (0.0740 - 0.0743)
US 100 2.005 - 2.013 (0.0789 - 0.0793)
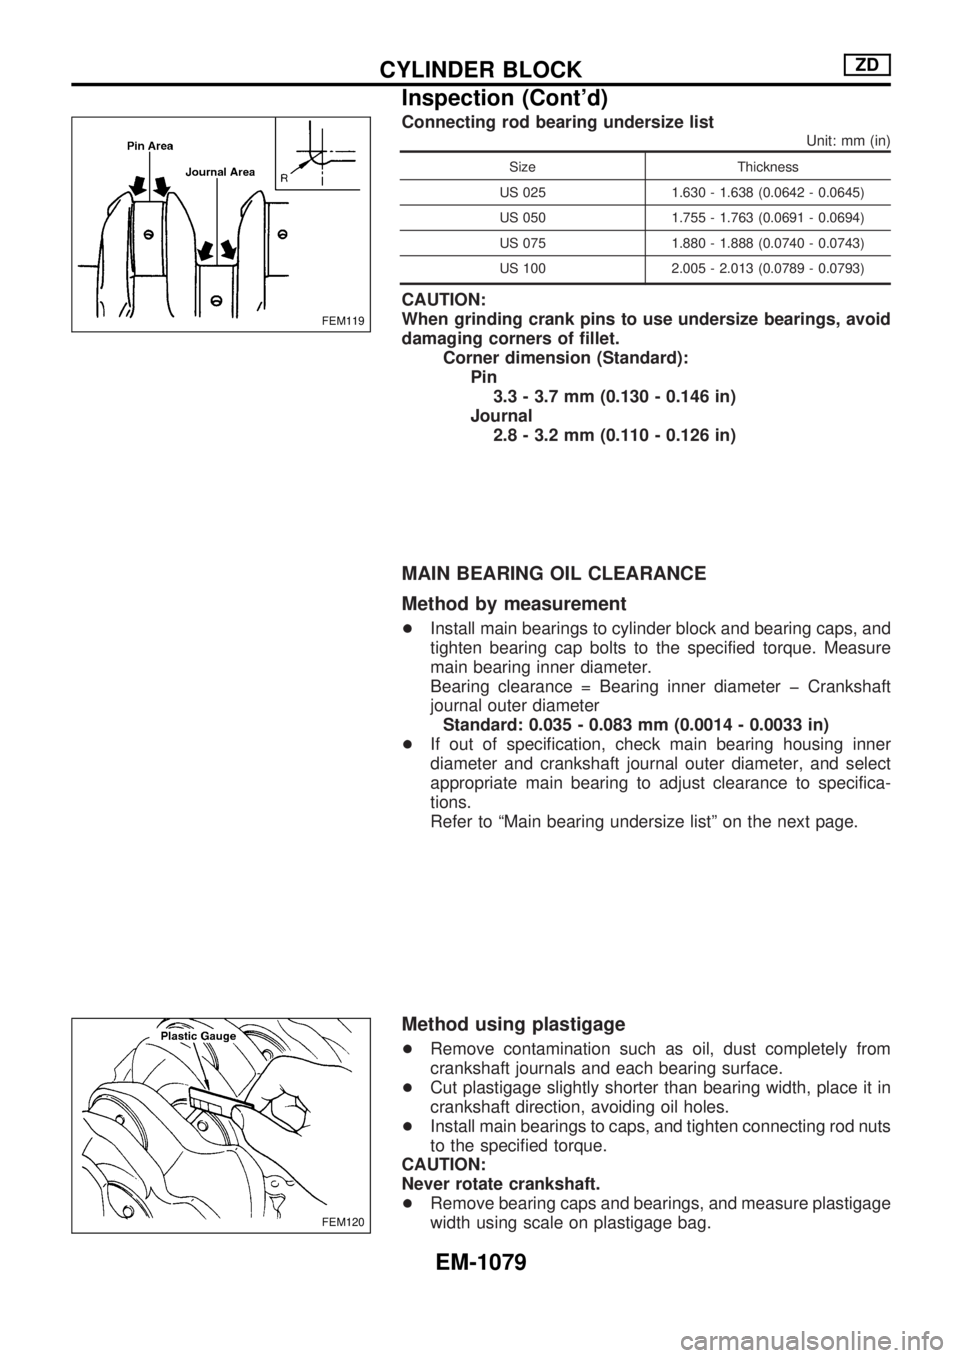
CAUTION:
When grinding crank pins to use undersize bearings, avoid
damaging corners of fillet.
Corner dimension (Standard):
Pin
3.3 - 3.7 mm (0.130 - 0.146 in)
Journal
2.8 - 3.2 mm (0.110 - 0.126 in)
MAIN BEARING OIL CLEARANCE
Method by measurement
+Install main bearings to cylinder block and bearing caps, and
tighten bearing cap bolts to the specified torque. Measure
main bearing inner diameter.
Bearing clearance = Bearing inner diameter þ Crankshaft
journal outer diameter
Standard: 0.035 - 0.083 mm (0.0014 - 0.0033 in)
+If out of specification, check main bearing housing inner
diameter and crankshaft journal outer diameter, and select
appropriate main bearing to adjust clearance to specifica-
tions.
Refer to ªMain bearing undersize listº on the next page.
Method using plastigage
+Remove contamination such as oil, dust completely from
crankshaft journals and each bearing surface.
+Cut plastigage slightly shorter than bearing width, place it in
crankshaft direction, avoiding oil holes.
+Install main bearings to caps, and tighten connecting rod nuts
to the specified torque.
CAUTION:
Never rotate crankshaft.
+Remove bearing caps and bearings, and measure plastigage
width using scale on plastigage bag.
FEM119
FEM120
CYLINDER BLOCKZD
Inspection (Cont'd)
EM-1079
Page 831 of 1033
Crankshaft
Unit: mm (in)
Main journal dia. ªDmº70.907 - 70.920 (2.7916 - 2.7921)
Pin journal dia. ªDpº Grade No. 0 56.913 - 56.926 (2.2407 - 2.2412)
Center distance ªrº50.95 - 51.05 (2.0059 - 2.0098)
Out-of-round (X þ Y) Standard Less than 0.01 (0.0004)
Taper (A þ B) Standard Less than 0.01 (0.0004)
Runout [TIR*]Standard Less than 0.01 (0.0004)
Limit Less than 0.03 (0.0012)
Free end playStandard 0.055 - 0.140 (0.0022 - 0.0055)
Limit 0.25 (0.0098)
SEM645EM715
*: Total indicator reading
Available Main Bearing
UNDERSIZE
FEM127
Size Thickness ªTº mm (in) Width ªWº mm (in) Main journal diameter ªDmº
Standard 2.005 - 2.013 (0.0789 - 0.0793)
25.74 - 26.00 (1.0134 - 1.0236)Grind so that bearing clearance is
the specified value. US 025 2.130 - 2.138 (0.0839 - 0.0842)
US 050 2.255 - 2.263 (0.0888 - 0.0891)
US 075 2.380 - 2.388 (0.0937 - 0.0940)
US 100 2.505 - 2.513 (0.0986 - 0.0989)
SERVICE DATA AND SPECIFICATIONS (SDS)ZD
EM-1093
Page 832 of 1033
Available Connecting Rod Bearing
CONNECTING ROD BEARING
Grade number Thickness ªTº mm (in) Width ªWº mm (in)
Standard 1.505 - 1.513 (0.0593 - 0.0596)
25.9 - 26.1 (1.020 - 1.028) US 025 1.630 - 1.638 (0.0642 - 0.0645)
US 050 1.755 - 1.763 (0.0691 - 0.0694)
US 075 1.880 - 1.888 (0.0740 - 0.0743)
US 100 2.005 - 2.013 (0.0789 - 0.0793)
BALANCER SHAFT BUSH
Unit: mm (in)
SEM371G
Balancer shaft bearing journal diameterFront 50.940 - 51.010 (2.0055 - 2.0083)
Rear 50.740 - 50.810 (1.9976 - 2.0004)
Balancer shaft journal outer diameterFront 53.980 - 54.010 (2.1252 - 2.1264)
Rear 53.780 - 53.810 (2.1173 - 2.1185)
Balancer shaft journal oil clearanceStandard 0.045 - 0.135 (0.0018 - 0.0053)
Limit 0.180 (0.0071)
Balancer shaft bush outer diameter (d)Front 54.090 - 54.130 (2.1295 - 2.1311)
Rear 53.890 - 53.930 (2.1216 - 2.1232)
Thickness (t)Front 0.2 - 0.4 (0.008 - 0.016)
Rear 0.2 - 0.4 (0.008 - 0.016)
SERVICE DATA AND SPECIFICATIONS (SDS)ZD
EM-1094