2000 AUDI ALLROAD stop start
[x] Cancel search: stop startPage 6 of 306

----------------------------------------------TABLE OFCONT ENTS
I GENERAL ILLUSTRATION
General illustration 0 0 0. • • • 8
Warning and indicator lights 10
I SAFETY
FIRST
W elcome ... 0 0 0 •• •• 13
Safety first 0 0
• 0 • 0 0 0 0 • 0 •
13
Safety belts
• . . 0 0 0 • 0 0
14
Airbag system 0 ••••••• 0 0 • • • • • • • 25
Child safety ........ 0 • 0 0 0 0 0 0 0 0 0 44
I CONTROLS AND EQUIPMENT
Keys 0 0 0 0 0 0 0 0 0 0 0 •••• ••••• 0 0 • • 0
56
Power locks 0 0 0 0
Power windows
Mirrors 0 •• 0 0 0 •••
Head restraints
Front seats 0 0 0 •
0.- . 0 0 0 • • 59
69
• •• - •••• 0 ••• 0 72
75
•• 0 •• 0 76
Memory for front seats , .... 0 •• 0 81
Center armrest 0 0 0 0 0 0 0 0 0 •••••• 0 85 Rear
seats 0 0 •• 0 •• 0 • • • • • •
86
Luggage compartment , 0 0 88
Rear facing child seat bench 0 0 0 0 0 92
Ski sack 0 0 0 0 0 0 0 0 0 0 0 0 0 0 0 0.
96
Adjustable steering column
(tilt and telescopic) 0 0 0 0 • 0 0
98
Pedals 0 0 • 0 0 0 0 0 0 0 0 0 0 0 0 0 0 0 0 0 0 0 , 1 02
Parking brake lever 0 • 0 0 0 0 0 0 0 •• 0 1 03
5-speed automatic transmission
(Trptronic ®) 0 0 0 0 0 0 0 0 0 0 • 0 0 0 0 0. 0 • 104
Acoustic park assist
112
Ignition switch 0 0 0 0 0 0 0
1 13
Starting procedures . 0 • • 114
Stopping engine 0 0 0 0 0 0 • • • 115
Instrument cluster 0 0 0 0 0 0 116
Service Interval Display
121
Warning I Indic ator lights 0 0 0 0 0 0 • 122
On Board Diagnostic system 0 0 0 128
Driver information system 0 • 0 • • • 130
Menu display 0 0 0 0 0 0 0 0 0 0 0 0 0
0 131
Rear lid I door open indicator 0 0 0 137
Outside air temp erature 0 • 0 0 0 0 0 0 137 Radio
frequency display 13
8
Auto-Check system 0 0 0 o 0 138
Speed warning . 0 0 0 • 0 0 • • • • 0 • 0 0 144
Tr ip computer 0 0 0 0 0 0 •• 0
146
Switches 0 • 0 •• 0 0 0 0 • 0 0 0 0 148
Ride height adjustment
(4 Level Air Suspension) 0
153
Turn signals,
headlight dimmer switch lever 0 0 156
Cruise control 0 0 0 0 0 0 0 0 0 0 0 0 0 0 0 • • 158
Wiper and washer system 0 ••• 0 0 150
Climate controls 0 0 0 0 0 0 0 0 0 0 0 • 0 152
Power roof 0 0 0 0 0 0 0 • 0 0 0 0 0 • • • • • • 168
Int erior lights, reading lights 171
Luggage compartment light 0 0 0 0 172
Audi Homelink ®
Uni versal Transmitter . 0 0 • • • •
173
Sun visors 00 00 00 00 ... • .. •
177
Sun shade 0 0 0 0 0 0 0 0 •• , • • • ••• 0 0 177
Glo ve compartment
Coat hooks
Ashtray 178
179
180
5
Page 116 of 306

---------------------CONTROLS AND
EQUIPMENT
Note
• Yo ur Audi with automatic trans
mission cannot be started with
pushing or towing.
• If the battery is discharged. try
jump starting the engine using the
battery from another vehicle -see
page 278. Stopping
engine
Do not stop the engine immediately
after hard or extended driving. Keep
engine running for about two min
utes to prevent excessive heat
build-up.
�W ARNING
• Before you check anything in
the engine compartment, stop the
engine and let it cool down. Hot
components can burn skin on con
tact.
• Never touch the radiator fan.
The auxiliary electric fan can
switch on suddenly and iniure you.
• Always heed all WA RNINGS on
page 232. Note
The ignition should not be switched
off as long the vehicle is still rolling
with a gear engaged. otherwise fuel
could get into the catalytic convert
er and cause damage.
115
Page 118 of 306

The illustration on previous page shows the
arrangement of the instrument cluster in a
U.S. vehicle.
1 - Engine oil temperature
gauge �
Of (C)
Engine oil temperature ranges from 150 OF
(60 °C) to 350 °F (180 °C). With the needle
around 150 °F (60 °C), do not accelerate un
der full load.
If the needle moves into the upper zone in
excepti onal cases, reduce your speed. The
needle should then return to the normal
zone.
If the needle stays in upper zone, stop the
vehicle, switch off the engine and check the
oil leve l. If the oil level is correct and the oil
pressure warning light does not flash when
the engine is started, you can drive to the
next authorized Audi Dealer but do·not run
engine at high speeds. 2
- Ta chometer with clock
Ta chometer
The red area at the end of the scale indi
cates maximum permissible engine rpm
(rev olutions per minute) for all gears after
the break-in period. Before reaching this
area, the next higher gear or selector lever
position "D" should be selected or the foot
eased off the accelerator pedal.
r.Gb Upshifting early saves fuel and
1!/!:i reduces engine noise.
Shift to the next lower gear when engine
rpm drops below 1,500 rpm. CONT
ROLS AND EQUIPMENT
Digital clock with date display
The clock and date are located in the
tachometer dial. Adjusting the clock I date:
see next page.
When the ignition is off the clock I date dis
play can be illuminated by pressing the set
butt on. See illustration above.
117
Page 124 of 306

---------------------CONTROLS AND
EQUIPMENT
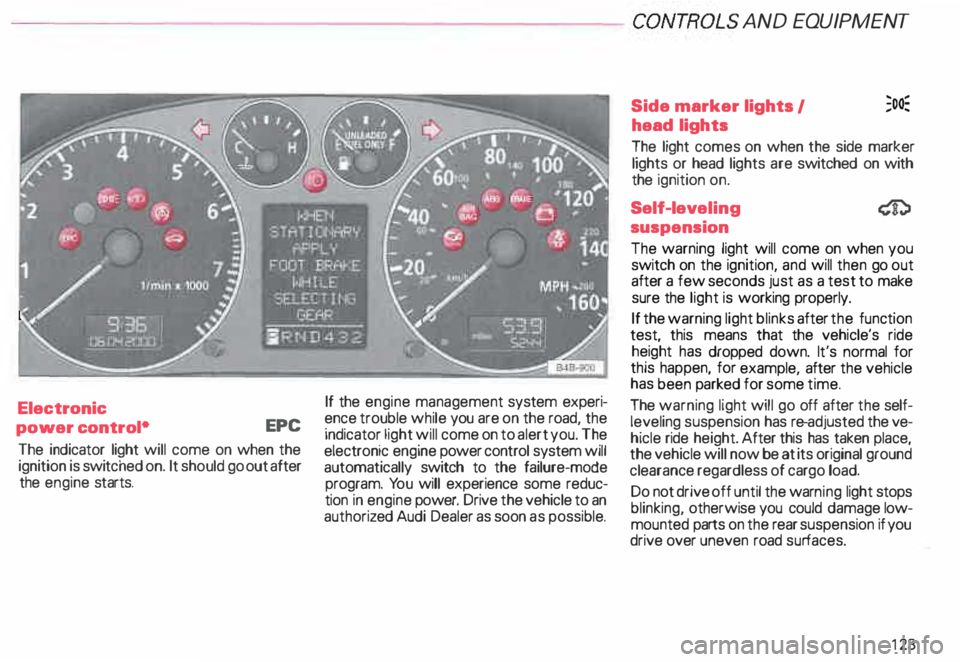
Electronic
power control• EPC
The indicator light will come on when the
ignition is switc hed on. It should go out after
the engine starts. If
the engine management system experi
ence trouble while you are on the road, the
indicator light will come on to alert you. The
electronic engine power control system will
automatically switch to the failure-mode
program. You will experience some reduc
tion in engine power. Drive the vehicle to an
authoriz ed Audi Dealer as soon as possible. Side
marker lights I ;o�
head lights
The light comes on when the side marker
lights or head lights are switched on with
the ignition on.
Self-lev eling
suspension
The warning light will come on when you
switch on the ignition, and will then go out
after a few seconds just as a test to make
sure the light is working properly.
If the warning light blinks after the function
test, this means that the vehicle's ride
height has dropped down. It's normal for
this happen, for example, after the vehicle
has been parked for some time.
The warning light will go off after the self
leveling suspension has re-adjusted the ve
hicle ride height. After this has taken place,
the vehicle will now be at its original ground
clearance regardless of cargo load.
Do not drive off until the warn ing light stops
blinking, otherwise you could damage low
mounted parts on the rear suspension if you
drive over uneven road surfaces.
123
Page 125 of 306

CONTROLS AND
EQUIPMEN T--------------------
If the warning light is flashing, it can also
mean that the vehicle is riding ''too high"
(above the highest level). Once again, do
not drive off until the warning light stops
flashing.
If the .warning light stays on continuous ly,
there 1s a problem with the ride height ad
JUStment system. The light will also come
on continuously if the vehicle is on an ex
treme incline.
Tro uble in the ESP may also cause the warn
ing light to remain on continuously.
A system failure can cause the vehicle to
have too little or too much ground clear
ance. Drive very carefully and slowly to your
nearest authorized Audi dealer and have the
fault corrected.
See page 153 for additional information.
12 4 Electronic Stability
Program {ESP)
The indicator light lights up when the igni
tion is turned on, and it must go out after
about 2 seconds.
When the ESP system is in control mode,
this indicator light will flash while the ve
hicle is being operated.
When you start the engine, the ESP
may shut off for safety reasons. The indica
tor light also turns on to indicate this statu s.
If this should happen, you can reactivate the
ESP by turning the ignition off and then on
� gain. This indicator light will go out, indicat
Ing that the system is once again operating
properly.
If the system is off or is malfunctioning, the
indi cator light will remain on.
Since the ESP system works together with
the ABS system, the ESP indicator light will
also come on if the ABS stops operating. Electronic
immobilizer
�
When you turn on the ignition, the vehicle
key data are automatically scanned. The in
dicator light will come on briefly, indicating
that the data verification procedure has
been acknowledged.
If a non-coded vehicle key was used (for ex
ample a duplic ate key), the control light
goes to a continuous flashing mode. If this
happens, the vehicle cannot be started. See
also page 57
Page 126 of 306

---------------------CONTROLS AND EQUIPMENT
Turn signals and
emergency flasher
Refer to "Turn signal I headlight d1mmer
switch lever and emergency flasher" on
pages 152 and 156 for details.
High beam �D
The indicator light lights up when the high
beams are switched on or when the head
light flasher is used.
See "Turn signal I headlight dimmer switch
lever" on page 156 for details.
Malfunction Indicator
�
Lamp (MIL) CHECK
The Malfunction Indicator Lamp is part of
the On Board Diagnostic system (OBD).
The lamp comes on when the ignition is
switched on and will go out after the engine
is started and the idle has stabilized. This is
to assure you that the Malfunction Indicator
Lamp is working properly.
For more details, see page 128. Airbag
System AIR
BAG
The ind icator light for the airbag and belt
tensioner system must come on when
the ignition is switched on, and go out after
a few seconds. If the light does not go out,
or if it comes on while you are driving, this
ind icates a fault in the airbag I belt tensioner
syste m.
If the indicator light does not come on when
the ignition is switched on, this also indi
cates a system malfunction. If any of these
conditions occur, have the air bag system in
spected immediately by your authorized
Audi Dealer.
For more details, see page 25. Anti-lock
Brake System
USA models:
Canada models: ABS
8
This warn ing light monitors the ABS and
EDL (Electronic Differential Lock,
sys tems.
The light will come on for a few seconds
when the ignition is switched on. The light
will go out after an automatic check se
quence.
For additional information on the ABS sy
stem, see page 202.
� WARNING
If the ABS warning light does not
go out, or if it comes on while driv
ing, the ABS system is not working
properly. The vehicle can then be
stopped only with the standard
brakes (without ABS,. You won't
have the protection ABS provides.
Contact your Audi Dealer as soon
as possible.
125
Page 128 of 306

f4
WARNING continued
• If the brake warning light does
not go out with the engine running
and the parking brake released, or
lights up while you ere driving, the
fluid level in the brake fluid reser
voir is too low.
• If you believe that it Is safe to do
so, proceed immediately at low
speed to the nearest authorized
Audi Dealer or qualified workshop
and have the brake system in
spected.
• Please be very careful and be
sure to remember that after sev
eral brake applications, you will
need greater pressure on the brake
pedal to stop your vehicle. Conse
quently, you must allow for in
creased braking distances. Trying
to brake as quickly as usual could
lead to an accident.
For details see "Brakes.. on page
201. Generator
This
light comes on when the ignition is
turned on and goes out after the engine is
started. If the light does not go out after
star ting and rewing up the engine momen
tarily or lights up while driving, there may be
a malfunc tion in the electrical system, or the
V- belt driving the gener ator may be broken. A If the warning light comes on
V while driving, stop the vehicle
and turn oft the engine. Inspect the
belts.
If the V-belt is not torn, you can still continue
driving to the nearestAudi Dealer. However,
since the battery is no longer being charged,
switch off all unne cessary electrical equip
ment.
If the V- belt is tom, the power steering and
the radiator fan will also not work.
Obtain expert assistance.
g Always heed all WA RNINGS
r!!l on page 232, chapter "En
gine compartment '". CONT
ROLS AND EQ UIPMENT
Safety belts
Yo ur vehicle has a warning light to remind
you to wear your safety belt and to make
sure that others do too.
After switching on the ignition, the warning
light in the instrument cluster will come on
for about 6 seconds along with a war ning
tone. As soon as you fasten your safety belt,
the warning tone will stop.
The warning light, however, will be on for
the entire 6 seconds.
Fasten your safety belt now and ma
ke sure that your passengers also
properly put on their safety belts.
Please be sure to read the chapter
"Safety belts" page 14.
127
Page 142 of 306

--------------------CONTROLS AND
EQUIPMEN T
If there are one or more faults, the driver in
formation disappears about 15 seconds af
ter the engine has been started and the ap
propriate fault symbol appears in the
display.
If neither "OK" nor any other fault symbol
appear in the displa y, the auto-check sy
stem must itself be checked. Displays
In case of a malfunction or component fail
ure, the acoustic warning will sound and the
following symbols can appear.
Brake light
USA models:
Canada models: BRAKE
LIGHT
(@)
The following electrical components should
be checked, repaired or replaced, as neces
sary:
• Brake light bulbs
• Fuses
• All wiring connections Engine
coolant
temperature /level
If the light flashes, either the coolant ten:
perature is too high, or the coolant level1s
too low.
• If the light starts to f_lash, move
the vehicle a safe d1stance off
the road, stop the engine, depress
the emergency flasher switch, turn
off the engine and let it cool down.
Check coolant level. Top up as necessary
(see "Cooling system", page 238). ·
g Always heed all WA RNINGS
� on page 232.
141