Page 408 of 1456

B: INSTALLATION
CAUTION:
Replace gaskets with new ones.
1) Install rear exhaust pipe bracket to rubber cush-
ion.
NOTE:
To facilitate installation, apply a coat of SUBARU
CRC or equivalent to mating area of rubber cush-
ion in advance.
SUBARU CRC (Part No. 004301003)
S2M0158
2) Install rear exhaust pipe to muffler.
Tightening torque:
48
±5 N´m (4.9±0.5 kg-m, 35.4±3.6 ft-lb)
S2M0157
3) Install rear exhaust pipe to center exhaust pipe.
Tightening torque:
18
±5 N´m (1.8±0.5 kg-m, 13.0±3.6 ft-lb)
B2M0055
4. Muffler
A: REMOVAL AND INSTALLATION
1) Separate muffler from rear exhaust pipe.
S2M0157
2) Remove left and right rubber cushions.
CAUTION:
Be careful not to pull down muffler.
NOTE:
To facilitate removal, apply a coat of SUBARU
CRC or equivalent to mating area of rubber cush-
ions in advance.
SUBARU CRC (Part No. 004301003)
B2M0062
3) Remove front rubber cushion, and detach muf-
fler assembly.
NOTE:
To facilitate removal, apply a coat of SUBARU
CRC or equivalent to mating area of rubber cush-
ion in advance.
SUBARU CRC (Part No. 004301003)
B2M0063
10
2-9[W3B0]SERVICE PROCEDURE
4. Muffler
Page 415 of 1456

1. General
A: PRECAUTION
When servicing clutch system, pay attention to the
following items.
1. MECHANICAL APPLICATION TYPE
1) Check the routing of clutch cable for smooth-
ness.
2) Excessive tightness or looseness of clutch
cable have a bad influence upon the cable durabil-
ity.
3) Apply grease sufficiently to the connecting por-
tion of clutch pedal.
4) Apply grease sufficiently to the release lever
portion.
5) Position clutch cable through the center of toe
board hole and route it smoothly. Adjustment is
done by moving the outer cable.
6) Make sure not to let the clutch chatter when
starting forward or rearward. If clutch chattering
occurs, readjust so that the bend of clutch outer
cable becomes flatter.
2. HYDRAULIC APPLICATION TYPE
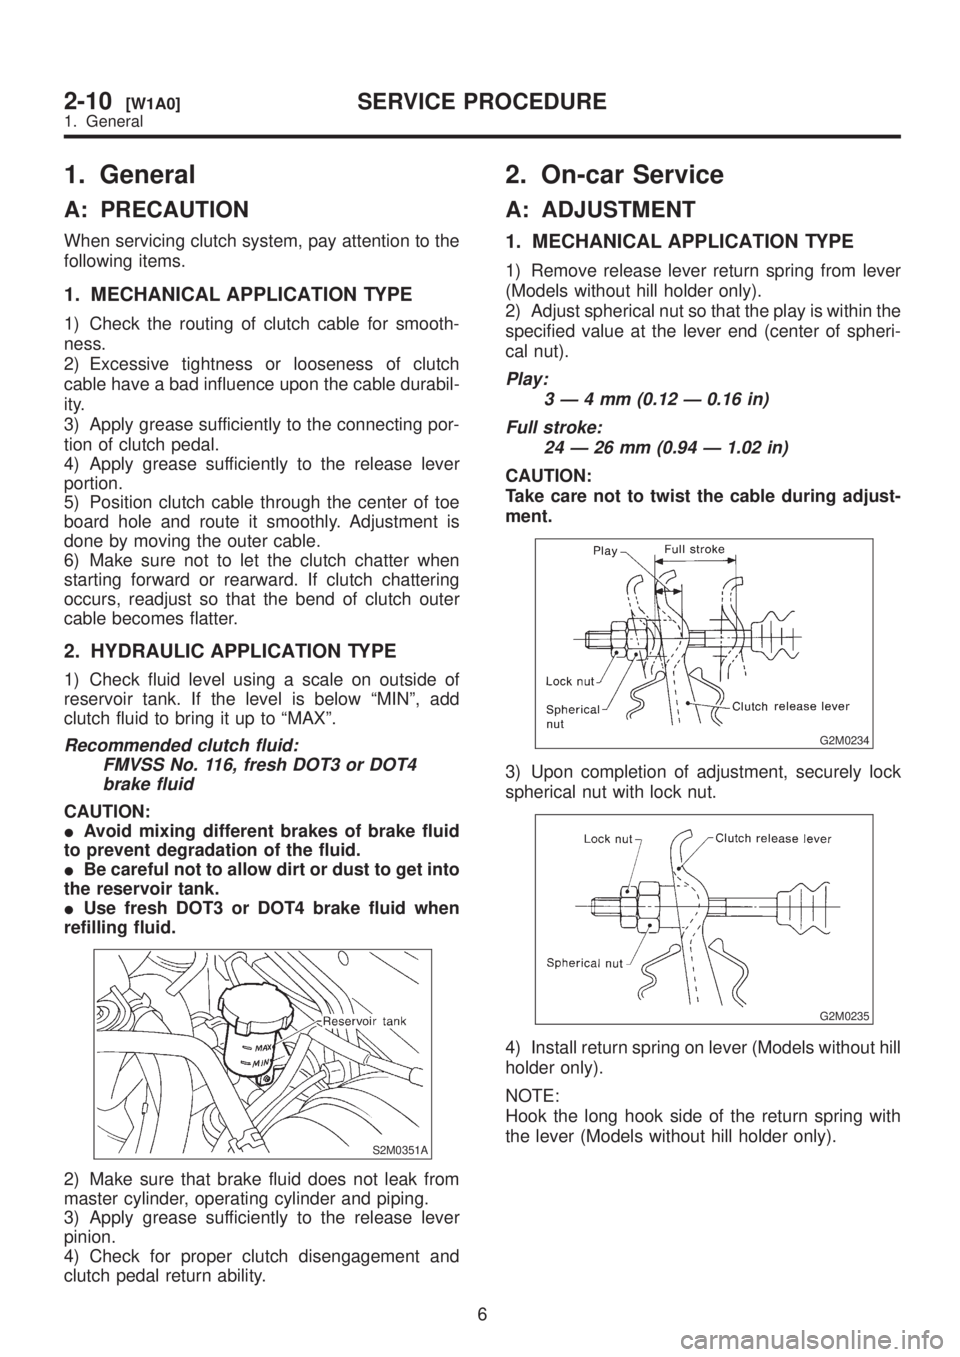
1) Check fluid level using a scale on outside of
reservoir tank. If the level is below ªMINº, add
clutch fluid to bring it up to ªMAXº.
Recommended clutch fluid:
FMVSS No. 116, fresh DOT3 or DOT4
brake fluid
CAUTION:
IAvoid mixing different brakes of brake fluid
to prevent degradation of the fluid.
IBe careful not to allow dirt or dust to get into
the reservoir tank.
IUse fresh DOT3 or DOT4 brake fluid when
refilling fluid.
S2M0351A
2) Make sure that brake fluid does not leak from
master cylinder, operating cylinder and piping.
3) Apply grease sufficiently to the release lever
pinion.
4) Check for proper clutch disengagement and
clutch pedal return ability.
2. On-car Service
A: ADJUSTMENT
1. MECHANICAL APPLICATION TYPE
1) Remove release lever return spring from lever
(Models without hill holder only).
2) Adjust spherical nut so that the play is within the
specified value at the lever end (center of spheri-
cal nut).
Play:
3Ð4mm(0.12 Ð 0.16 in)
Full stroke:
24 Ð 26 mm (0.94 Ð 1.02 in)
CAUTION:
Take care not to twist the cable during adjust-
ment.
G2M0234
3) Upon completion of adjustment, securely lock
spherical nut with lock nut.
G2M0235
4) Install return spring on lever (Models without hill
holder only).
NOTE:
Hook the long hook side of the return spring with
the lever (Models without hill holder only).
6
2-10[W1A0]SERVICE PROCEDURE
1. General
Page 416 of 1456

1. General
A: PRECAUTION
When servicing clutch system, pay attention to the
following items.
1. MECHANICAL APPLICATION TYPE
1) Check the routing of clutch cable for smooth-
ness.
2) Excessive tightness or looseness of clutch
cable have a bad influence upon the cable durabil-
ity.
3) Apply grease sufficiently to the connecting por-
tion of clutch pedal.
4) Apply grease sufficiently to the release lever
portion.
5) Position clutch cable through the center of toe
board hole and route it smoothly. Adjustment is
done by moving the outer cable.
6) Make sure not to let the clutch chatter when
starting forward or rearward. If clutch chattering
occurs, readjust so that the bend of clutch outer
cable becomes flatter.
2. HYDRAULIC APPLICATION TYPE
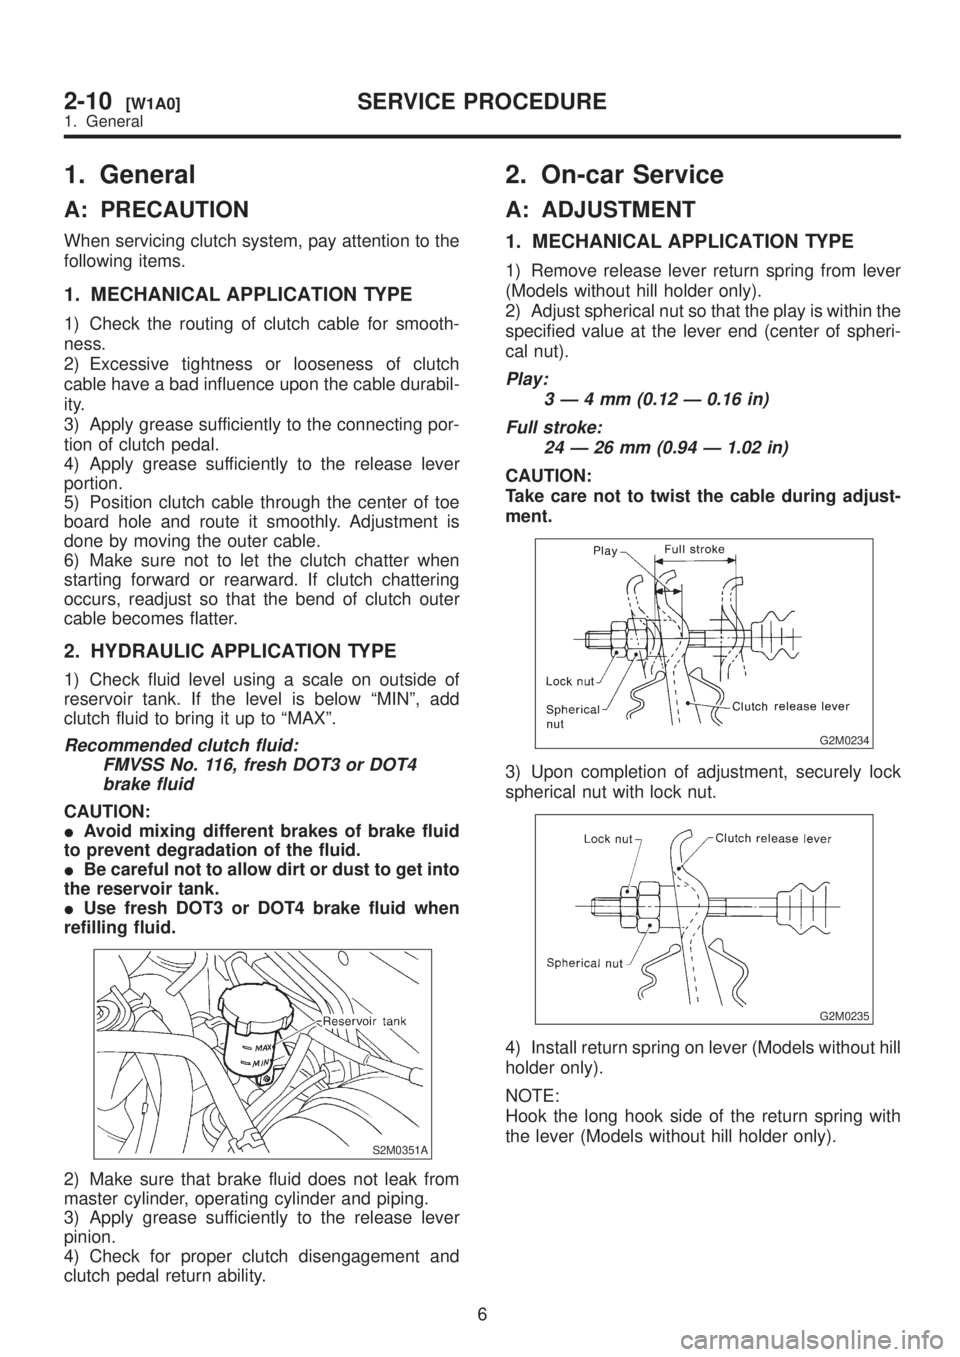
1) Check fluid level using a scale on outside of
reservoir tank. If the level is below ªMINº, add
clutch fluid to bring it up to ªMAXº.
Recommended clutch fluid:
FMVSS No. 116, fresh DOT3 or DOT4
brake fluid
CAUTION:
IAvoid mixing different brakes of brake fluid
to prevent degradation of the fluid.
IBe careful not to allow dirt or dust to get into
the reservoir tank.
IUse fresh DOT3 or DOT4 brake fluid when
refilling fluid.
S2M0351A
2) Make sure that brake fluid does not leak from
master cylinder, operating cylinder and piping.
3) Apply grease sufficiently to the release lever
pinion.
4) Check for proper clutch disengagement and
clutch pedal return ability.
2. On-car Service
A: ADJUSTMENT
1. MECHANICAL APPLICATION TYPE
1) Remove release lever return spring from lever
(Models without hill holder only).
2) Adjust spherical nut so that the play is within the
specified value at the lever end (center of spheri-
cal nut).
Play:
3Ð4mm(0.12 Ð 0.16 in)
Full stroke:
24 Ð 26 mm (0.94 Ð 1.02 in)
CAUTION:
Take care not to twist the cable during adjust-
ment.
G2M0234
3) Upon completion of adjustment, securely lock
spherical nut with lock nut.
G2M0235
4) Install return spring on lever (Models without hill
holder only).
NOTE:
Hook the long hook side of the return spring with
the lever (Models without hill holder only).
6
2-10[W1A0]SERVICE PROCEDURE
1. General
Page 423 of 1456

B: INSPECTION
1. CLUTCH DISC
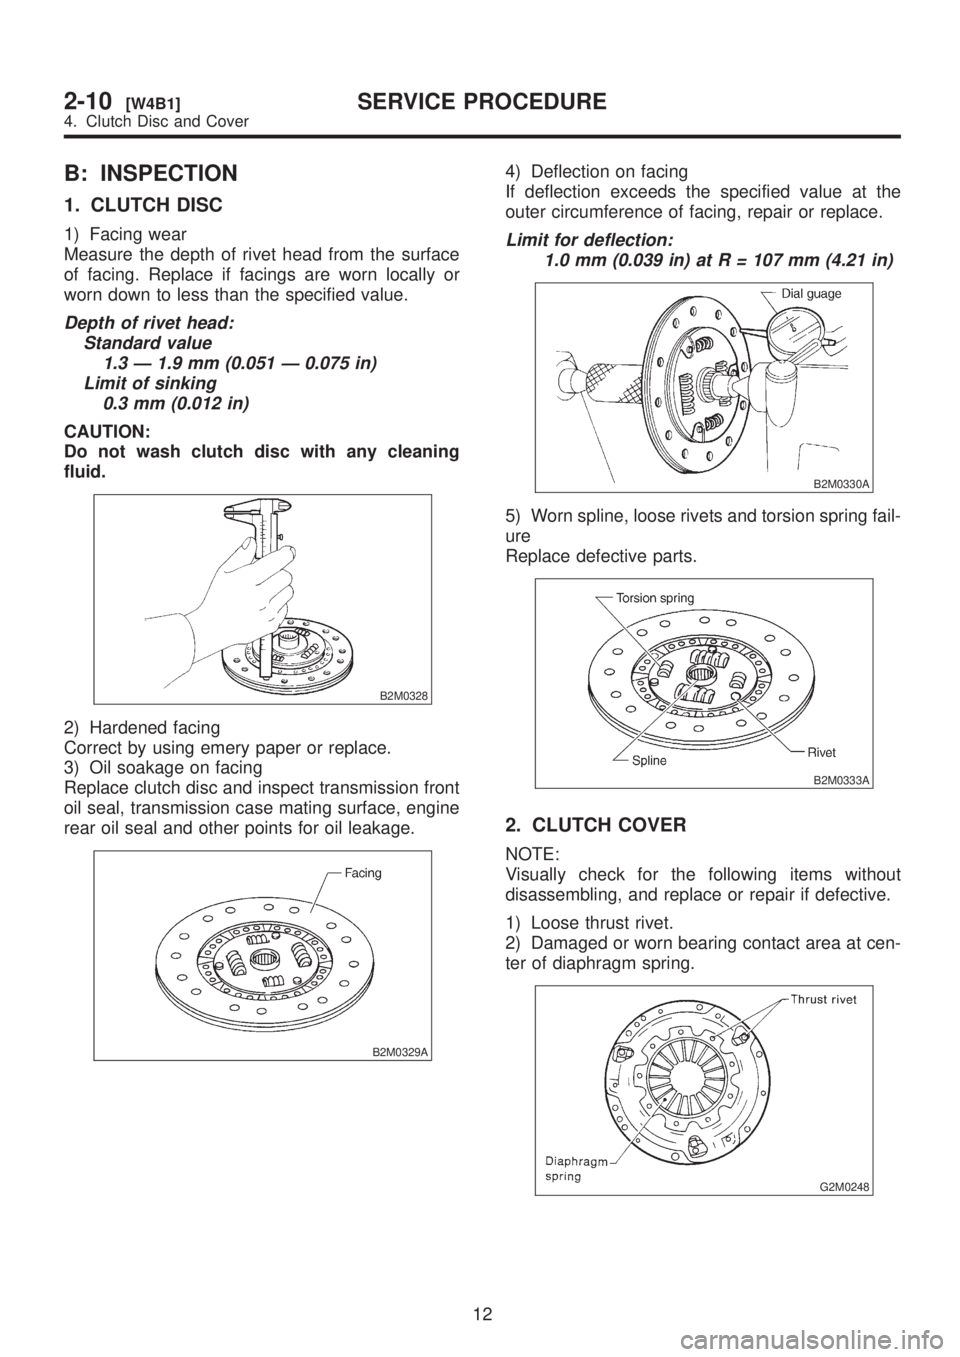
1) Facing wear
Measure the depth of rivet head from the surface
of facing. Replace if facings are worn locally or
worn down to less than the specified value.
Depth of rivet head:
Standard value
1.3 Ð 1.9 mm (0.051 Ð 0.075 in)
Limit of sinking
0.3 mm (0.012 in)
CAUTION:
Do not wash clutch disc with any cleaning
fluid.
B2M0328
2) Hardened facing
Correct by using emery paper or replace.
3) Oil soakage on facing
Replace clutch disc and inspect transmission front
oil seal, transmission case mating surface, engine
rear oil seal and other points for oil leakage.
B2M0329A
4) Deflection on facing
If deflection exceeds the specified value at the
outer circumference of facing, repair or replace.
Limit for deflection:
1.0 mm (0.039 in) at R = 107 mm (4.21 in)
B2M0330A
5) Worn spline, loose rivets and torsion spring fail-
ure
Replace defective parts.
B2M0333A
2. CLUTCH COVER
NOTE:
Visually check for the following items without
disassembling, and replace or repair if defective.
1) Loose thrust rivet.
2) Damaged or worn bearing contact area at cen-
ter of diaphragm spring.
G2M0248
12
2-10[W4B1]SERVICE PROCEDURE
4. Clutch Disc and Cover
Page 425 of 1456
3) Insert ST into the clutch disc and install them on
the flywheel by inserting the ST end into the pilot
bearing.
ST 499747100 CLUTCH DISC GUIDE
G2M0253
4) Install clutch cover on flywheel and tighten bolts
to the specified torque.
NOTE:
IWhen installing the clutch cover on the flywheel,
position the clutch cover so that there is a gap of
120É or more between ª0º marks on the flywheel
and clutch cover. (ª0º marks indicate the directions
of residual unbalance.)
INote the front and rear of the clutch disc when
installing.
ITighten clutch cover installing bolts gradually.
Each bolt should be tightened to the specified
torque in a crisscross fashion.
Tightening torque:
15.7
±1.5 N´m (1.6±0.15 kg-m, 11.6±1.1
ft-lb)
5) Remove ST.
ST 499747100 CLUTCH DISC GUIDE
B2M1011A
14
2-10[W4C0]SERVICE PROCEDURE
4. Clutch Disc and Cover
Page 429 of 1456

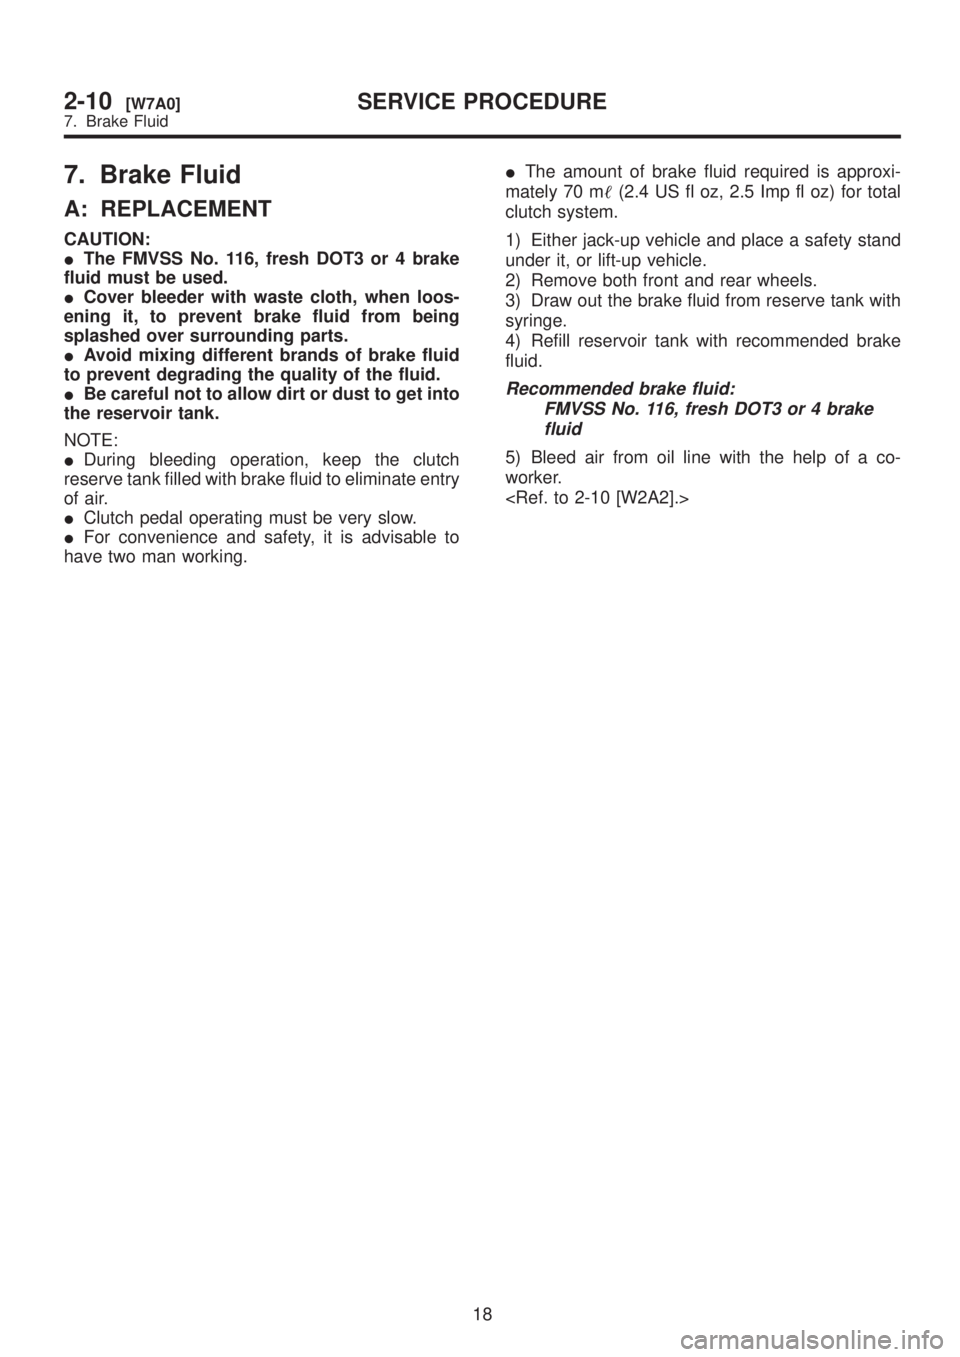
7. Brake Fluid
A: REPLACEMENT
CAUTION:
IThe FMVSS No. 116, fresh DOT3 or 4 brake
fluid must be used.
ICover bleeder with waste cloth, when loos-
ening it, to prevent brake fluid from being
splashed over surrounding parts.
IAvoid mixing different brands of brake fluid
to prevent degrading the quality of the fluid.
IBe careful not to allow dirt or dust to get into
the reservoir tank.
NOTE:
IDuring bleeding operation, keep the clutch
reserve tank filled with brake fluid to eliminate entry
of air.
IClutch pedal operating must be very slow.
IFor convenience and safety, it is advisable to
have two man working.IThe amount of brake fluid required is approxi-
mately 70 m(2.4 US fl oz, 2.5 Imp fl oz) for total
clutch system.
1) Either jack-up vehicle and place a safety stand
under it, or lift-up vehicle.
2) Remove both front and rear wheels.
3) Draw out the brake fluid from reserve tank with
syringe.
4) Refill reservoir tank with recommended brake
fluid.
Recommended brake fluid:
FMVSS No. 116, fresh DOT3 or 4 brake
fluid
5) Bleed air from oil line with the help of a co-
worker.
18
2-10[W7A0]SERVICE PROCEDURE
7. Brake Fluid
Page 435 of 1456
2. Transmission Mounting
A: MT VEHICLES
B2M1728A
(1) Pitching stopper
(2) Spacer
(3) Cushion C
(4) Front plate
(5) Damper (2500 cc LTD model)
(6) Rear cushion rubber
(7) Rear crossmember(8) Cushion D
(9) Center crossmember
(10) Rear plate
(11) Front crossmemberTightening torque: N´m (kg-m, ft-lb)
T1:
7.4±2.0 (0.75±0.2, 5.4±1.4)
T2:33±5 (3.4±0.5, 24.6±3.6)
T3:37±10 (3.8±1.0, 27±7)
T4:49±5 (5.0±0.5, 36.2±3.6)
T5:57±10 (5.8±1.0, 42±7)
T6:69±15 (7.0±1.5, 51±11 )
T7:137±20 (14±2, 101±14)
3
[C2A0]2-11COMPONENT PARTS
2. Transmission Mounting
Page 436 of 1456
B: AT VEHICLES
H2M2437A
(1) Pitching stopper
(2) Rear cushion rubber
(3) Crossmember
(4) StopperTightening torque: N´m (kg-m, ft-lb)
T1:
37±10 (3.8±1.0, 27±7)
T2:38±15 (3.9±1.5, 28±11 )
T3:49±5 (5.0±0.5, 36.2±3.6)
T4:57±10 (5.8±1.0, 42±7)
T5:69±15 (7.0±1.5, 51±11 )
4
2-11[C2B0]COMPONENT PARTS
2. Transmission Mounting