Page 161 of 444
Exterior Lamps
500: Turning the dial to this setting turns on:
0 Parking Lamps
Sidemarker Lamps
Taillamps
Instrument Panel Lights
@ Turning the dial to this setting turns on the
headlamps, together with:
. Parking Lmps
Sidemarker Lamps
0 Taillamps
0 Instrument Panel Lights
0 Turning the dial to this setting turns off all the lamps
and lights.
Lamps On Reminder
If the driver’s door is opened and you turn the ignition
to
OFF or LOCK while leaving the lamps on, you will
hear a warning chime.
Daytime Running Lamps
Daytime Running Lamps (DRL) can make it easier for
others to see the front
of your vehicle during the day.
DlU can be helpful
in many different driving
conditions, but they can be especially helpful in the
short periods after dawn and before sunset.
2-59
ProCarManuals.com
Page 162 of 444

A light sensor on top of the instrument panel makes the
DRL work, so be sure it isn’t covered. The DRL system
will make your front parking and turn signal lamps
come on in daylight when:
The ignition is on,
the headlamp switch is off and
the parking brake is released.
When the DRL are on, only your front parking and turn
signal lamps will be
on. Your instrument panel won’t be
lit up.
When it’s dark enough outside, the exterior lamps will
come on automatically. When it’s bright enough outside,
the exterior lamps will
go out and the DRL will turn on.
Of course, you may still turn on the headlamps any time
you need to.
To idle your vehicle with the DRL or exterior lamps off,
set the parking brake while the ignition is in
OFF or
LOCK. Then start the vehicle. The DRL will stay
off
until you release the parking brake.
As with any vehicle, you should turn on the regular
headlamp system when you need it.
Fog Lamps
The fog lamps switch is
located in the instrument
panel switchbank. Push the
fog lamp symbol on the
rocker button to turn on
the lamps.
The green indicator light will glow. Push the ribbed
part of
the switch to turn them off. The indicator light will go off.
Your parking lamps or headlamps must be on for your
fog lamps to go on.
When your DRL are on, the headlamps switch must first
be turned from the off position before the fog lamps can
be turned on. At night, when DRL automatically turns
on your headlamps, the fog lamps can be turned on
when the headlamps switch is in any position.
Your fog lamps will go off when you switch to high
beams. Using your high beams in fog is not recommended.
2-60
ProCarManuals.com
Page 163 of 444

Interior Lamps
Instrument Panel Intensity Control
Turn the control, located below the headlamps switch, to
the right to increase the brightness of the instrument
panel lights, and to the left to decrease the brightness.
Turn the control all the way to the left to turn them off.
Interior Lamps Control
Turn the dial all the way to the right to turn on the
interior lamps,
if the interior lamps override switch is
off. Turn the dial to the left to turn the lamps off.
Interior Lamps Override Switch
--
I This switch is located in the
c- overhead console
switchbank. Press the
symbol on the bottom
of the
rocker switch to override control of the interior lamps
and turn off power to the
courtesy lamps, reading
lamps and glove box lamp. Press the top
of the interior
lamps override rocker switch
to turn power back on to the interior lamps. This will
allow the lamps to
stay on when any door is open.
Illuminated Entry
With illuminated entry, the interior of your vehicle is
illuminated
so you can see inside before you enter your
vehicle. The lamps will come on for
40 seconds if you
unlock your door using your key or the remote lock
control transmitter (if equipped) and the ignition is in
LOCK
or OFF. After 40 seconds have passed, the
interior lamps will slowly fade out. The lamps will turn
off before the 40 seconds if you:
lock all the doors using the key,
press LOCK on the power door lock switch or
0 press LOCK on the remote lock control transmmer
(if equipped).
When any door is opened, illuminated entry is cancelled.
The interior lamps will stay on while any door or the
liftgate
is open, and slowly fade out when all doors and
the liftgate are closed.
The interior lamps may stay on for up to
25 seconds
after all doors have been closed if they have not been
locked. See “Delayed Illumination’’ later
in this section.
ProCarManuals.com
Page 164 of 444

Delayed Illumination
The delayed illumination feature will continue to
illuminate the interior for
25 seconds after all doors have
been closed
so that you can find your ignition and
buckle your safety belt at night. Delayed illumination
will not occur while the ignition
is in RUN or
ACCESSORY. After 25 seconds have passed, the
interior lamps will slowly fade out. The lights will fade
out before the
25 seconds have passed if you:
0 turn the ignition to RUN or ACCESSORY,
lock all doors using the remote lock control
0 lock all the doors using the power door lock switch
transmitter
(if equipped) or
or the key.
Exit Lighting
With exit lighting, the interior lamps will come on for
about
25 seconds whenever you remove the key from
the ignition switch. If you turn the ignition switch
to
RUN or ACCESSORY, the lamps will fade out. The
lamps will also fade out if you lock the doors with the
power door lock switch or the remote lock control
transmitter (if equipped).
To turn the Delayed Illumination feature off or on, see
“Locks and Lighting Choices’’ in the Index. When
any door is opened, exit lighting is cancelled. The
interior lamps will stay on while any door
or liftgate is
open, and slowly fade out when all doors and the liftgate
are closed.
The interior lamps may stay on for up
to 25 seconds
after all doors have been closed if they have not been
locked, see “Delayed Illumination” earlier in
this section.
To turn the Exit Lighting feature off or on, see “Locks
and Lighting Choices” in the Index.
2-62
ProCarManuals.com
Page 165 of 444
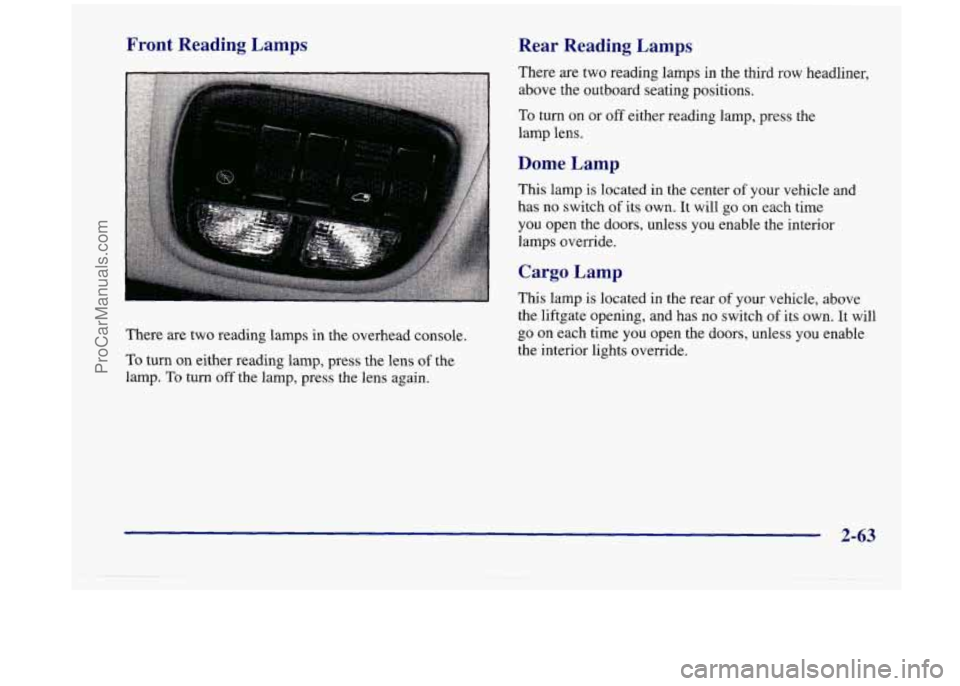
Front Reading Lamps
There are two reading lamps in the overhead console.
To turn on either reading lamp, press the lens
of the
lamp.
To turn off the lamp, press the lens again.
Rear Reading Lamps
There are two reading lamps in the third row headliner,
above the outboard seating positions.
To turn on or off either reading lamp, press the
lamp lens.
Dome Lamp
This lamp is located in the center of your vehicle and
has no switch
of its own. It will go on each time
you open the doors, unless you enable the interior
lamps override.
Cargo Lamp
This lamp is located in the rear of your vehicle, above
the liftgate opening, and has no switch of its own. It
will
go on each time you open the doors, unless you enable
the interior lights override.
2-63
ProCarManuals.com
Page 166 of 444

Battery Saver Power Remote Control Mirrors
Your
vehicle has a feature to help prevent you from
draining the battery,
in case you accidentally leave the
interior
or underhood lamps on. If you leave any of
these lamps on while the ignition is in
LOCK or OFF,
they will automatically turn off after 10 minutes. The
lamps won’t come back on again until you:
turn the ignition to RUN or ACCESSORY,
turn the interior lamps dial all the way to the right,
open (or close and reopen) a door that is closed.
then slightly back
to the left; or
Note that if your vehicle has less than
15 miles (25 km)
on the odometer, the battery saver will turn off the lamps
after only three minutes.
Mirrors
Inside Daymight Rearview Mirror
To reduce glare from lights behind you, pull the lever
toward you (to the night position).
To return the mirror
to the day position, push the lever away from you. The
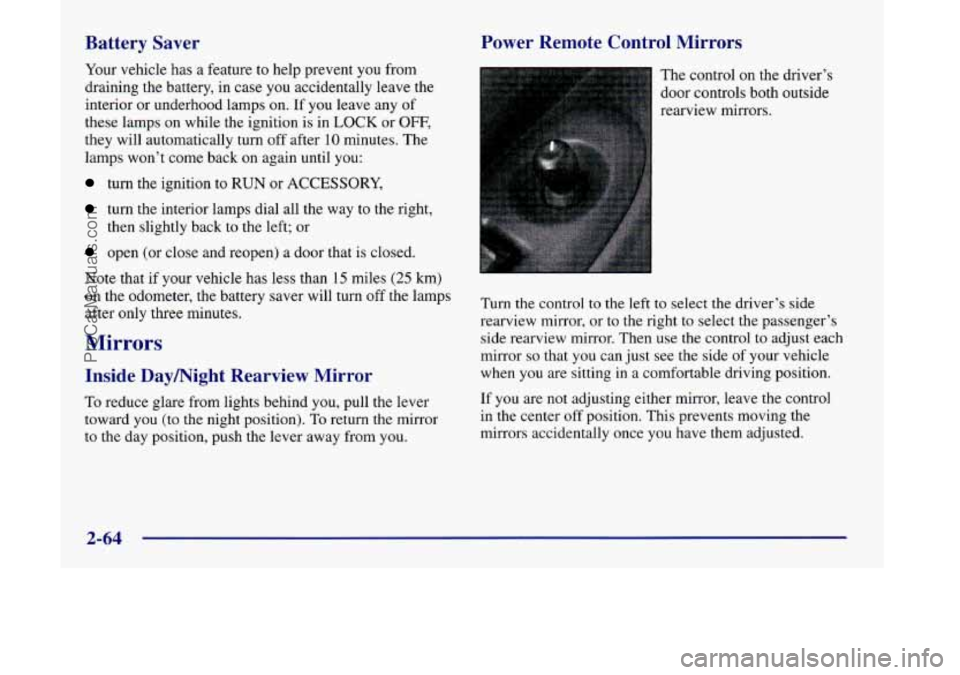
control on the driver’s
door controls both outside
rearview mirrors.
Turn the control
to the left to select the driver’s side
rearview mirror, or to the right to select the passenger’s
side rearview mirror. Then use the control to adjust each
mirror so that you can just see the side of your vehicle
when
you are sitting in a comfortable driving position.
If you are not adjusting either mirror, leave the control
in the center off position. This prevents moving the
mirrors accidentally once you have them adjusted.
2-64
ProCarManuals.com
Page 167 of 444

Both outside mirrors can be folded forward or rearward.
In the rearward position, they will fold almost flush with
the vehicle. This feature is particularly useful in
automatic car washes.
Your mirrors have a blue tint to reduce glare while
driving at night.
Convex Outside Mirror
Your passenger’s side mirror is convex. A convex
mirror’s surface is curved
so you can see more from the
driver’s seat.
A convex mirror can make things (like other
vehicles) look farther away than they really are.
If you cut too sharply into the right lane, you
could hit a vehicle on your right. Check your
inside mirror or glance over
your shoulder before
changing lanes.
Storage Compartments
Your vehicle’s large carrying capacity can store many
items.
If you have the extended wheelbase version, you
can carry things as large as a
4‘ x 8’ piece of plywood.
You can
also use the floor pins that are used to attach the
seats, to secure larger loads. This section
also describes
storage areas for specific items like sunglasses and cups.
Glove Box
Your vehicle has a glove box below the
instrument panel.
To open the glove box, lift the latch release. Use the key
to lock or unlock the glove box.
The glove box door has a detent to prevent the door
from lowering too far. Open the glove box until the door
is partway open, then pull the door down if you need it
fully open. To close the glove box, the door must be
pushed up past the detent.
In the door of the glove box, you will find a tissue pack
holder and clip for a pen
or pencil.
2-65
ProCarManuals.com
Page 168 of 444
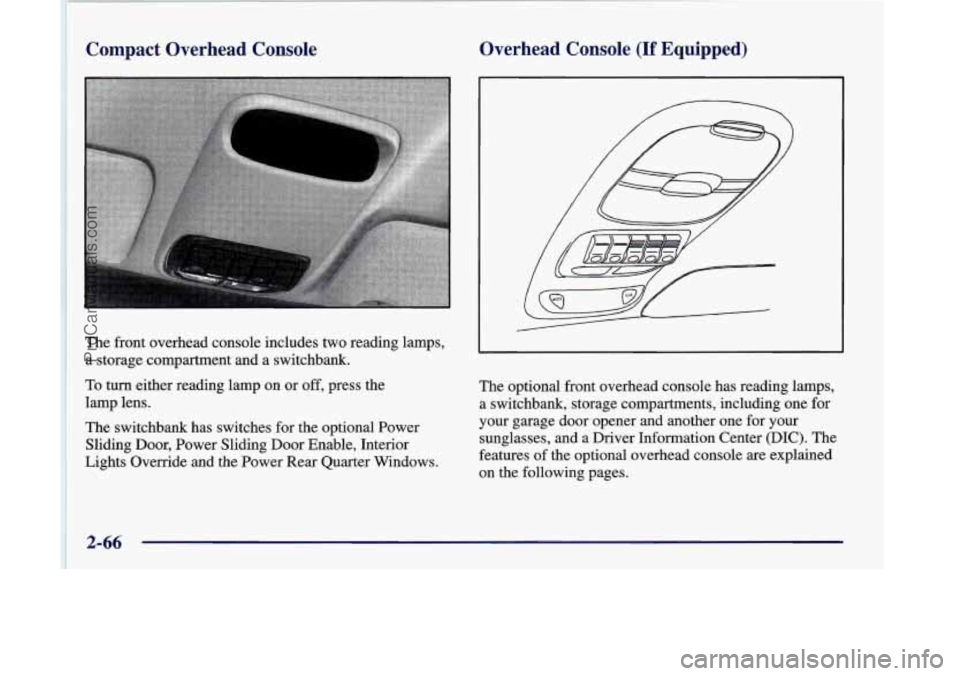
Compact Overhead Console
The front overhead console includes two reading lamps,
a storage compartment and a switchbank.
To turn either reading lamp on or off, press the
lamp lens.
The switchbank has switches for the optional Power
Sliding Door, Power Sliding Door Enable, Interior
Lights Override and the Power Rear Quarter Windows.
Overhead Console (If Equipped)
The optional front overhead console has reading lamps,
a switchbank, storage compartments, including one for
your garage door opener and another one for your
sunglasses, and
a Driver Information Center (DIC). The
features of the optional overhead console are explained
on the following pages.
ProCarManuals.com