Page 993 of 1659

Changing Oil Filter
1. Remove oil filter with a suitable tool.
WARNING:
Be careful not to burn yourself, as the engine and the engine
oil are hot.
2. Before installing a new oil filter, clean the oil filter mounting
surface on cylinder block, and coat the rubber seal of oil fil-
ter with a little engine oil.
3. Screw in the oil filter until a slight resistance is felt, then
tighten additionally more than 2/3 turn.
4. Add engine oil.
Refer to ``Changing Engine Oil'', MA-19.
Checking and Changing Spark Plugs
1. Disconnect ignition wires from spark plugs at boot.
Do not pull on the wire.
2. Remove spark plugs with spark plug wrench.
3. Clean plugs in sand blast cleaner.
4. Check insulator for cracks or chips, gasket for damage or
deterioration and electrode for wear and burning. If they are
excessively worn away, replace with new spark plugs.
Spark plug:
Make NGK
Standard type ZFR5E-11
Hot type ZFR4E-11
Cold type ZFR6E-11
SMA946C
SMA010
SMA229B
SMA017-A
SMA581C
ENGINE MAINTENANCEKA
MA-20
Page 994 of 1659

Use standard type spark plug for normal condition.
The hot type spark plug is suitable when fouling occurs with the
standard type spark plug under conditions such as:
lfrequent engine starts
llow ambient temperatures
The cold type spark plug is suitable when spark knock occurs
with the standard type spark plug under conditions such as:
lextended highway driving
lfrequent high engine revolution
5. Check spark plug gap.
Gap: 1.0 - 1.1 mm (0.039 - 0.043 in)
6. Install spark plugs. Reconnect ignition wires according to
numbers indicated on them.
Spark plug:
: 20-29N´m
(2.0 - 3.0 kg-m, 14 - 22 ft-lb)
Checking Ignition Wires
1. Check the high tension wires for cracks, damage, burned
terminals and for proper fit.
2. Measure the resistance of the high tension wires, by shak-
ing them and checking for intermittent breaks.
Resistance: Less than 12.2 kW/m (3.72 kW/ft)
Checking Positive Crankcase Ventilation
(PCV) System
CHECKING PCV VALVE
With engine running at idle, remove ventilation hose from PCV
valve; if valve is working properly, a hissing noise will be heard
as air passes through it and a strong vacuum should be felt
immediately when a finger is placed over valve inlet.
CHECKING VENTILATION HOSES
1. Check hoses and hose connections for leaks.
2. Disconnect all hoses and clean with compressed air. If any
hose cannot be freed of obstructions, replace.
Changing Positive Crankcase Ventilation
(PCV) Filter
Remove air cleaner cover and take out PCV filter located inside
air cleaner cover. Then install new PCV filter.
SMA476
SMA015A
SMA048
SMA587C
ENGINE MAINTENANCEKA
Checking and Changing Spark Plugs
(Cont'd)
MA-21
Page 1563 of 1659

Measurement of Compression Pressure
1. Warm up engine.
2. Turn ignition switch OFF.
3. Release fuel pressure.
Refer to EC section (``Fuel Pressure Release'', ``BASIC SER-
VICE PROCEDURE'').
4. Remove all spark plugs.
5. Disconnect distributor center cable.
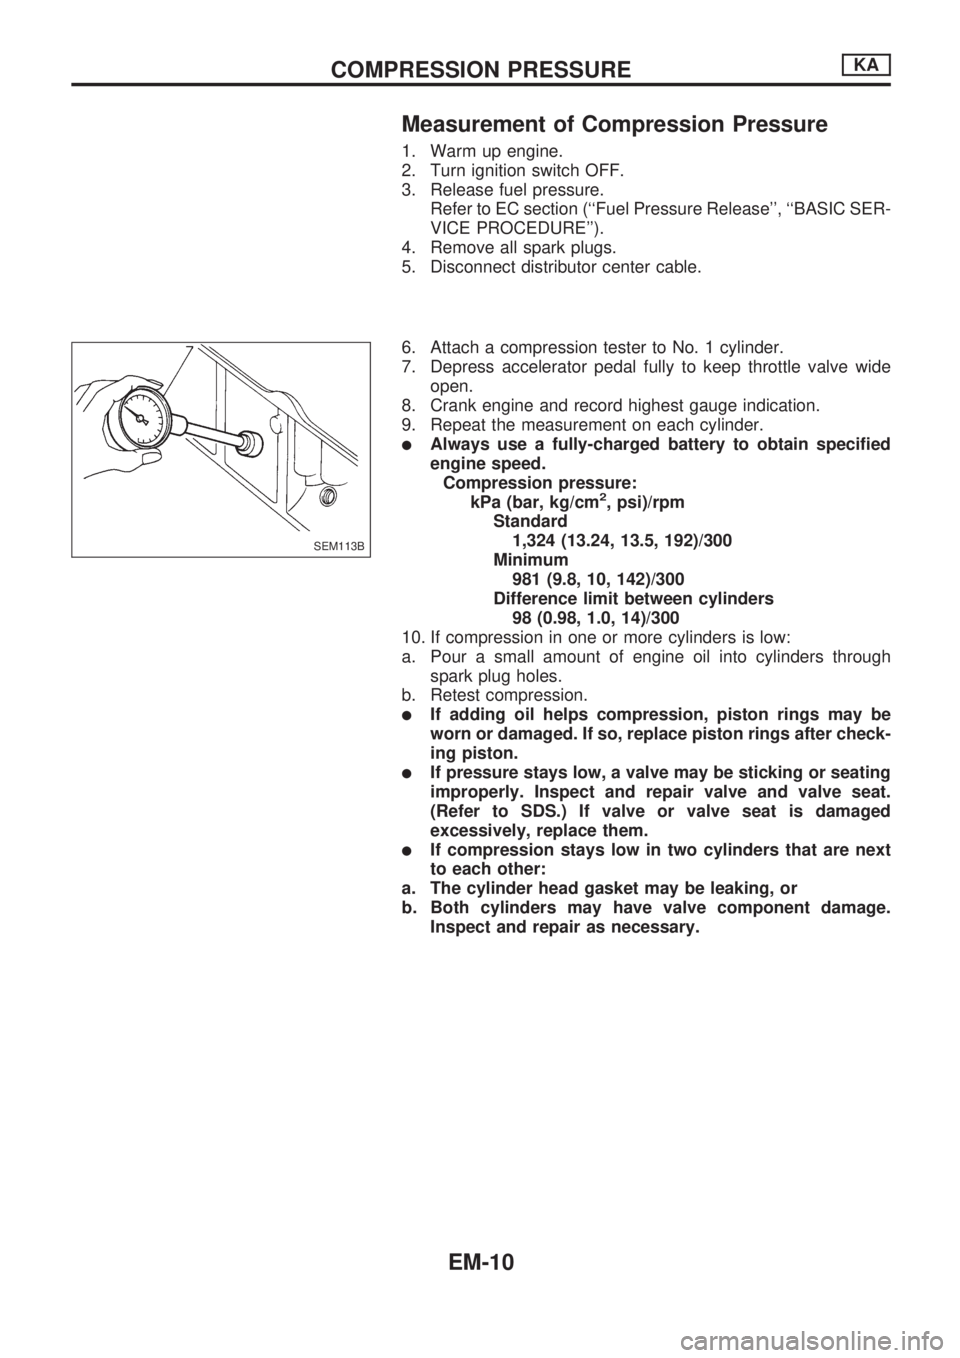
6. Attach a compression tester to No. 1 cylinder.
7. Depress accelerator pedal fully to keep throttle valve wide
open.
8. Crank engine and record highest gauge indication.
9. Repeat the measurement on each cylinder.
lAlways use a fully-charged battery to obtain specified
engine speed.
Compression pressure:
kPa (bar, kg/cm
2, psi)/rpm
Standard
1,324 (13.24, 13.5, 192)/300
Minimum
981 (9.8, 10, 142)/300
Difference limit between cylinders
98 (0.98, 1.0, 14)/300
10. If compression in one or more cylinders is low:
a. Pour a small amount of engine oil into cylinders through
spark plug holes.
b. Retest compression.
lIf adding oil helps compression, piston rings may be
worn or damaged. If so, replace piston rings after check-
ing piston.
lIf pressure stays low, a valve may be sticking or seating
improperly. Inspect and repair valve and valve seat.
(Refer to SDS.) If valve or valve seat is damaged
excessively, replace them.
lIf compression stays low in two cylinders that are next
to each other:
a. The cylinder head gasket may be leaking, or
b. Both cylinders may have valve component damage.
Inspect and repair as necessary.
SEM113B
COMPRESSION PRESSUREKA
EM-10
Page 1567 of 1659
9. Remove PCV hoses from rocker cover.
10. Remove alternator and bracket.
11. Remove power steering oil pump and bracket from engine.
12. Remove vacuum hoses, fuel hoses, wires, harness, connec-
tors and so on.
13. Remove all high tension wires.
14. Remove rocker cover.
lLoosen bolts in numerical order as shown in figure.
15. Remove all spark plugs.
16. Set No. 1 piston at TDC on its compression stroke.
17. Remove distributor.
Do not turn rotor with distributor removed.
18. Remove the following parts.
lPower steering pump, idler pulley and power steering pump
brackets
lCompressor idler pulley
lOil pump with pump drive spindle
SEM578F
SEM572F
SEM579F
SEM580F
TIMING CHAINKA
Removal (Cont'd)
EM-14
Page 1573 of 1659
13. Install oil pump and distributor driving spindle with new gas-
ket in front cover.
a. Assemble oil pump and driving spindle, aligning punchmark
on driving spindle with oil hole.
b. Make sure that driving spindle is set as shown in figure.
14. Install distributor.
15. Make sure that No. 1 piston is set at TDC and that distribu-
tor rotor is set at No. 1 cylinder spark position.
16. Install cylinder head outside bolts.
17. Install intake manifold support.
18. Install rubber plugs as follows:
a. Apply liquid gasket to rubber plugs.
lRubber plugs should be replaced with new ones.
lRubber plugs should be installed within 5 minutes of
applying liquid gasket.
SEM395E
SEM574F.SEM574F
SEM572F
SEM596F
SEM931B
TIMING CHAINKA
Installation (Cont'd)
EM-20