Page 2350 of 2490
13. Release sidemarker lamp/refle ctor clips and remove both
lamps/reflectors from bumper cover.
14. Remove direction indicators fr om bumper assembly. Refer to
Section 417.
15. Release tangs securing brake cooling ducts to bumper cover
and remove ducts.
16. Remove powerwash jet assemb lies and hoses from top of
bumper assembly. Refer to 84.20.08.
17. Remove bumper blades.
1. Remove three screws secu ring each blade to bumper
cover.
2. Slide each blade forward to release two side tangs from cover and remove blades from bumper.
18. Rotate three splitter vane fasteners 1/4 turn counter-
clockwise and remove splitter vane from air intake.
19. Remove number plate and plinth.
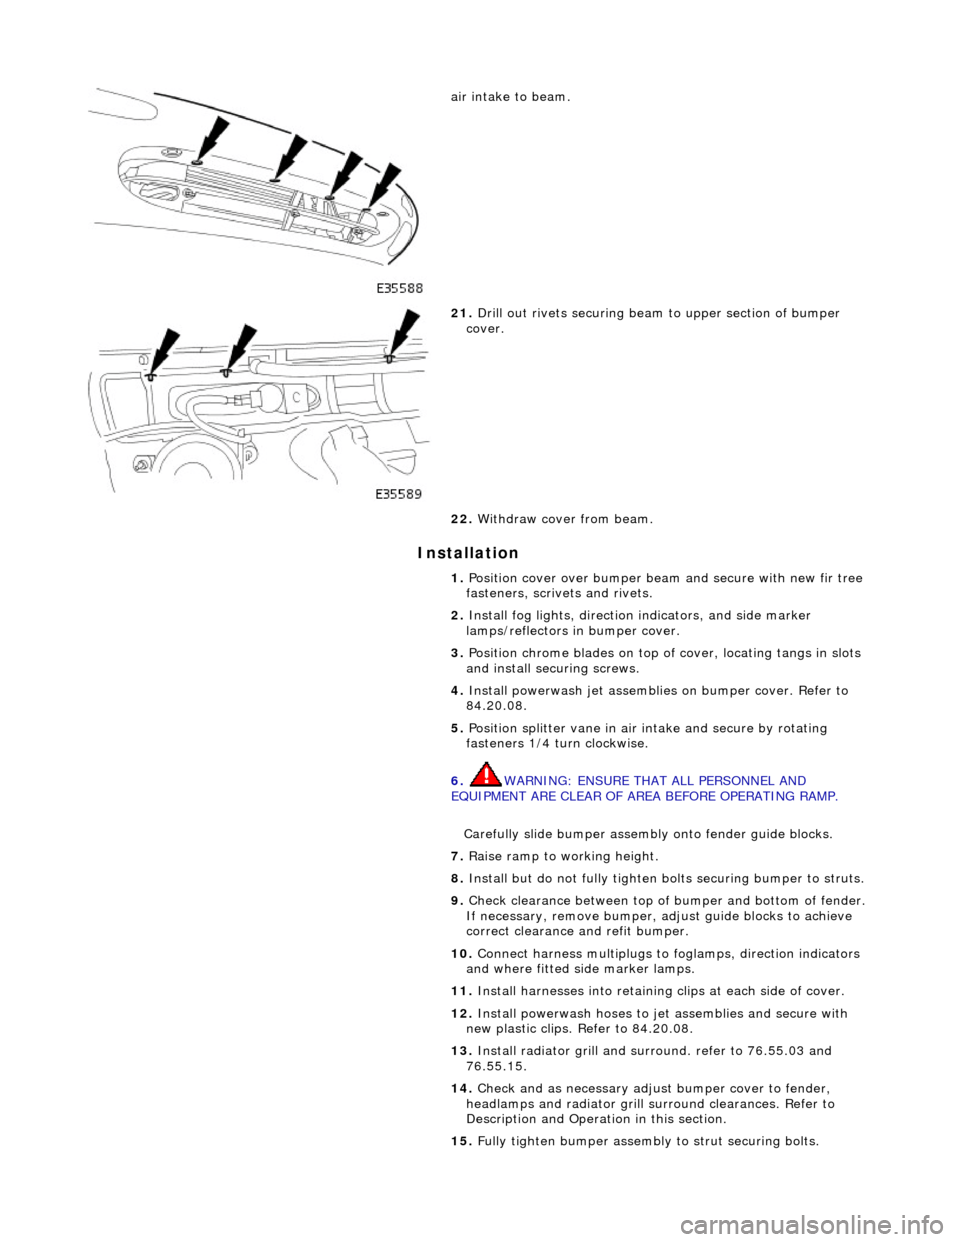
20. Remove and discard four scrive ts securing upper section of
Page 2351 of 2490

Installation
air intake to beam.
21. Drill out rivets securing beam to upper section of bumper
cover.
22. Withdraw cover from beam.
1. Position cover over bumper beam and secure with new fir tree
fasteners, scrivets and rivets.
2. Install fog lights, direction indicators, and side marker
lamps/reflectors in bumper cover.
3. Position chrome blades on top of cover, locating tangs in slots
and install securing screws.
4. Install powerwash jet assemblies on bumper cover. Refer to
84.20.08.
5. Position splitter vane in air intake and secure by rotating
fasteners 1/4 turn clockwise.
6. WARNING: ENSURE THAT ALL PERSONNEL AND
EQUIPMENT ARE CLEAR OF AREA BEFORE OPERATING RAMP.
Carefully slide bumper assembly onto fender guide blocks.
7. Raise ramp to working height.
8. Install but do not fully tighten bo lts securing bumper to struts.
9. Check clearance between top of bumper and bottom of fender.
If necessary, remove bumper, adjust guide blocks to achieve
correct clearance and refit bumper.
10. Connect harness multiplugs to foglamps, direction indicators
and where fitted side marker lamps.
11. Install harnesses into retaining clips at each side of cover.
12. Install powerwash hoses to jet assemblies and secure with
new plastic clips. Refer to 84.20.08.
13. Install radiator grill and su rround. refer to 76.55.03 and
76.55.15.
14. Check and as necessary adjust bumper cover to fender,
headlamps and radiator grill surround clearances. Refer to
Description and Operation in this section.
15. Fully tighten bumper assembly to strut securing bolts.
Page 2354 of 2490
Bumpers - Rear Bumper
Removal and Installation
Removal
1. Position vehicle on 4-post lift.
2. Remove battery cover and disc onnect ground cable from
battery terminal. Refer to 86.15.19.
3. WARNING: THE REAR BUMPER IS CLOSE TO THE
EXHAUST PIPES WHICH MAY BE HOT. CARE MUST THEREFORE BE
EXERCISED WHEN WORKING IN THIS VICINITY.
Raise vehicle to working height.
4. Disconnect sidemarker lamp ha rness multiplugs and position
clear of armatures.
5. Slacken and remove bumper to strut securing bolts.
6. With assistance, carefully slide bumper clear of guide blocks
and remove from vehicle.
7. Release retaining clips and remo ve sidemarker lamps/reflectors from bumper.
8. Remove bumper blades.
1. Slacken and remove three screws securing each blade
to bumper cover.
Page 2355 of 2490
Installation
2. Slide each blade forward to release three side tangs from cover and remove blades from bumper.
9. Drill out rivets securing beam to bumper cover.
10. Withdraw beam from bumper cover.
1. Position beam in bumper cover and secure with new fir tree
fasteners and rivets.
2. Fit and fully seat sidemarker lamp s/reflectors in bumper cover.
3. Fit chrome blades to top of cover locating tangs in slots and fit
and tighten securing screws.
4. Fit bumper assembly to vehicle. Refer to operations in this
section.
5. Fit ground cable to battery terminal and fit battery cover. Refer
to 86.15.15.
Page 2356 of 2490
Bumpers - Rear Bumper Cover
Removal and Installation
Removal
Installation
1. Position vehicle on 4-post lift.
2. Remove battery cover and disc onnect ground cable from
battery terminal. Refer to 86.15.19.
3. WARNING: THE REAR BUMPER IS CLOSE TO THE
EXHAUST PIPES WHICH MAY BE HOT. CARE MUST THEREFORE BE
EXERCISED WHEN WORKING IN THIS VICINITY.
Raise vehicle to working height.
4. If fitted, disconnect sidemarker lamp harness multiplugs and
position clear of armatures.
5. Slacken and remove bumper to strut securing bolts.
6. With assistance, carefully slide bumper clear of guide blocks
and remove from vehicle.
1. Release retaining clips and remo ve sidemarker lamps/reflectors from bumper.
2. Remove bumper blades.
1. Slacken and remove three screws securing each blade
Page 2357 of 2490
Installation
to bumper cover.
2. Slide each blade forward to release three side tangs from cover and remove blades from bumper.
3. Drill out rivets securing cover to bumper beam.
4. Withdraw cover from bumper beam.
1. Position cover over bumper beam and secure with new fir tree
fasteners and rivets.
2. Fit and fully seat sidemarker lamp s/reflectors in bumper cover.
3. Fit chrome blades to top of cover locating tangs in slots and fit
and tighten securing screws.
4. Fit bumper assembly to vehicle. Refer to operations in this
section.
5. Fit ground cable to battery terminal and fit battery cover. Refer
to 86.15.15.
Page 2392 of 2490

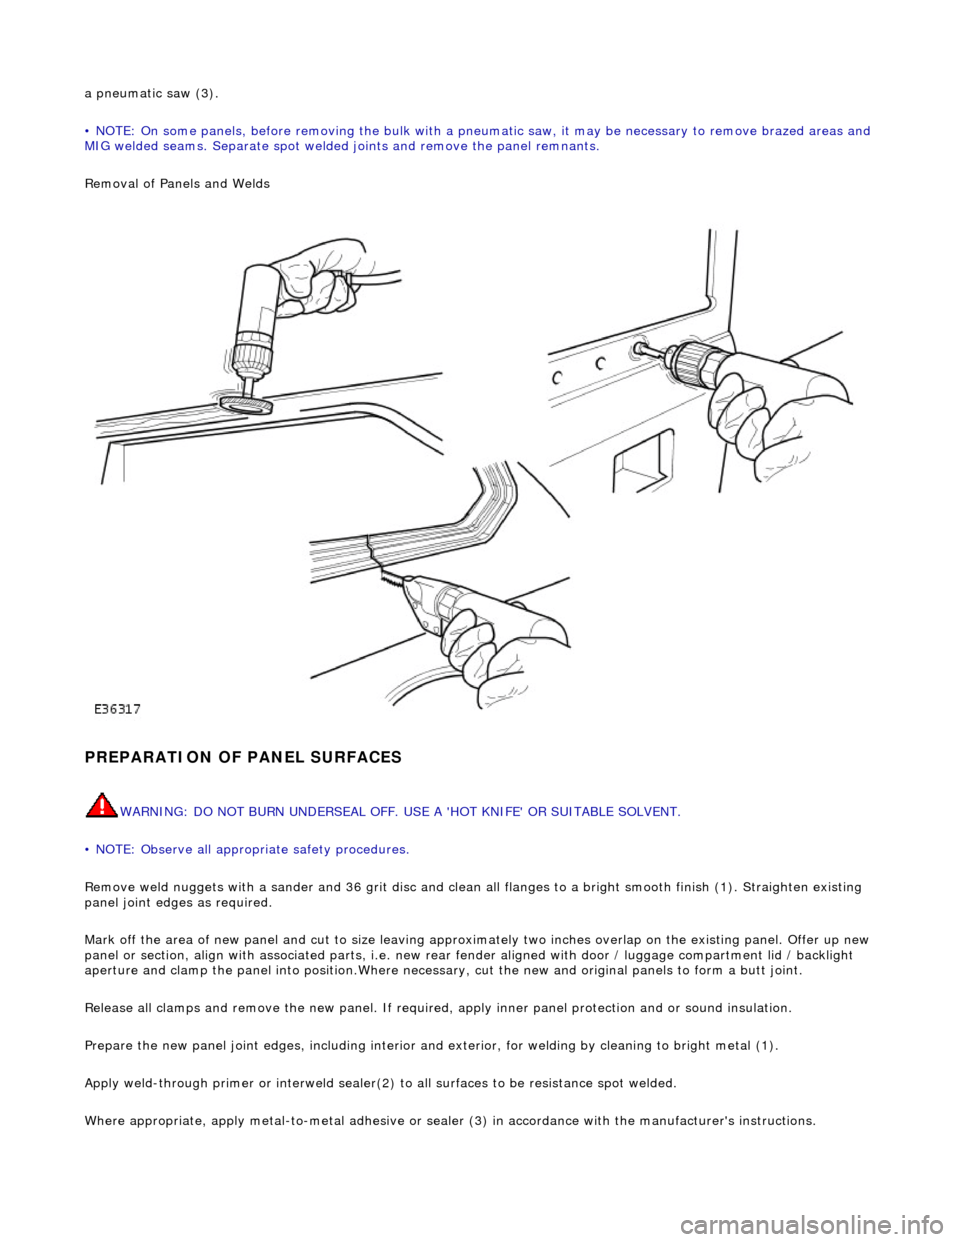
a pneumatic saw (3).
• NOTE: On some panels, before removing the bulk with a pneumatic saw, it may be necessary to remove brazed areas and
MIG welded seams. Separate spot welded joints and remove the panel remnants.
Removal of Panels and Welds
PREPARATION OF PANEL SURFACES
WARNING: DO NOT BURN UNDERSEAL OFF. USE A 'HOT KNIFE' OR SUITABLE SOLVENT.
• NOTE: Observe all appropriate safety procedures.
Remove weld nuggets with a sander and 36 gr it disc and clean all flanges to a bright smooth finish (1). Straighten existing
panel joint edges as required.
Mark off the area of new panel and cut to size leaving approxim ately two inches overlap on the existing panel. Offer up new
panel or section, align with associated pa rts, i.e. new rear fender aligned with door / luggage compartment lid / backlight
aperture and clamp the panel into positi on.Where necessary, cut the new and orig inal panels to form a butt joint.
Release all clamps and remove the new panel. If required, apply inner panel protection and or sound insulation.
Prepare the new panel joint edges, including interior and exterior, for welding by cleaning to bright metal (1).
Apply weld-through primer or in terweld sealer(2) to all surfaces to be resistance spot welded.
Where appropriate, apply metal- to-metal adhesive or sealer (3) in accordance with the manufacturer's instructions.
Page 2393 of 2490

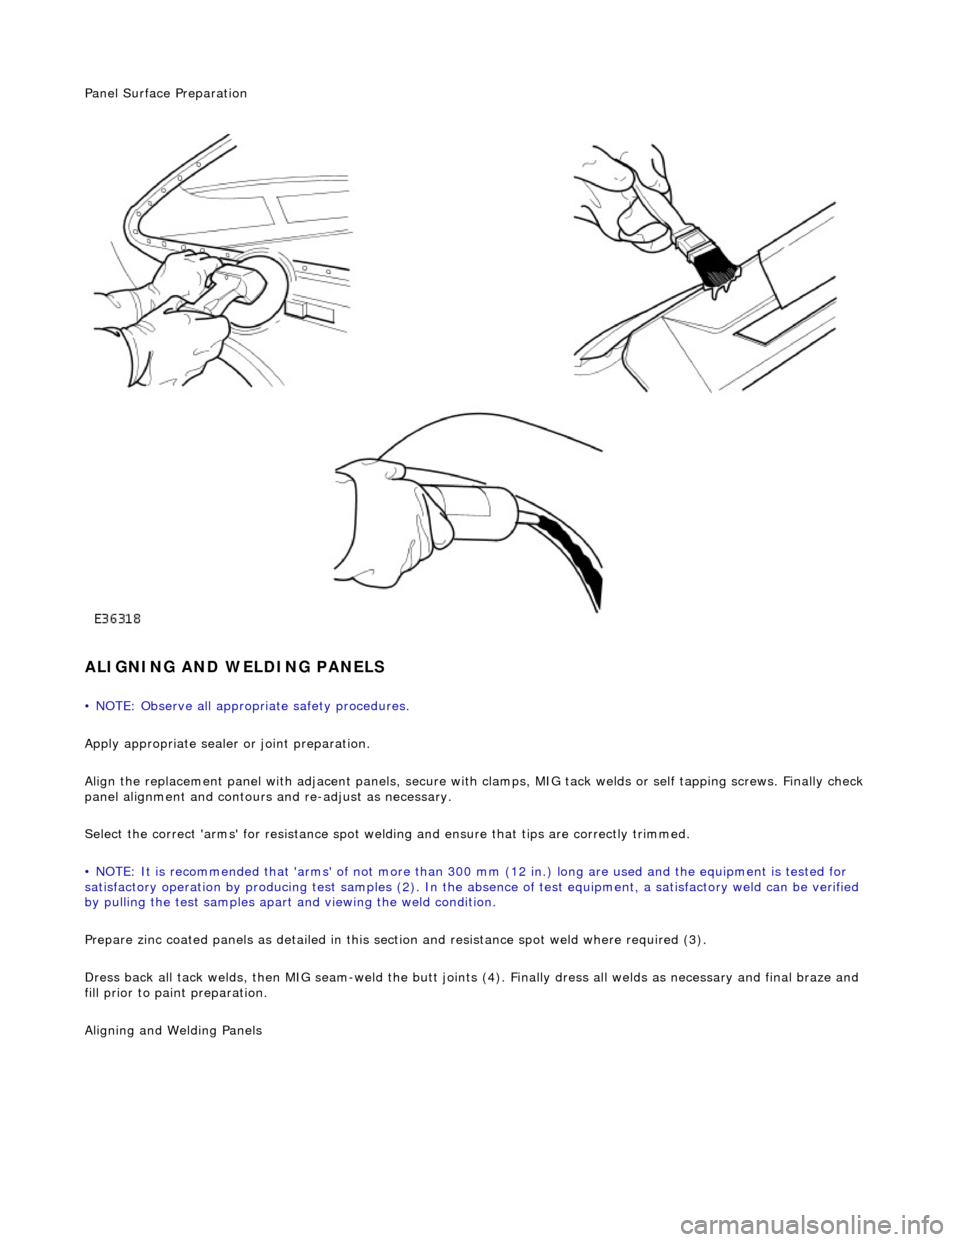
Panel Surface Preparation
ALIGNING AND WELDING PANELS
• NOTE: Observe all appropriate safety procedures.
Apply appropriate sealer or joint preparation.
Align the replacement panel with adjacent panels, secure with clamps, MIG tack welds or self tapping screws. Finally check
panel alignment and contours and re-adjust as necessary.
Select the correct 'arms' for resistance spot welding and ensure that tips are correctly trimmed.
• NOTE: It is recommended that 'arms' of not more than 300 mm (12 in.) long ar e used and the equipment is tested for
satisfactory operation by producing test samples (2). In the ab sence of test equipment, a satisfactory weld can be verified
by pulling the test sa mples apart and viewing the weld condition.
Prepare zinc coated panels as detailed in this section and resistance spot weld where required (3).
Dress back all tack welds, then MIG seam-weld the butt joints (4). Finally dress all welds as necessary and final braze and
fill prior to paint preparation.
Ali
gning and Welding Panels